Articles


In this article, we will continue to explain how different components in Milvus interact with each other to complete real-time data queries.

Some useful resources before getting started are listed below. We recommend reading them first to better understand the topic in this post.

Source de l’article sur DZONE

User Experience is a crucial consideration for any web developer or designer; the only way to ensure that you’re delivering a successful website is to ensure that the end-user or customer will feel comfortable using it. 

A strong user experience increases your client’s chances of successful audience engagement and conversions.

What you might not realize, however, is that the strategies you use to enhance UX as a web developer or designer can also influence how the search engines respond to a website. 

Though many designers assume that SEO (Search Engine Optimization) is the work of a copywriter or content producer, there are design elements to consider too. 

After all, the definition of optimization is “the action of making the best version of a resource.”

So, how are UX and SEO connected?

Adding UX to a Successful SEO Strategy

SEO used to be easy. To stand out on the search results, you just needed to stuff a page full of as many keywords and phrases as possible. Now, it’s a little more complicated. 

Leaders in search engine development, like Google and Bing, know that they need to offer their customers excellent experiences to keep them. In this new experience-focused landscape, SEO and UX share common goals. 

Search engines don’t just want to provide customers with any answers to their questions. Instead, Google and its competitors are using everything from artificial intelligence to machine learning algorithms to ensure that search results are accurate, relevant, and engaging. 

In the same way, user experience is about providing users with easy access to the information and resources they want. 

Now that SEO is a multi-disciplined approach, UX is just one of the essential tools that makes it possible for developers to optimize their websites properly. 

Where UX Developers Influence SEO 

There are plenty of connections between UX and site indexability

We all know that since 2018, site speed has become a crucial ranking factor for companies in search of better search results. As a developer, it’s up to you to ensure that there aren’t too many elements weighing a website down that would prevent it from delivering fast results. 

Bounce rate is another critical factor in search engine ranking algorithms. When customers click on a website, Google wants to see that they get the answers they want. If your navigation is difficult to understand, or the correct information isn’t easy to see on a page, end-users will just hit the back button. 

Let’s take a closer look at how developers can influence SEO with their UX strategies. 

1. Site Navigation and Ease of Use

It’s no secret that today’s digital consumers crave easy-to-use sites.

A complex website with pages ranking for different terms might seem like an excellent idea for SEO. However, from a UX perspective, the easier it is to navigate your website, the more your end-users will benefit. 

According to a study from Ahrefs, well-optimized pages that rank for several keywords can be more beneficial than dozens of pages ranking for similar terms. At the same time, if the search engines have difficulty crawling all your pages due to a poor site navigation strategy, then some pages won’t get indexed. 

So, how do you improve navigation and SEO at once? Follow the proper structure for your site first, categories and subcategories on the retail page help customers find exactly what they need. A solid internal linking structure allows the crawlers to examine your website and index each essential page individually.

Keep navigation simple when designing a website for both UX and SEO potential. 

2. User-Friendly Page Layouts

There are countless cases where poor layout design and formatting disrupts SEO potential. For example, cluttering a page with too much information makes it tougher to read and index. At the same time, if your pages aren’t attractive and easy to navigate, customers are more likely to hit the back button. 

If customers come to a website and immediately leave it again, this tells the search engines that they’re not finding what they need on those pages. That means Google will bump you to a lower position on the SERPs. 

So, how do you make your layouts more UX and SEO-friendly?

  • Get your category pages right: Say you’re creating a blog page for your client. They want to list all of their blogs on one main page while linking to separate locations for each article. A design that puts a large chunk of content from each blog on the main page can be problematic for UX and SEO. It means your customers have to scroll further to find what they need. At the same time, the search engines never know which words to rank that main page for. On the other hand, listing blogs on smaller cards, as Fabrik does in this example, makes sorting through content easier. 
  • Leverage headers and tags: Your customers and the search engines habitually “scan” your pages. When trying to improve UX and SEO simultaneously, you must ensure that it’s easy to find crucial information quickly. Header 1 or H1 tags can help by showing your audience your website’s critical sections. Title tags also give search engines more information on the term you want to rank for. Organizing your content into a structure that draws the eye down the page also means your customers are more likely to stay on your website for longer. That shows the search engines that you have quality, relevant content. 
  • Make the most of images and videos: Visual media isn’t just an excellent way to engage your audience. With videos and pictures, you can convey more vital information in a quick and convenient format. This leads to greater satisfaction from your audience from a UX perspective. However, visual content is also great for SEO. You can optimize every image with alt text and meta descriptions. That means you have a higher chance of ranking both in the main search results and the image searches on Google. 

3. Using Search Data to Inform Site Architecture

Today, SEO is less about building hundreds of landing pages for individual queries. Now, it’s more important to take a simple, de-cluttered approach with your website. SEO can determine what kind of architecture you need to create for a successful website. 

For instance, say you wanted to rank for eCommerce SEO. There are tons of related words that connect to that primary search term. Rather than making dozens of different pages that try to rank for distinct phrases, you can cover a lot of other ideas at once with a larger, more detailed piece of content. 

If a topic is too big to cover everything on a single page, then you might decide to create something called “pillar” content out of your main terms. This involves using one main page where you discuss all of the topics you will cover. Then, you design several smaller sub-pages that link back to that central pillar. 

Once again, this helps the search engines to navigate your website and index your pages while assisting the customers in finding the correct information. At the same time, you combine more pages on a website and remove anything that might be detracting from your site’s authority or not offering enough value. 

4. Improving Website SERP Listings

It’s easy to forget as a developer that a customer’s first experience with a website won’t always happen on that site’s homepage. Usually, when your customers are looking for solutions to a problem, they’ll find your website on the search engine results instead. 

This means that you need to ensure that you make the right impression here:

There are a few ways that developers can ensure the search engine listings they create for their clients are up to scratch. For instance, a reasonable title tag for each page that includes appropriate keywords is excellent for SEO and UX. A title tag lets your customers know they’re in the right place and helps them find the information they need. 

Remember, around eight out of ten users on search engines say that they’ll click a title if it’s compelling. 

Another component you have control over as a developer or designer is the “rich snippet.” Rich snippets are the informative chunks of content that Google adds to a search listing to help it stand out. You can use rich snippet plugins on a website to tell Google what kind of extra information you want to include on a page. 

For instance, you might want a company’s ratings to show up on your search results, so customers can see how trustworthy they are:

5. Local Business Rankings

When you’re creating a website for a company, it’s easy to forget about local rankings. We see the digital world as a way of reaching countless people worldwide. Local orders are easier to overlook when you have a global scope to work with. 

However, as a developer, you can boost a company’s chances of attracting the right local audience and boosting its credibility. For instance, you can start by ensuring that the correct directory information appears on your client’s website and social media profiles.

Another option is to create dedicated location pages for each area the company serves. This will make it easier for clients to find the contact details they need for their specific location. 

At the same time, pages that have been carefully optimized to rank for specific locations will earn more attention, specifically from search engines. The more of the search engine landscape your client can cover, the more chances they have to attract new customers and leads. 

Combing SEO and UX

In a world where experience is crucial for every business, it’s no wonder that UX and SEO are blending more closely together. There are a lot of areas where SEO and UX work in harmony together if you know where to find them. Improving your client’s SEO ranking with UX doesn’t just mean ensuring that their pages load quickly anymore. 

Simple strategies, like making sure a call-to-action button is clickable on a mobile page, can simultaneously boost a website’s UX potential and SEO performance. At the same time, adding images and alt text to a website provides search engines with more information while adding context to your content. 

The key to success is understanding how SEO and UX work together. If you look at SEO and UX as part of the same comprehensive strategy to give end-users a better online experience, achieving the right design goals is much easier. 

Of course, just like any strategy, it’s also worth making sure that you take the time to track the results of your UX and SEO campaigns. Examine which systems help you, and examine customers from an SEO perspective with design and development strategies.


Features image by gstudioimagen on Freepik

Source

The post 5 Ways That UX Developers Influence SEO  first appeared on Webdesigner Depot.

Source de l’article sur Webdesignerdepot

It’s 2022, and React has a huge ecosystem to help developers bring complex UIs to life faster. Furthermore, with the extensive support of ReactJS libraries, there is hardly any case when a developer has to build a component from scratch.

However, not every ReactJS UI developer is aware of the best practices to build UIs faster in ReactJS. Therefore, I’ll be discussing the top five approaches (which I personally use) for building UIs quicker in a ReactJS project. So without further ado, let’s get started:

Source de l’article sur DZONE


Machine Learning For Time-series Forecasting

Machine learning is taking the world by storm, performing many tasks with human-like accuracy. In the medical field, there are now smart assistants that can check your health over time. In finance, there are tools that can predict the return on your investment with a reasonable degree of accuracy. In online marketing, there are product recommenders that suggest specific products and brands based on your purchase history.

In each of these fields, a different type of data can be used to train machine learning models. Among them, time-series data is used for training machine learning algorithms where time is the crucial component.

Source de l’article sur DZONE

Misconfigurations are the leading cause behind security incidents in Kubernetes-orchestrated or otherwise containerized environments. Without proper configuration in place, applications would run into problems ranging from noncompliance and inconsistencies to performance bottlenecks, security vulnerabilities, and functionality failure. Therefore, configuration management is a critical component in a software development lifecycle for maintaining systems in a desired, consistent state.

According to Red Hat’s State of Kubernetes Security report, misconfigurations were the leading cause behind security incidents in Kubernetes-orchestrated or otherwise containerized environments. Without proper configuration in place, applications would run into problems ranging from noncompliance and inconsistencies to performance bottlenecks, security vulnerabilities, and functionality failure. This would make cloud-native systems unstable and cause them to become a liability to businesses. For this reason, configuration management is a critical component in a software development lifecycle for maintaining systems in a desired, consistent state. However, the way configuration management is done has been evolving over the years. This post traces the history of configuration management, focusing on how GitOps handles this critical aspect of running cloud-native applications today.

Source de l’article sur DZONE

Acquiring a new customer is difficult, but retaining an existing one is even more challenging. Yet, statistics show that efforts focused on retention bring way more value. 

For instance, according to SmallBizGenius, 82% of companies agree that customer retention is cheaper than acquisition. Apart from that, 65% of a company’s revenue comes from existing clients, and increasing the investment in retention by only 5% already gives you a boost in profits by 25% to 95%. Impressive, right?

So what should you do to reach such results? 

One component that impacts brand-client relationships is website design. This article will give you three design tricks that will encourage your customers to come back to your site more and more. 

1. Rethink Your Website Structure

It is hard to imagine a website visitor who would spend more than five minutes (usually it’s way less) trying to figure out the navigation system on your website. If you have a loaded, complex site structure, you will not retain a customer. 

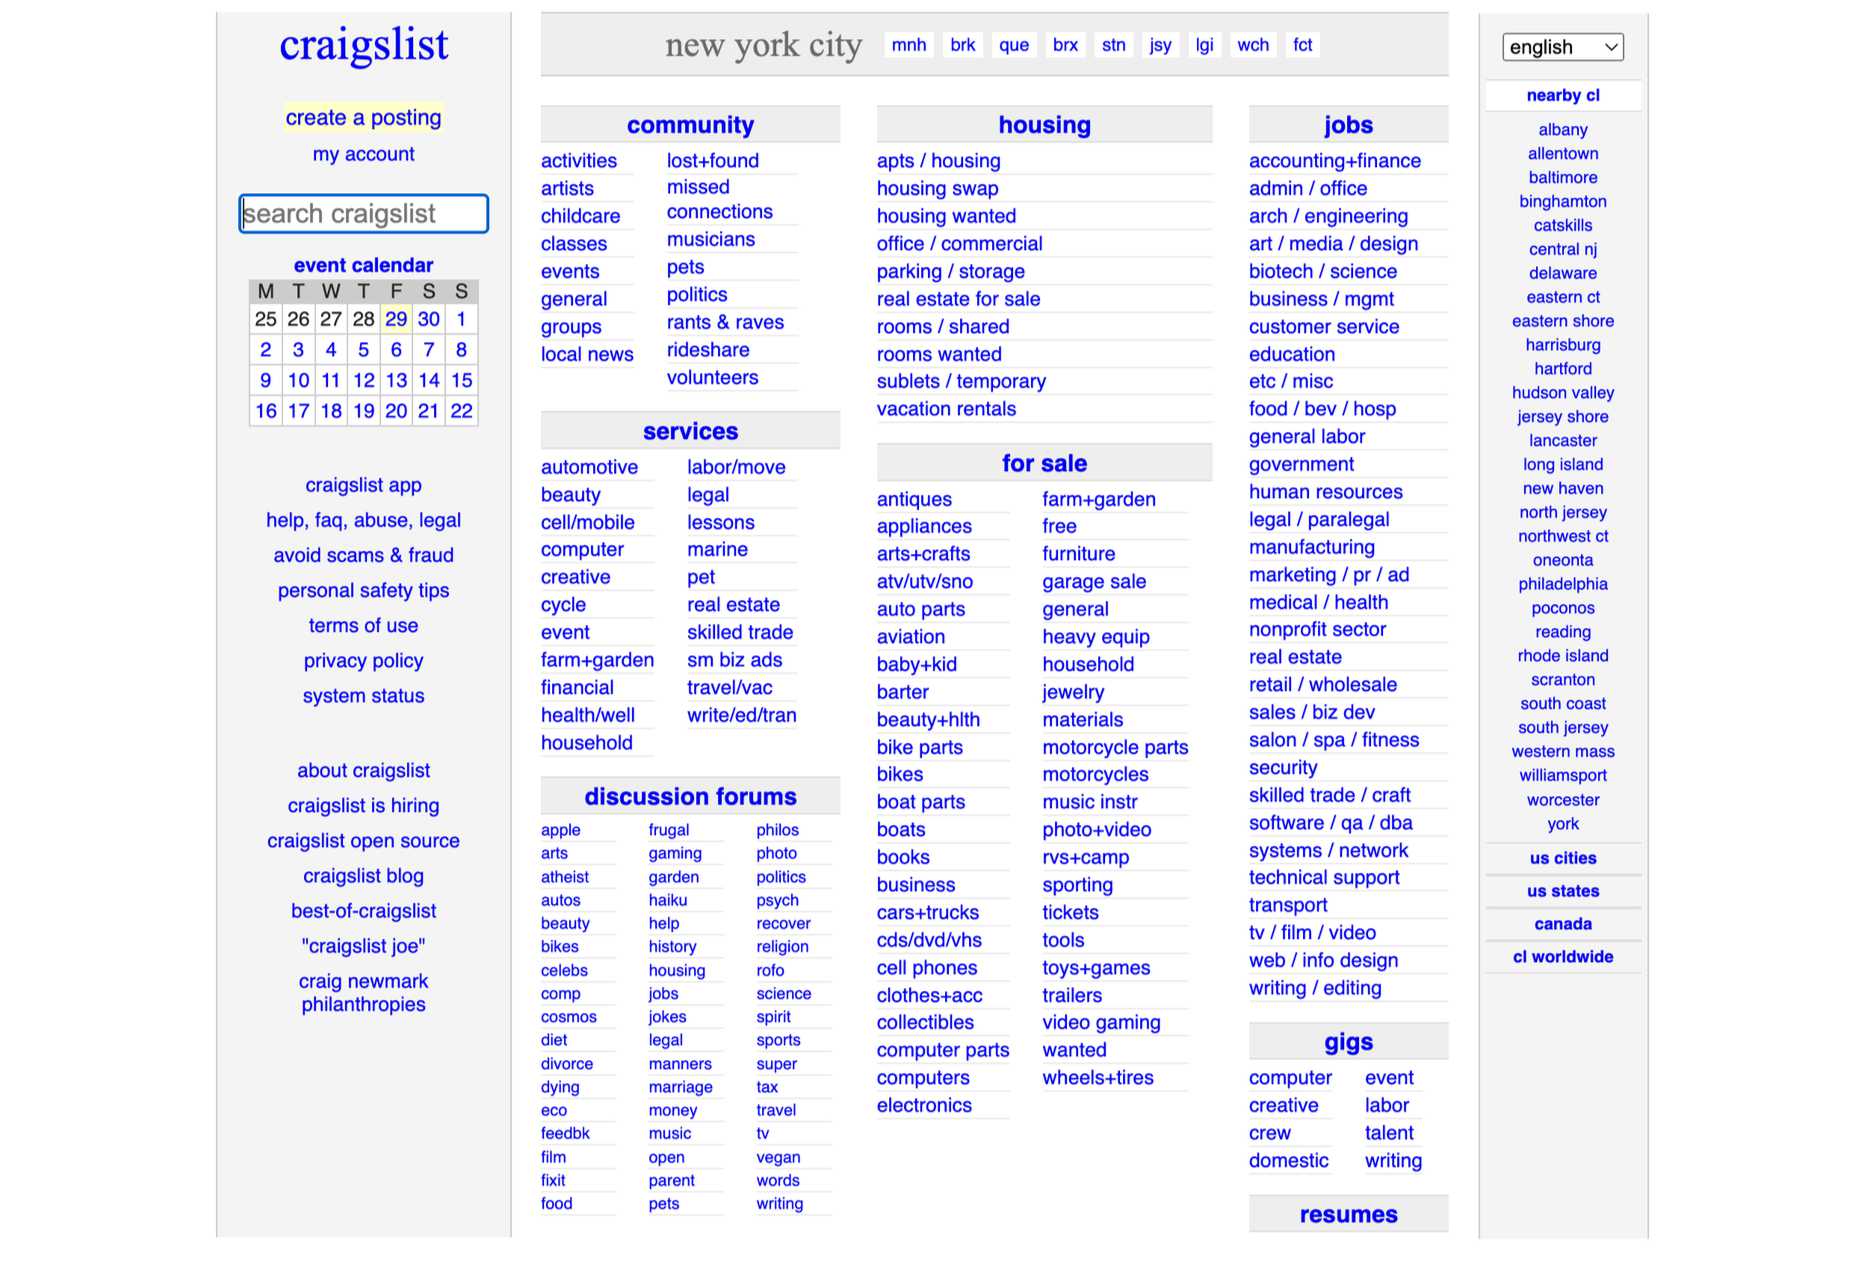
Take Craigslist, for instance. Its navigation is not user-friendly, not to mention that it took over 30 seconds to load when the acceptable average load time should be no more than 1.7 seconds:

Here’s what proper website navigation presupposes:

  • Subordination should not go deeper than three levels.
  • A website should include eight horizontal categories max. 
  • The structure should be symmetrical. 
  • The menu should not be overstuffed with too many locations. 

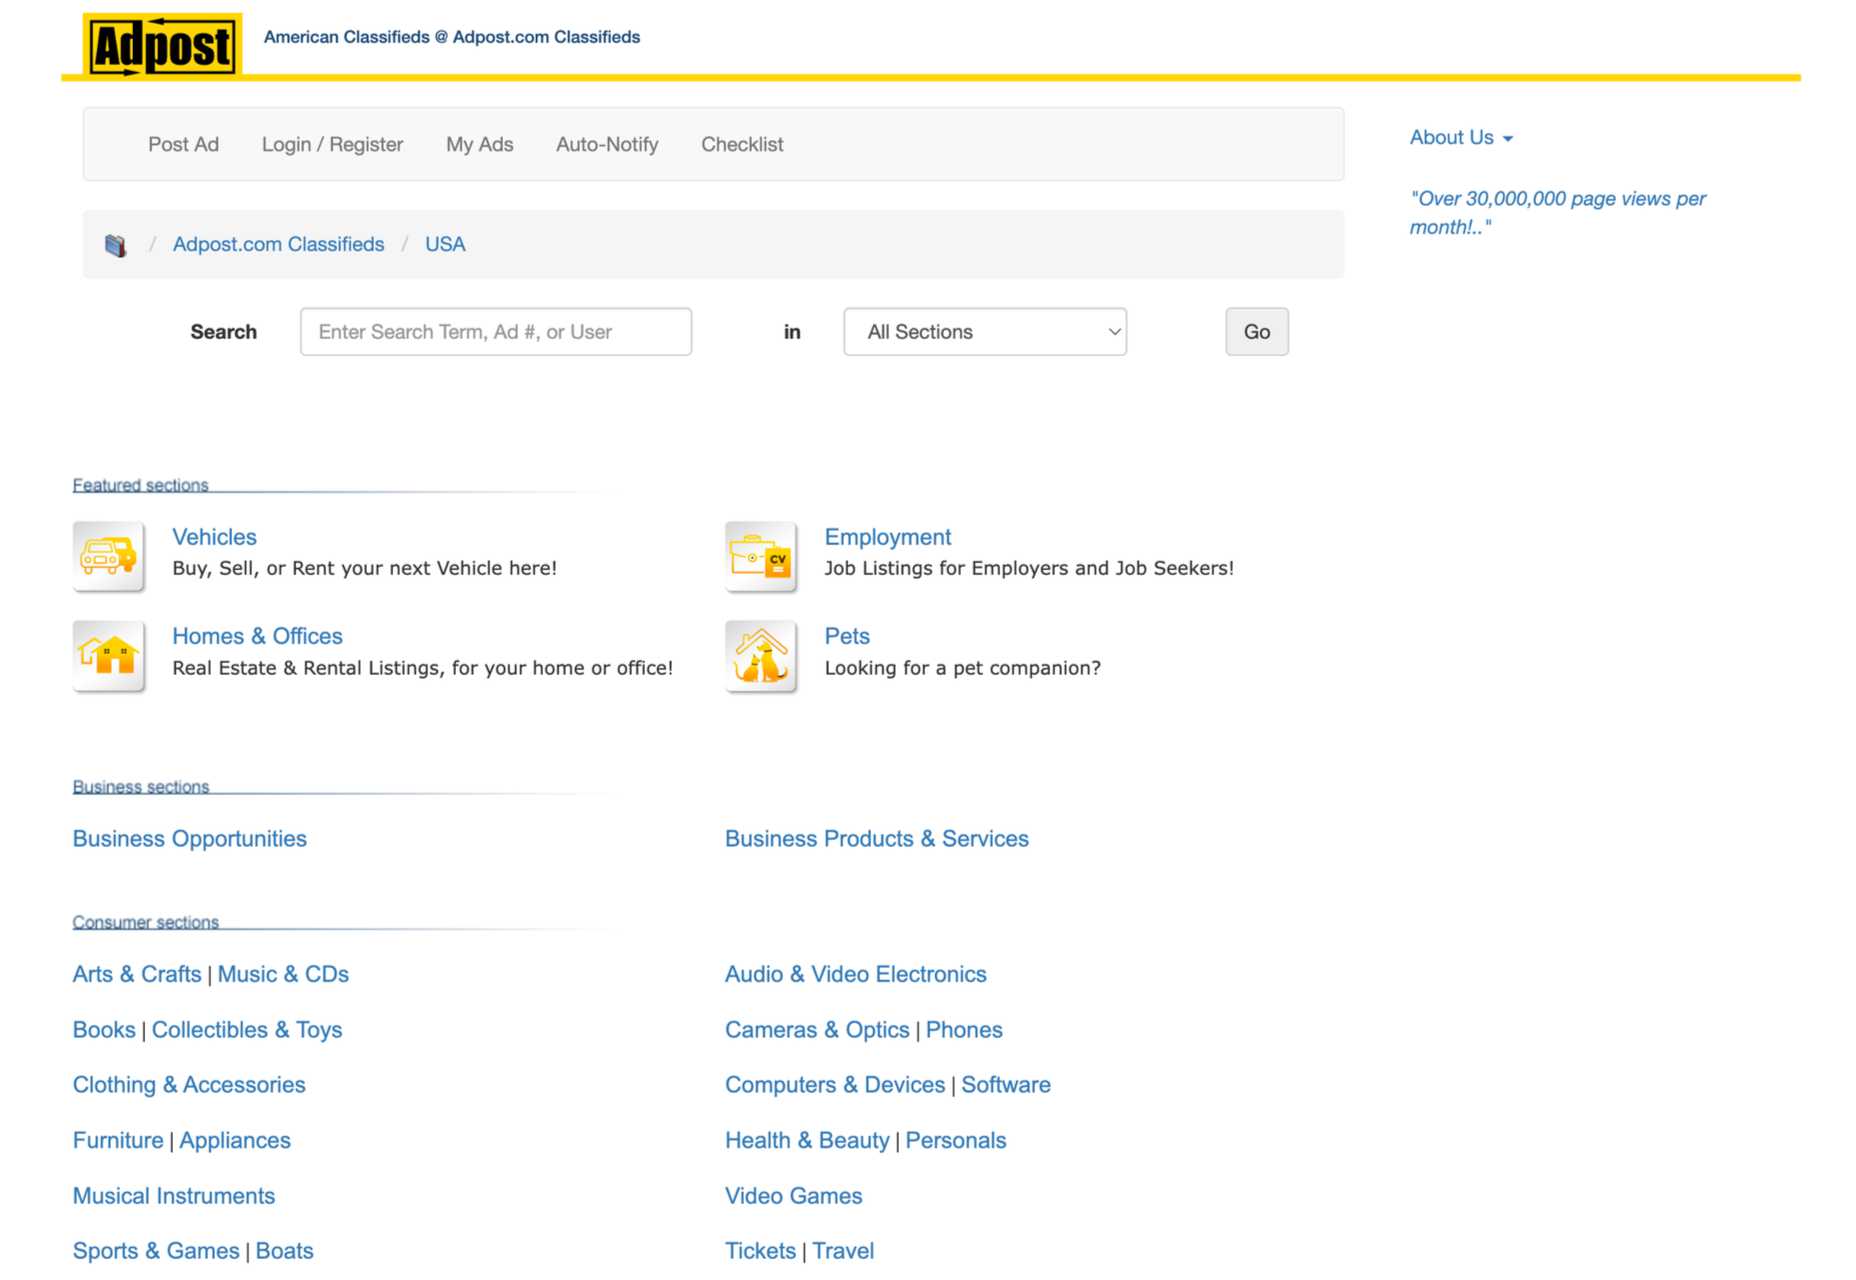
Since we mentioned Craigslist, let’s take a look at its competitor AdPost, which has a better website structure:

Instead of listing all the product categories on the front page, like Craigslist, AdPost added them to the search menu, thus making the design more user-friendly and making the navigation cleaner. 

2. Make Your Site Multilingual

If you have visitors coming to your website from around the world, you should not assume they know English. A survey by Weglot found some interesting results regarding the attitude of buyers to shopping on international websites:

  • 52% of websites are in English, but English reaches only 25% of global users.
  • 56% of visitors say the website information in their language is more important than the price.
  • 73% of customers say they prefer to shop on sites in their own language. 

So, there is no doubt that having your website localized to several languages can increase customer retention, especially considering the last stat. 

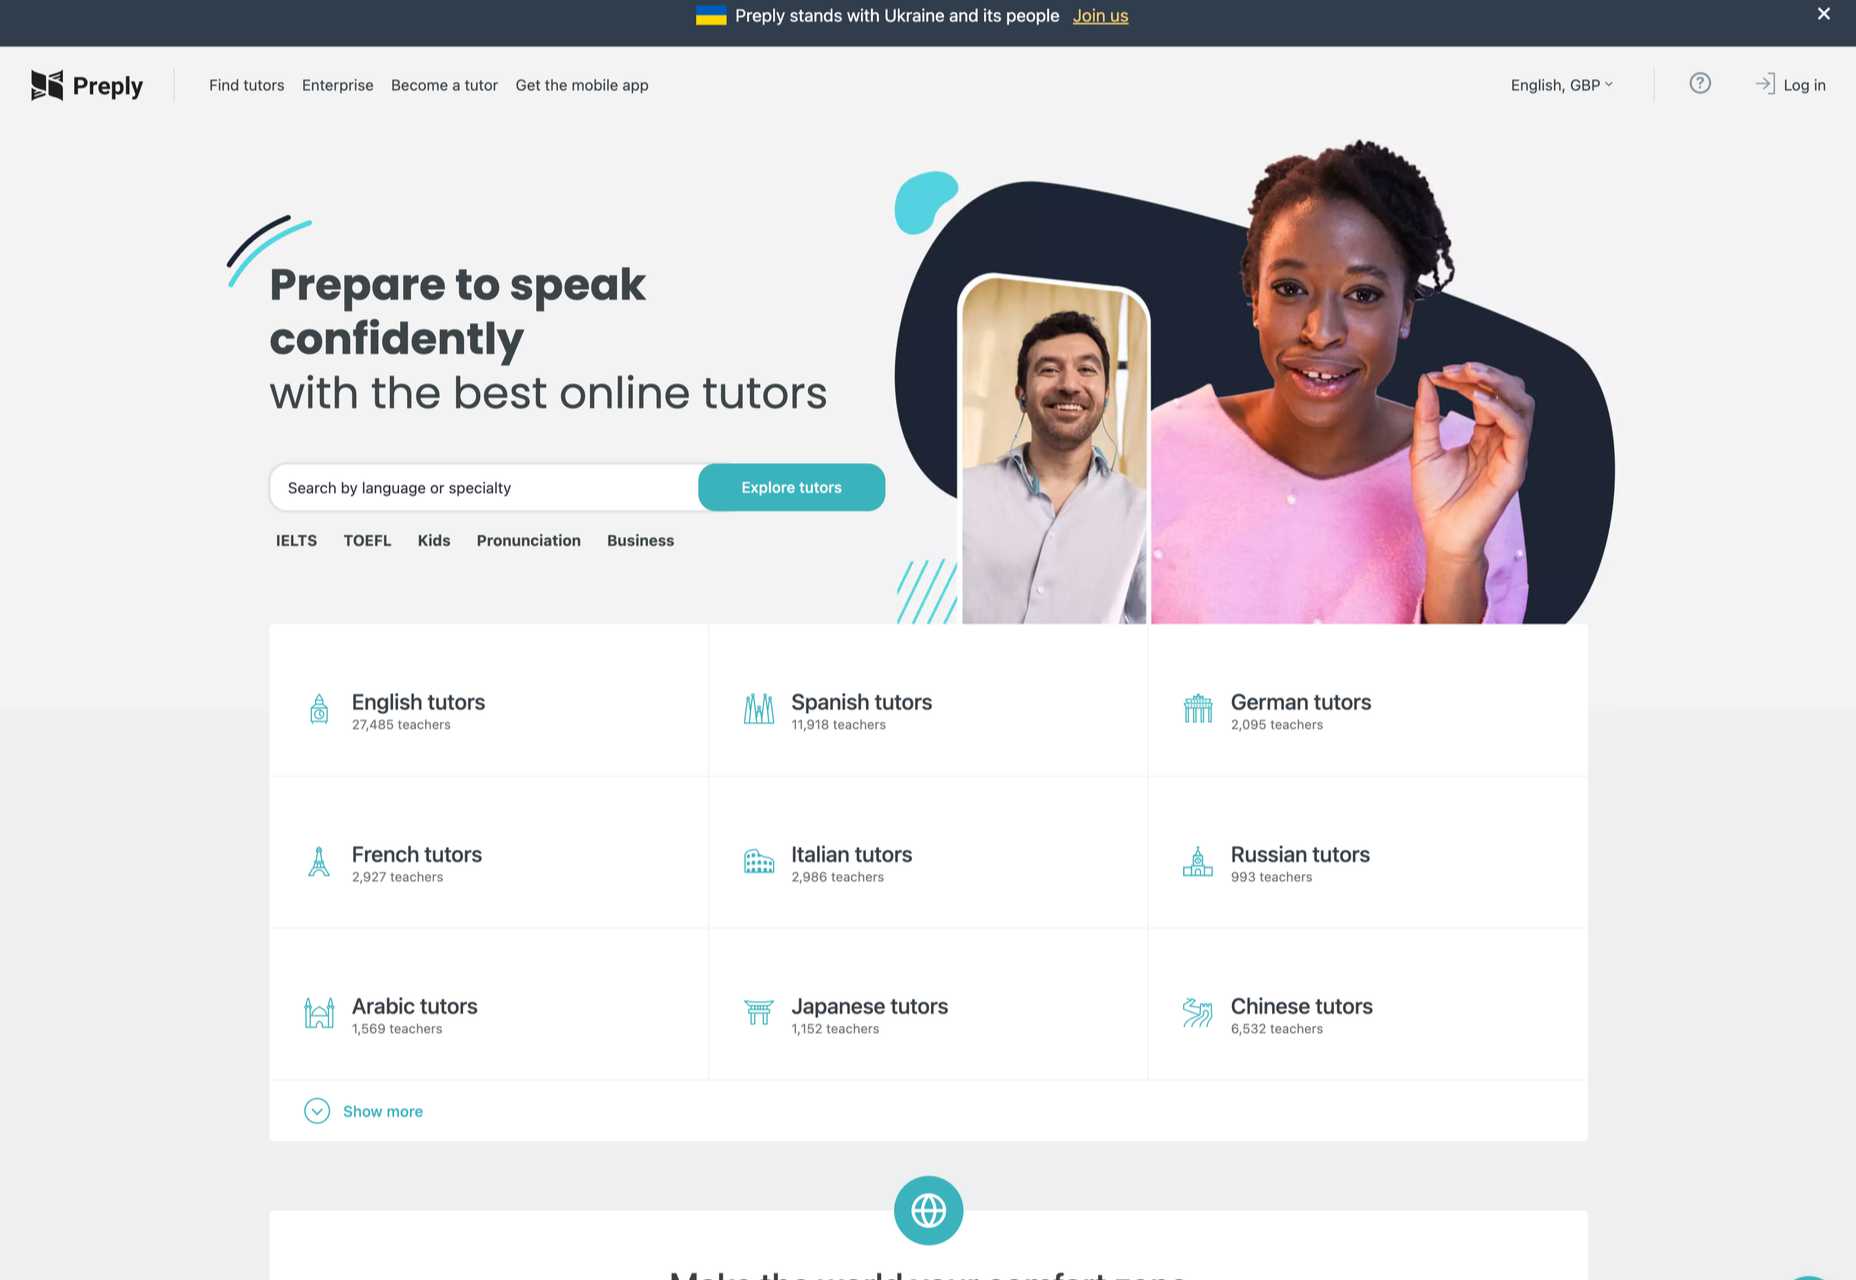
To understand the proper practices of making a website multilingual, look at the examples of the best language learning apps. For instance, Preply has a drop-down menu where you can choose from multiple language options, including Polish, Ukrainian, German, and many more:

Translating your website to different languages will help the visitor understand the value of your product better. However, before you invest in localization, make sure you study the data on customer behaviors to understand which languages your audience speaks. 

3. Invest in Custom Illustrations

Some companies don’t bother much with designing their websites, especially when it comes to custom elements, such as visuals. However, research has shown that the focus on branding in website design increases customer commitment and e-loyalty, as a result. 

Moreover, in the world of billions of websites, you need something that would help your business stand out. And custom illustrations are among those features that contribute to your site’s uniqueness. 

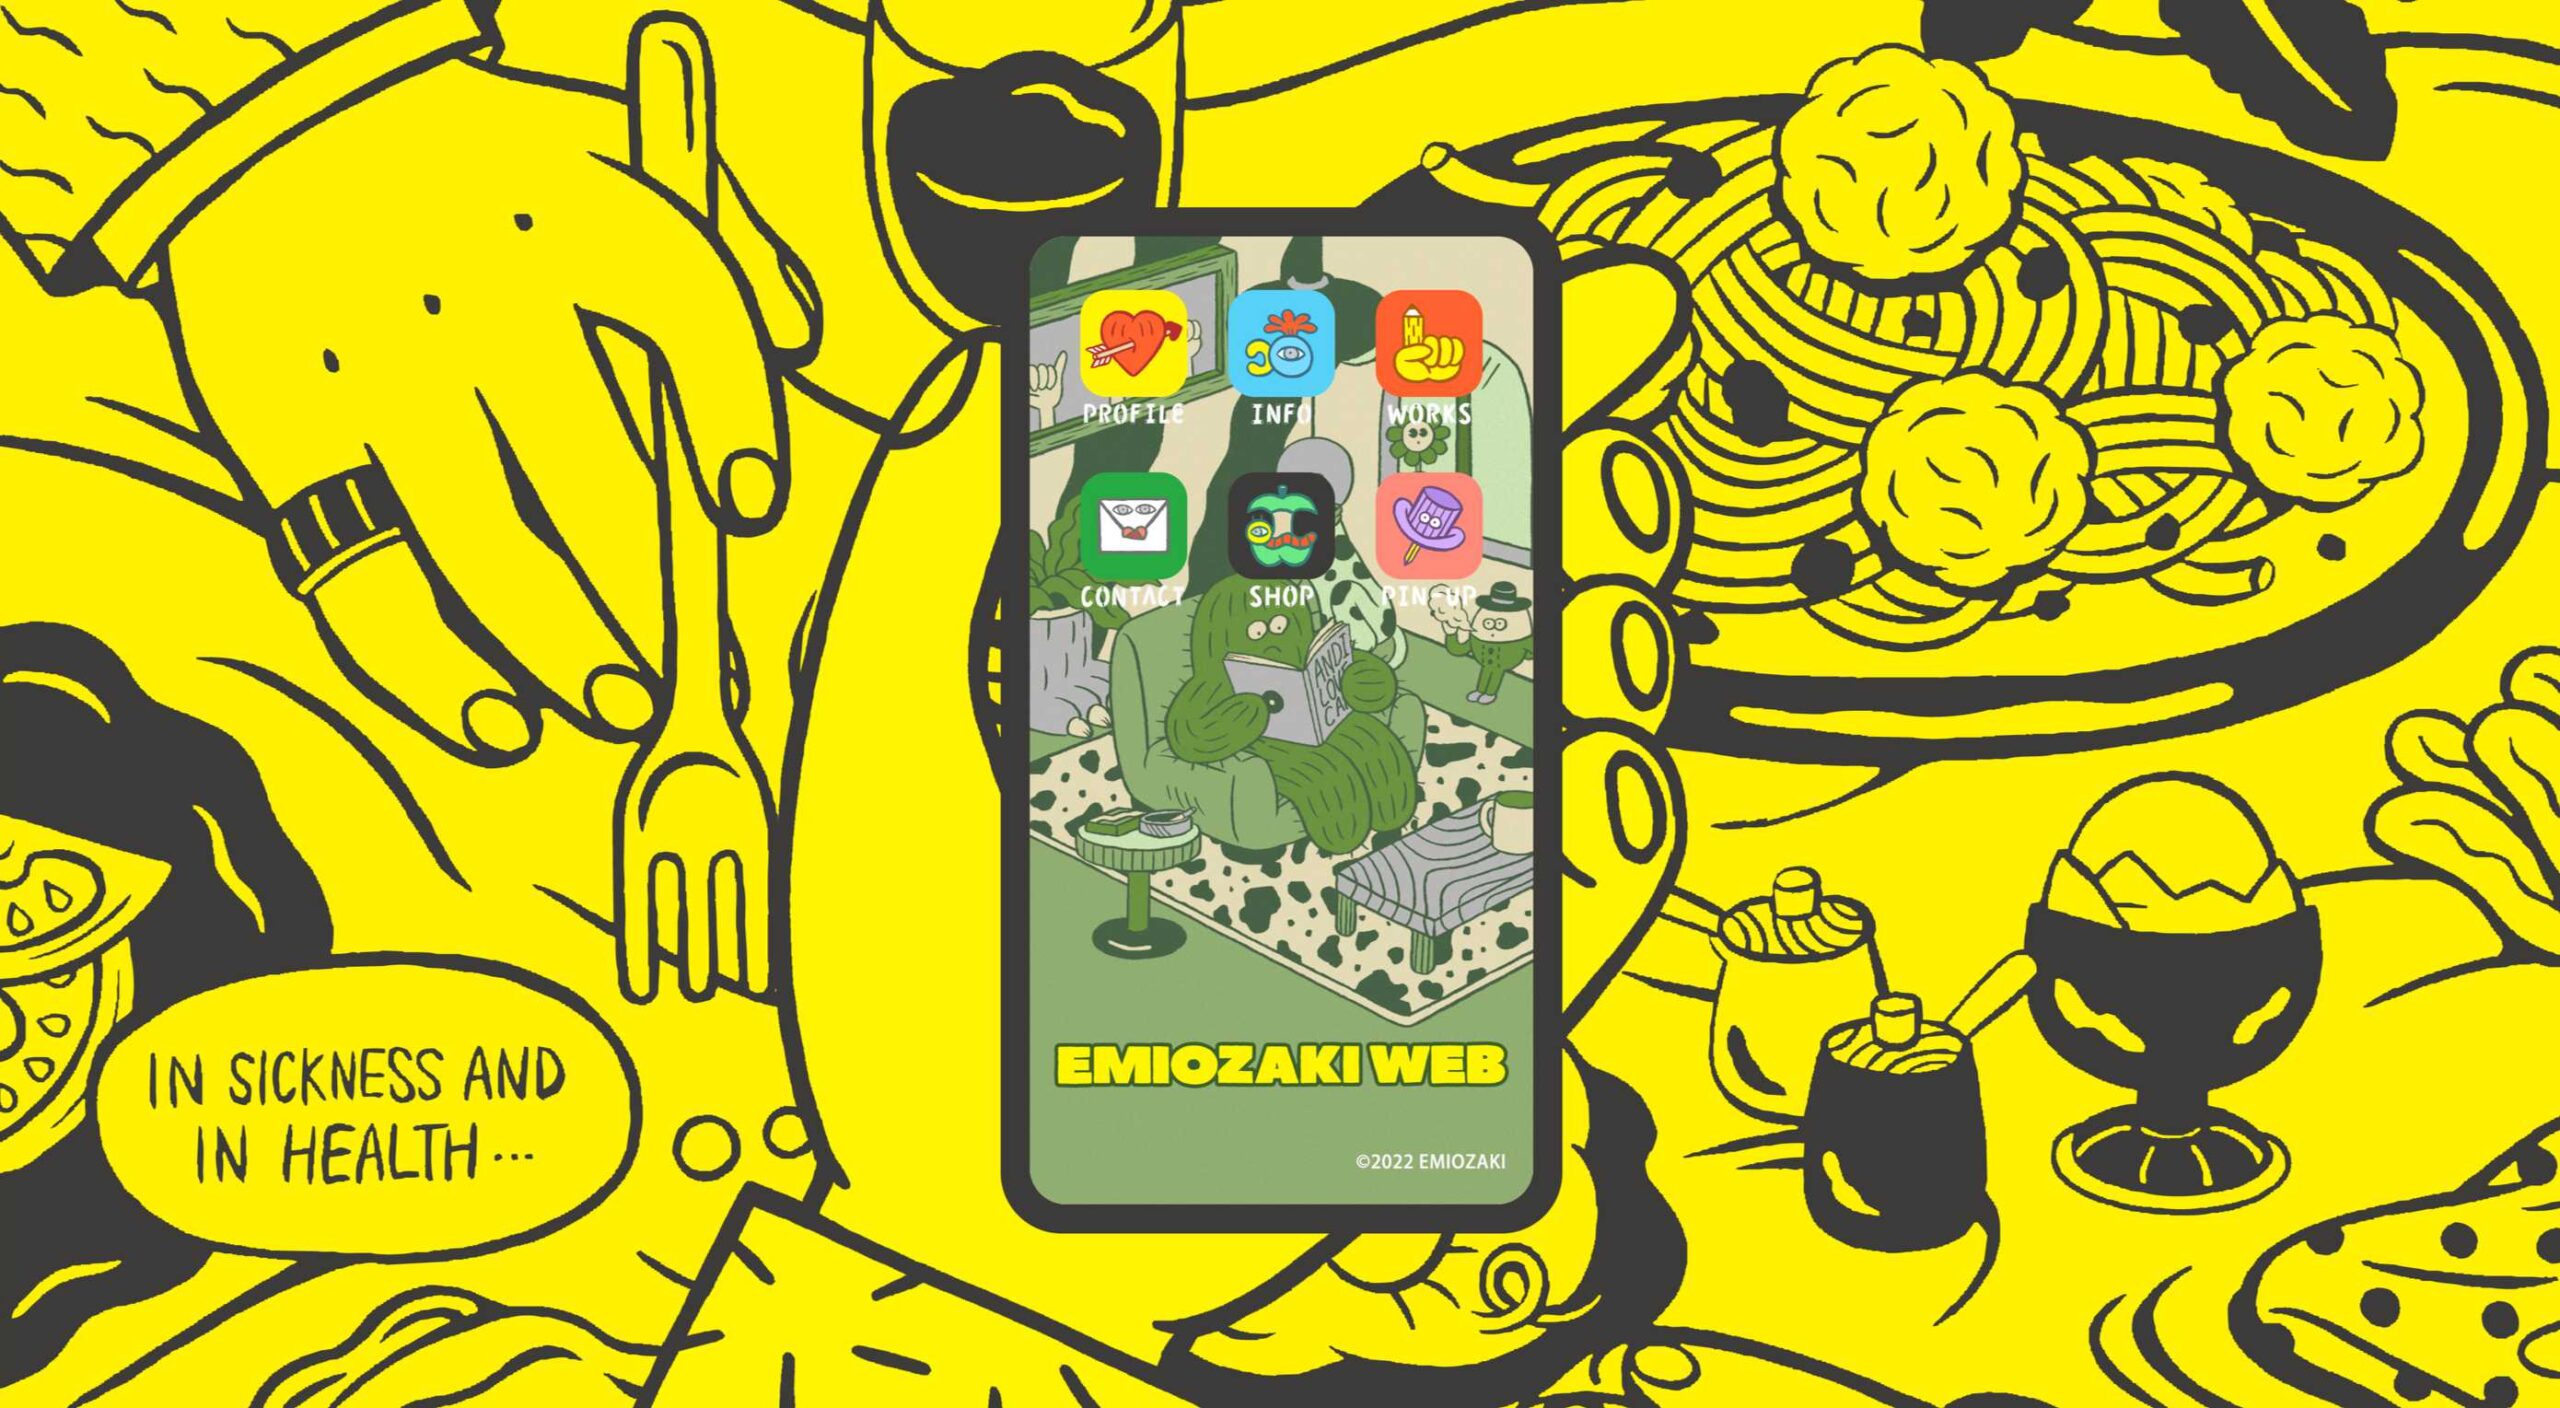
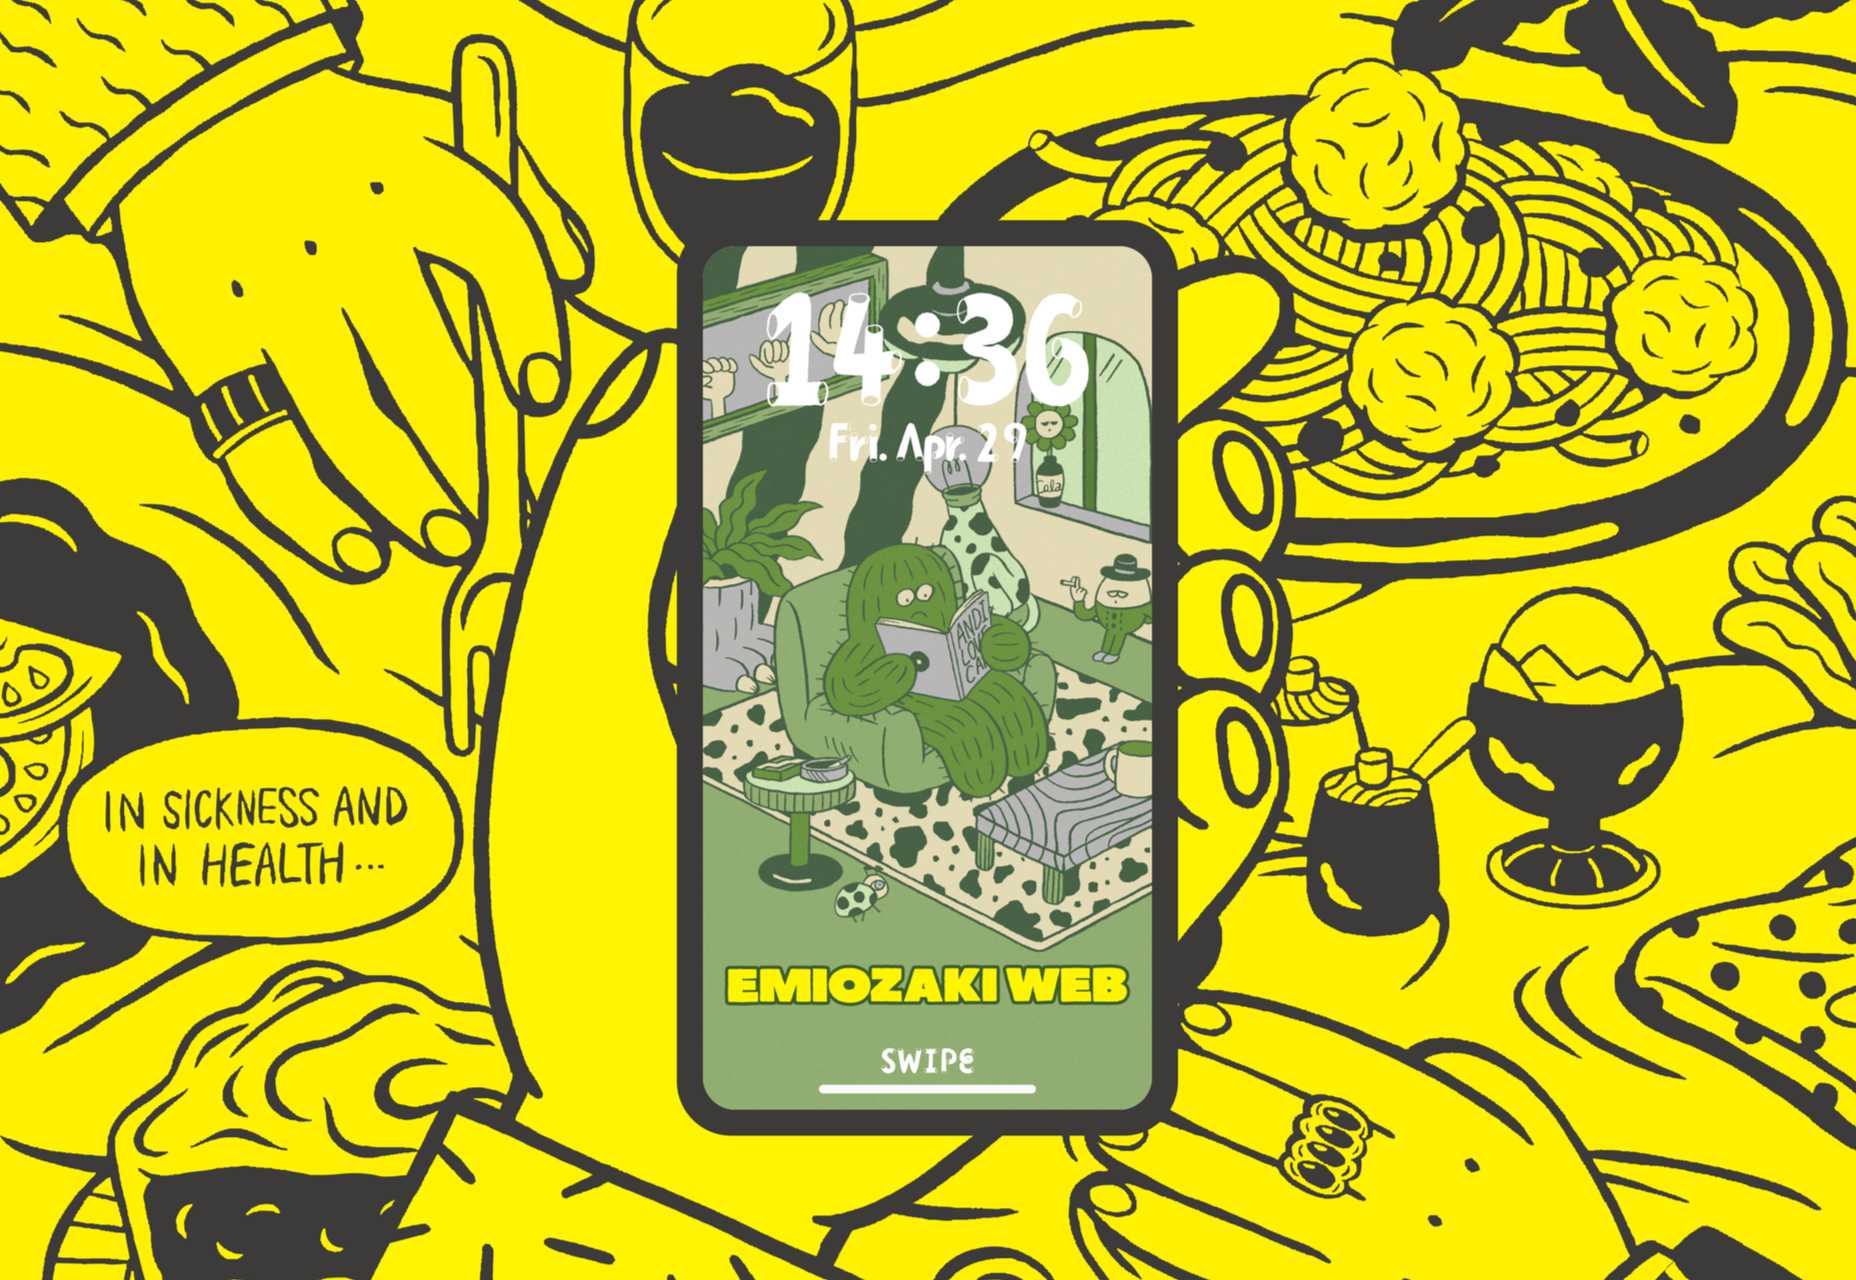
Just take a quick look at the Emiozaki Web site. It includes personalized illustrations and animation created in the form of a tablet that substitutes the navigation menu:

This website reflects the brand’s tone and style, and animation adds emotion to UX. Apart from that, it’s also an excellent example of structuring a website. 

Or, if you would like an example of a less loaded design, take a look at this personal portfolio by Victoire Douy. It also includes animations that add interactivity to the design. For instance, you can play with the shadow of the girl’s hand:

So, if you want your website to attract more customers and encourage them to hang out for longer, take the creative approach. Hiring an illustrator is, of course, costly, but it will help your site stand out. 

Wrapping Up

As you can see, you’ll have to put in a lot of work to bring forward website design that increases online customer retention. You just have to employ our three best practices. Let’s quickly recap them:

  • Rethink your website structure; it should make the navigation easier. 
  • Consider making your site multilingual; you’ll retain more international visitors. 
  • Invest in custom illustrations to help consumers differentiate your brand from your competitors. 

Source

The post 3 Quick Tricks to Boost Customer Retention first appeared on Webdesigner Depot.

Source de l’article sur Webdesignerdepot

Todoist is a to-do list app that 25 million people rely on every day to keep their lives organized. As part of the Doist design team’s goals for 2021, we aimed to redesign the Todoist Android app to take advantage of the latest Google Material Design guidelines.

In this post, we cover the design decisions and processes behind redesigning the Todoist Android app for Material Design. We explore the Design and Android team’s collaboration practices that brought the app update to life, which resulted in winning the Material Design Award 2021 in the large screen category. Let’s get started!

Opportunity

When we started the project, our design implementation on Android was ready for a major overhaul. The last milestone redesign on Android was initiated after the release of the first Material Design guidelines in 2016. Since then the team successfully worked on continuous improvements to the Android app, but we saw the opportunity to improve Todoist on Android on a more holistic level.

We set out to clean up instances of older UI components, colors, and text styles and update them with the latest Material Design components. We observed that some interactions and navigational patterns had become inconsistent with what users were expecting on newer Android devices and were eager to modernize this experience. With new hardware and software changes in mind, we set out to make the experience on larger phones and tablets even better, so Todoist could take full advantage of the latest generation of devices. Material 2 and 3 provided an incredible new framework to rethink the current app experience. With this in mind, we set out to challenge what a modern Android app should look like and innovate on top of the default user experience.

Solution

The team set itself the goal of redesigning our Todoist Android app and aspiring to make it the best-designed productivity app on Android. The project was ambitious and scheduled to take several months to complete. We set ourselves the following targets while working on the project:

  • Review the current implementation and older design specs.
  • Study the latest Material Design Guidelines and assess what is relevant for our project.
  • Research great Material Design apps and case studies and learn from their execution.
  • Define the new Todoist Android app design language and document the changes.
  • Design and development work together to assess the proposed solution and implementation.
  • Test an early version of the new app internally to gather feedback and make adjustments.
  • Invite beta testers to the new app to gather feedback and make adjustments.
  • Refine the app and address core issues before launching to the public.

Review

The project was kicked off by reviewing the current Todoist Android app implementation, noting down what areas needed to be fixed and what was up to date. While reviewing, we took screenshots of the app implementation for reference. This way we could easily see the current state of the app and compare it to the new design proposals that would be created. Once the review process was finalized, we had a comprehensive overview of the current state of the app and the layout, component, and styling changes we wanted to make.

Study

We continued the project by studying the latest Material Design Guidelines, assessing the components and practices that were most relevant to Todoist.

When the project kicked off in February 2021, Material 2 was the most recent version of their design system. Since Material 2 had already been released for quite some time, we anticipated that design changes to Material would be announced soon at the Google I/O event in May 2021. Rather than wait, because we expected the changes to be iterative, we pushed ahead with our work.

We identified 25 components and UI patterns that we wanted to change across the app. The changes included buttons, forms, menus, sheets, navigation drawer, app bar, system bars, text and color styles, and more. We started by creating a table view in a Dropbox Paper document with the component changes and references links to Google’s Material Design Guidelines.

This components list was a starting point for discussion to plan the scope and complexity of the changes. Close async discussions between the design and development team in Twist and Dropbox Paper comments helped us make decisions about scope and complexity early on and set a solid foundation for the project.

Research

In the initial Material Design study, we also researched inspiring Material Design apps, Material studies, Play Store apps, and Google Workspace apps to learn from their execution.

We started out by studying the Material Design Award Winners 2020 and tested out the products that were showcased. The showcased winners struck a good balance between implementing the Material Design Guidelines while maintaining their own product’s brand within the system. This balance between Google’s guidelines and the Todoist brand was also key for us to get right and so we strived to find this mix across the work we created and implemented in the project.

Along with the MDA winners, we researched the Material Studies that Google produced to showcase what apps could look like with branding and Material Design guidelines applied. It was a great reference to see how far components could be customized while maintaining the core platform principles. The Reply case study in particular offered valuable insight to us as its content type and layout came closest to Todoist. It showcased how components like the app bar, navigation drawer, and large screen layouts worked while being customized.

We continued our research by searching the Google Play store for inspiring app examples. Google Tasks, Press, Periodic Table, and Kayak stood out to us as the level of polish and quality of the apps were on par with the experience we were aspiring to create.

Sometime later in the project when Material You was released (more on that later), we stumbled upon the Google Workspace apps blog post which previewed Material 3 changes that Google was introducing to their own products. It offered a great glimpse at what was to come before the Material 3 Design Guidelines were officially released. This post sparked new internal discussions and further design explorations that we considered for future Todoist Android updates.

Design Spec

As we started to define the new Todoist Android app design language and document the changes, we opted to create a design framework, focusing on creating components rather than designing every screen in the app. This allowed us to consistently apply the design system in the app. We did so by using the previously defined component list that we created during the review and study process.

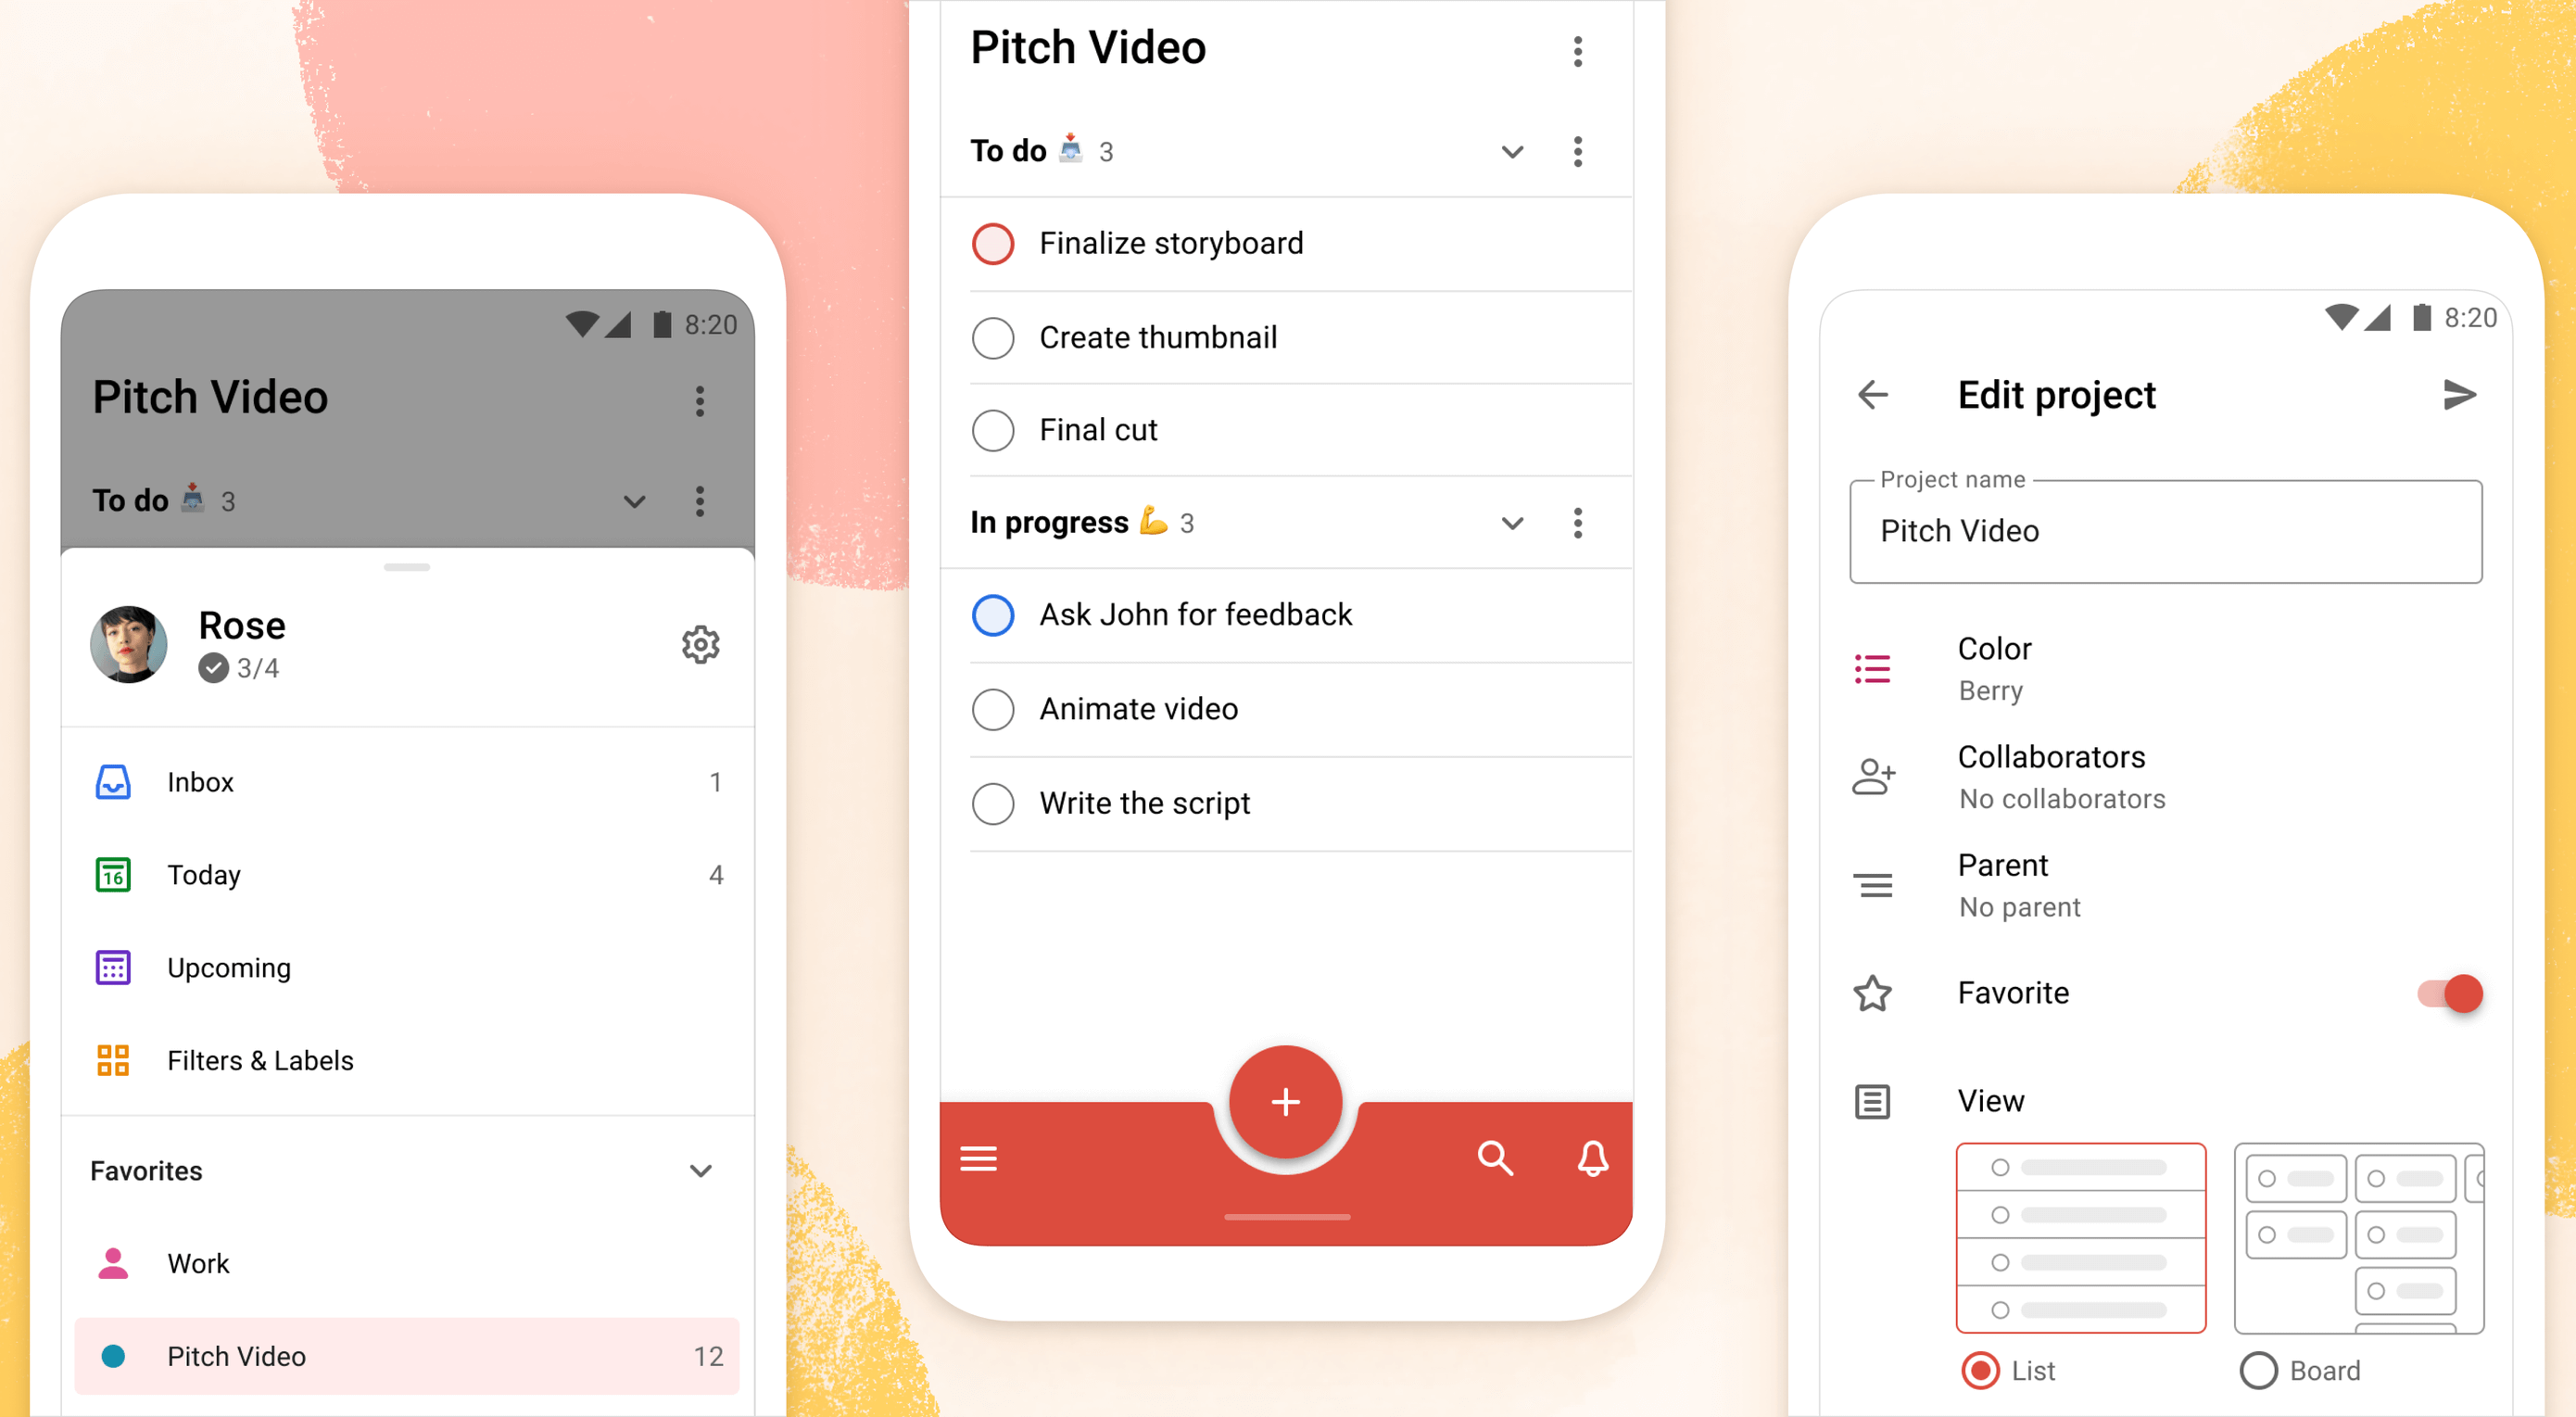
Core screens from different areas of the app were chosen to demonstrate how the components could be applied. We chose to mock up the Todoist project view, navigation drawer menu, project view edit screen, settings, and project detail view, among others. These screens gave us a good overview of how buttons, forms, drawers, lists, and other components would work together and in different states; selected, pressed, disabled, etc.

During the project, we were transitioning our Doist design system to Figma and started creating our first components in the new Doist Product Android Library. We started by using some components from the Material Design UI kit – Components library from the official Google Figma resource file and added them to our Doist design system. We then continued to build up the Product Android Library file with our Todoist-specific components such as task list & board views, detail views, sheets, colors, typography, etc.

We continued by documenting color and typography changes that were based on the Material Design guidelines. The design team opted to implement a new Design Token framework that would share the same values between our design system and the development implementation. The development team would output the values they had in the current implementation and the design team would analyze which values were needed and which could be merged, changed, or deleted. This informed the new Design Token color and typography system which we then documented and discussed with the team to implement. Later in the project, we were happy to see a similar token system introduced by Material 3 in the latest guidelines which validated our thinking and principles behind the new design system.

The design documentation expanded to hold other edge-case mockups that could sit alongside the design system. We documented different responsive screen experiences between phones and tablets against the previous implementation. Additional sections were created to document the motion that should be used for certain components and screens by referencing existing Material Design guidelines examples or prototyping custom motion in Principle and After Effects. The design spec also touched on haptic feedback that should appear on touch targets, how dark mode should work across the new components, documenting Todoist themes within the new design language, and more.

Design Implementation

At Doist, the benefit of the squad is that cross-team collaboration is built into the make-up of the team. Designers, developers, support, and product managers work together in a squad to deliver the project. This close collaboration from the start is key to bridging the gap between scope, estimations, design, development, and delivery. The squad discussed their findings on a daily basis and came up with the best plan of action together.

Designers started by creating components in Figma and shared them with developers in Dropbox Paper. We used screenshots to document the current implementation next to the new designs and linked to the default Google Material Design components. This allowed the team to compare all references in one place. Developers shared their feedback, adjustments would be brainstormed together as the designs were iterated.

Designers on the project would share their work in progress on a weekly basis with the rest of the design team in a design review Twist thread. Here details about the designs were discussed, alternatives mocked up and bigger picture plans made. Design reviews brought up topics like FAB (Floating Action Button) placement, theme options, accent color usage on components, consistency with other platforms, navigation options, and shadow elevation. After thorough discussions and alternative mockups were presented, the design team aimed to find the right balance between Material Design and Todoist brand guidelines. The development team, also part of the design reviews, gave their feedback on the solution and raised technical complexities early on.

Eventually, the design was stabilized and consistencies updated across components and mockups. The design spec was kept up to date so the development team could always review the latest designs in Figma.

Testing

As soon as the development process started, the Android team provided early screenshots and videos in Twist threads while they were implementing the design spec. This practice allowed us to review the app implementation early and often. Designers could review the development work and share feedback in Twist, which resulted in getting the implementation to a high quality. Alongside Twist discussions, the team set up a Todoist project to track ongoing issues and fix bugs. Designers logged new issues, developers would solve them and share the new implementation for designers to review.

When the team had the first stable version of the Android app, we shared it internally at Doist to get more insight and feedback. Other Doisters could access the redesign via a feature flag that could be turned on in the app settings and test the new version for however long they wanted. The feature flag system allowed people to give us early feedback on the design decisions we made and report bugs. Feedback was submitted by the wider team through a dedicated Twist thread and designers and developers could discuss how best to address the feedback during the active project implementation.

After we refined the app implementation further and addressed early feedback we opened up the app update to our beta users. Here users had access to the new Android redesign and were able to give us feedback. Our support team gathered feedback and shared it with us in a dedicated Twist thread. The squad aimed to analyze every comment and looked for patterns where we could make tweaks and improvements to the user experience.

As part of these tweaks, we made changes to how the bottom bar and navigation drawer worked. Some users reported frustrations with the way the new bottom navigation and menu drawer worked. In its first implementation, the drawer was half raised when opened and had to be swiped up to be raised again to see the full content list. This was an issue for some users as it was slower to get to the content below the list. So we decided to fully raise the drawer by default when opening. We also made it easier to open the navigation drawer by sliding up from the bottom app bar. This was a small shortcut but it enabled users to get to their content faster.

Material You

While we were in the testing phase and about to wrap up the project, Google unveiled Material You, and sometime later the Material 3 Guidelines were published. With the newly announced resources, we went back to study the latest guidelines and references we could find to see where the Todoist Android app redesign fits in and which adjustments we might need to make now or in the future.

Dynamic Color was a big new feature that was announced as part of the Material You update. As Todoist supports many different themes the Material You Dynamic Color feature seemed like a good fit for our product. We decided to prioritize this feature and implement Dynamic Color light and dark themes as part of our Todoist theme settings options.

To implement Dynamic Color, the development team started off by creating a demo prototype that utilized the Dynamic Color system and showcased how we could select from a range of color choices that the system defined based on the wallpaper choice. From there, we tried to incorporate system behavior in our design mockups. We designed a range of different color mockups and components to see which ones could fit with which components. We then came up with a color system that worked for the Todoist app and the new themes. These new Dynamic Color themes would sit alongside our current theme options in the Todoist app settings. From here users could choose between Dynamic Color Light and Dark themes.

Along with Dynamic Color, the team also created a customizable bottom app bar, allowing users to set up the app in a way that’s most convenient to their workflow. The location of the Dynamic Add Button can be changed to the center, left, or right corner of the screen. The order of the Menu, Search, and Notification buttons can be rearranged to best fit the ergonomics of the user’s dominant (left or right) hand and optimize their navigation patterns.

Launch

As critical beta feedback was addressed and stability tweaks were made, the squad felt ready to release the new Todoist Android app to the public. The team logged the issues that could not immediately be addressed for future reviews and updates.

The design and marketing team readied the launch by creating What’s New banner artwork and copy that are displayed within the app when launching the update. The Doist marketing team also created release notes and shared the app update announcements on our social channels. The brand and product design team worked together to create custom image assets and copy that summarised the project work in a simple and beautiful way.

What’s Next: Material 3

After a successful launch of the redesigned Todoist for Android app, Google contacted Doist to announce that Todoist was selected as the Material Design Award 2021 winner in the Large Screen category. The team was excited to be recognized for their hard work and it felt like we achieved the goal we had set out to accomplish.

Internally, designers and developers continued to study and discuss the Material 3 updates. The design team started exploring mockups and design changes inspired by Material 3 and Google’s Workspace app updates. Some of our current Todoist explorations include changing the FAB styling, updating the app bar, further removing elevation shadows, and more. Here is a preview of what a future Todoist update could look like.

We hope these insights into Doist’s design process and collaboration practices have sparked your interest. Thank you for reading and stay tuned for future design updates!

Takeaways

  • Study the Material guidelines, Material Design winners, Material studies, and Google Workspace apps to make informed design decisions when designing your next product or app update.
  • Evaluate which Material Design components and practices are right for you and implement them into your product.
  • Carefully balance the Material Design guidelines with your brand guidelines to create a unique and consistent experience between your product and the platform it lives on.
  • Collaborate with your Android developers early and often to ship app updates efficiently and increase the design implementation quality.
  • Use design components and build a design system along with practical mockups to create an efficient design spec.
  • Consider how the latest Android features fit into your product and which have the most impact on your users before deciding to implement them.
  • Test and review builds with your internal team and external beta users to get valuable feedback and make adjustments before releasing them to the public.
  • Create announcement artwork to showcase your latest app or feature update along with a clear description to share in-app and on social media.

Source

The post Case Study: Redesigning Todoist for Android first appeared on Webdesigner Depot.

Source de l’article sur Webdesignerdepot

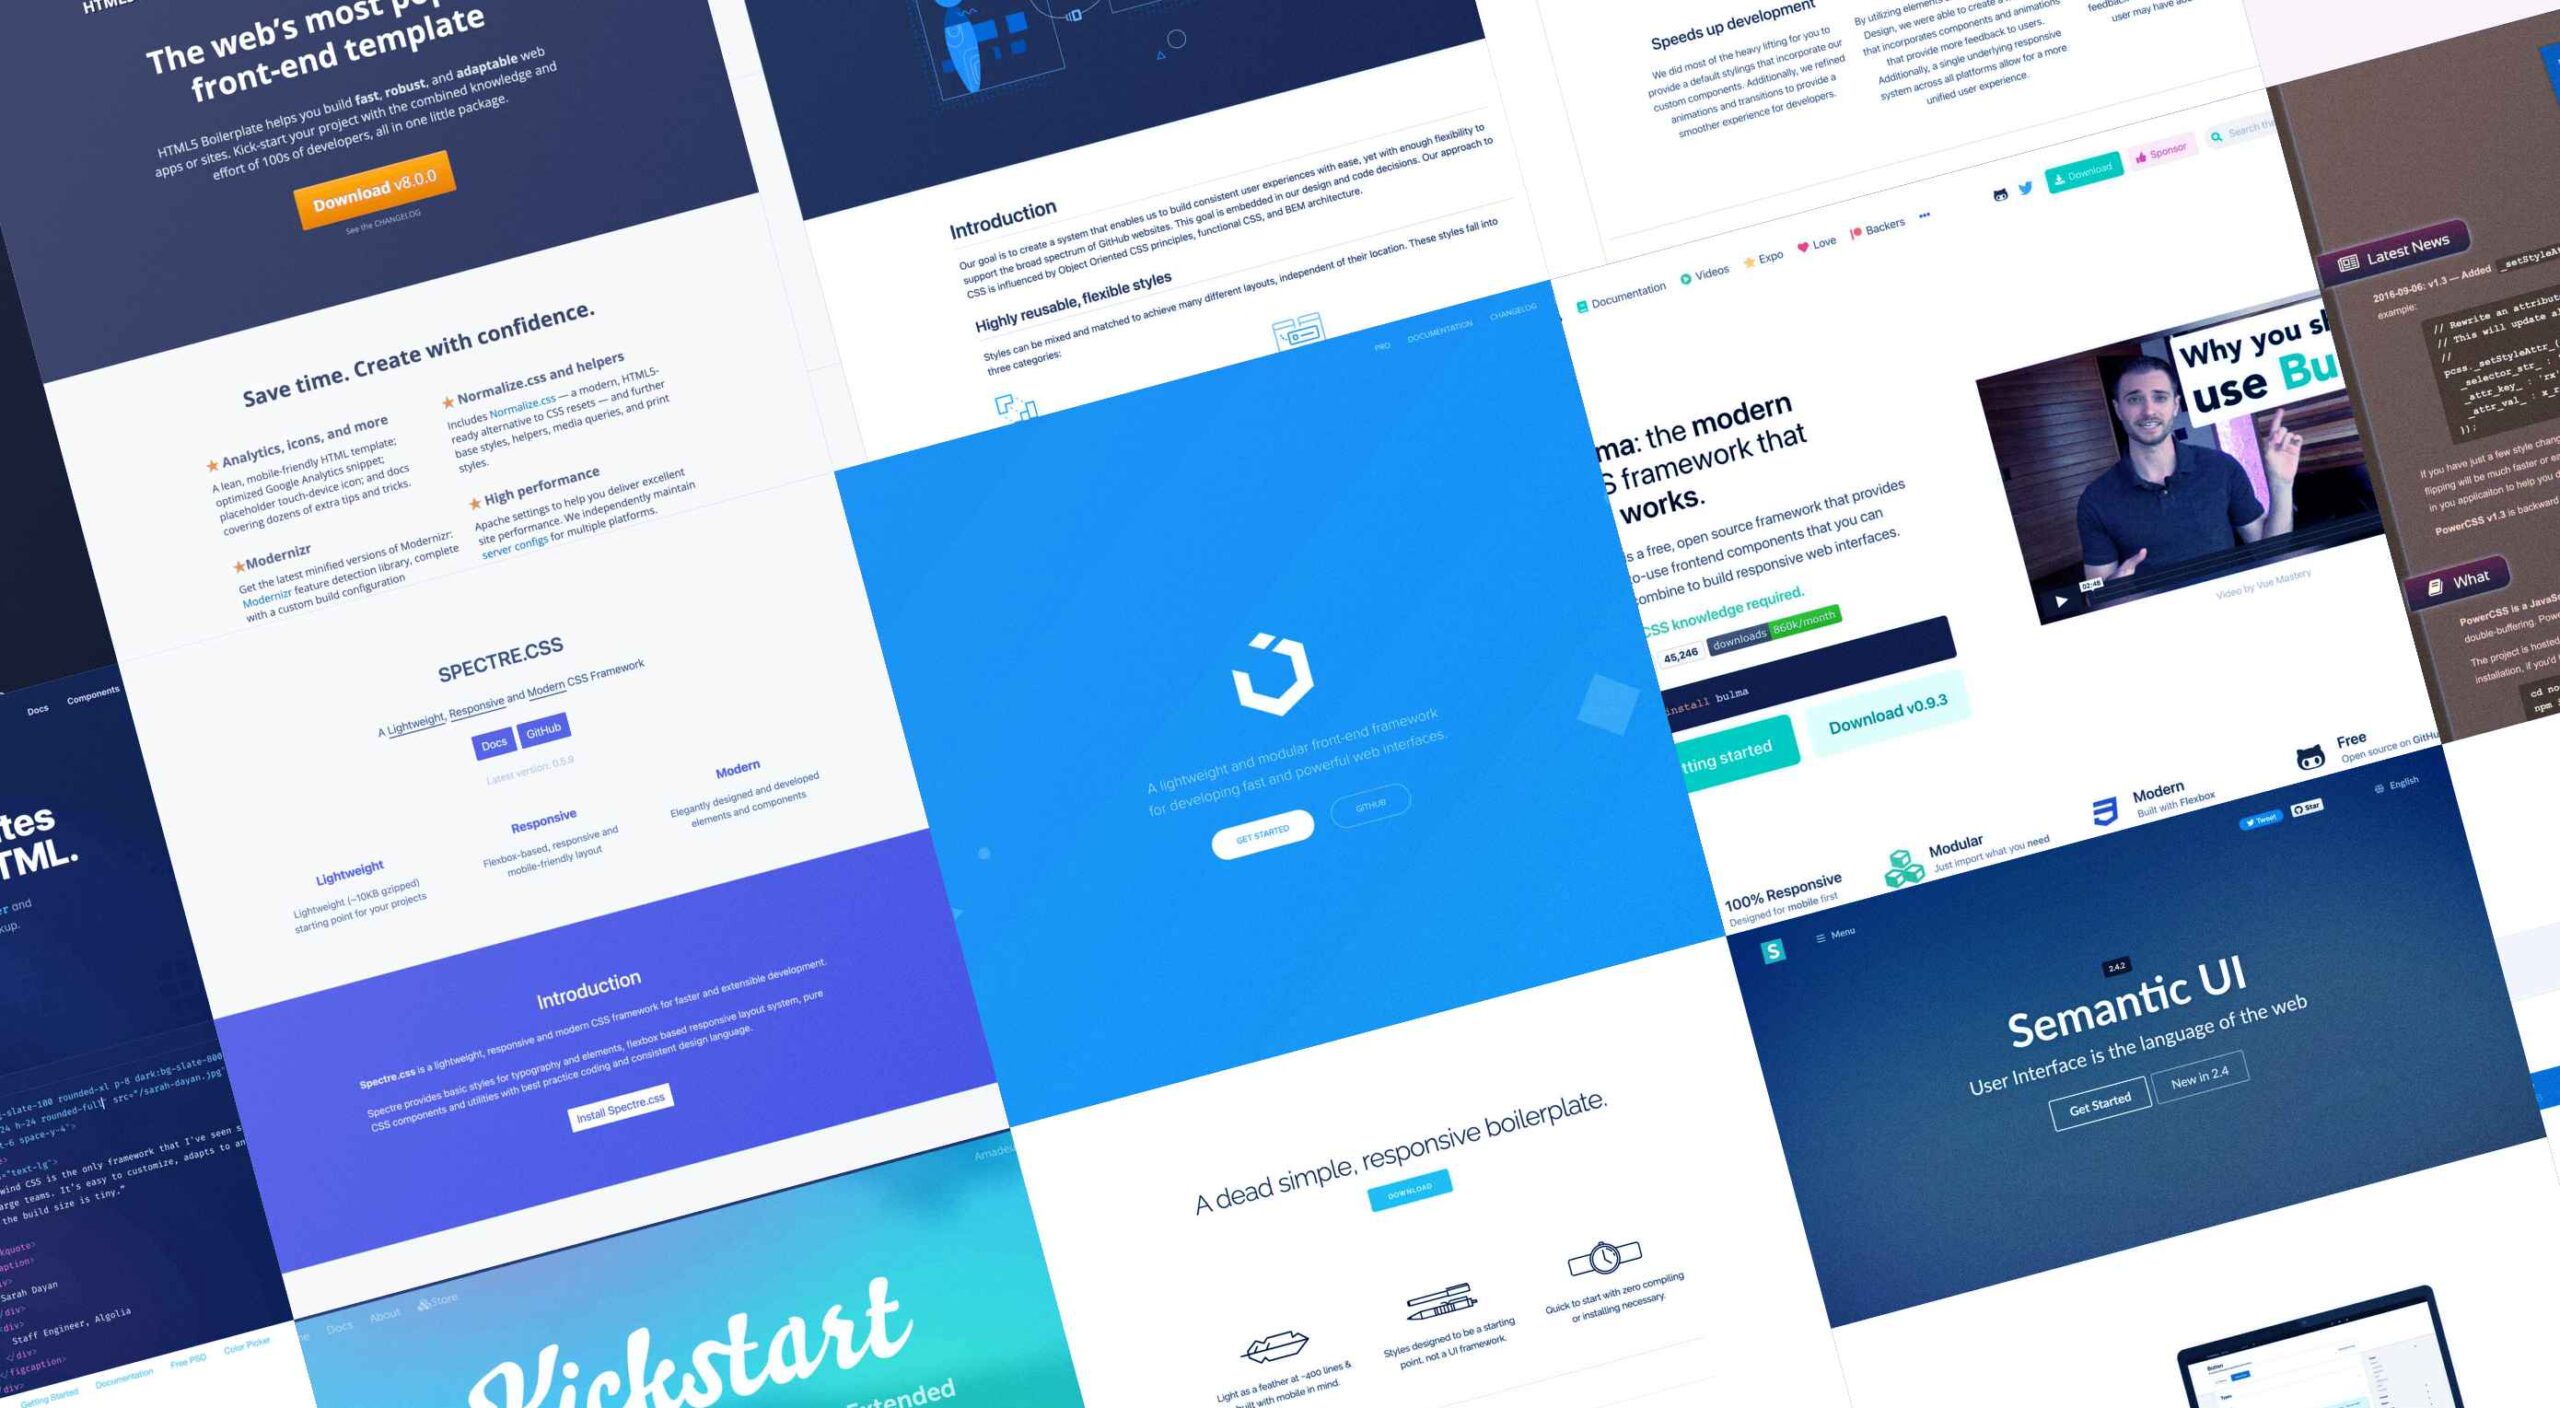
Whether you are a CSS expert or a front-end beginner, using the right CSS framework is crucial for your daily tasks. There are numerous frameworks whose ultimate goal is the same: helping developers target multiple screens, in the simplest possible way.

This is why Bootstrap is by far the most popular framework on the market. All developers have heard of Bootstrap, and more than 80% of them say they are happy using it.

But that doesn’t mean that there aren’t some great alternatives if you’re willing to shop around. Bootstrap won’t be top dog forever, and there are numerous new lightweight and powerful CSS frameworks.

If you are bored of coding with Bootstrap and Foundation and tired of using complex CSS rules, this list is for you. 

From frameworks that take a pure CSS approach to minimalist frameworks with fully customizable themes, nothing is left out. Let’s get started…

1. Bulma

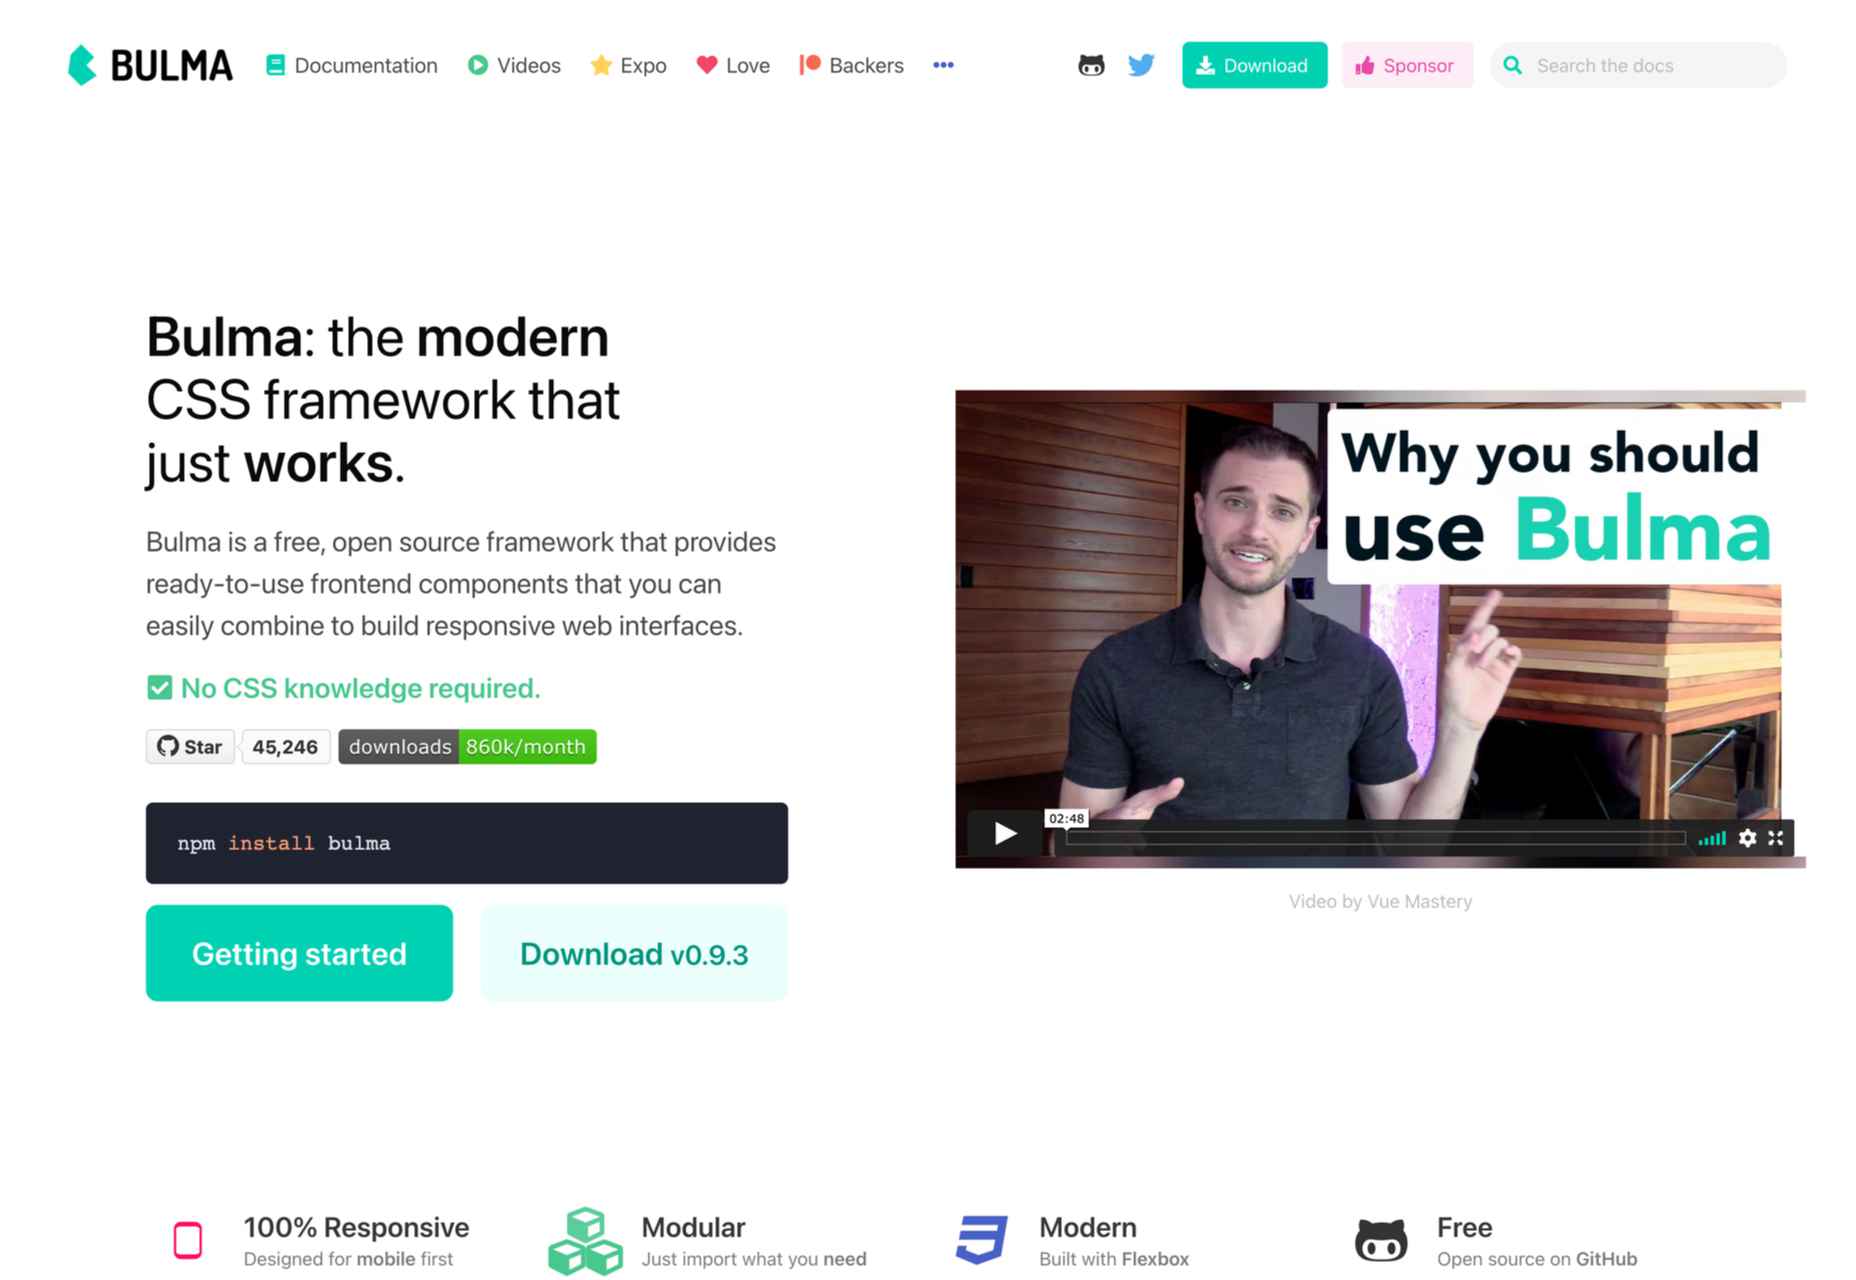
Bulma is one of the most popular alternatives to Bootstrap and Foundation. It is an entirely free, open-source CSS framework that does not have a steep learning curve. No prior CSS knowledge is required to use Bulma.

When you add the variety of colors, responsiveness, and clean flexbox-based grid it offers, it’s no wonder Bulma is becoming more popular every day. Bulma is a well-documented framework that you should definitely try out.

2. UIkit

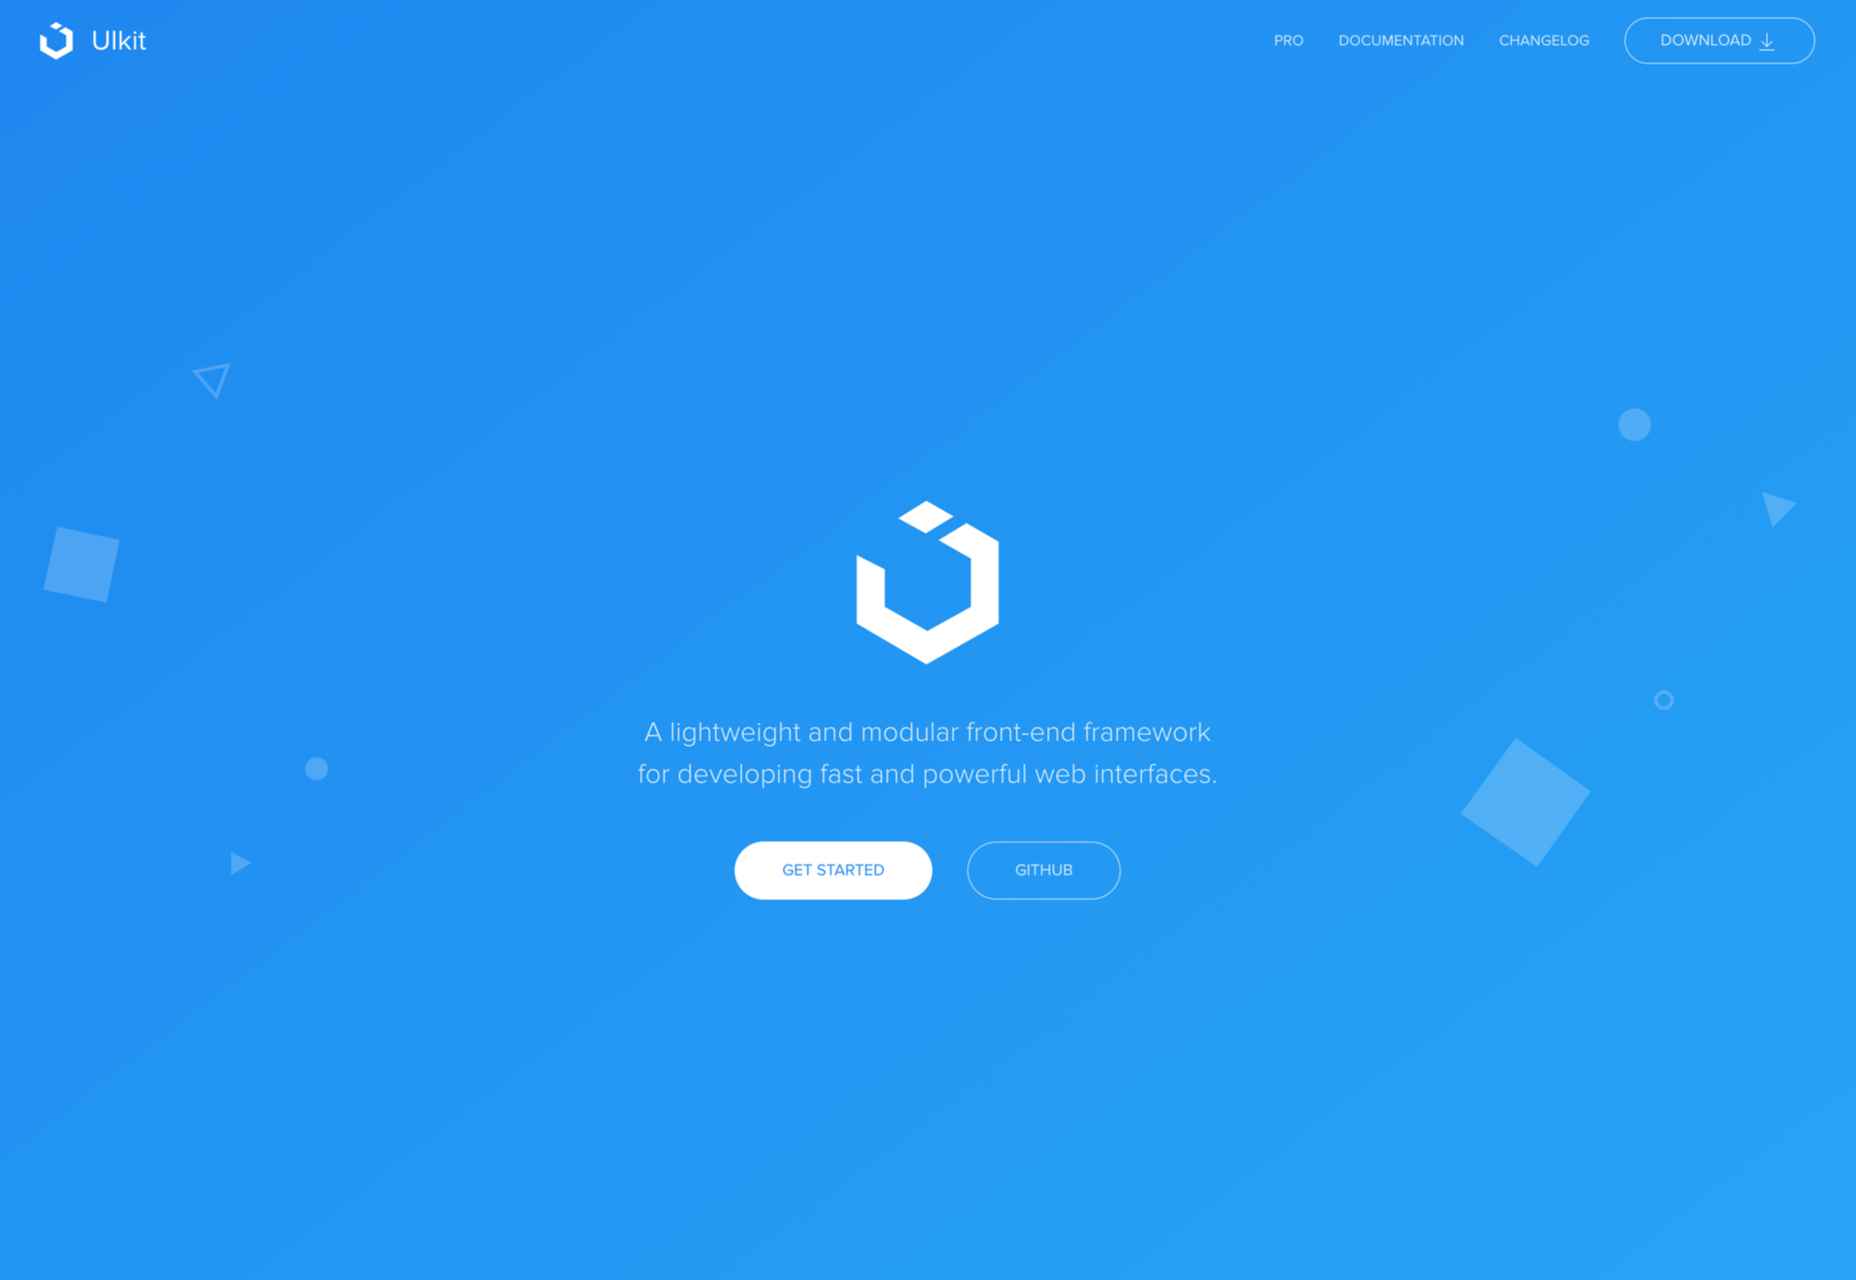
If you’re looking for a lightweight yet powerful CSS framework that can be wired with HTML and JS, Ulkit is for you. It fully supports right to left languages and has one of the best icon libraries out there.

Keep in mind that Ulkit is also easy to use. All in all, Ulkit is an excellent Bootstrap alternative that is perfect for designing web layouts for desktop and mobile screens.

3. HTML5 Boilerplate

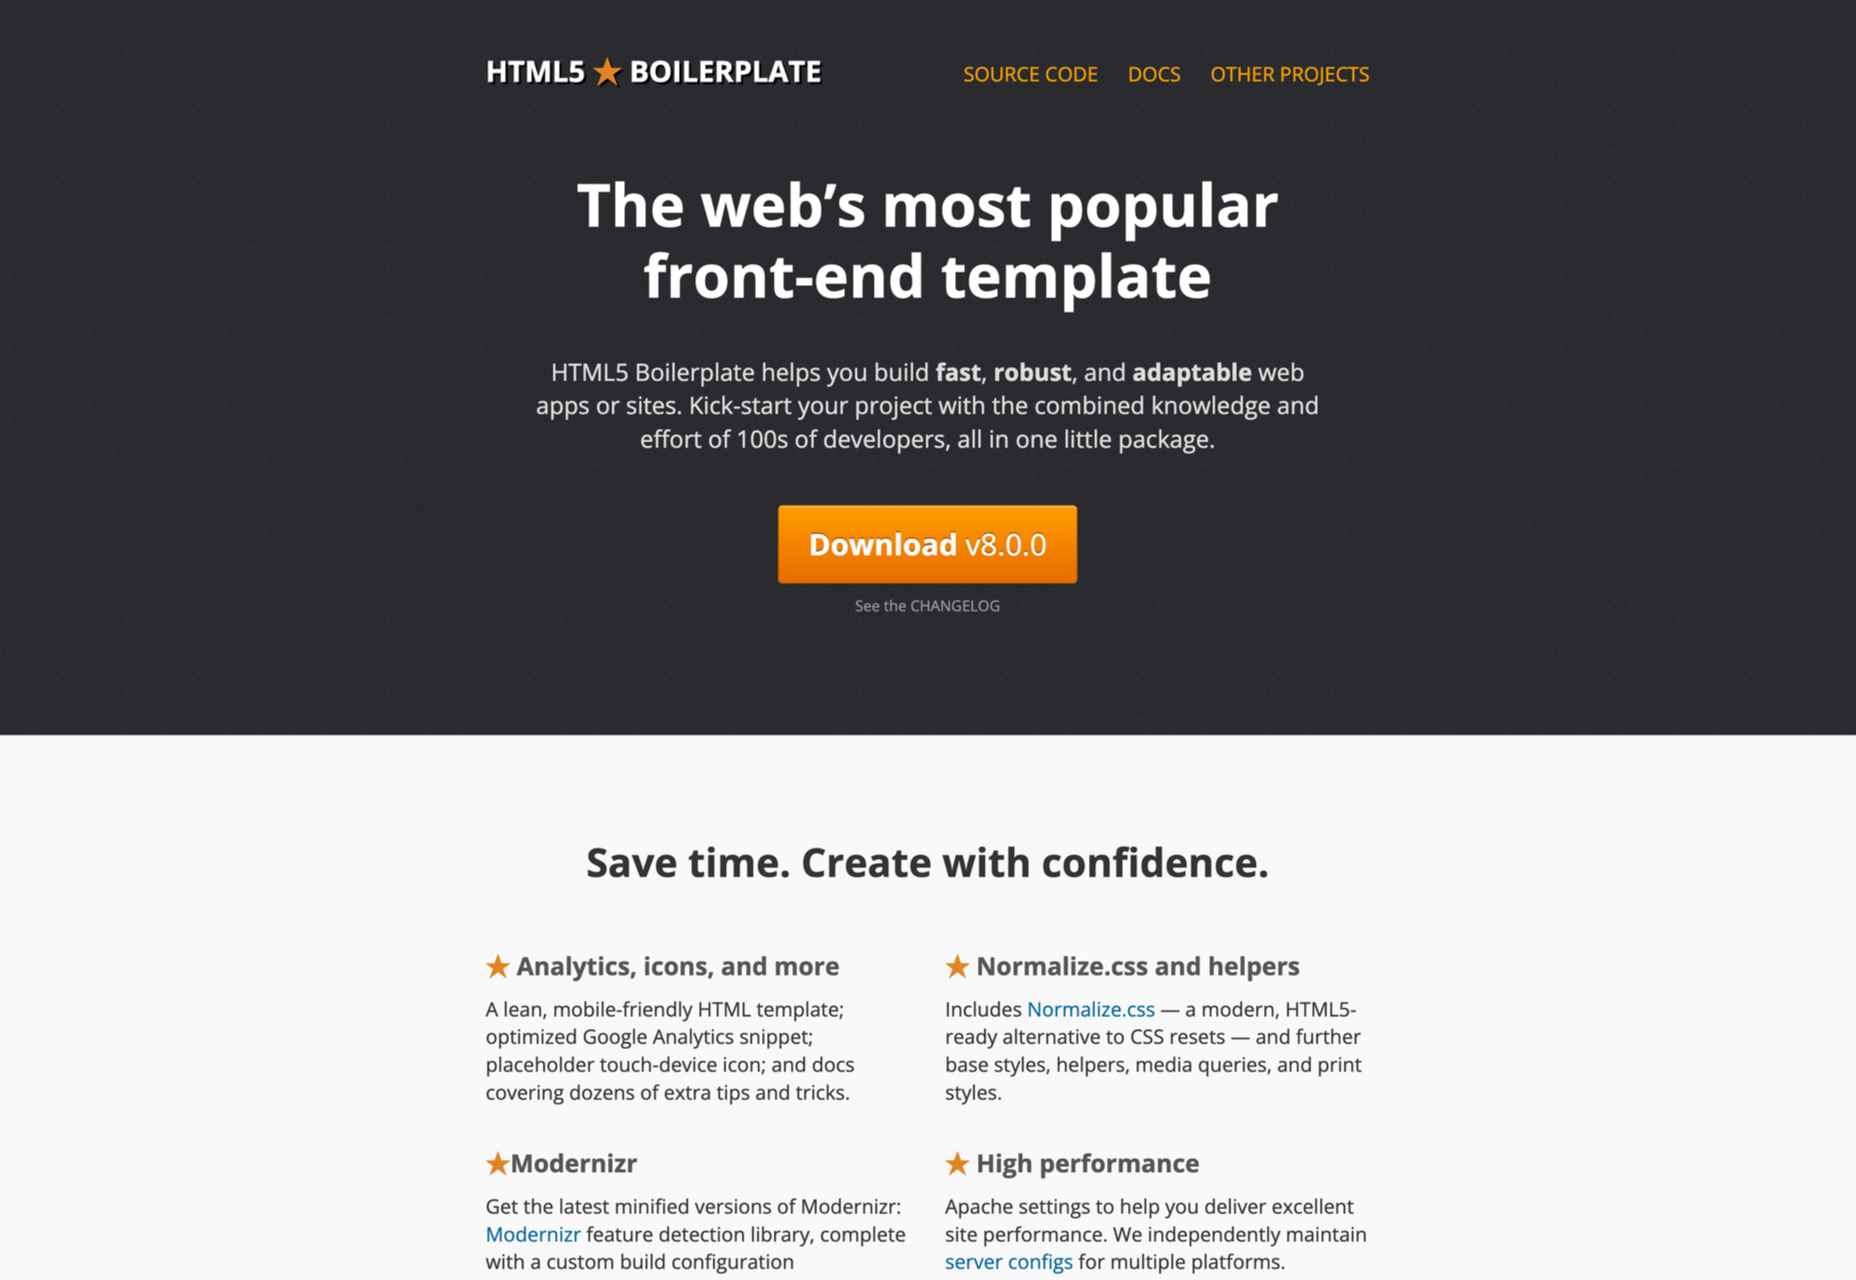
Even though Bootstrap is relatively easy to learn, it is much more than just a front-end template. So what if you need a fully compatible JavaScript, CSS3, and HTML5 template? In this case, HTML5 Boilerplate is a good choice.

Of course, since it’s a template, this framework does not include layouts and component modules. However, if you need a reliable CSS template that offers extensive documentation, HTML5 Boilerplate is a great solution.

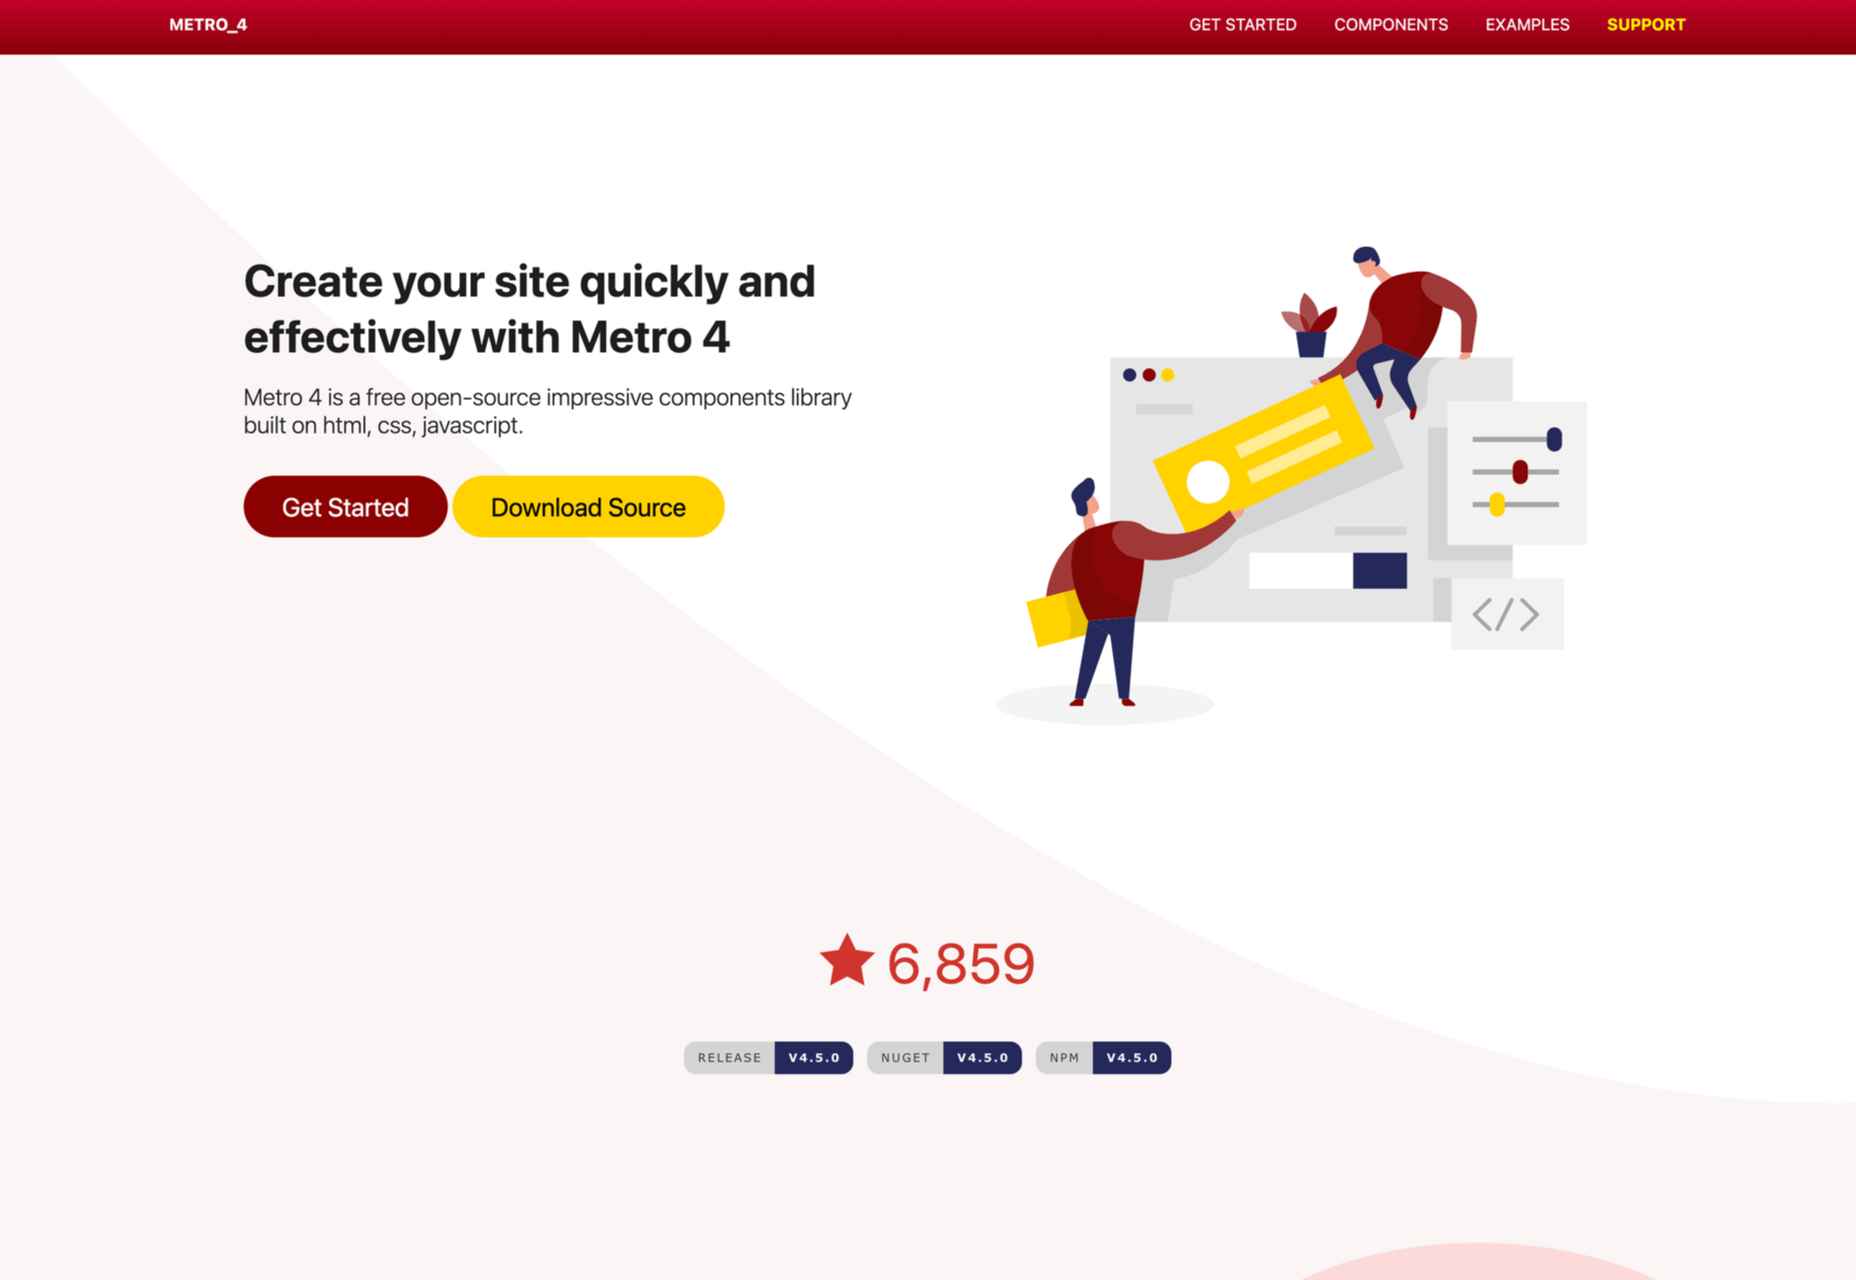
4. Metro UI

Metro UI is one of the most flexible CSS frameworks on the market. This front-end framework can be easily combined with JavaScript-based frameworks like Angular, React, etc.

We found Metro UI to be an excellent open-source CSS framework and a great alternative to Foundation during our testing.

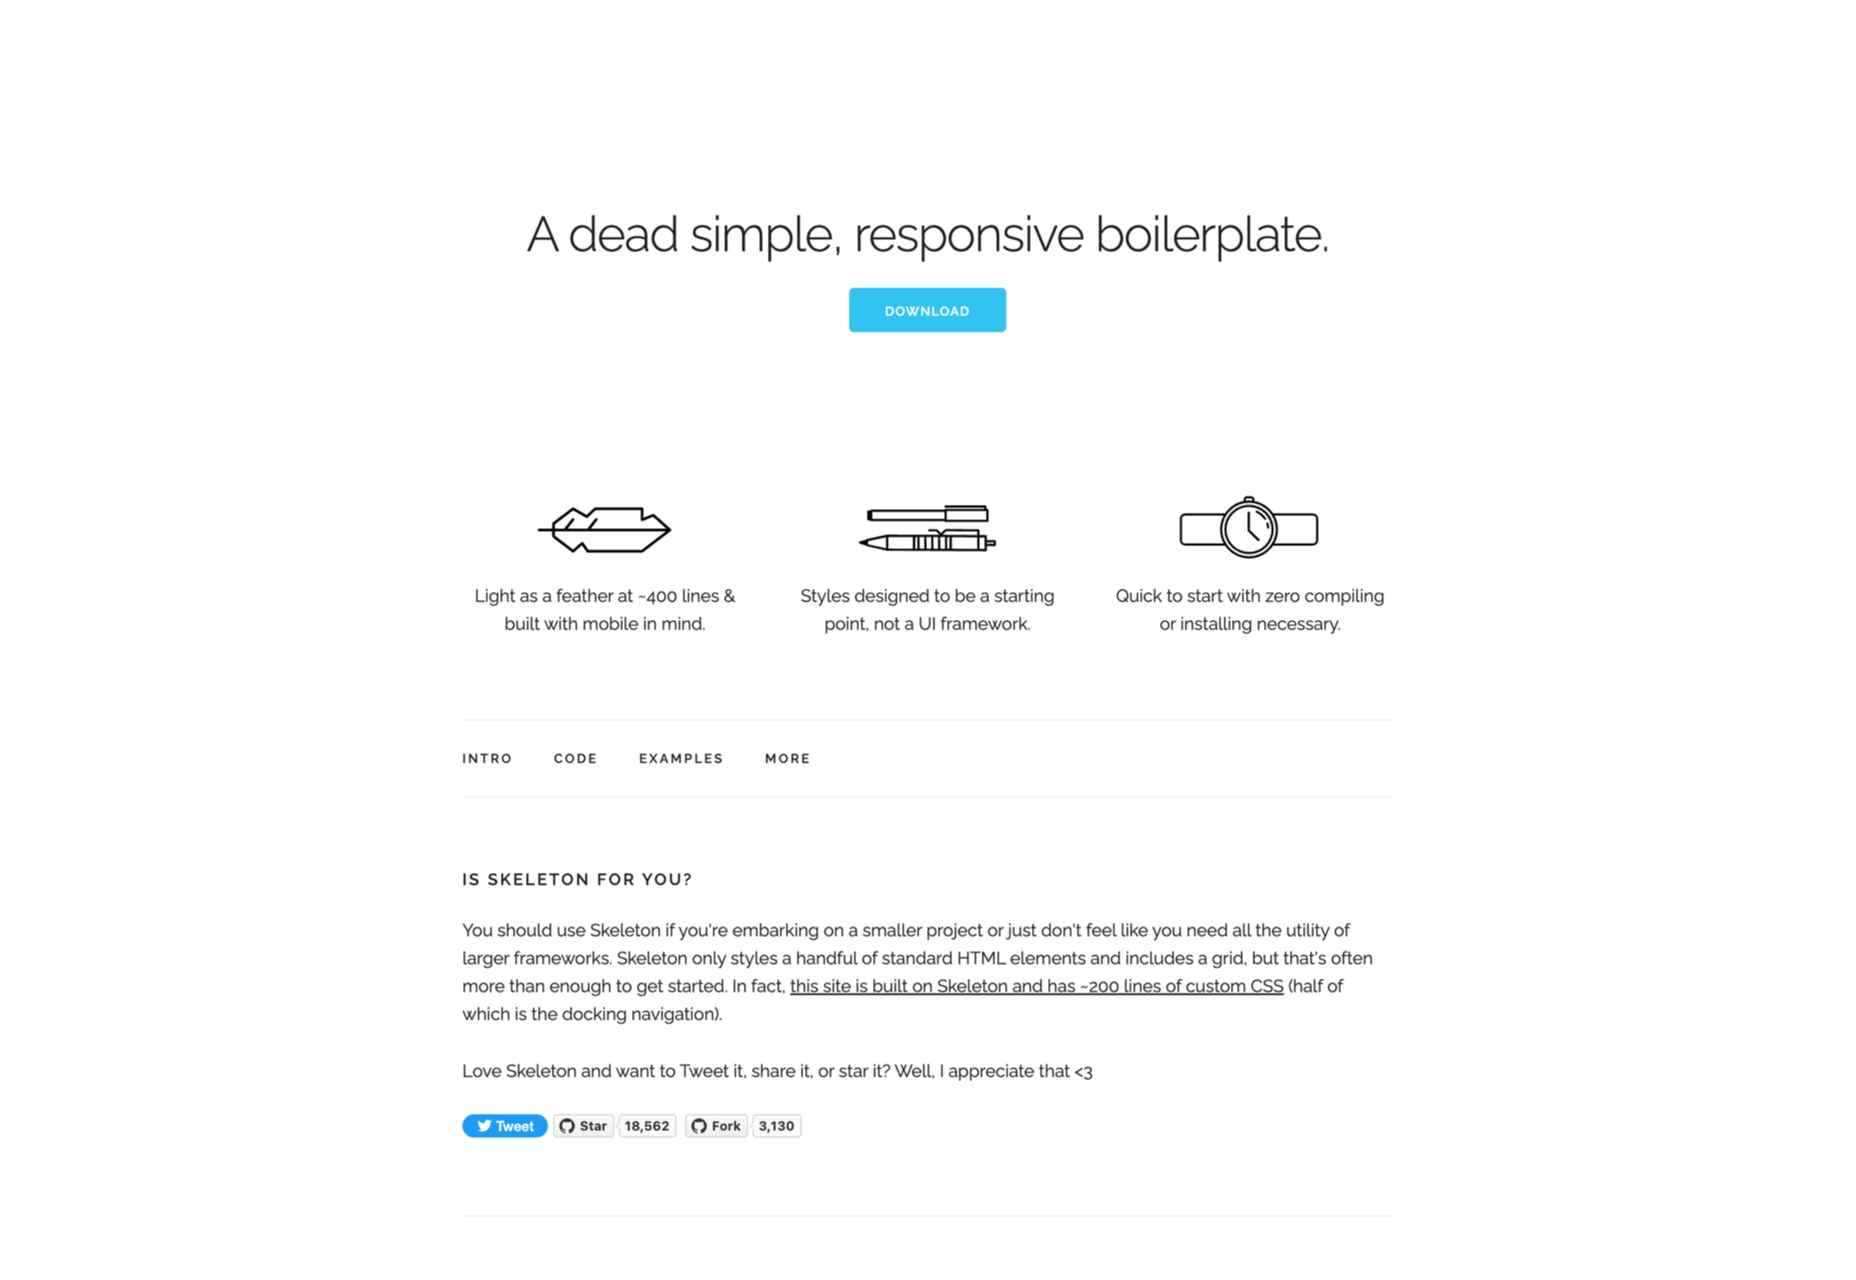
5. Skeleton

As a two-in-one solution, Skeleton quickly made it on our list. This is both a boilerplate and a comprehensive CSS framework. We enjoyed customizing its 12-column grid during our testing, and we found out that it has virtually no learning curve. 

The automatic width resizing works like a charm, and the syntax is fully responsive. This is why we consider Skeleton to be an excellent Bootstrap alternative.

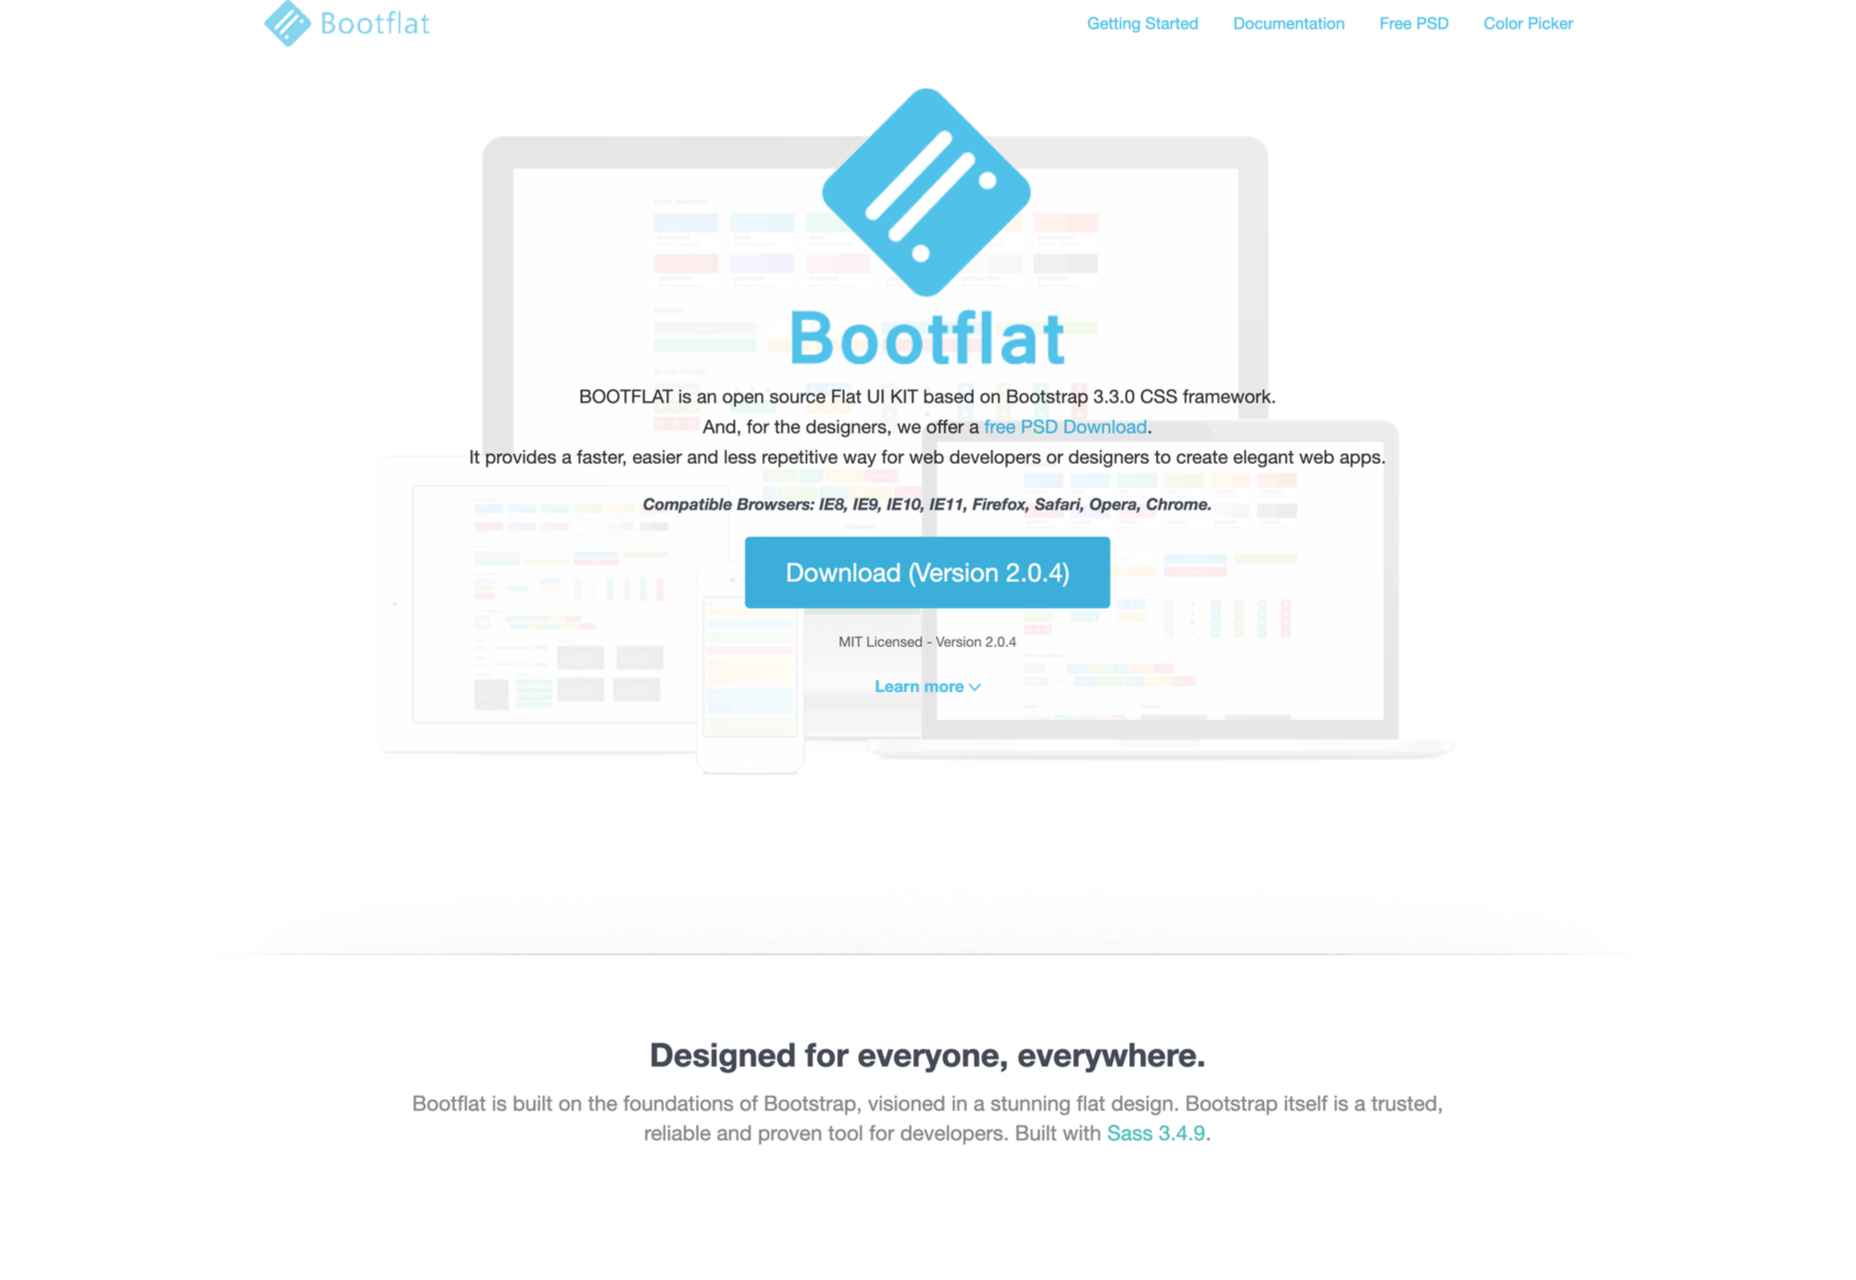
6. Bootflat

If you are looking for a quick way to create a web app, Bootflat is the framework you need. Bootflat’s components are built with CSS3 and HTML5, and the framework offers a comprehensive panel of color schemes for you to choose from. 

Bootflat looks and acts like a simplified version of Bootstrap. However, that doesn’t mean that this CSS framework isn’t scalable and robust. On the contrary, you can fully manipulate the size and performance of the web designs you create. 

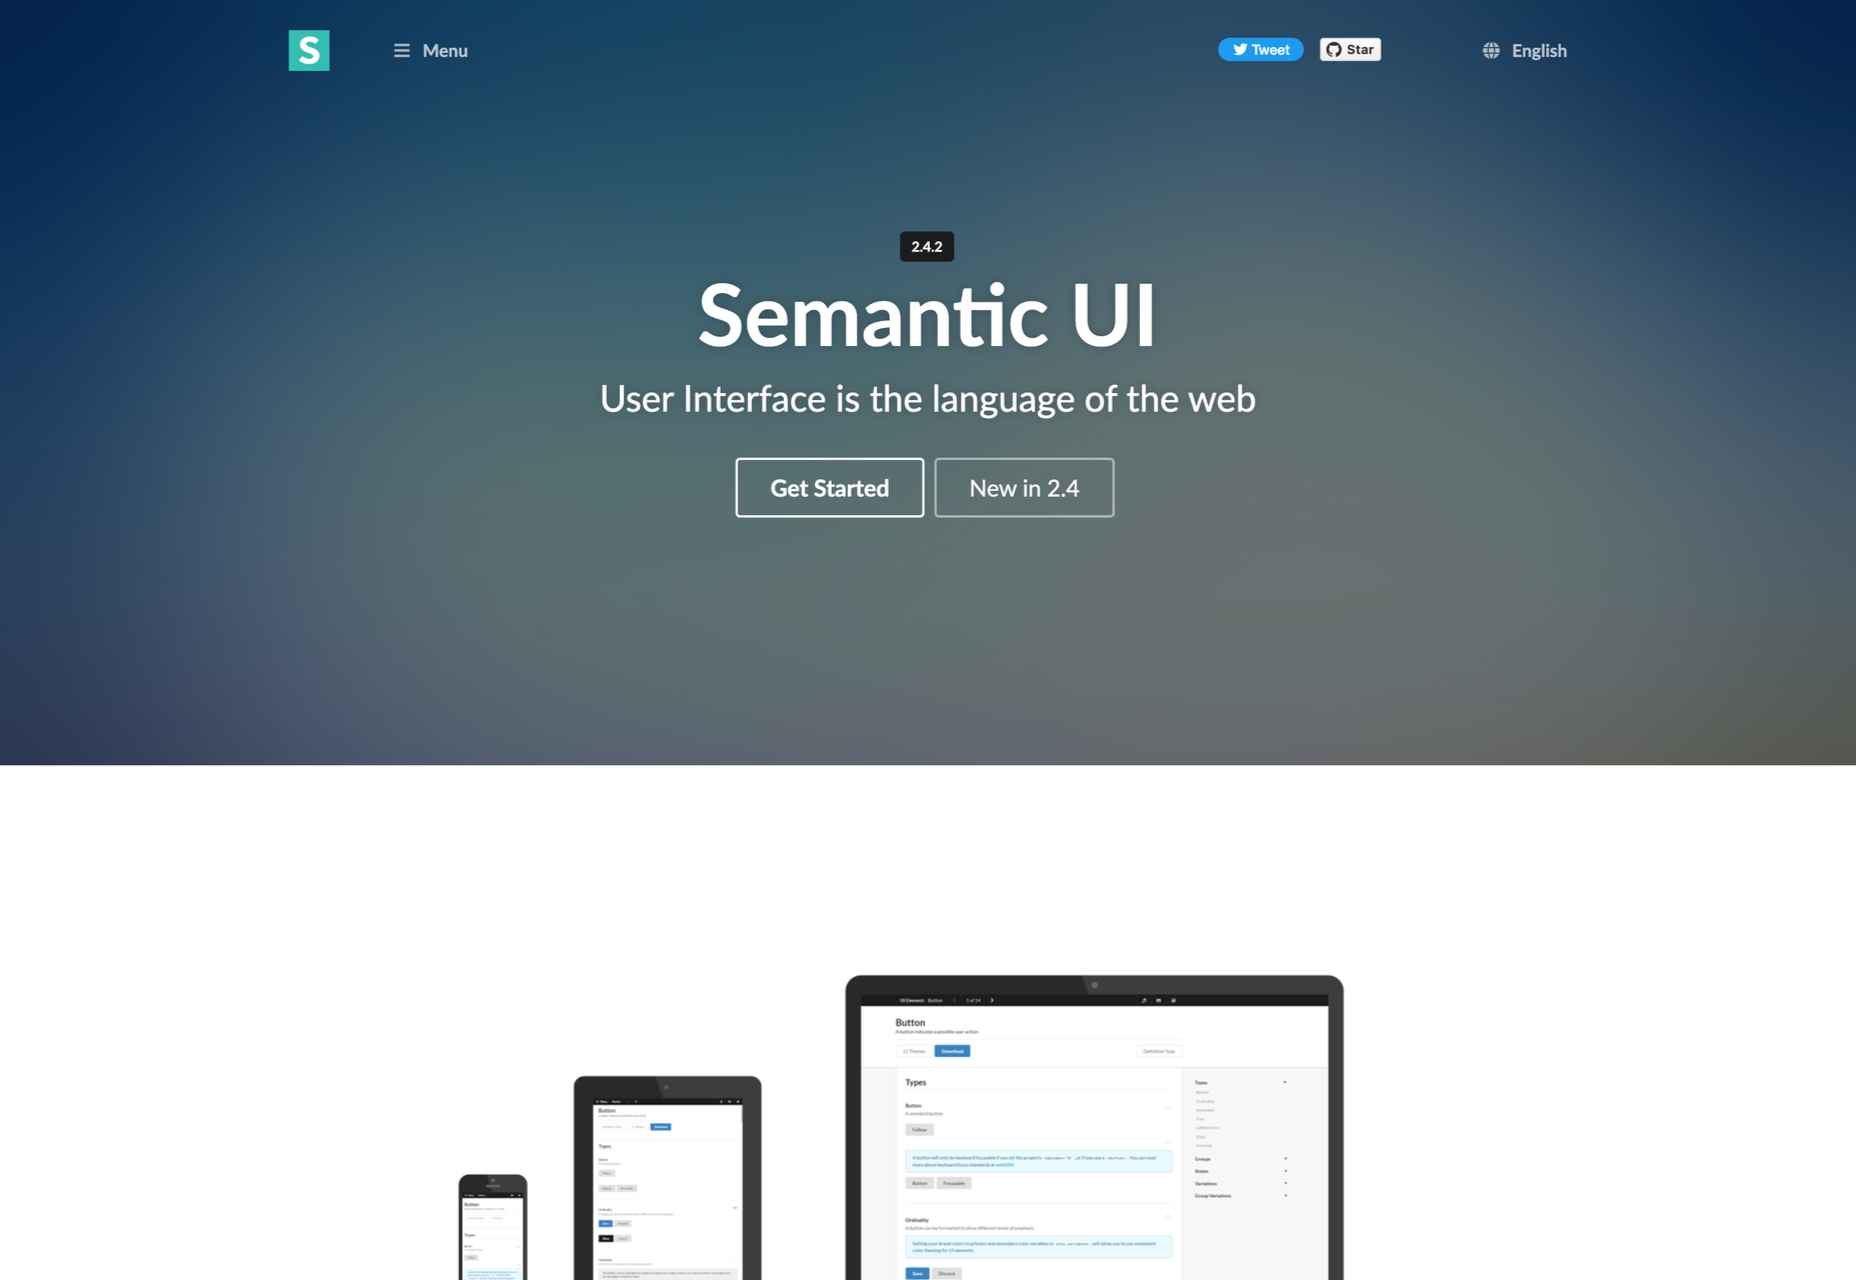
7. Semantic UI

If you exclude the fact that Semantic UI doesn’t have the utility classes Bootstrap offers, it is a comprehensive CSS framework that you should try. The best Semantic feature allows you to write HTML code without using BEM methodologies. 

So, if you need a framework that will help you write readable codes in minutes, Semantic is the one for you. 

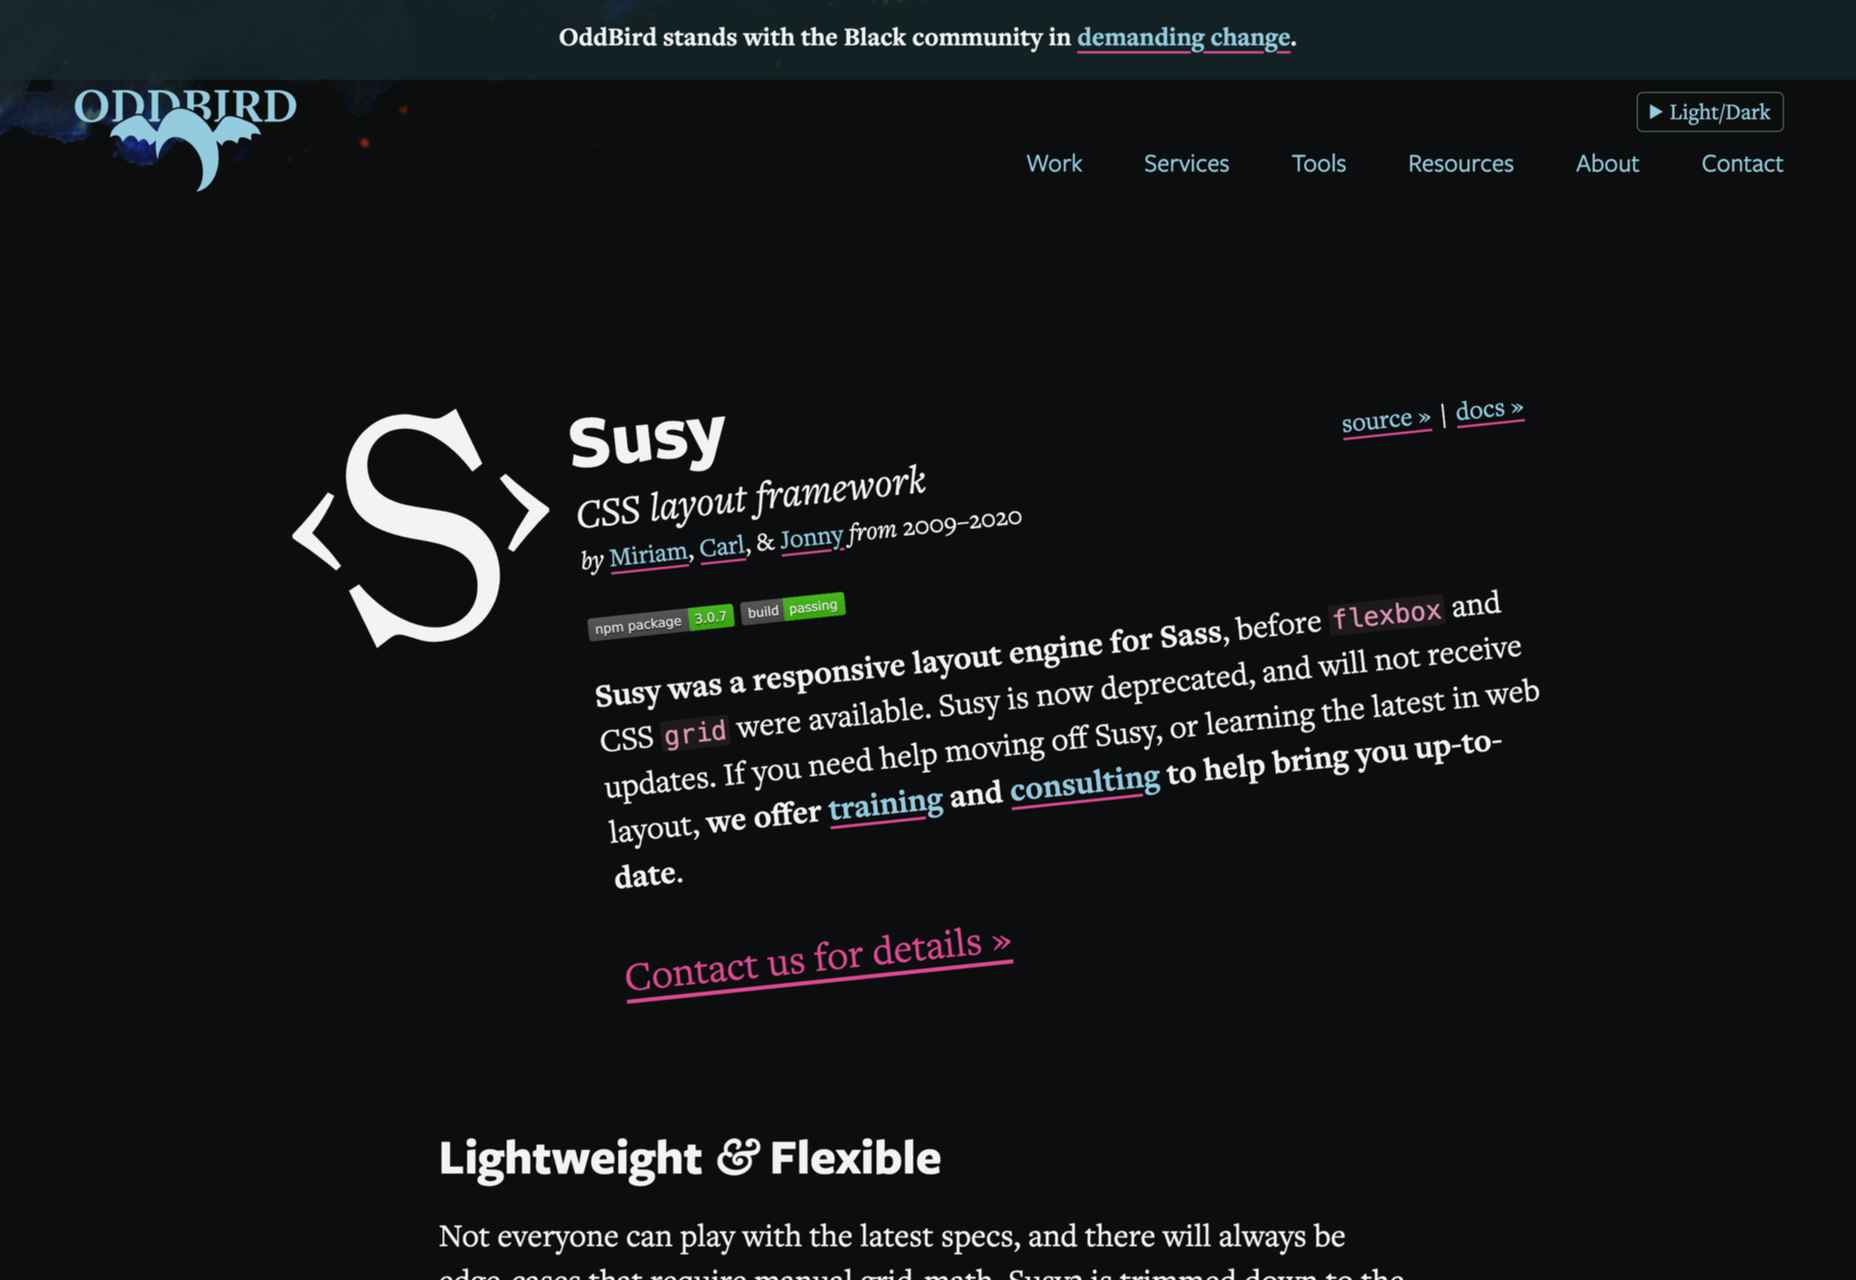
8. Susy

We know that most developers nowadays use flexbox and native CSS grids. Still, there’s nothing better than Susy if you need a grid system that supports legacy browsers. Although Susy is no longer maintained, it is one of the most flexible old-school grid systems. 

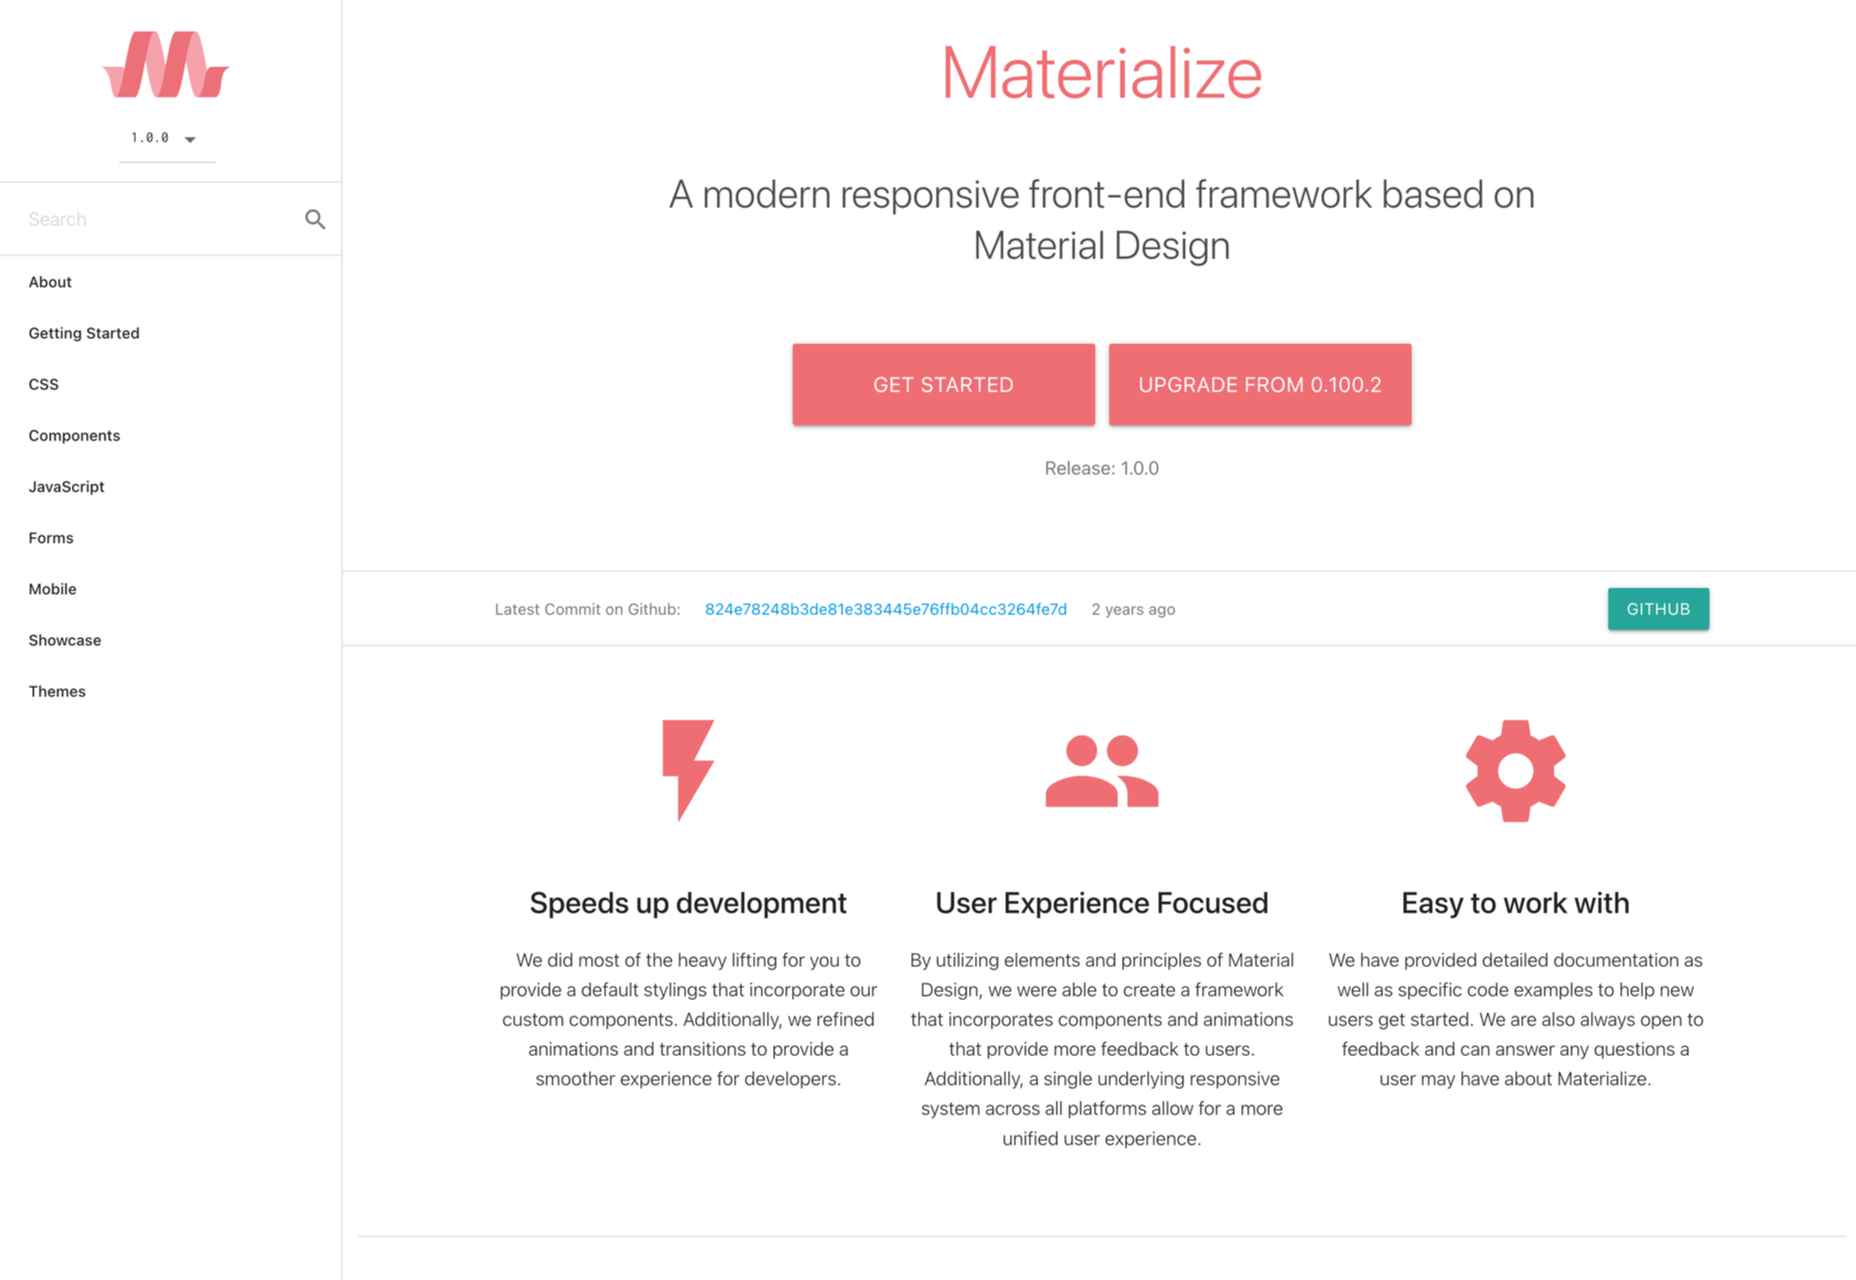
9. Materialize

Like most CSS frameworks on this list, Materialize is built with HTML, CSS, and JavaScript. 

It’s specifically designed to help you develop faster using a standard template and customizable components. As the name suggests, Materialize is based on the basic principles of Material Design.

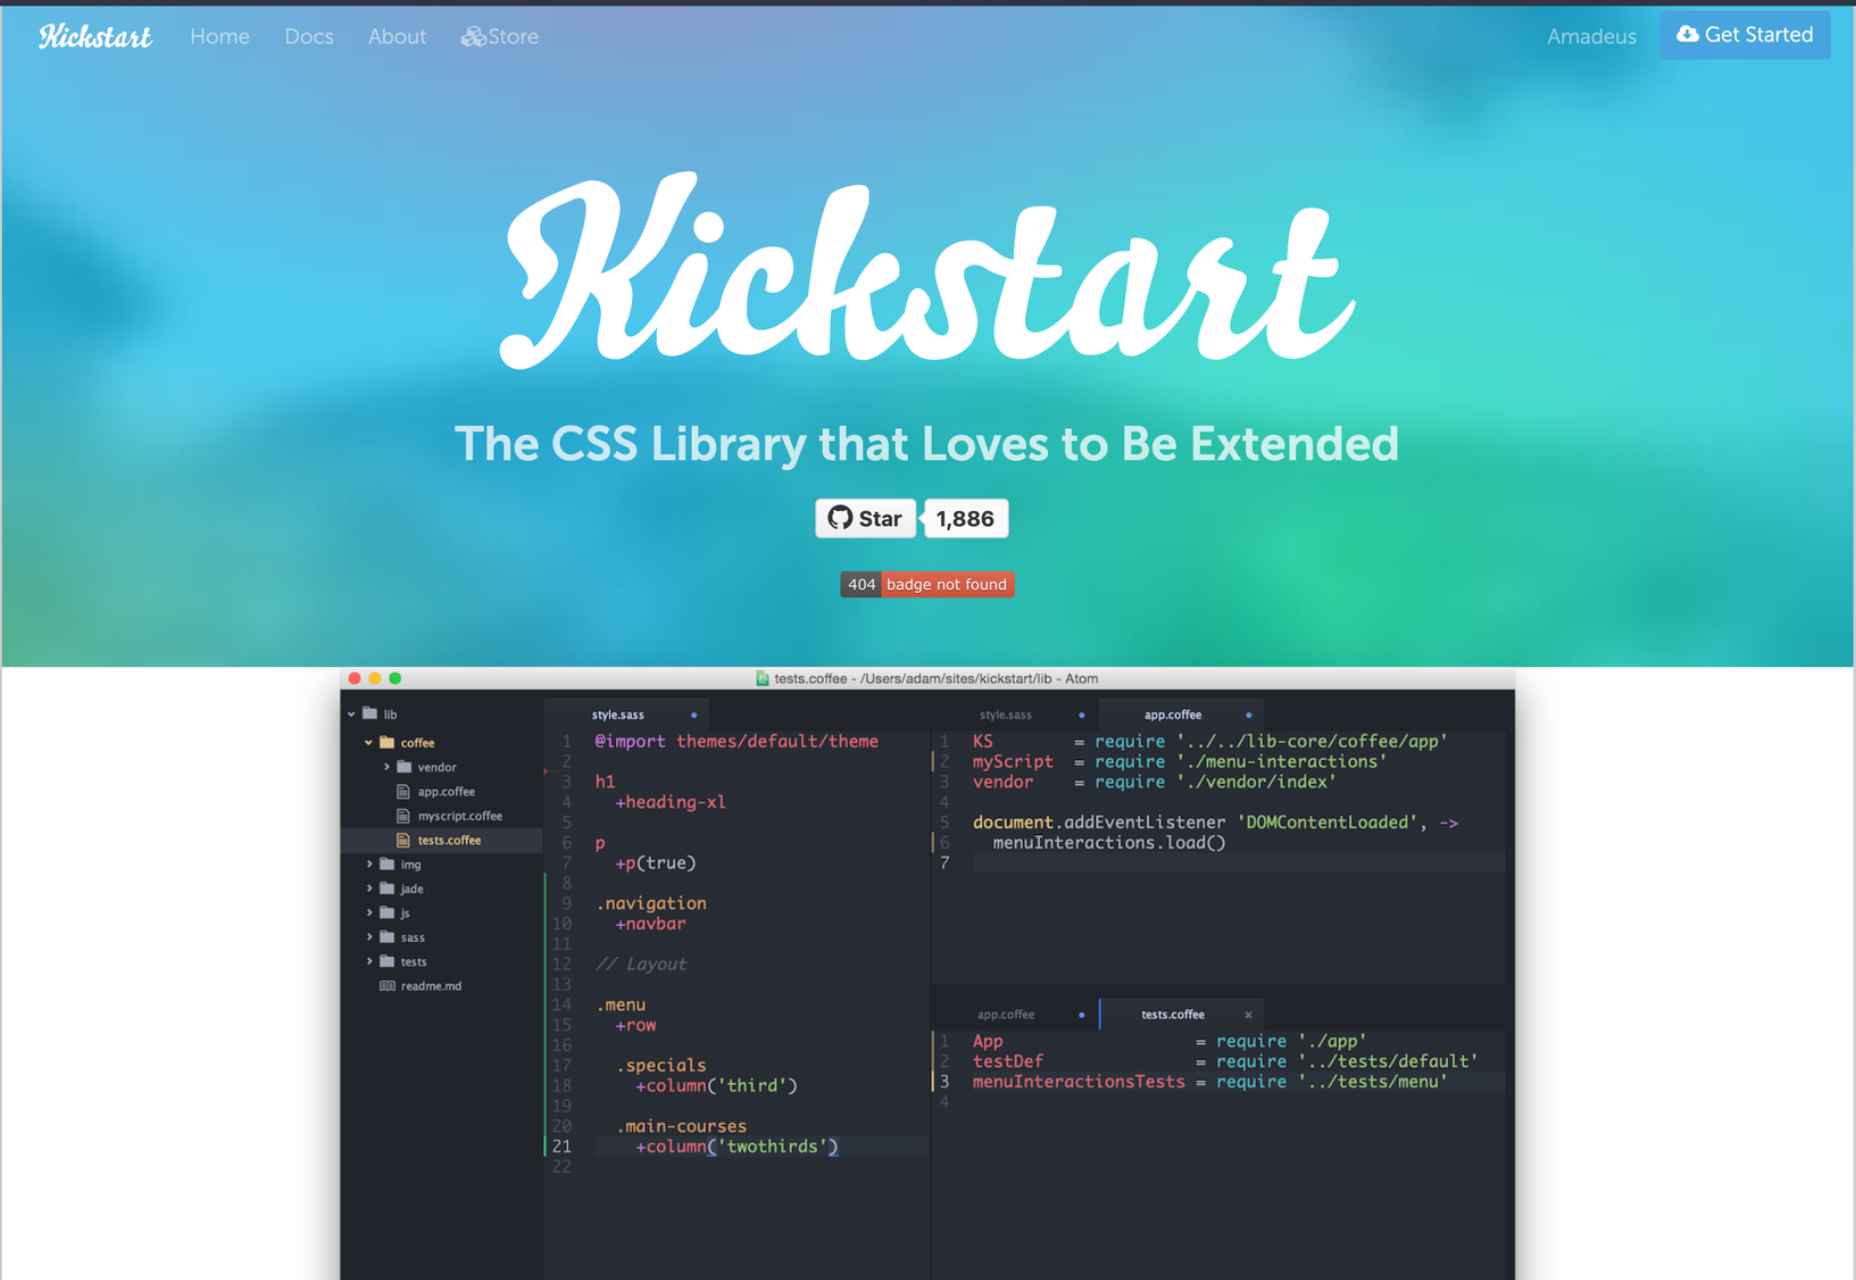
10. Kickstart

If you need a lightweight alternative to Bootstrap, Kickstart is the CSS library for you. A great thing about Kickstart is that it doesn’t require jQuery which makes it very small. 

Of course, like a pruned version of Bootstrap, this CSS framework isn’t as robust. Still, this is an excellent choice for those who need a UI framework and a comprehensive boilerplate library. 

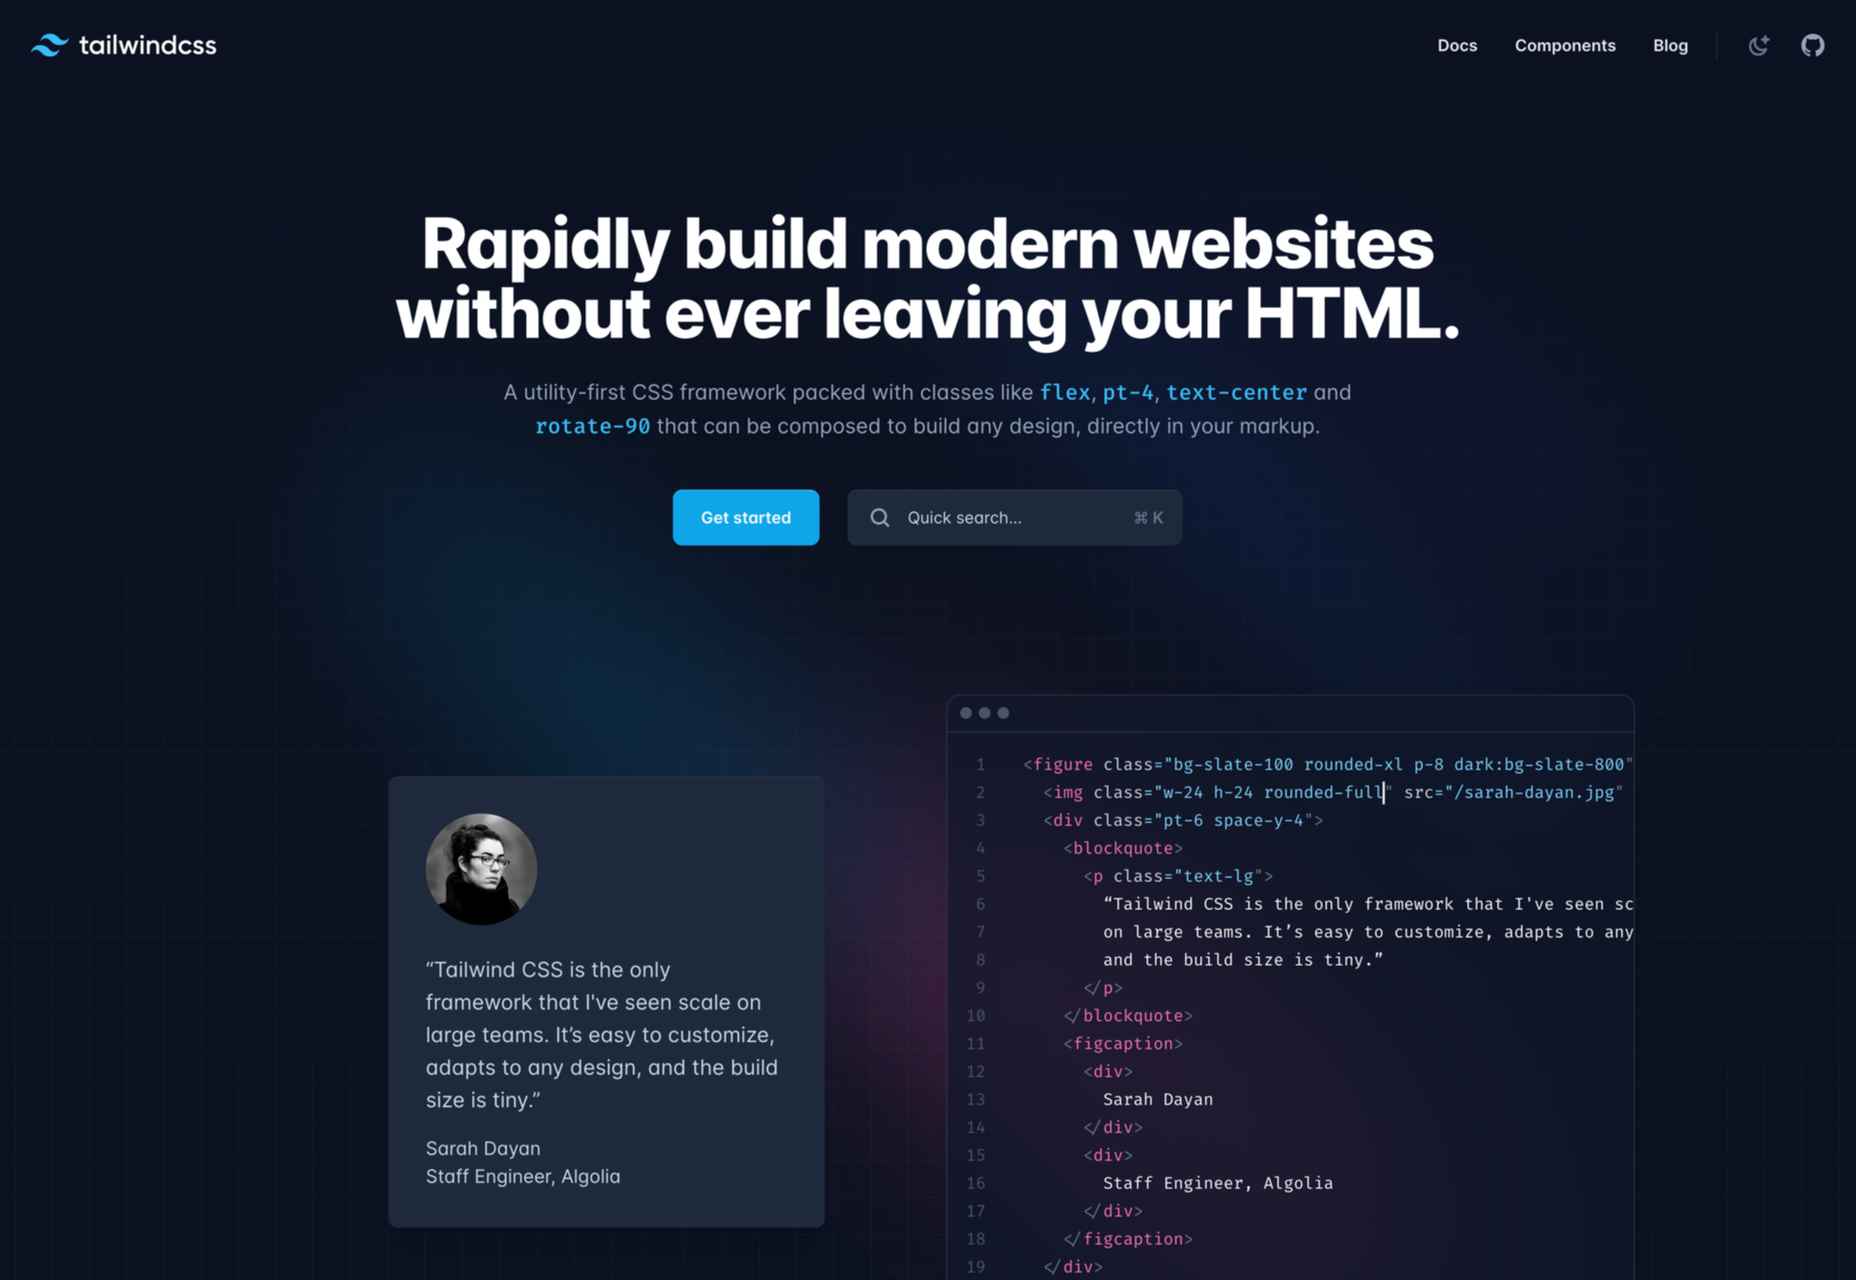
11. Tailwind CSS

With a fast styling process and the ultimate freedom it provides, Tailwind is extremely popular among some developers. This is a utility-first, front-end framework that is fully responsive and stable. 

Unfortunately, Tailwind CSS requires some time to learn, and it is not the most flexible choice when it comes to revising CSS rules.

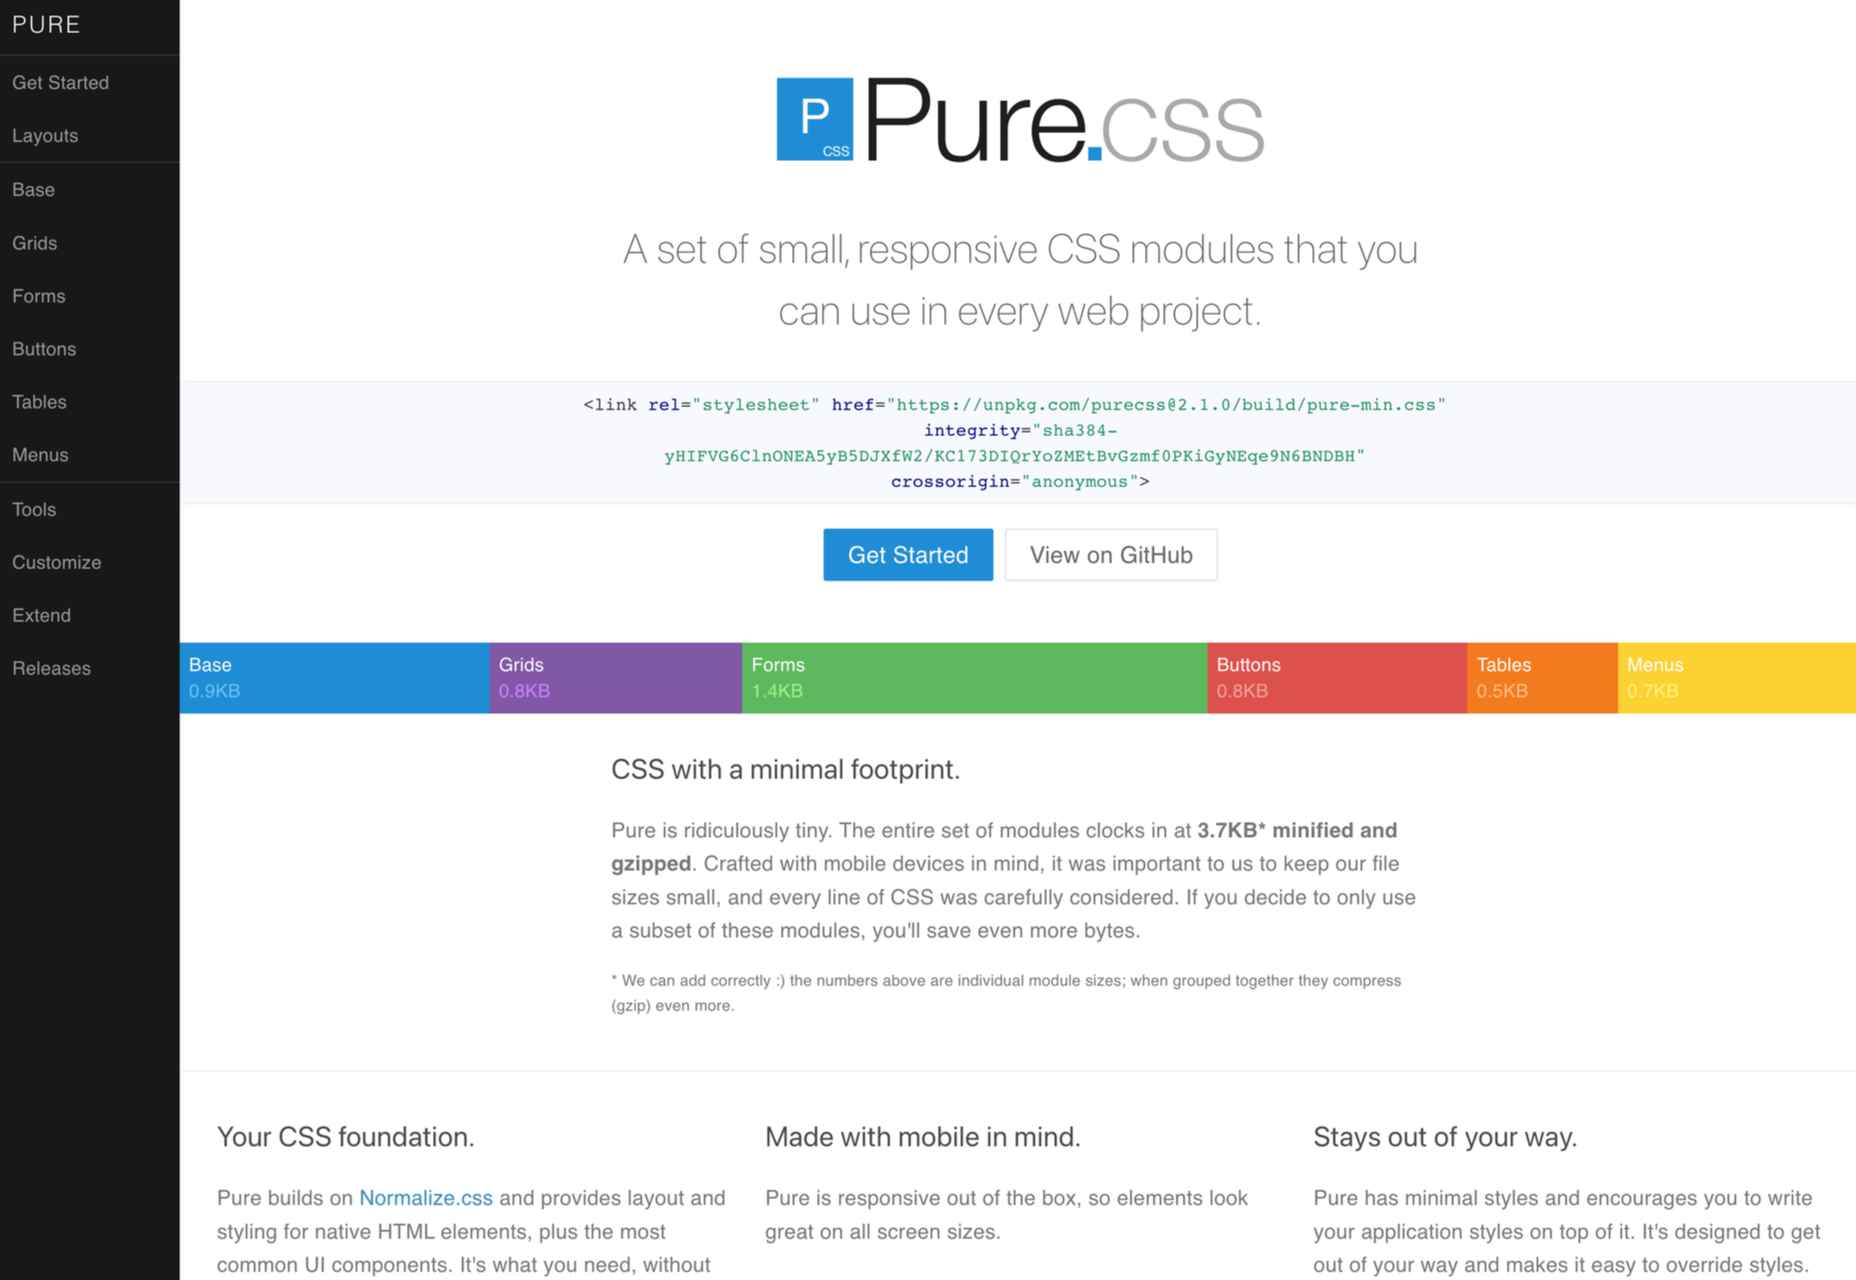
12. Pure CSS

Yahoo specially developed Pure CSS to help developers create fully responsive web pages. 

We consider Pure a minimalist alternative to Bootstrap that offers every module a beginner needs (navigation menu, grid, tables, etc.).

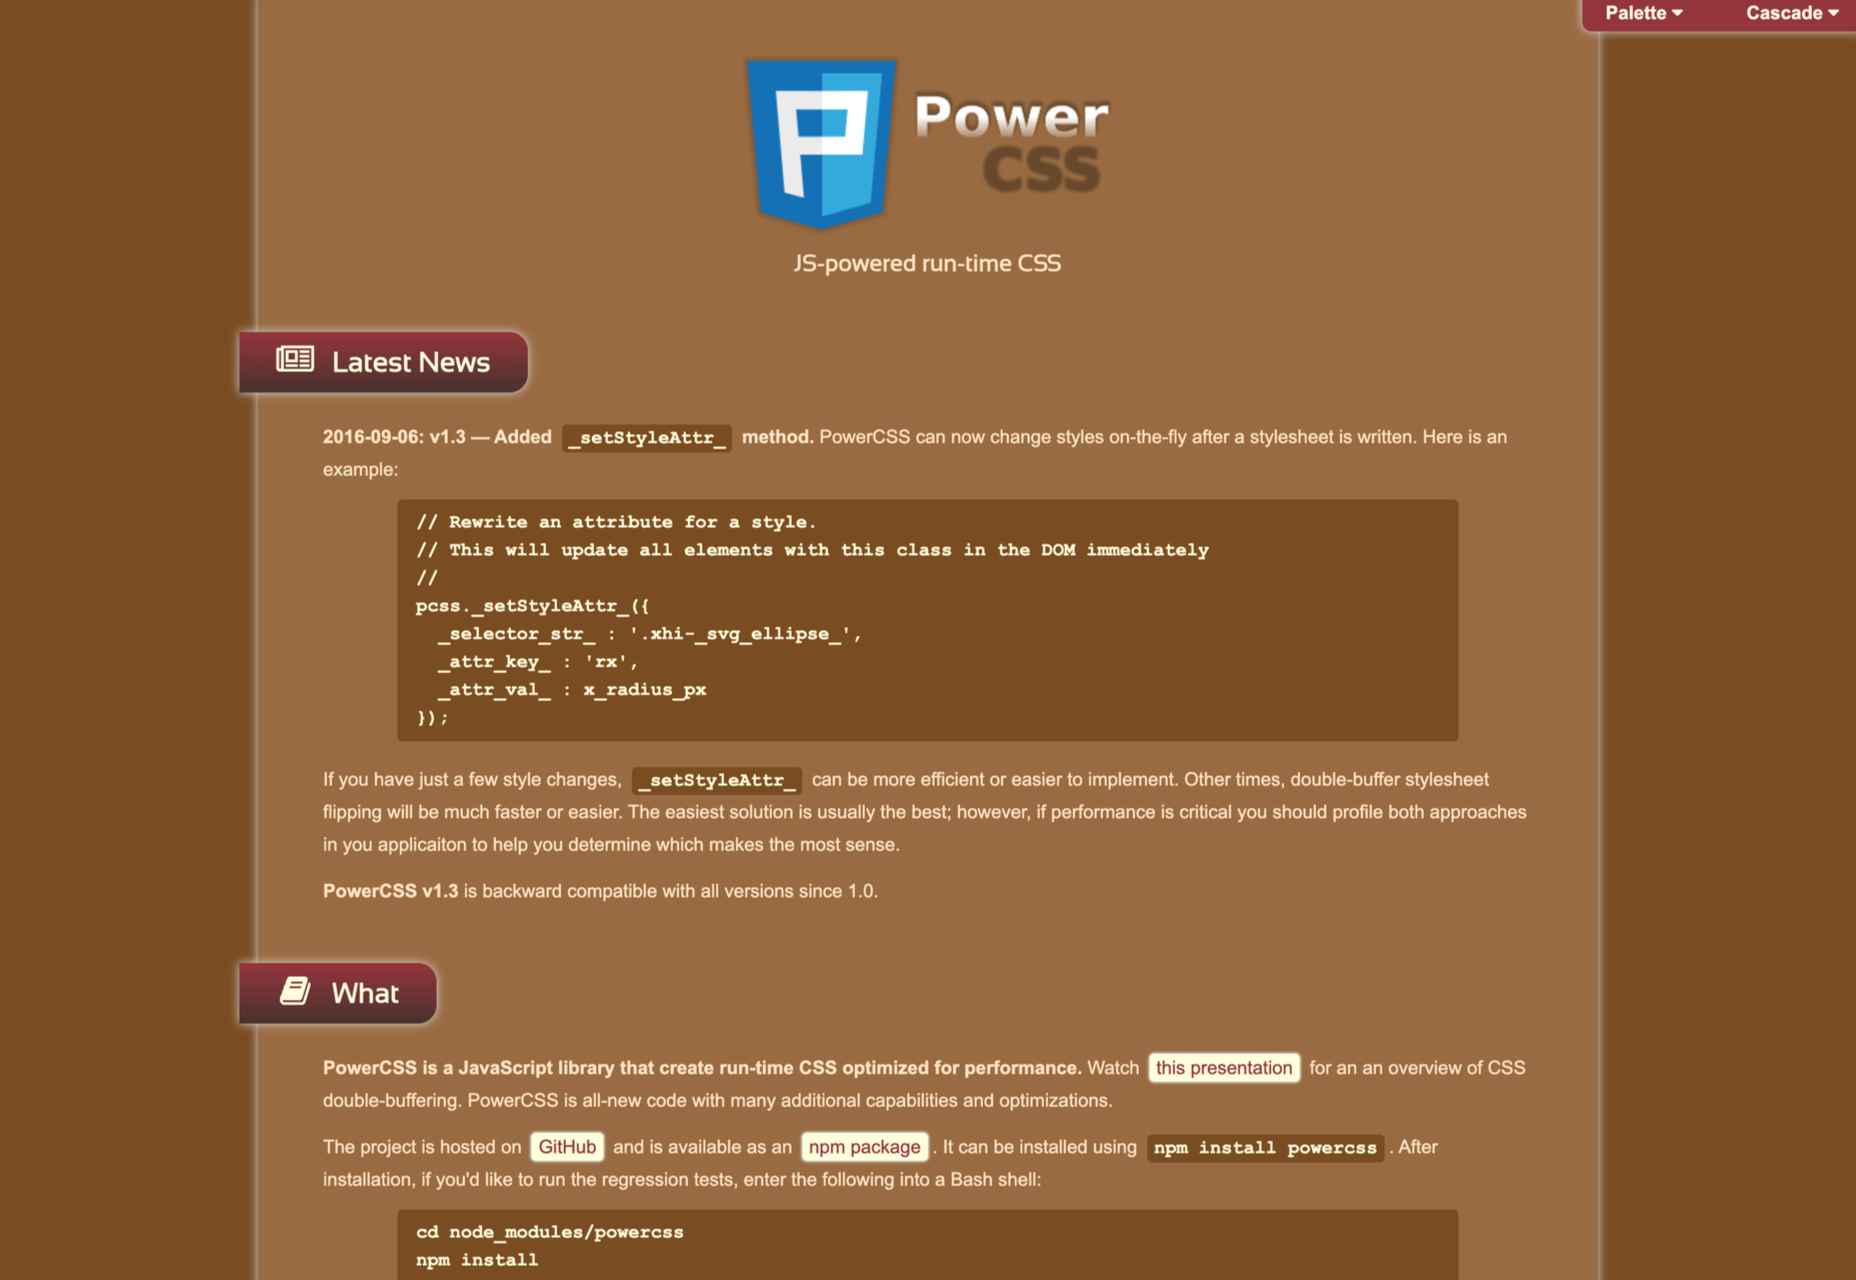
13. PowertoCSS

PowertoCSS is on this list for a good reason. This is an ultimately responsive CSS framework that you can use to create grids and scale web apps on any platform. 

PowertoCSS is based on Modular Architecture and Scalable when it comes to design.

Unlike other CSS frameworks, PowertoCSS is very lightweight, beginner-friendly, and comes with detailed documentation. 

The coding process is simple, and we found the learning curve to be shallow.

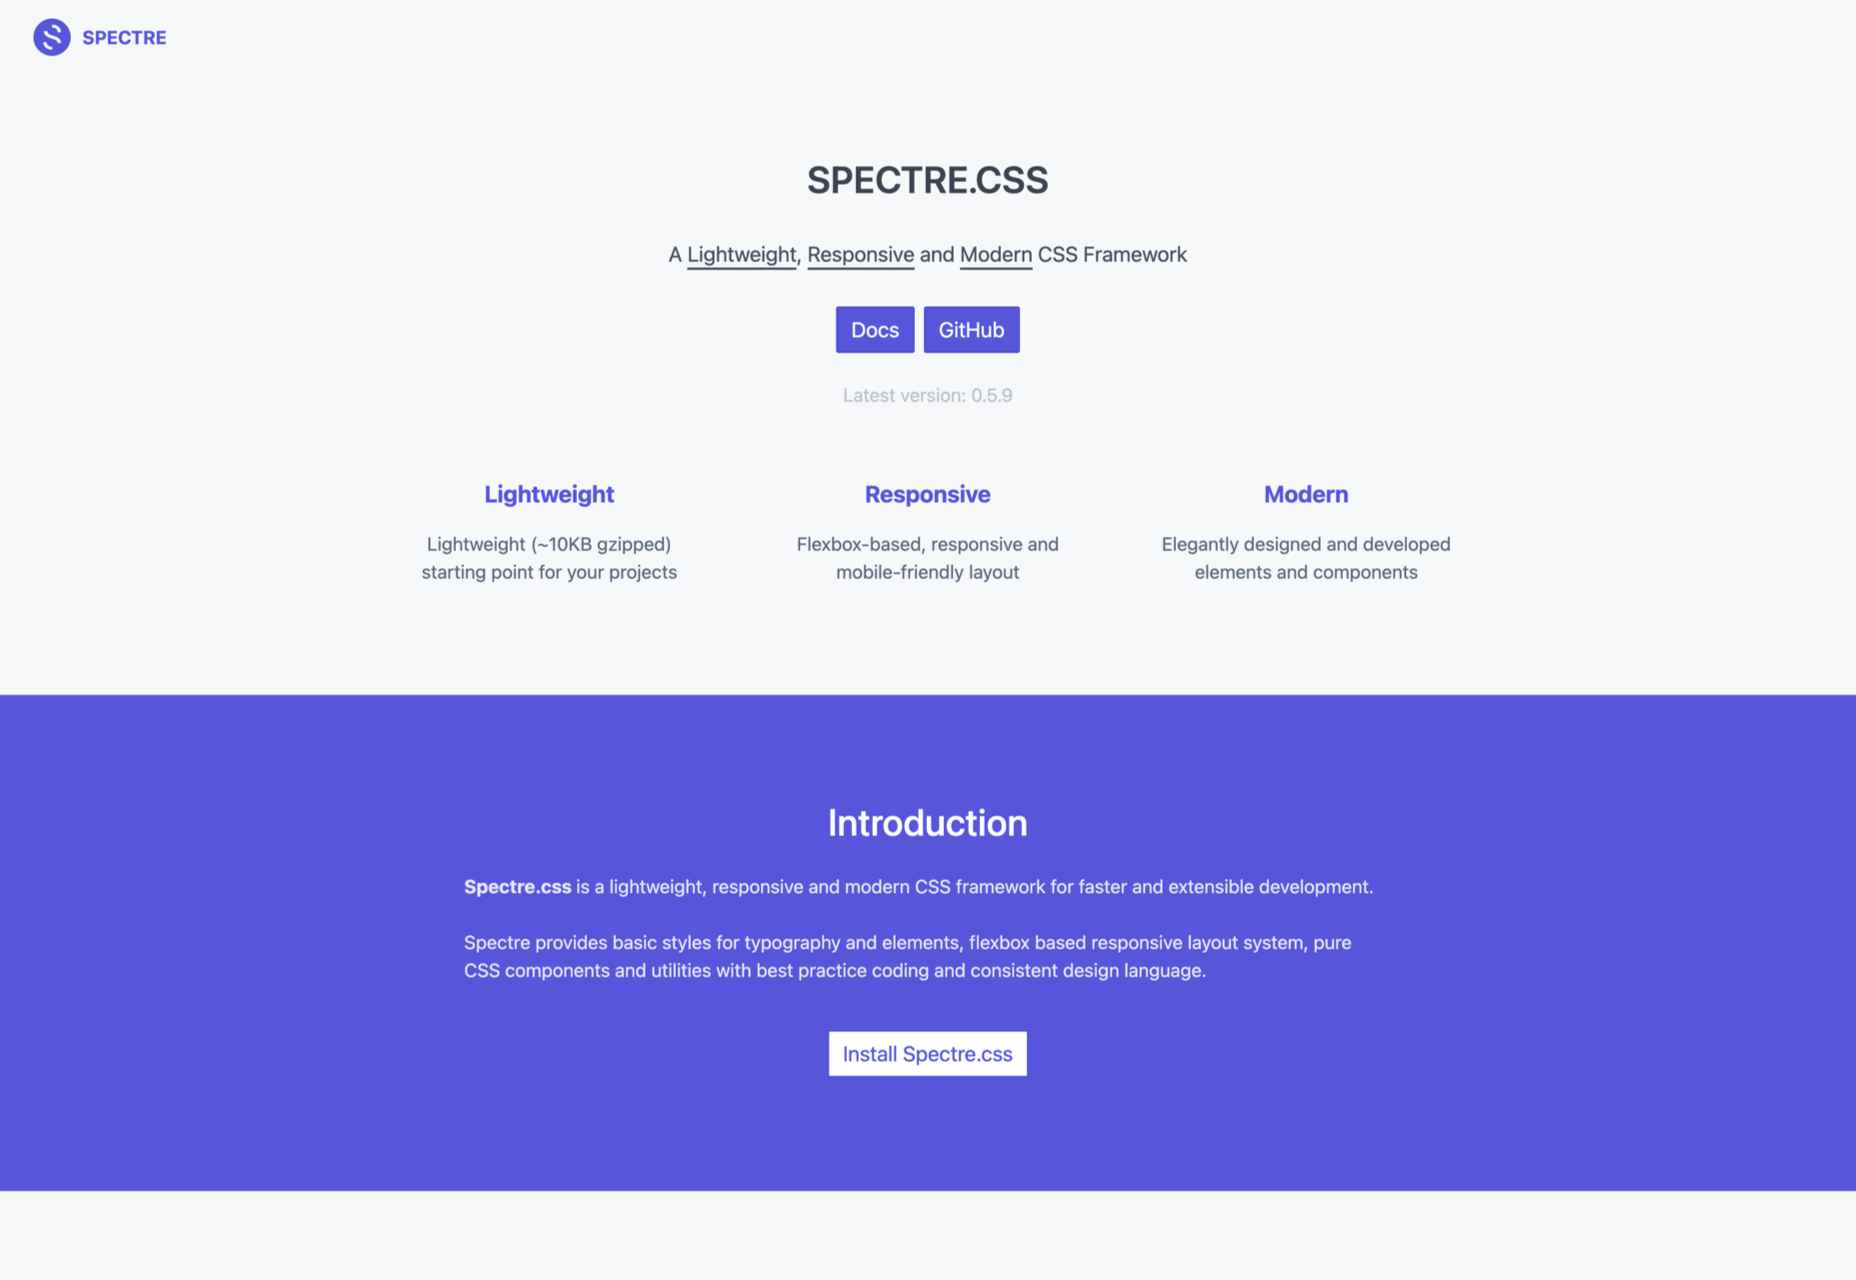
14. Spectre

Spectre is one of the most flexible and lightweight CSS frameworks we tested for this article. 

It has a modern (flexbox) layout system; it is fully customizable and allows you to get quick, attractive results. 

15. Primer

Our last suggestion is Primer, a great open-source CSS framework. 

To be precise, Primer is more of a design system that lets you use a BEM CSS framework and create your projects quickly and efficiently.

So, even though Primer is not a CSS framework in the strict sense, it will help you use React and Figma components, icons, and advanced documentation to unify all of that.

Wrap Up

Choosing the right CSS framework is not easy. It all depends on your personal needs and preferences as a front-end developer. 

Although Bootstrap and Foundation are still the most popular frameworks, many of the alternatives presented above will continue to gain popularity for good reasons.

Source

The post 15 Best CSS Frameworks: Professional Bootstrap and Foundation Alternatives first appeared on Webdesigner Depot.

Source de l’article sur Webdesignerdepot

It’s something every design team dreams about – a better design process and handoff procedure. Your design team is not alone if you are looking for a better solution.

Imagine what your workflow would look like if you could forgo the struggles of image-based technology, design and handoff with accurate components that have interactive features. Projects in the design phase will look more like final products and, most importantly, interact like final products. 

Let’s imagine a new design process together.

Challenges of an Image-Based Design Process

Here’s what we all know – image-based design tools provide pictures of components in the visual form but lack the interactivity and conditions that exist in the end-product. There’s not a high level of functional fidelity there, and it can cause confusion among design teams and rework.

These tools require you to redraw the fundamental components and design with boxes and rectangles, which takes too much time and can create a disconnect between the design and development teams. 

Further, you don’t fully maximize the potential of a design system because of inconsistencies between code-powered systems that developers use and these image-based systems for designers. There’s an innate gap between maintaining the environments and creating consistency in components. 

The final and maybe most difficult challenge with an image-based design process is in usability testing. You just can’t test an image the way you can working components. If the prototype is not interactive enough, you lose valuable feedback in the testing process. Functional fidelity is a must-have design and development tool in 2022. 

Iress, market-leading financial software, had many of these same problems in its design system process. You can probably relate to its story, which includes a designer and engineer who aren’t entirely on the same page, hit the deadline and have to deliver, and then get customer feedback. The result was a lot of extra headaches and work. 

But there is a better way: Import all user interface components into a code-powered design system in sync with a design tool so that your team can work in harmony to build, scale, and handoff projects with ease. 

Scale Design With Accurate Components

Here’s what most design and development teams want en route to building products: Accurate components with built-in interactivity, states, and conditions. No redrawing boxes and rectangles; no trying to figure out what states and interaction should be.

And if you can do it with ten times the speed and agility? Now you’re really in business. 

“It used to take us two to three months just to do the design. Now, with UXPin Merge, teams can design, test, and deliver products in the same timeframe,” said Erica Rider, Senior Manager for UX at PayPal. “Faster time to market is one of the most significant changes we’ve experienced using Merge.”

The time and workflow savings come from the ability to maintain only one environment as a product team. Rather than image-based tools, a code-powered design system that will push updates to components as the design evolves is the modern way to work. This workflow can also eliminate duplicate documentation so that your team has a single source of truth for whole product teams. 

Now you can be more agile in the design process and scale. And as Rider hinted at, there is a solution already available in UXPin Merge. 

Scalability with accurate design components has other benefits as well. 

Teams can onboard people faster because the design system is in the design tool. There’s less searching for answers with drag and drop-ready building blocks. New team members will find more success and be more valuable to the team quicker due to fewer inconsistencies and errors. 

Testing also gets a boost as you scale with a single source of truth. You can actually create better usability tests with a high-fidelity, functional version of the prototype, allowing users to leave more valuable and detailed feedback that can improve your product in the early stages. 

Better Handoffs Start Here

As you imagine a better design process, take it one step further. Better handoffs are a goal for most teams. 

An interactive component-based design tool can eliminate the need for multiple iterations of the same meeting to explain how a prototype works. Everyone can see and interact with it for themselves with accurate, true components that ensure the prototype works the same as the product. 

Designers will feel more like their vision is making it into the final product, and developers have a better idea of how to work. Everyone has the exact same components written in code. Thanks to the single source of truth, devs can speed up as they build the product because they start with components that include production-ready code.

A typical design to developer handoff might have multiple steps: Create vector design elements, create a model for interactions, and then send the prototype with documentation. Not to mention the meetings that are required to make sure everyone is on the same page.

In a model with interactive component elements, the developer handoff is fast and easy; they create a prototype with true components and all the built-in properties. The developer copies the JSX code and pastes it into his tool to build the final product. All the component properties and their coded interactions already exist in the source code. This is possible because the source of truth is the code itself, the source code.

Quick Tool Solution and Technical Use

This solution to this common challenge is not somewhere in the future; it’s already here.

UXPin, a code-based design tool, has Merge technology, which allows you to bring all interactive components into UXPin. Then you can use your own, or the open-source library with the ready-made building blocks to get products ready faster.

Here are just a few of the things you can do with Merge by UXPin:

  • Integrate your developer’s storybook to use it as a single source of truth (works for all frameworks)
  • Import design system components from a dev’s Git repository, such as GitHub, Bitbucket, GitLab, or others (works with React)
  • Work with the built-in MUI library
  • Add the npm component package to UXPin on your own (no developer required)
  • Design with the confidence that your work can be ideally reflected by developers
  • Create and share a library of interactive components

Summary 

Say bye-bye to redrawing rectangles – build more accurate prototypes easier and end-products faster with Merge by UXPin.

Now is the time to solve one of your biggest design challenges while upgrading and scaling the design process and improving handoffs. 

Merge by UXPin is user-friendly and made for scalable projects of almost any size. The line between design and development blurs with quicker product release and a fully-interactive solution. Request access today.


[– This is a sponsored post on behalf of UXPin –]

Source

The post How to Scale Your Design Process and Improve Handoff first appeared on Webdesigner Depot.

Source de l’article sur Webdesignerdepot