Articles

BellSoft issued a new version of Liberica Native Image Kit (NIK), 22.0.0.2, so in this short article, I will provide a tutorial on how to use it with the Quarkus framework.

Liberica NIK is based on the open-source project GraalVM (Community Edition) and is compatible with many platforms, including lightweight musl-based Alpine Linux. Liberica NIK in essence is a utility that converts JVM-based applications into native executables (AOT compilation).

Source de l’article sur DZONE

Creating and sending business proposals can be a lot of work. However, if you have the right tools and knowledge, you can quickly create and send high-converting proposals that your clients will love. 

This article will explain how to create a fantastic business proposal that looks great and gets signed quickly. Although we’re focussed on design, our tips apply to every industry and type of business.

1. Know When to Talk About Yourself

One of the most common mistakes people make is starting the proposal by talking about themselves. 

You might be surprised to know that clients spend the most time on the introduction chapter, so it’s essential to use it right. You need to set the right tone by explaining to your clients how your solution will help them achieve their goals. 

They want to hear the benefits and feel assured that you’re the best choice for them. If you start the proposal by talking about your company and the values you believe in, you’ll lose the attention of your clients. 

In most cases, the clients have already researched you and know the points you make in your PR releases.

Once you explain your process and the time scales, you can introduce your team and talk about the company. Just make sure it’s short and sweet. 

2. Divide Your Proposal into 6 Sections

Sending a one-page proposal will only confuse your clients and won’t incentivize them to reach out. The best way to format your proposal is to create six sections. 

This should include:

  • Introduction
  • Process
  • Timescales
  • Pricing
  • Next steps
  • Terms and Conditions

You need to showcase what their future could look like if they work with you, listing all the benefits as well as explaining the next steps. You need to write down what happens if they don’t agree with some parts of the proposal, what will happen when you reach an agreement, how much they have to pay, and more. 

Be clear on your follow-up process to speed things up. 

3. Use a Dedicated Proposal App

If you’re someone who fires up MS Word and hopes for the best, your proposals probably don’t get a lot of traction. That’s because you’re spending too much time reinventing the wheel. The best jumping-off point for your proposal strategy is choosing the right app. It will help you automate and speed up the whole process. 

Different solutions suit different people, but some of the features you might want include: 

Digital Signatures

The digital signature option helps you get your proposals signed faster and turns your proposals into legally binding documents. This significantly reduces the agreement time since your clients no longer have to print out your documents, scan them and send them back.

Integrated Payment Methods

Speed up your payment process by choosing the proposal software that has a payment option that allows clients to pay as soon as they agree to your terms and conditions. It can significantly decrease the time it takes to get paid. 

Sales Tool Integration

For an even more straightforward sales process, select a proposal tool that has native integrations with your sales CRM and other sales tools. 

Proposal Analytics

Proposal analytics can help you in the follow-up process. They show when your proposal was opened, on which device, and how much time the client spent on each of the sections. 

Content Library

The content library lets you save any part of the content (text, pictures, videos, terms and conditions, pricing table) for easier access in the future—no more copy and pasting huge chunks of text. 

An Easy-To-Use Editor

In order to be able to create any documents with your proposals software, their editor needs to be very easy to use. If the editor requires design experience, look for a better one.

4. Let’s Talk About Price

When it comes to the price section, there are two significant things you need to look out for: the name of the section and the format of your price.

Naming your pricing section pricing, expenses, or something along those lines cheapens your proposals and makes it seem like a regular invoice. Try naming the section ROI or Investment. It will evoke positive feelings with your clients because if they think of working with you as an investment, they will know that a return on investment is a part of the deal. 

The way you format your prices won’t make or break your deal but can help you speed up the proposal process. Firstly, you need to figure out if you’re going to charge by the hour, based on the value of the project, based on the commission, or something else. 

Once you reach a decision, you have to format the prices in an easy-to-understand and short way. Many companies try to upsell their clients at the very start of their business relationship and create proposals with three different packages. 

We believe that the way you present your prices should be the same as the way doctors prescribe medicine. You need to be the authority on your prices and tell the client what type of package fits their needs. If you leave it up to your client to pick the right package, it will just lead to confusion, and you’ll have to do the extra work to explain the difference to them.

Bonus Tips

Web-based business proposals speed up the signing process. If you make your proposals printable, it will lengthen the time your clients take to agree to your terms and sign them. Make sure your proposals are web-based and have a digital signature option. 

Another tip is to send your proposal as quickly as possible. As soon as you meet with your client and hear them out, start working on your proposal. 

Our last tip is to send your proposal at the beginning of the week. If you send it on a Friday, it will negatively impact the time it takes to get your proposal signed.


Featured image via Pexels.

Source

The post 4 Tips For Getting Design Proposals Signed Faster first appeared on Webdesigner Depot.

Source de l’article sur Webdesignerdepot

Have you been feeling a little unproductive lately? Well, you are not the only one. Of course, we all want to be as productive as possible at work, but that’s not always the case.

According to recent research, we are fully productive for less than 3 hours a day. Stress and poor planning are just two of the reasons why. And this is true in all work environments. No one is exempt from this problem, from employees in central offices to freelancers or managers working from home.

That’s why we have researched and selected the eight best ways to increase your productivity at work. In our search for solutions to boost creativity, we have come across numerous promising approaches and tips that you can use. Here are the best tips you can follow to get the most out of a workday:

1. Plan your Tasks

I can safely say that there is nothing more important than efficient task planning. Planning your tasks can free you from stress and procrastination. Planning everything before the day even starts is probably the best approach.

This is also where time management comes into play. Think about it. How often have you been more productive after setting a specific time frame for a task? You need to plan for the project at hand and then map each workday.

The more you plan your projects and workdays, the more productive you will be. However, it would help if you tried not to spend hours and hours planning.

2. Minimize Distractions

So you have successfully planned your tasks. That should be enough to be productive, right? Well, unfortunately, no. Whether you work in the office or from home, numerous things can distract you daily.

Distractions are ubiquitous, from a colleague wanting to chat about last night’s game to TV at home. When you minimize such distractions, you become better at what you do.

Of course, it’s not always easy to resist temptation. But if you do, you’ll spend more hours focused and engaged in your task. The same goes for leadership positions. You can ask your employees to turn off their cell phones and minimize chats.

We all feel the need to check our phones or chat with our colleagues. This is precisely why the next tip is crucial to your productivity.

3. Take Regular Breaks

According to psychologists, taking regular breaks at work will help you minimize stress and thus improve your performance. Whether you work from home or at headquarters, relaxing and social breaks are necessary. But that’s not all.

As we mentioned earlier, regular breaks are a smart way to avoid distractions. If you know your next break is coming up, you will not need to chat or look at your phone.

This will help you maintain a high level of concentration. On the other hand, if you do not take regular breaks, your performance will continue to decline throughout the day.

4. Stop Multitasking

Once you have scheduled your tasks and breaks, it’s time to think about the actual work process. Contrary to what many believe, multitasking does not make you more productive.

Conversely, multitasking can decrease your performance, drain your energy faster, or even damage your brain. This is another reason why planning is so important. You should always try to engage your brain with one task at a time.

5. Optimize Workplace Conditions

This is one of the most efficient but often underestimated ways to increase productivity. Ensuring that the working temperature is between 20-24 degrees C (68 and 76 degrees F) will help you stay concentrated for more extended periods.

This will also save you a lot of time, whether at home or in the office. On the other hand, if you feel cold or hot, you will be distracted. Therefore, you should think about the working temperature before you start working.

6. Enough Sleep is Key

It’s not news that sleep deprivation can affect our performance. And that’s not just it. Lack of sleep leads to a massive decrease in:

  • Ability to concentrate
  • Working memory
  • Mathematical capacity
  • Logical reasoning

So sleep is crucial to our overall well-being. According to the National Sleep Foundation, you should try to get between 7 and 8 hours of sleep a night (for adults between 18 and 65).

It becomes evident that getting enough sleep is one of the best ways to increase your productivity at work.

7. Communication is Crucial

Communication is essential, especially for those of you who work from home. You should always have a conversation with the people you live with during your breaks. This can also help you avoid distractions during your work hours.

Try to make everyone around you (including yourself) understand what closed, and open doors mean. This will help you increase your productivity while communicating sufficiently with your loved ones.

The same goes for people who work in offices. You should always try to engage with your colleagues during breaks. Remember that feeling part of a group and sharing your experiences is the key to increasing your productivity.

8. Avoid Social Media

Our last tip is one of the hardest to follow, especially working from home. You may think that this is not a problem for you. Recent studies show that we spend an average of 145 minutes on social media every day. Of course, it’s not a bad idea to cut down on that time.

But, even if you do not, you should try to keep any engagement with social media outside of your work hours. This will help you focus on your tasks and get you one step closer to your goals.

Wrap Up

Keep in mind that we all get stuck at times when working on a project. The more you worry about it, the more stressed you will be. It’s essential to take care of yourself and your mental health. In any case, we hope you will find it easier to increase your productivity now that you have read our tips. All you have to do is follow them.

Featured image via Pexels.

Source

The post 8 Proven Ways to Turbo-Charge Your Productivity first appeared on Webdesigner Depot.

Source de l’article sur Webdesignerdepot

In a previous article, I described a way to organize low-latency products as multiple code bases which are bound together with a Maven Bill of Materials (BOM). Understandably, this requires setting up continuous integration and deployment for a large number of similar projects. Maintaining such a setup manually in the face of change while ensuring its consistency will take a lot of effort.  In this article, I will describe how the team at Chronicle Software has tackled these issues in different projects by writing code that does this for us, in the form of Kotlin DSL for TeamCity.

This guide will show how to configure the same set of CI/CD builds for multiple Maven project repositories of similar layouts programmatically, following the DRY (don’t repeat yourself) principle. Following it will require a base knowledge of git, Maven, and TeamCity but would not require knowledge of the Kotlin language, since all of the displayed code is self-explanatory.

Source de l’article sur DZONE

Every day design fans submit incredible industry stories to our sister-site, Webdesigner News. Our colleagues sift through it, selecting the very best stories from the design, UX, tech, and development worlds and posting them live on the site.
The best way to keep up with the most important stories for web professionals is to subscribe to Webdesigner News or check out the site regularly. However, in case you missed a day this week, here’s a handy compilation of the top curated stories from the last seven days. Enjoy!”

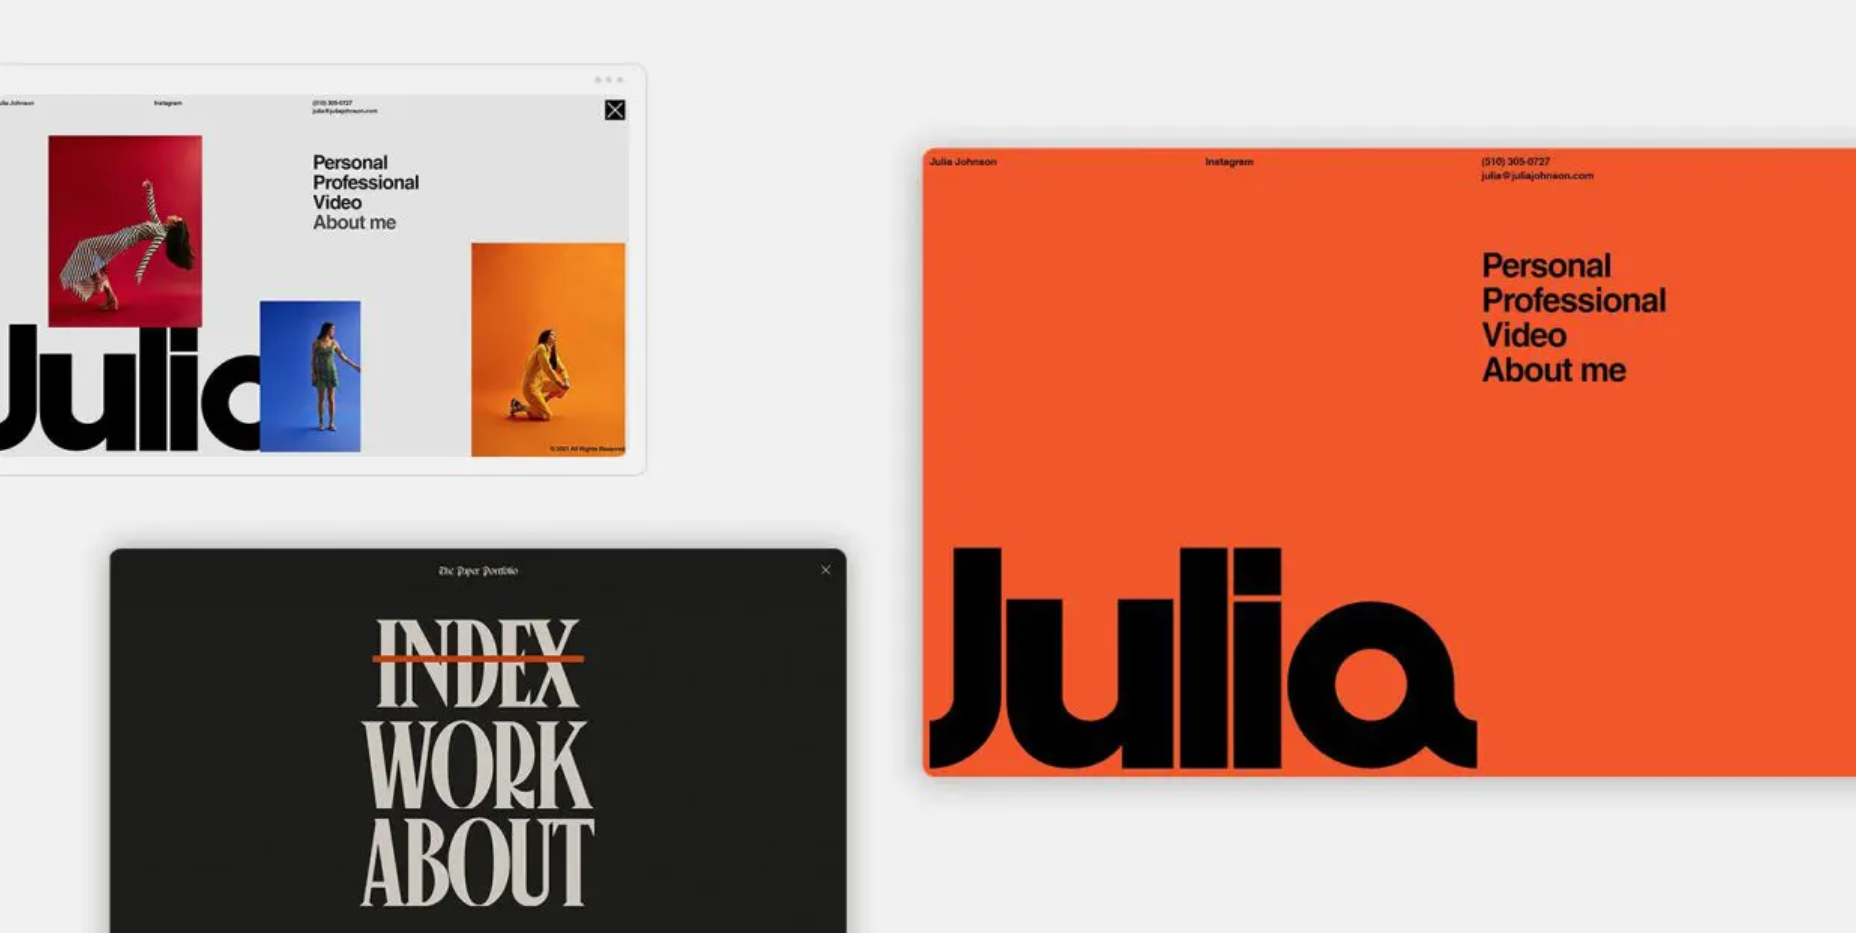
15 Websites with Inspiring Menu Design

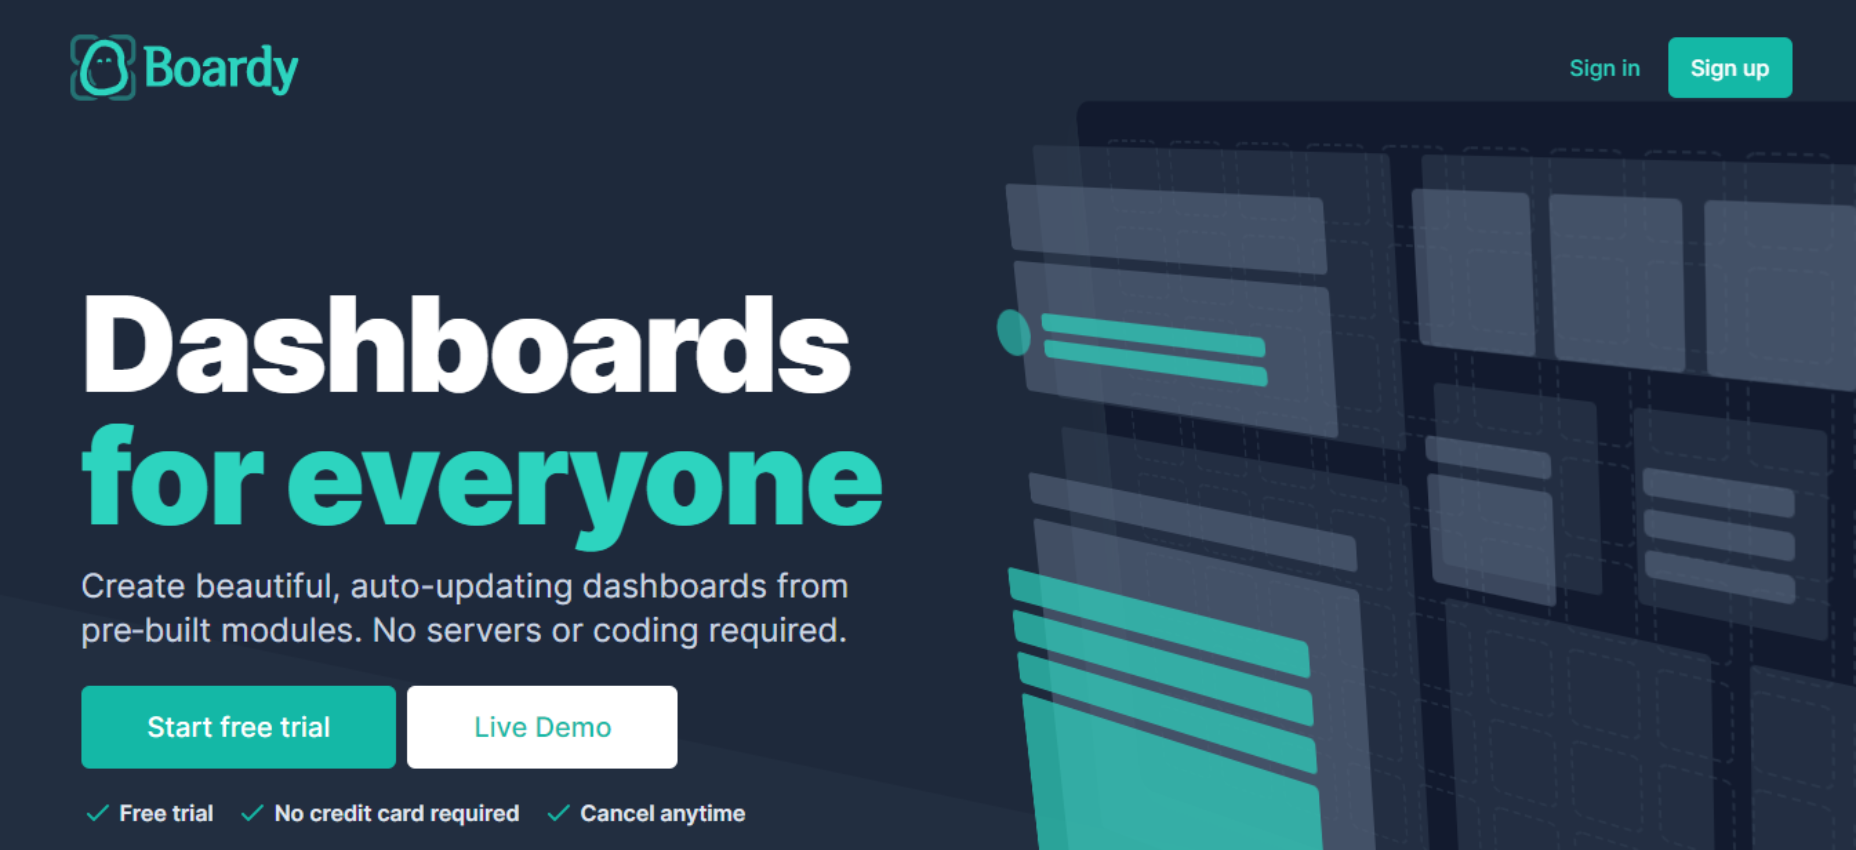
Boardy – Dashboards for Everyone

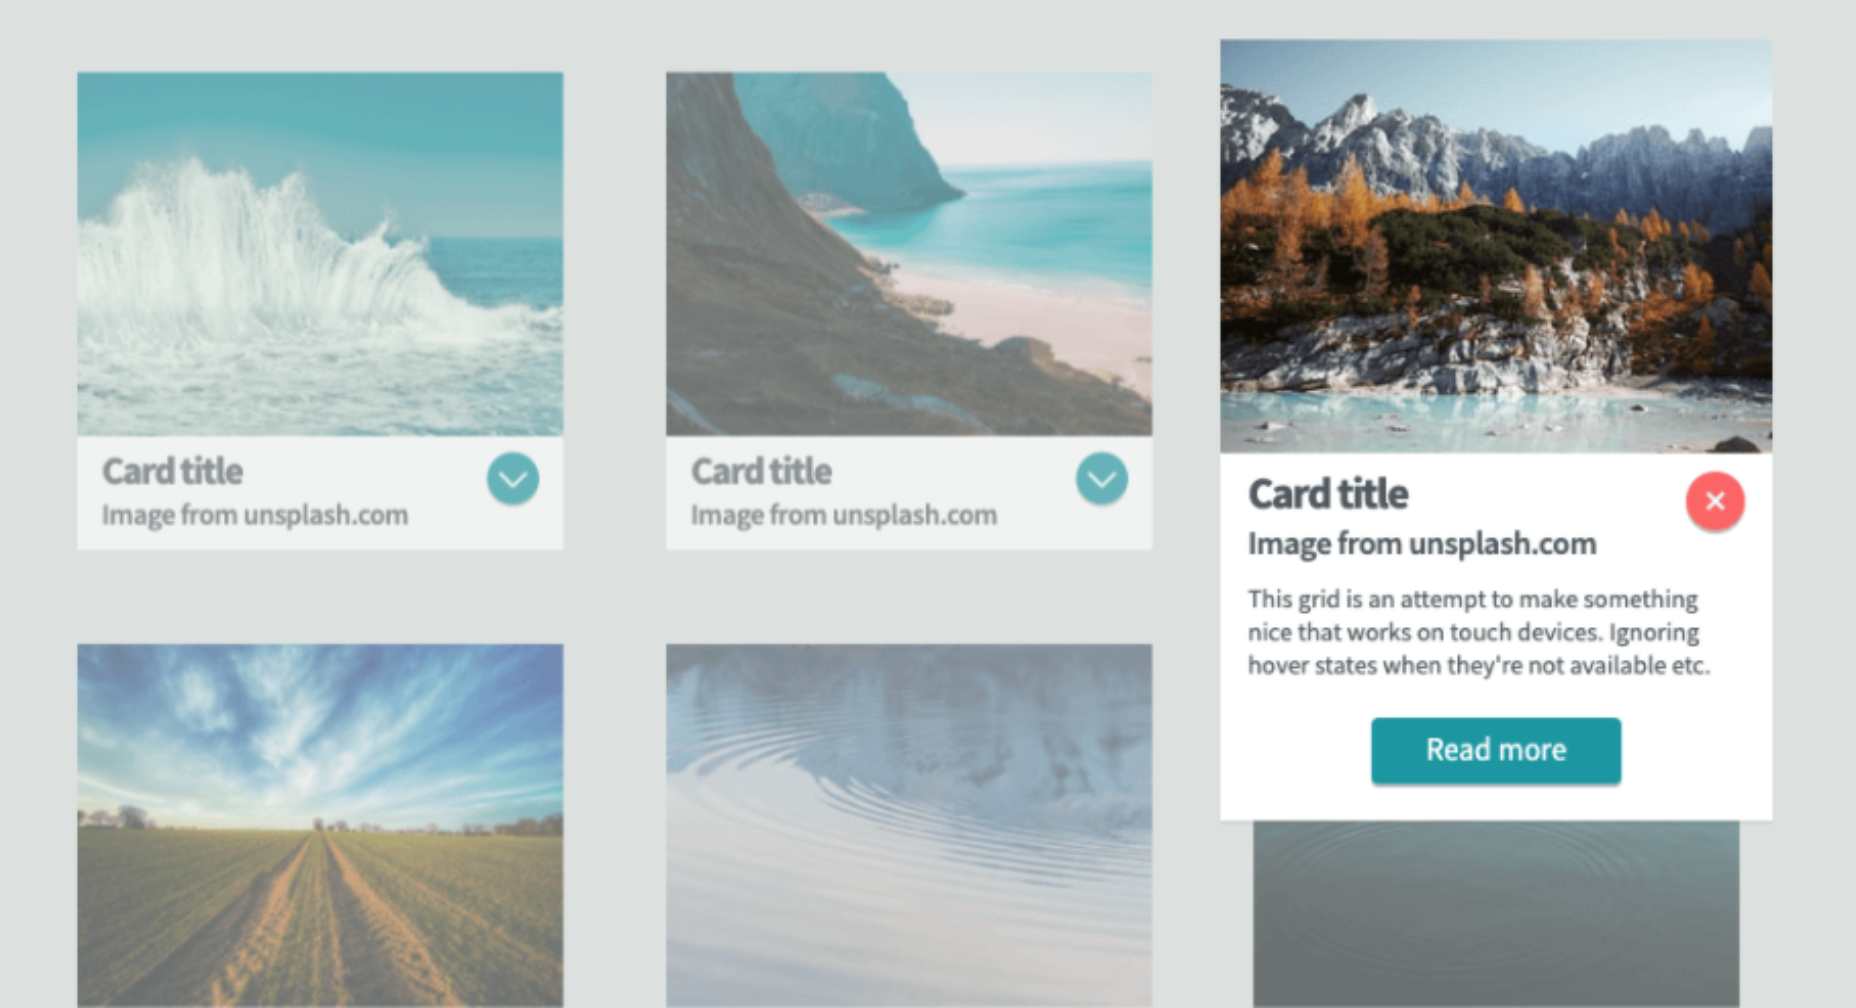
42 Card Effects CSS for Websites

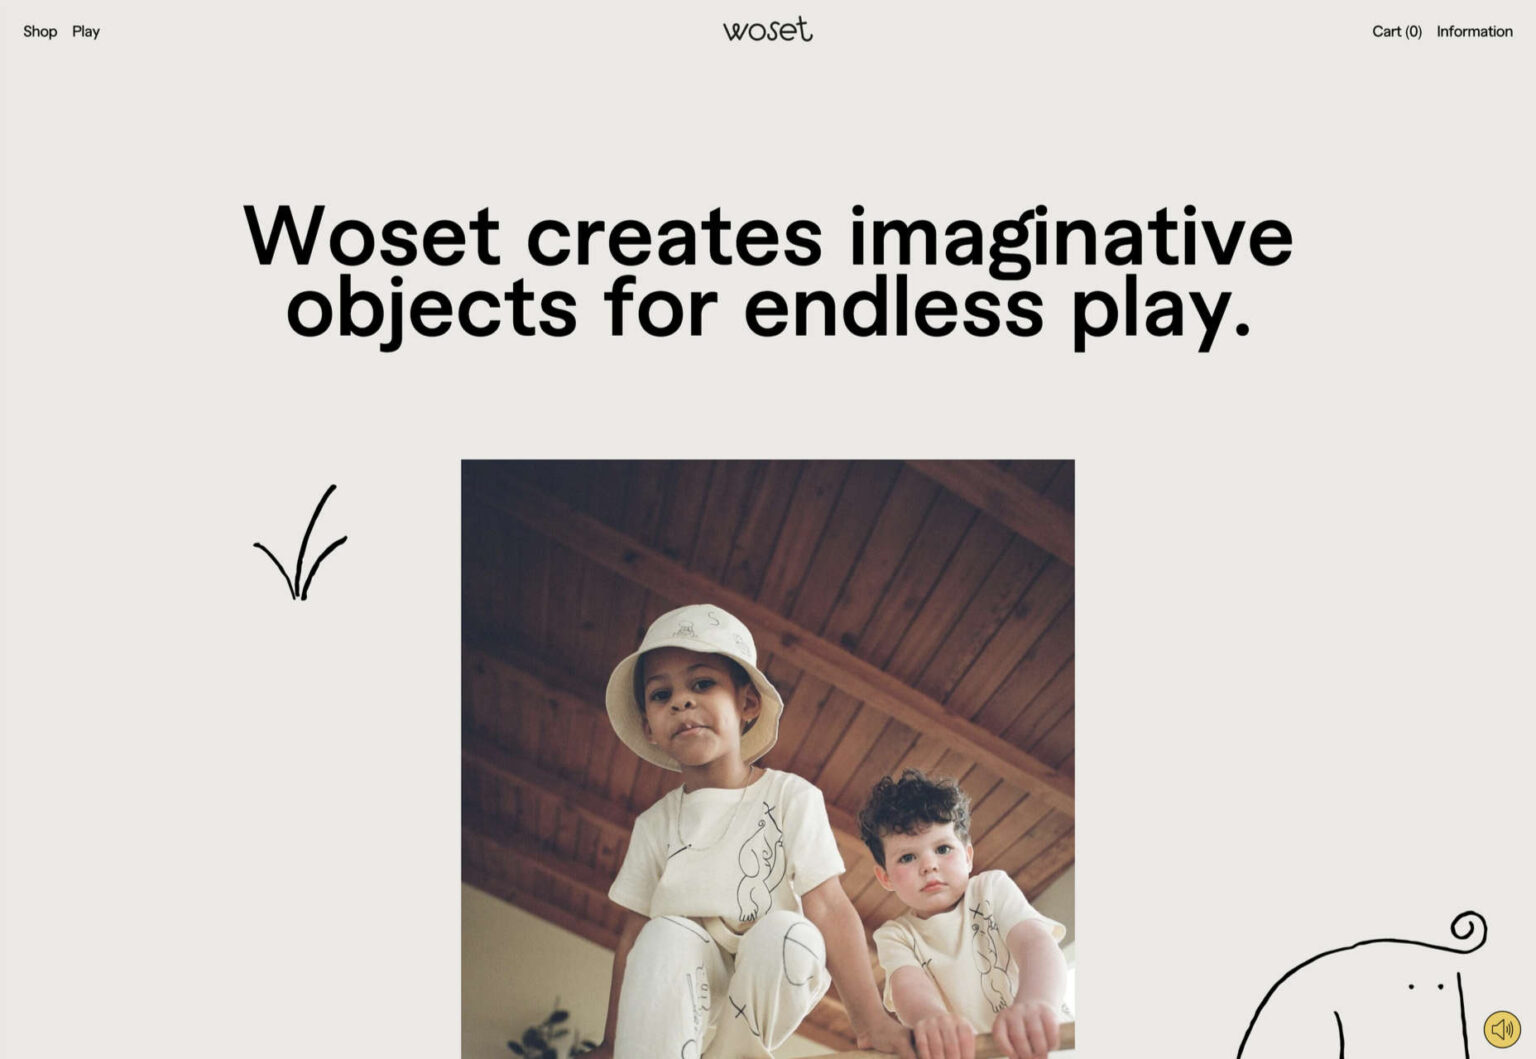
20 Best New Websites, February 2022

Move Over JavaScript: Back-end Languages are Coming to the Front-end

UI Generator – Get Mockup UI in Seconds

50 Cool Web and Mobile Project Ideas for 2022

These are the Highest-paying Design Jobs in 2022

Top Trends in Product Design for 2022

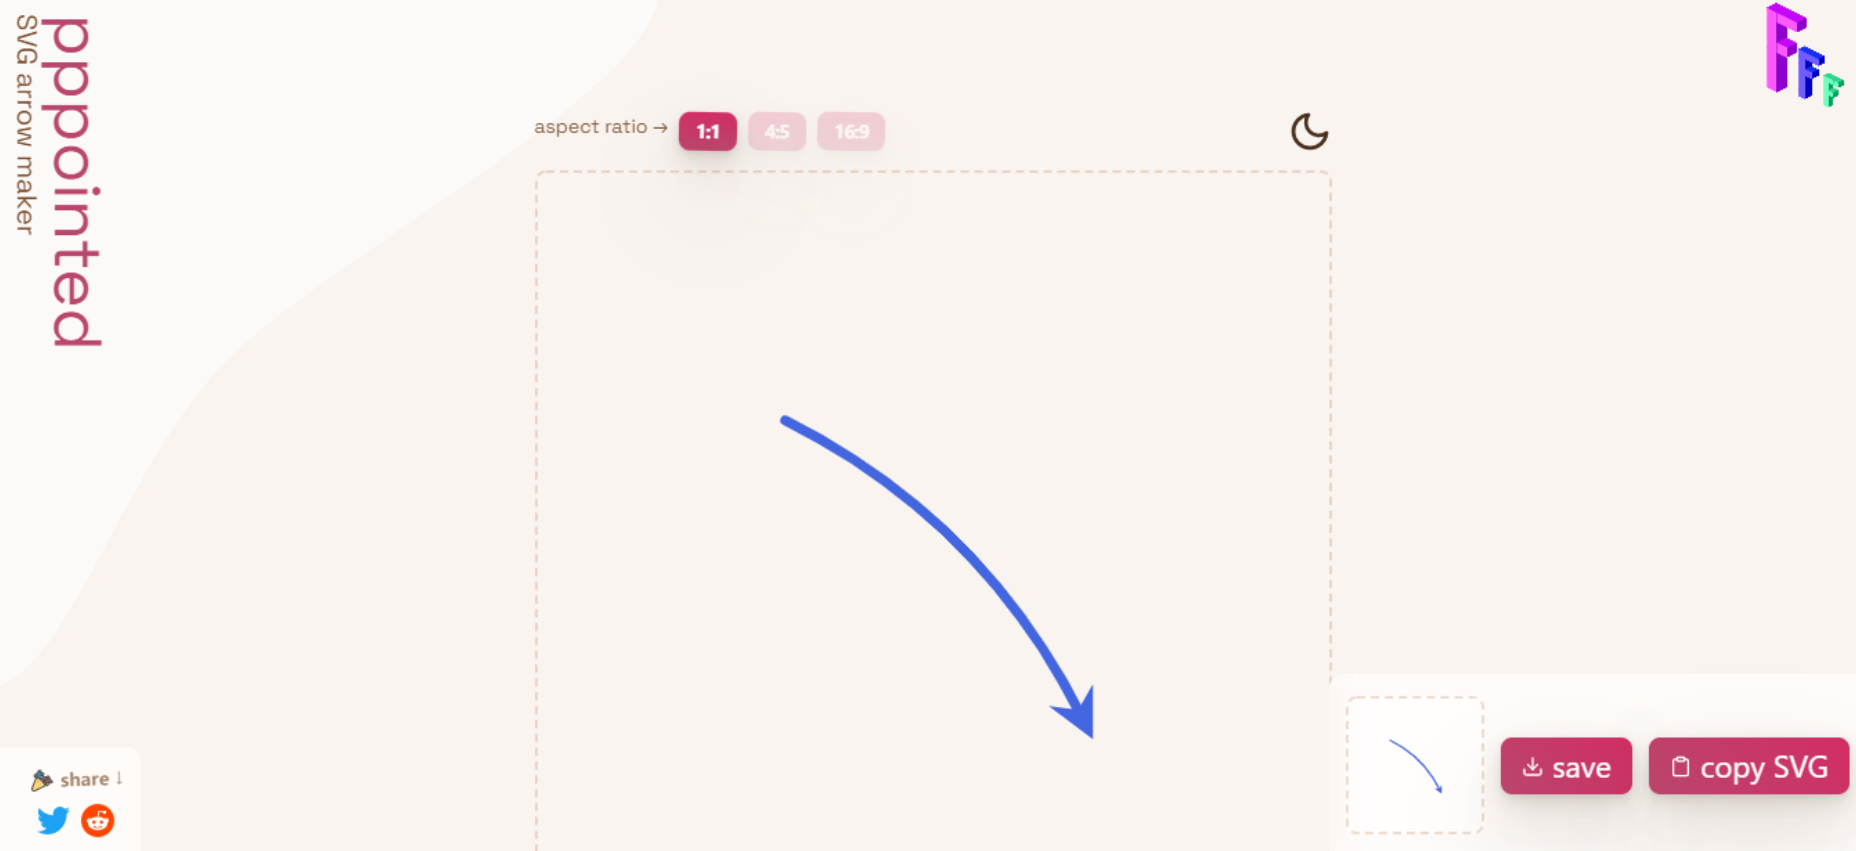
Pppointed – SVG Arrow Maker for all Kinds of Decorative Arrow Styles

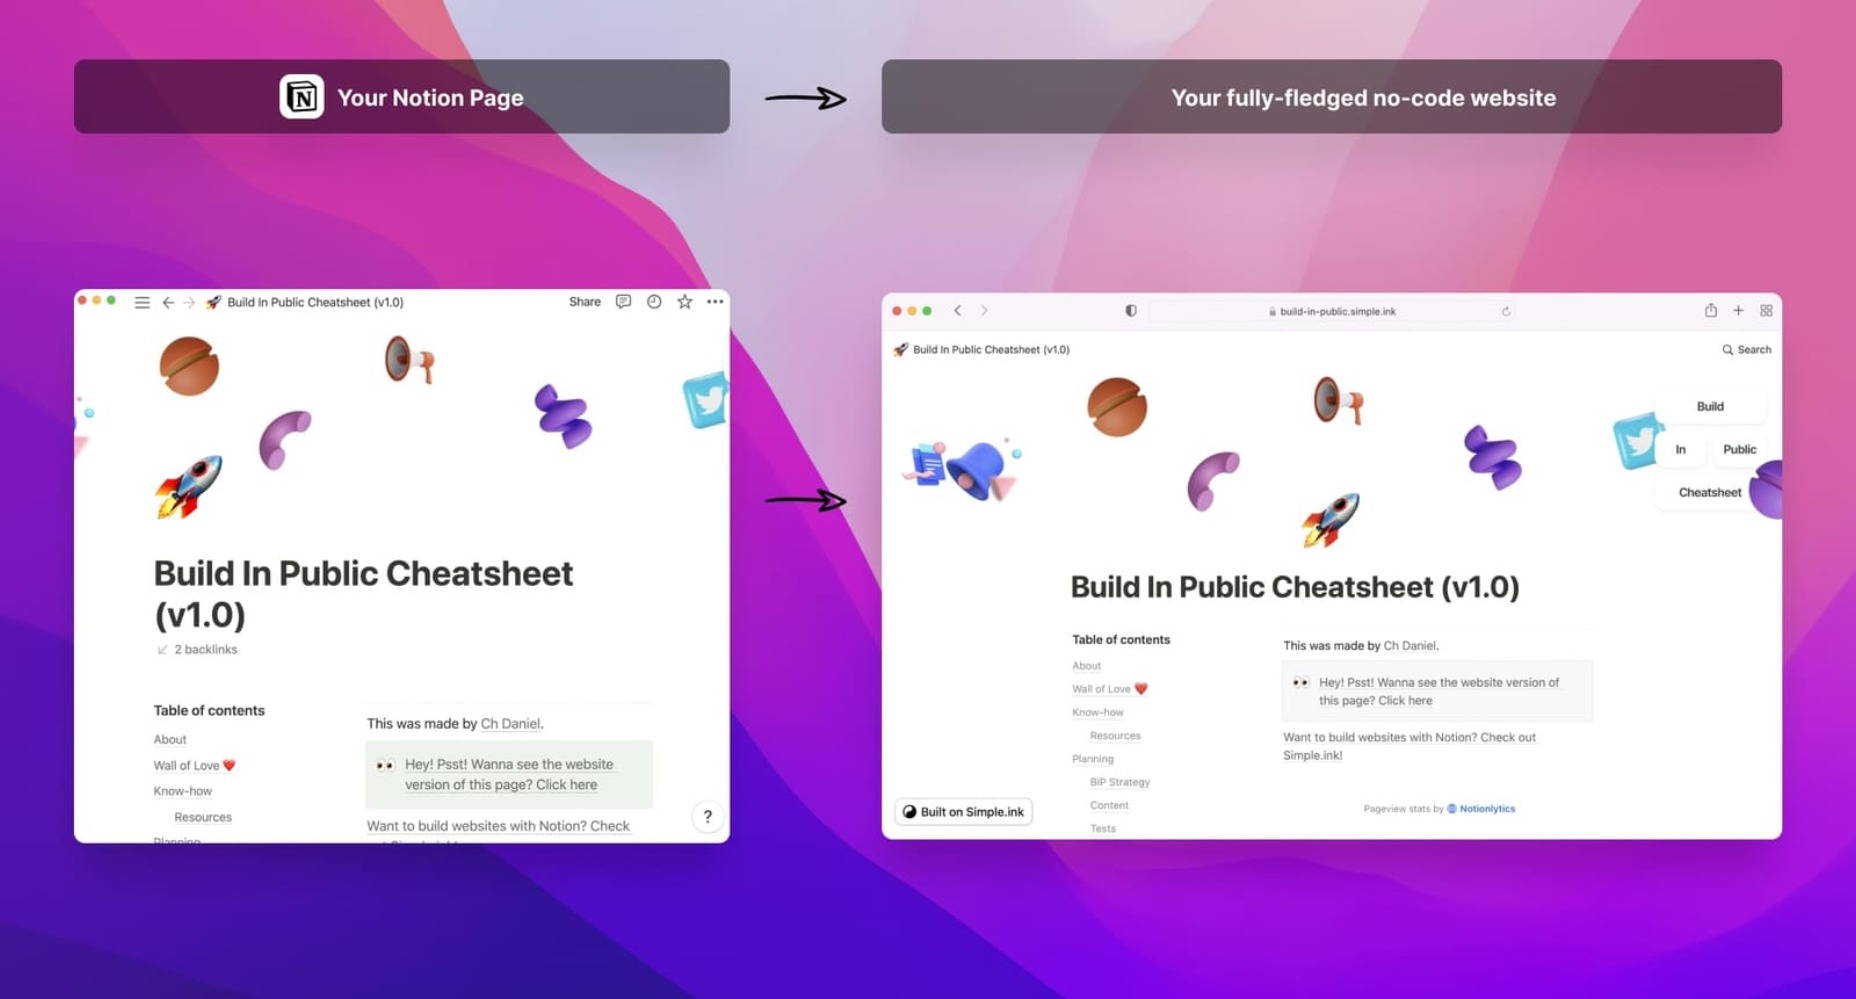
Simple.ink – Build Websites with Notion in ~10 Sec

The React Cheatsheet for 2022


Source

The post Popular Design News of the Week: February 14, 2022 – February 20, 2022 first appeared on Webdesigner Depot.

Source de l’article sur Webdesignerdepot

Are you looking for a unique font that will make your next project shine? Or maybe you need a typeface with a beautiful design and rich history behind it. Luckily, mini-sites for fonts allow us to creatively explore a font’s origins and history. We know (from our own experience) how important it is for UI and UX designers to have a variety of fonts for our designs.
Now that 2022 is here, it’s time to expand our font collection. That’s why, after extensive research, we have created the ultimate list of the best 16 creative mini websites for fonts.

Are you ready to take a look at the most creative, cute, and fun font websites available on the market?

1. GT Eesti

This website is about the history of one of the most popular fonts on the market, GT Eesti. As you will notice, the typeface has a long history (more than 80 years) and was recently reborn in Switzerland.

As for the font, GT Eesti is a flexible geometric sans serif that can be used in almost any project. As one of the most creative websites for fonts, full of animations and interesting information, GT Eesti quickly made it onto our list.

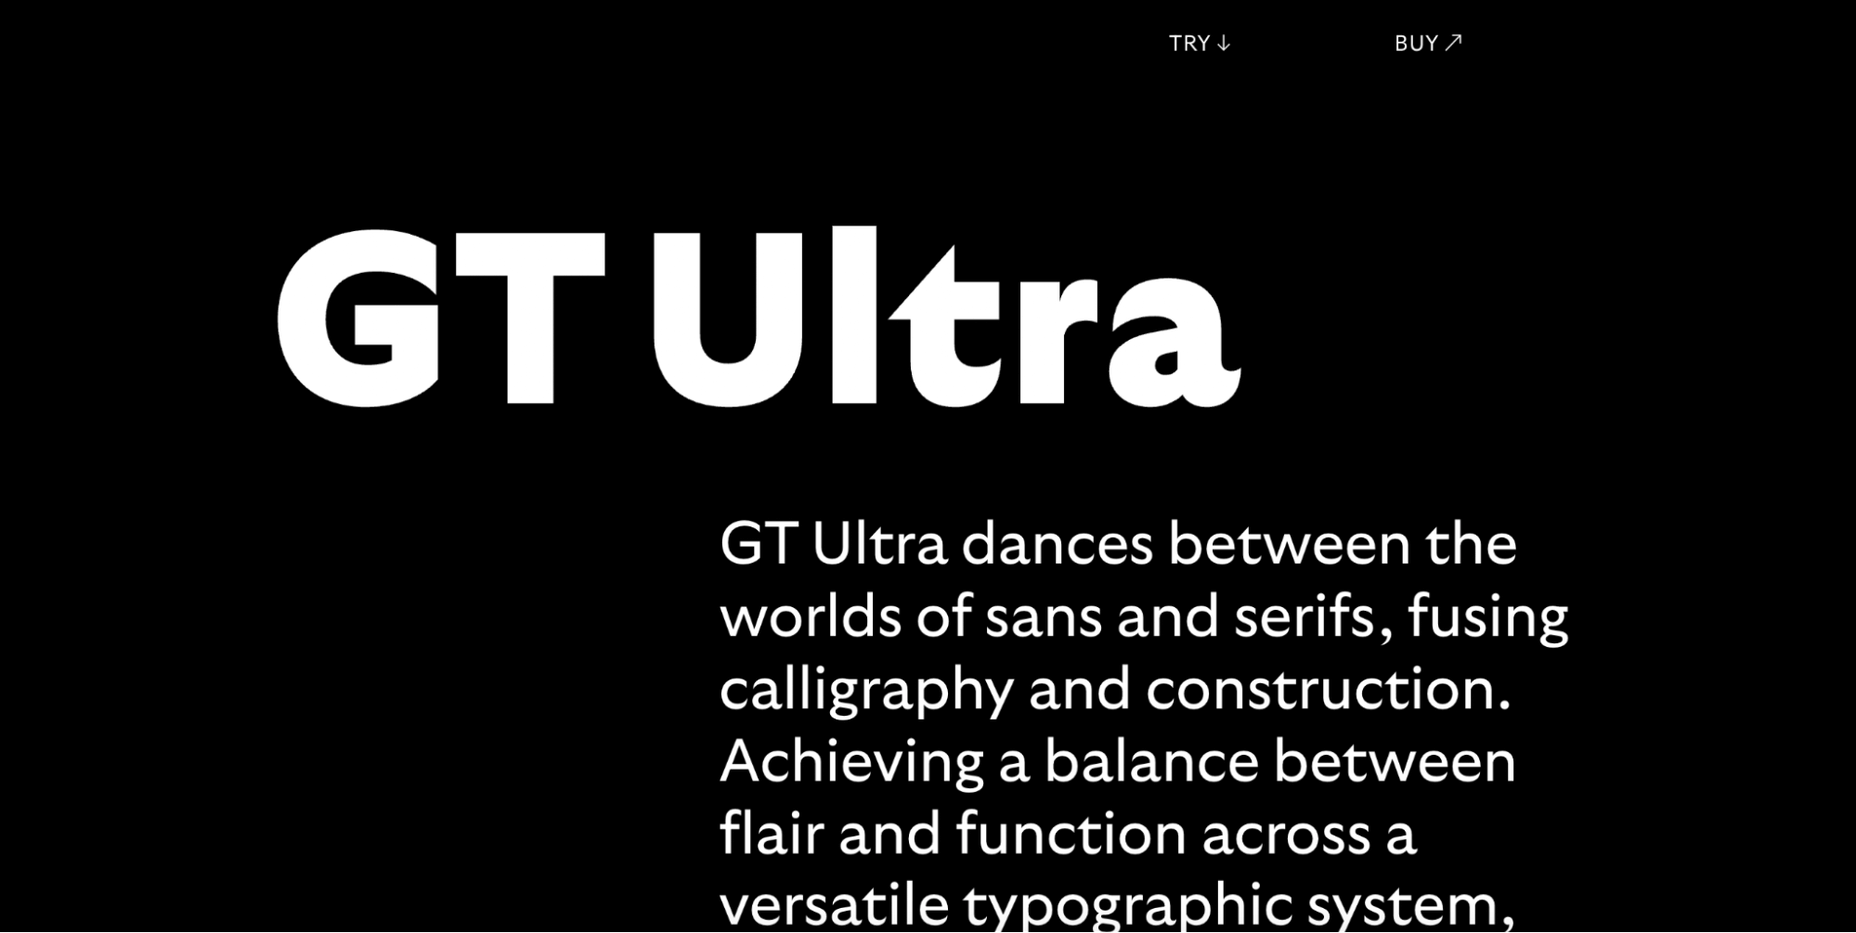
2. Ultra Font

Are you looking for a font that combines calligraphy and elegance and sits between the sans and serif styles? 

Then GT Ultra is just what you need. We loved how the creator tells the story and structure of Ultra with beautiful animations on this unique, one-page website.

3. Maru Typeface

Maru is by far the cutest design on this list. The website is a vertical narrative of the typeface’s history. 

The typeface was inspired by the designer’s travels to Japan, and the mini-site fully reflects that. Best of all, Maru also includes a great collection of cute emojis and stickers.

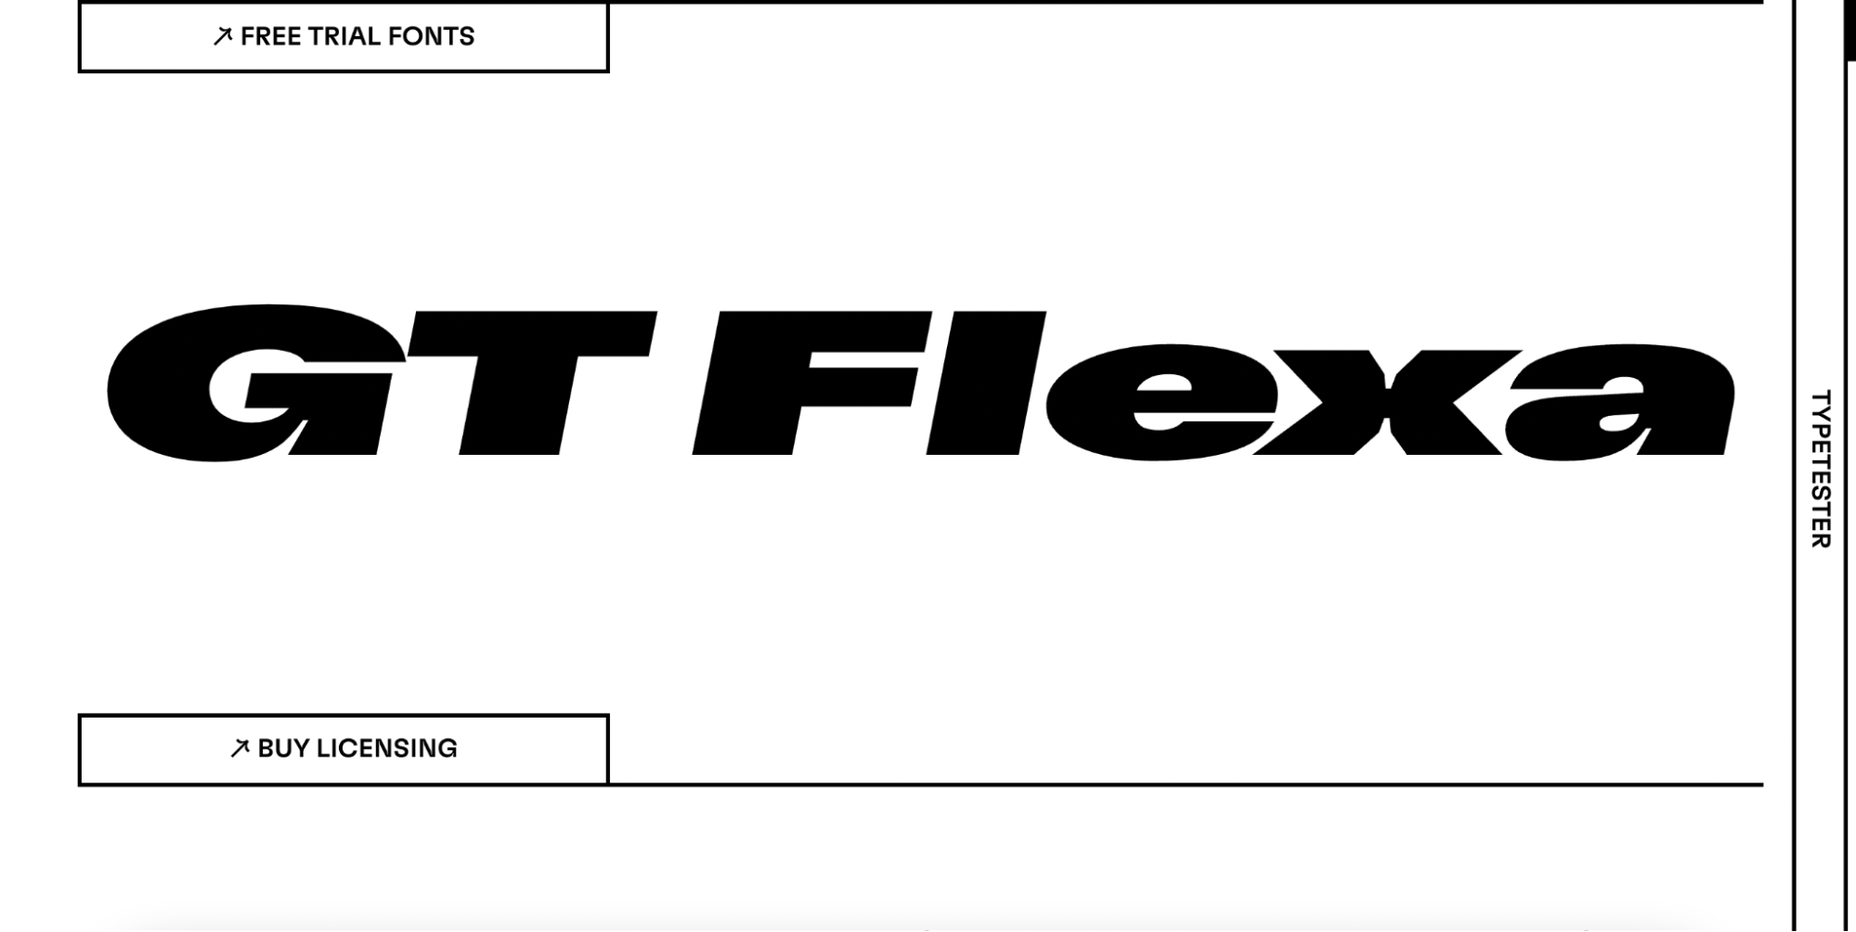
4. GT Flexa

GT Flexa is a very flexible font that you can easily use for a responsive UI design. We enjoyed navigating through the minimalist mini-site and exploring the creation and history of Flexa. 

Flexa also offers a free trial that allows you to try the font before you buy.

5. Super

Super’s mini-site reminded us of earlier decades. GT Super is a vintage typeface inspired by the serif fonts of the 70s and 80s. 

Therefore, it can beautifully frame nostalgic designs. The font was designed by Noel Leu and is available in two styles (text and display).

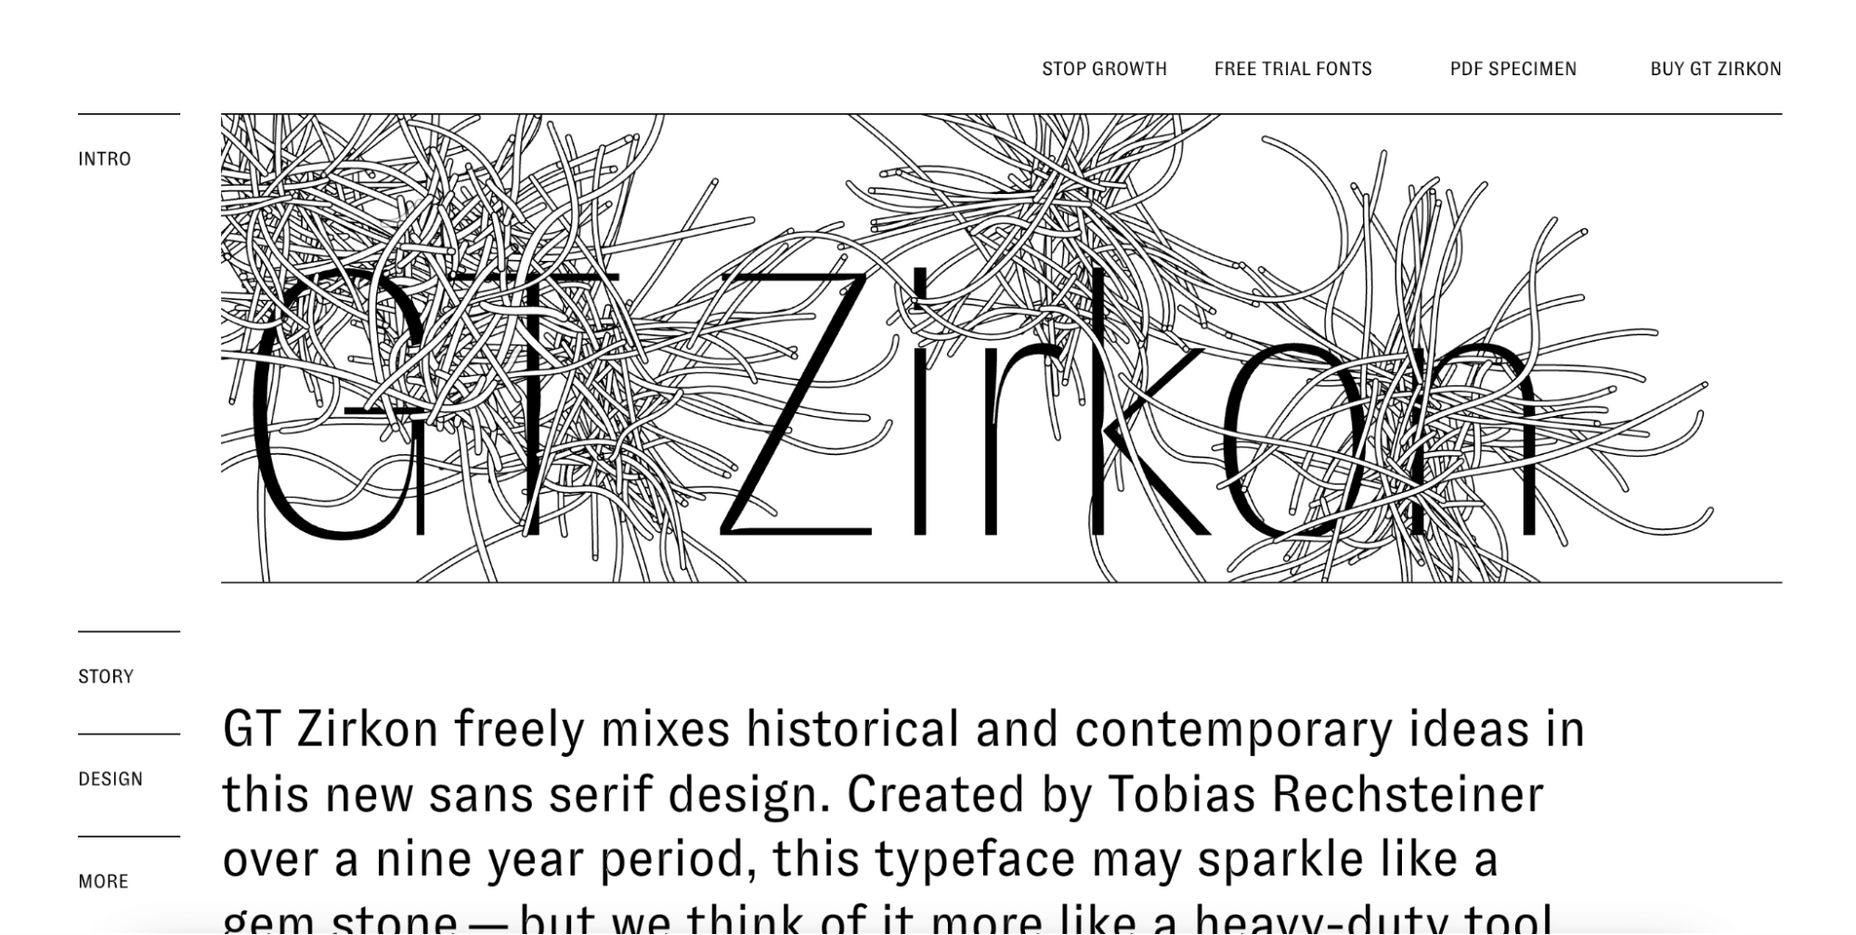
6. GT Zirkon

GT Zircon is located in a place where creativity meets minimalism. This is one of our favorite mini-sites for fonts. 

The site showcases Zirkon’s history and design process through creative graphics, videos, and animations.

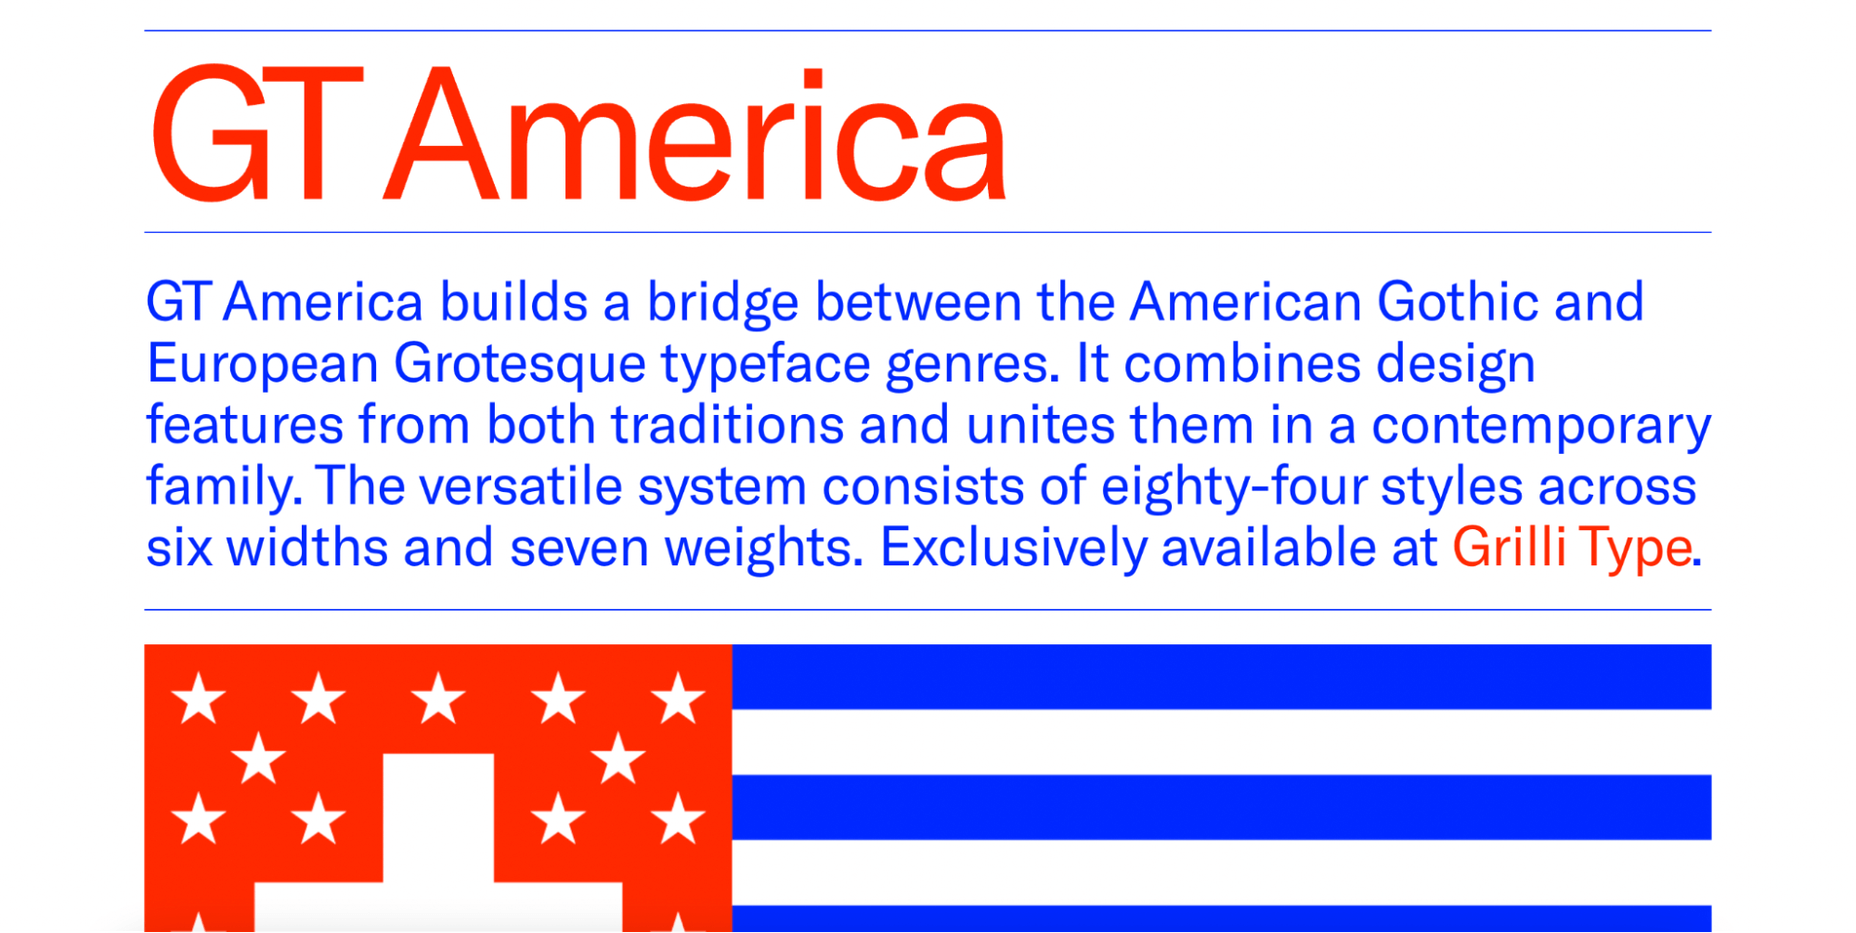
7. America Font 

This mini-site allows you to explore the history, style, and character overview of GT America, a contemporary font family. 

The designer has used elements from American Gothic and European Grotesque to create one of the most flexible typefaces available.

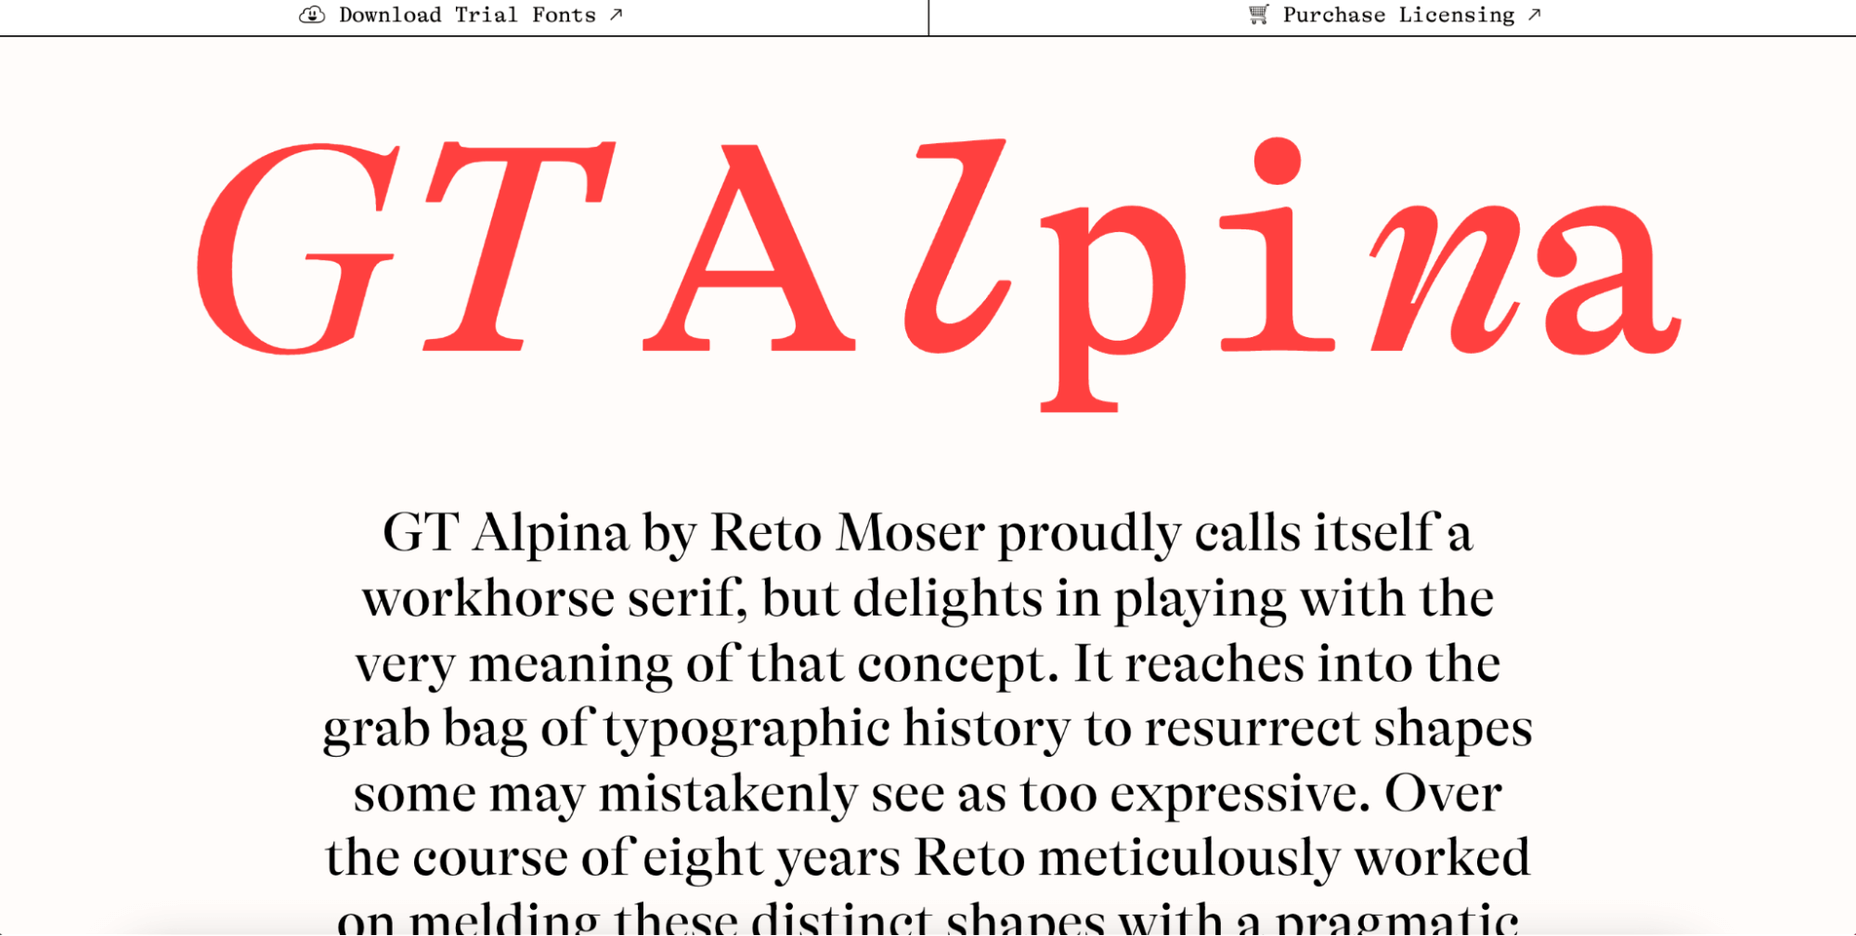
8. Alpina

Reto Moser recently designed one of the most popular GT typefaces, the Alpina “Workhorse” serif. 

This innovative, one-page website tells us the story of Alpina and explains how the designer jazzed up, posed, and flexed the classic book typography to create a wide range of typeface variations.

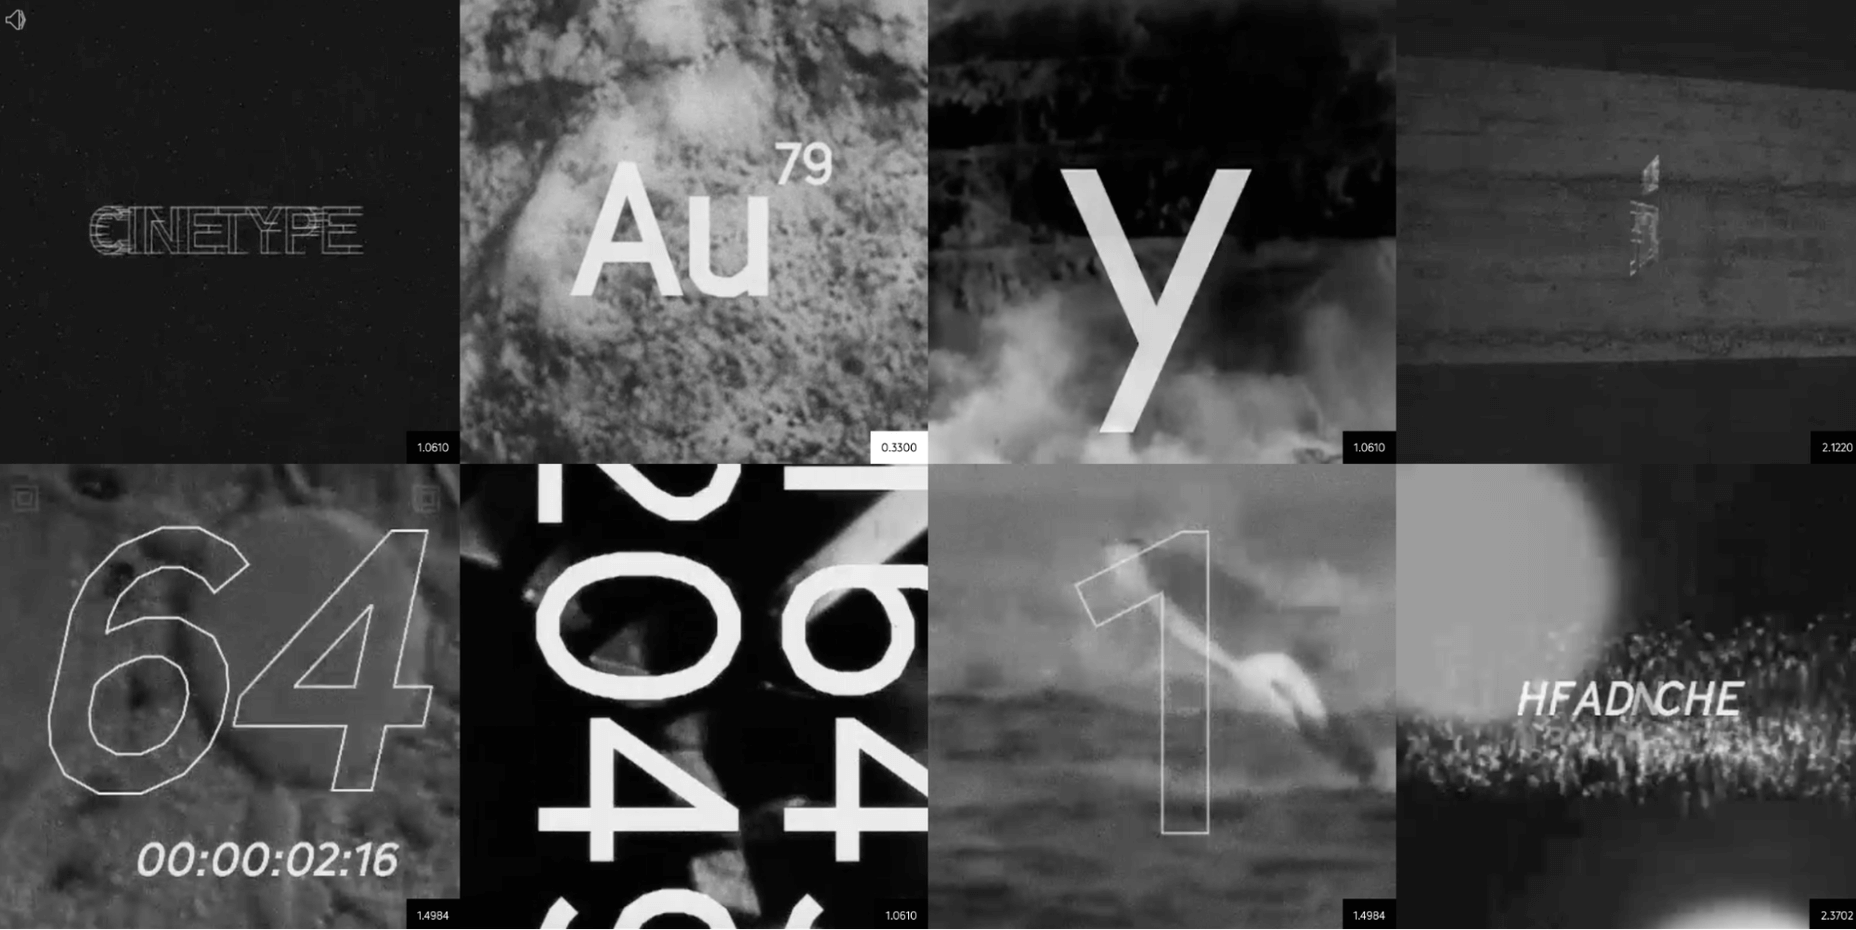
9. Cinetype

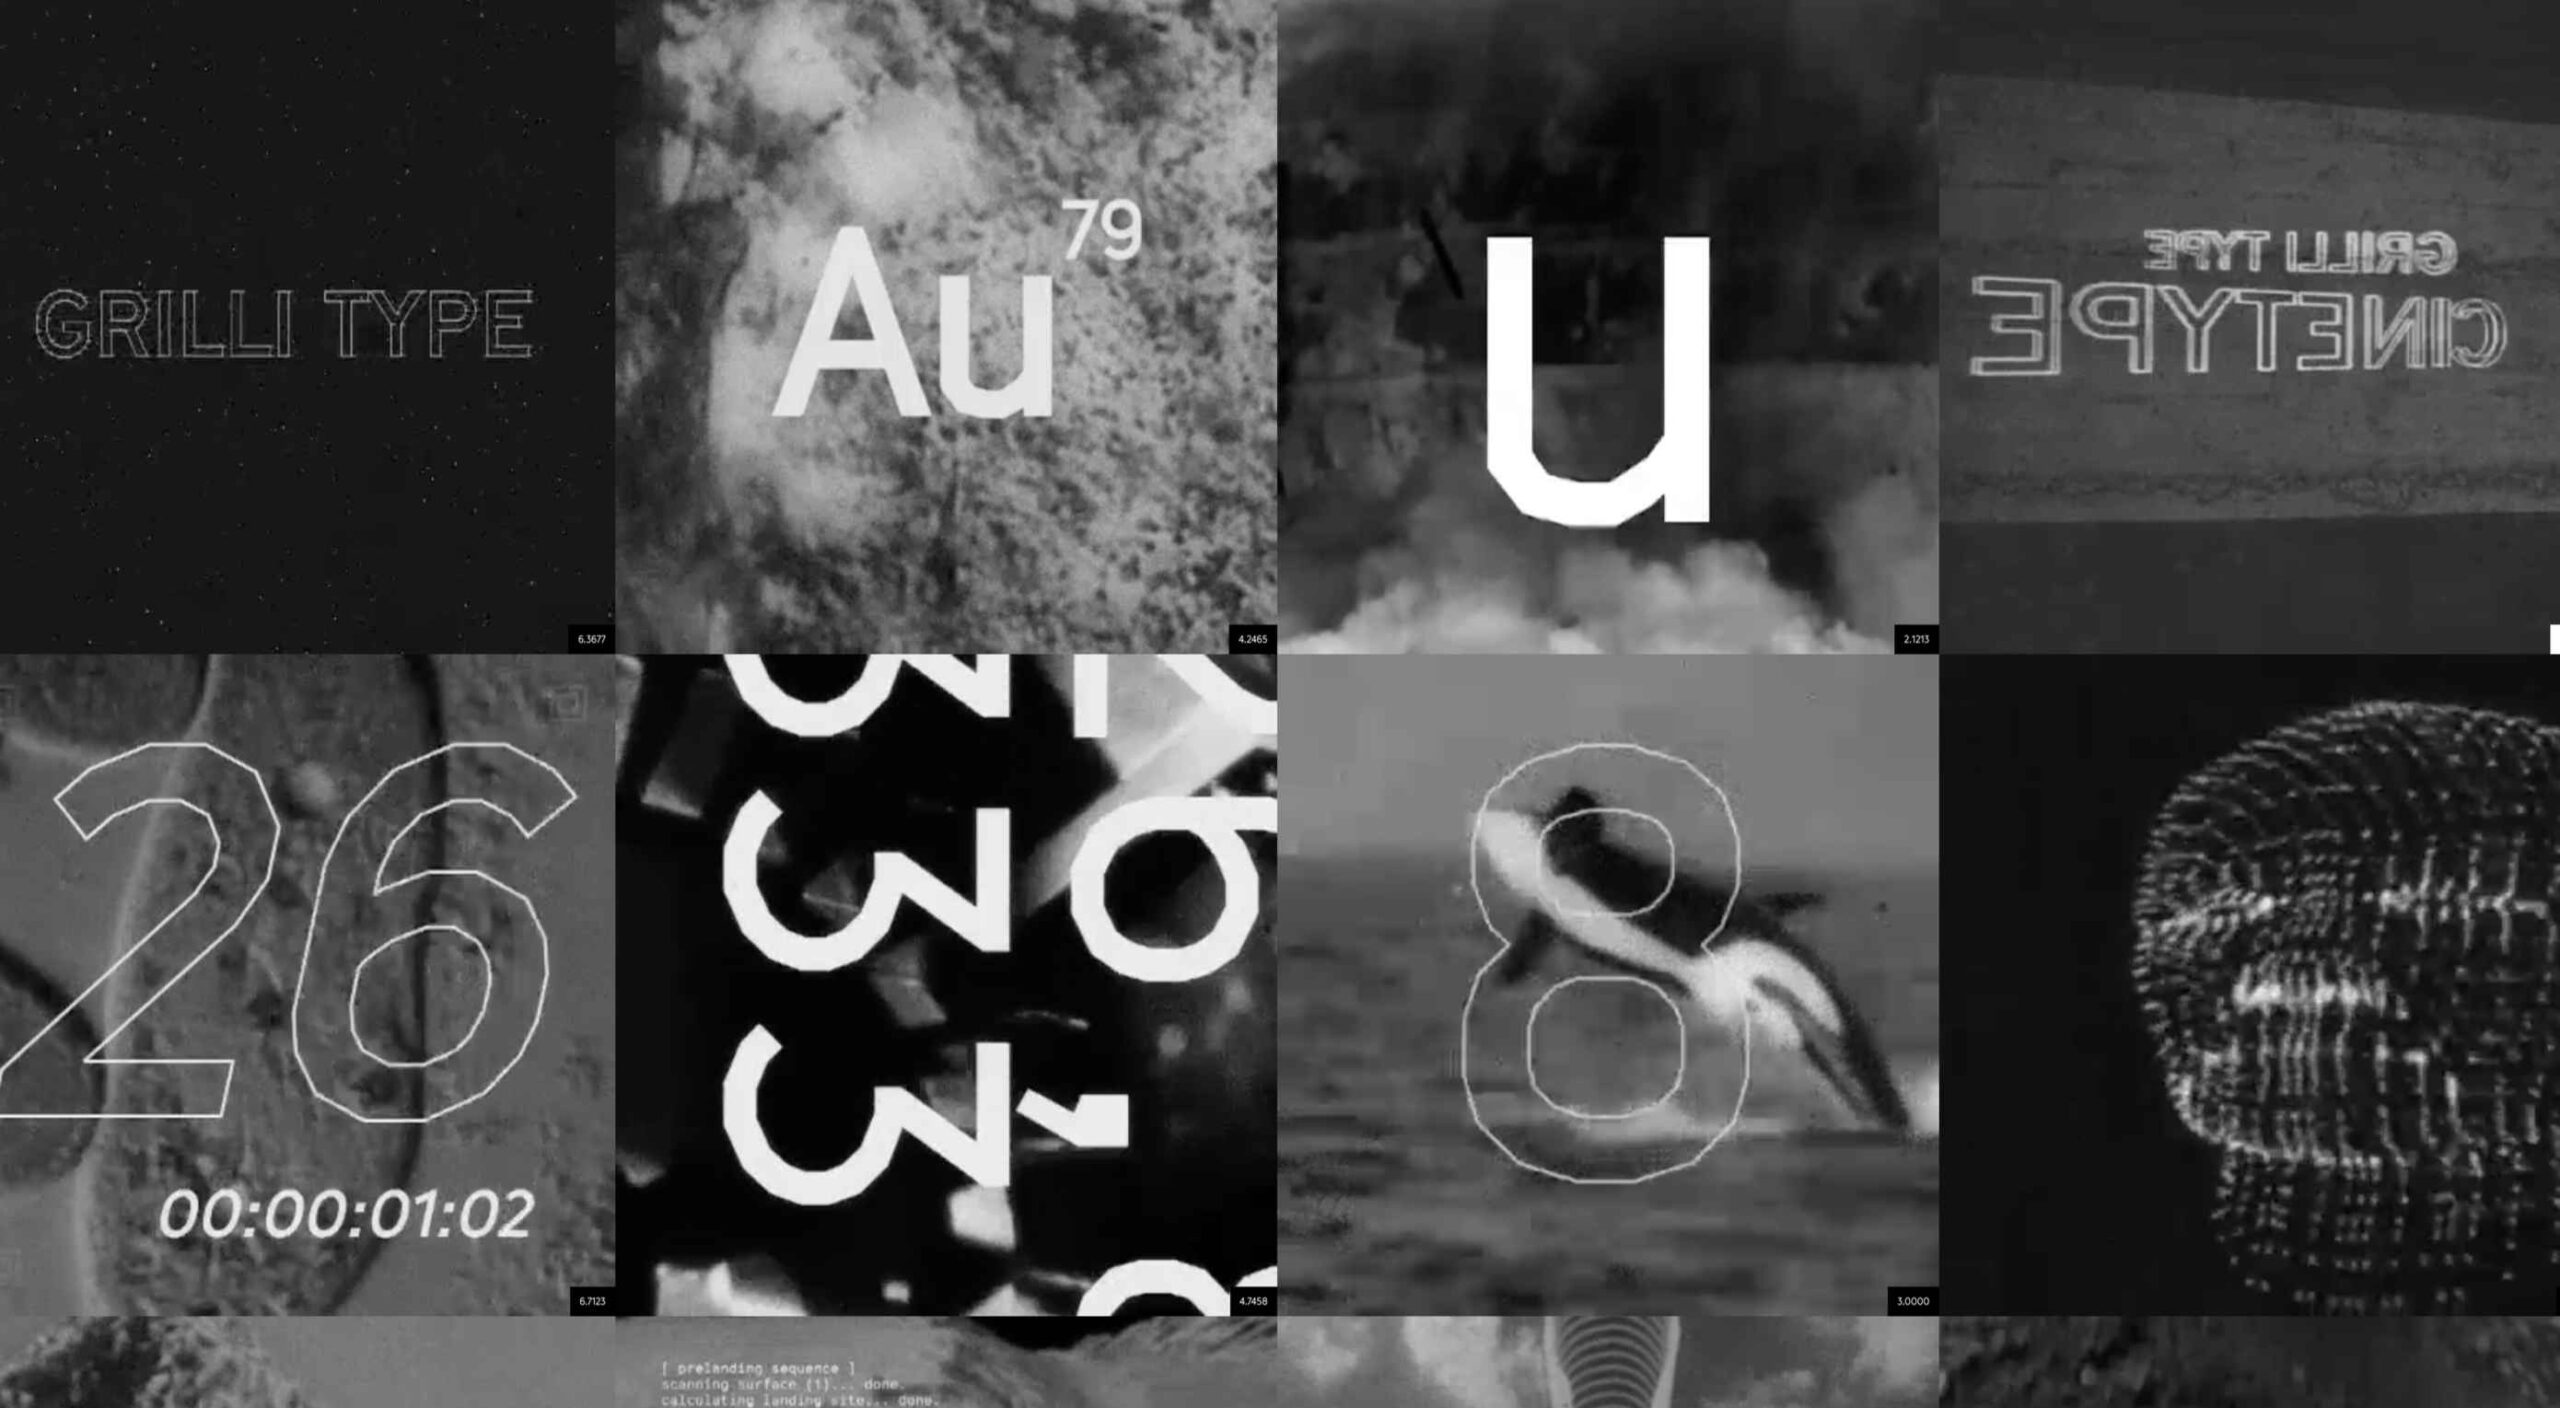
As the name suggests, this mini-site is inspired by classic cinematic movie reels. If you’re looking for a font inspired by the fascinating world of cinemas, Cinetype is simply the best choice. And on this creative website, you will learn all the reasons why.

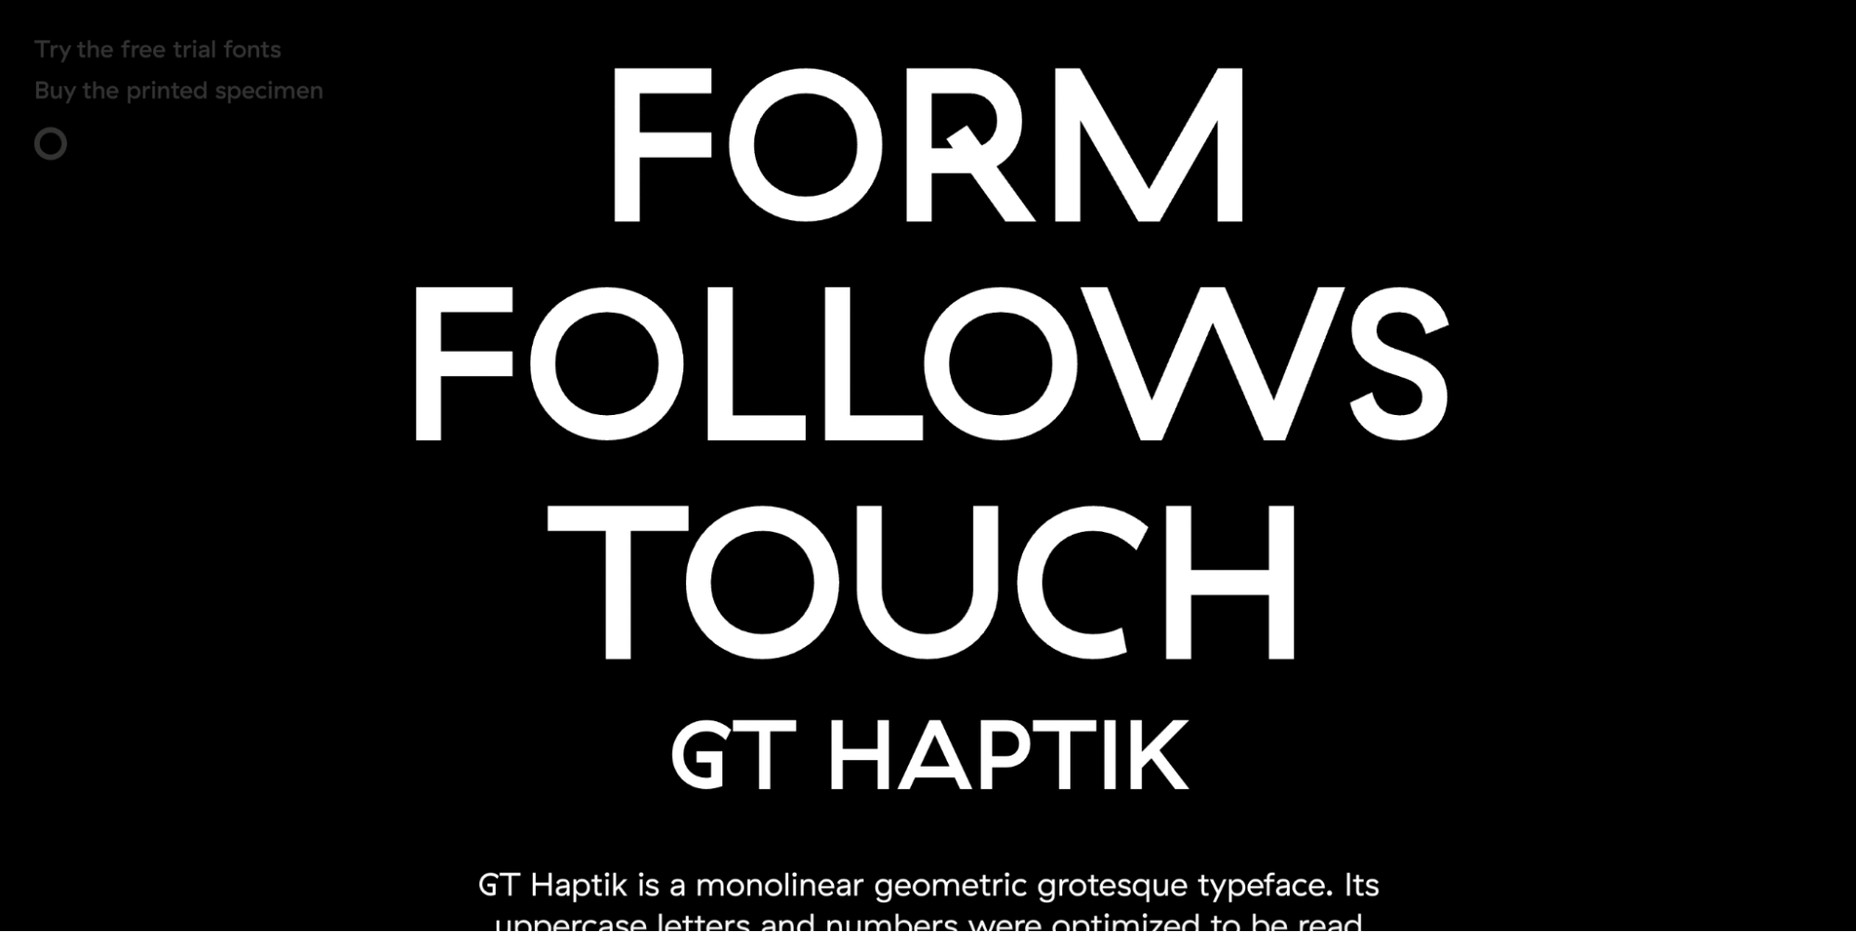
10. Haptik Typeface

When it comes to monolinear geometric typefaces, Haptik is one of the best. This innovative mini-website tells how the Haptik font came to be and highlights the history of the font. 

The hand gesture gifs at the bottom of this one-page site are some of the most creative mini-videos we have seen in a long time.

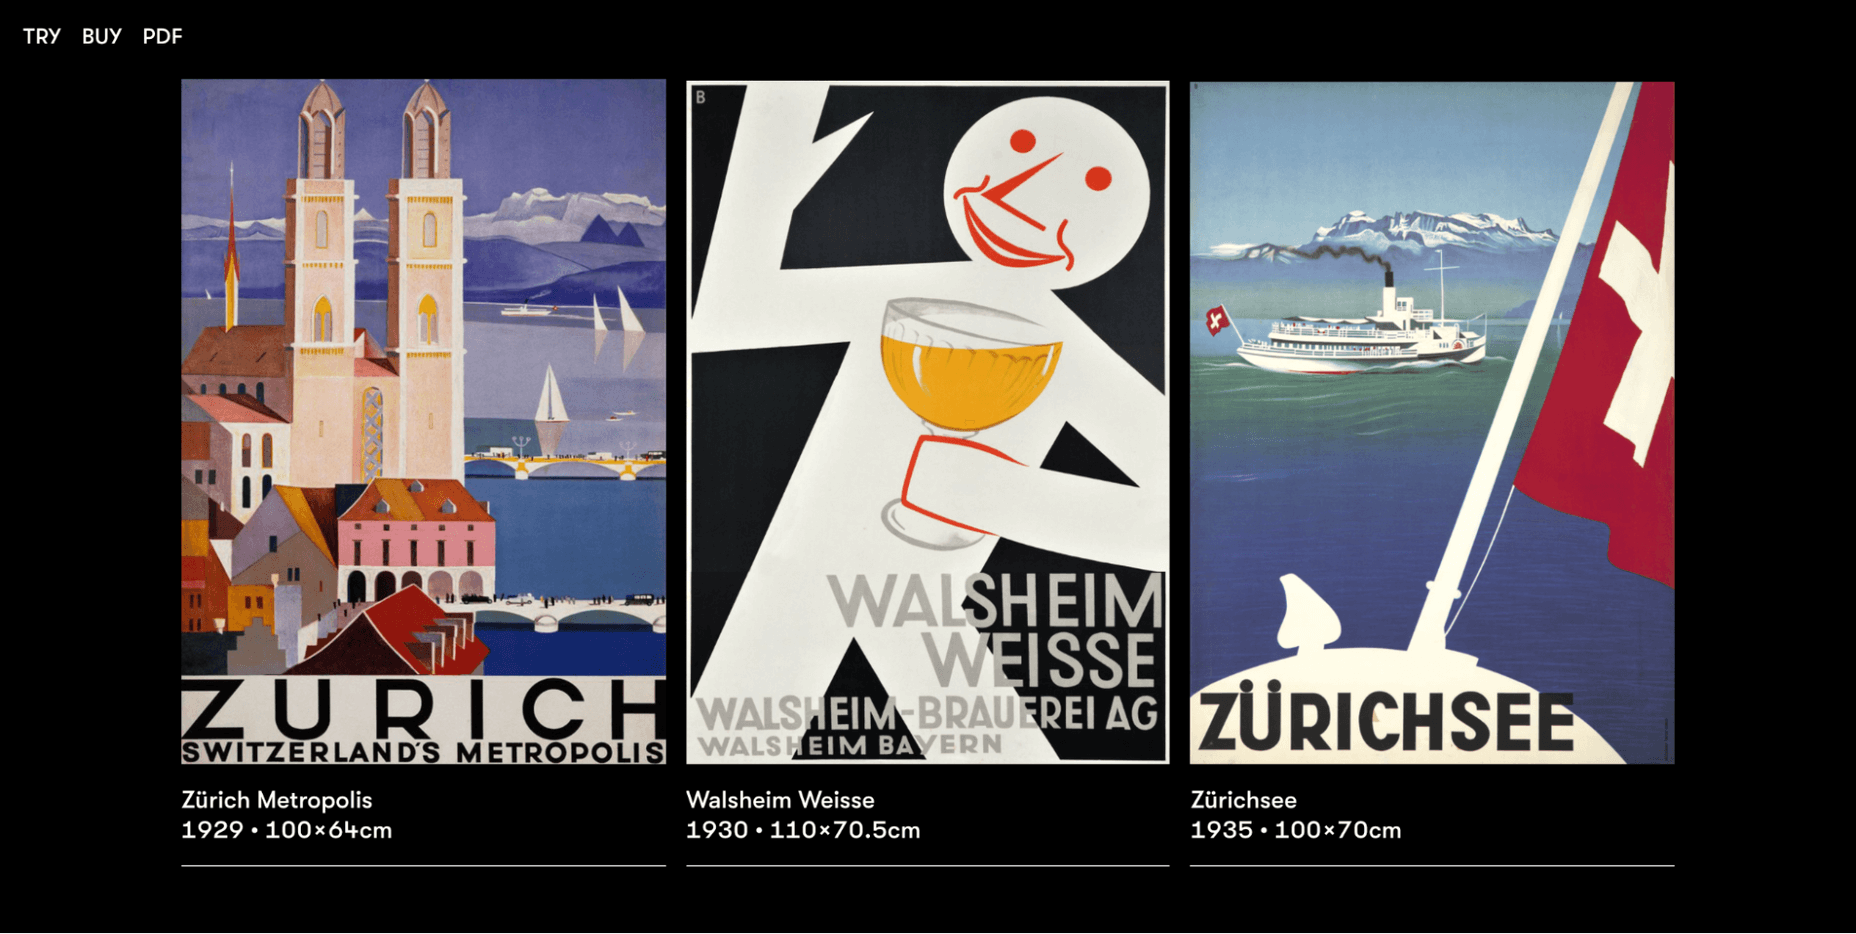
11. Walsheim

Walsheim is a typeface designed by Noel Leu. This mini-site explains how the designer was inspired by the fascinating poster designs of Otto Baumberger, a successful Swiss painter of the 20th century (1889-1961). If you like fonts with a deep backstory, Walsheim is a must-have for you.

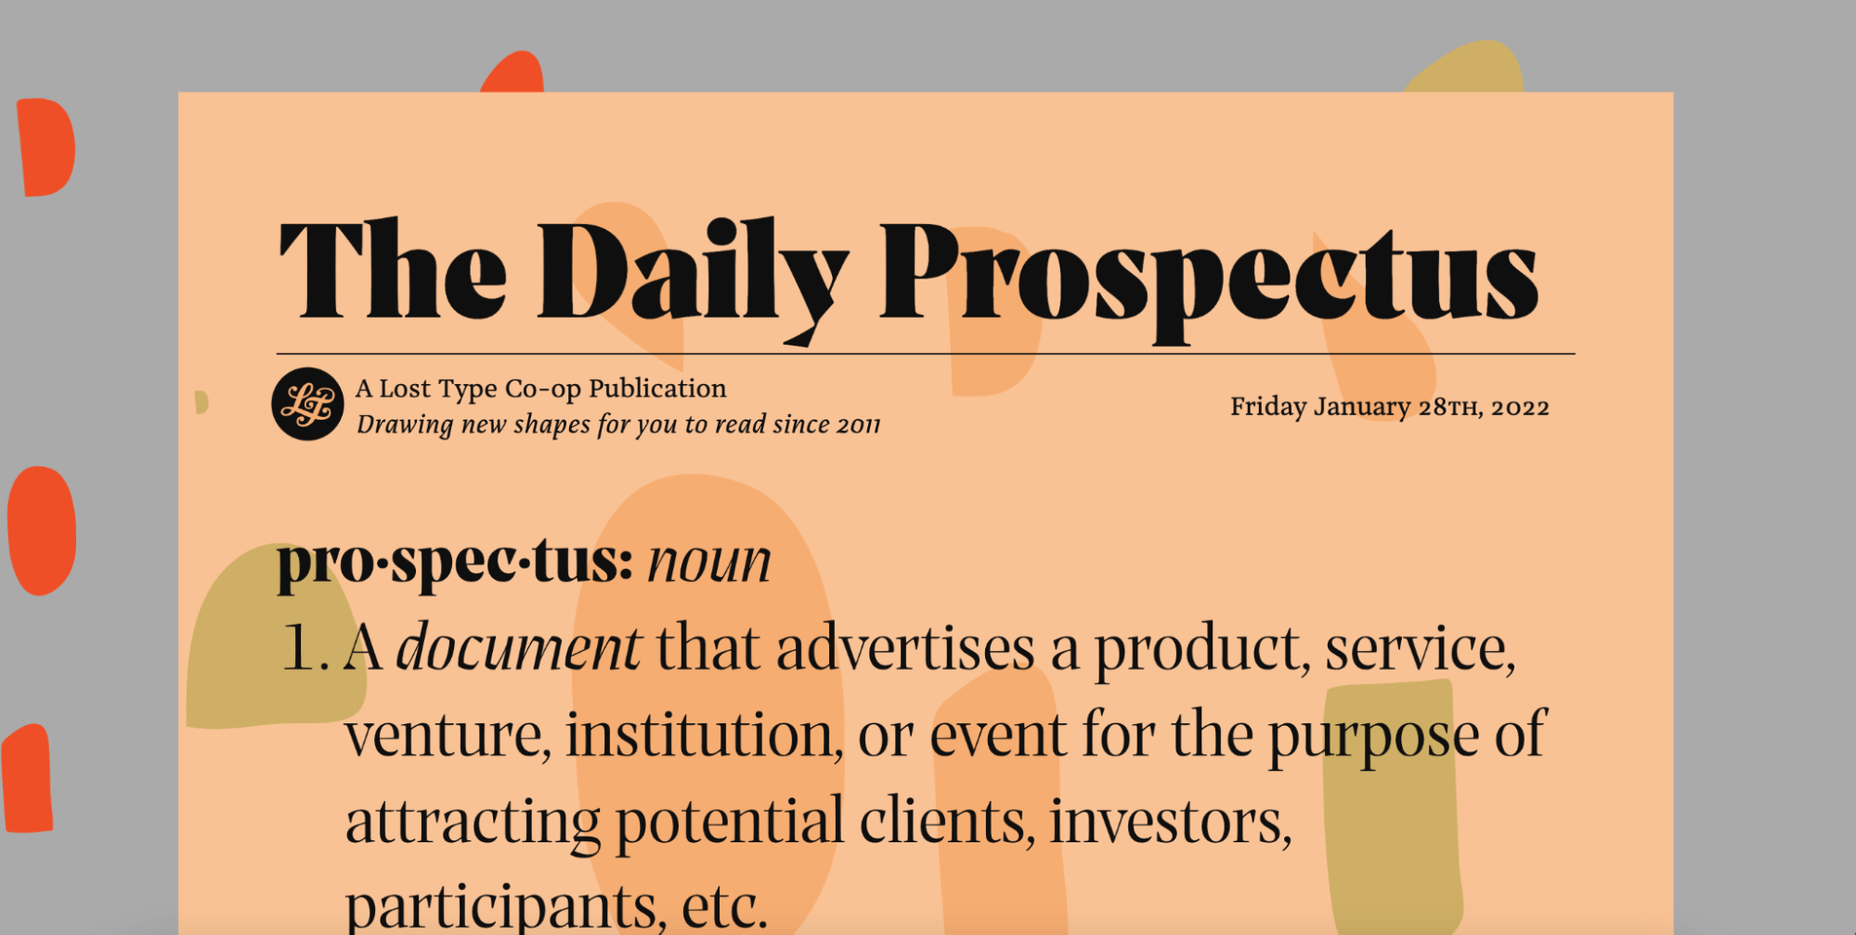
12. Prospectus

The Prospectus mini-site is specially designed to look like a newspaper. And let us say: the result is extraordinary. 

This one-page website explores the origins, construction phase, and classifieds of the Prospectus typeface, allowing us to experiment in real-time with the weight, height, tracking, and size of the typeface.

13. Mort Modern

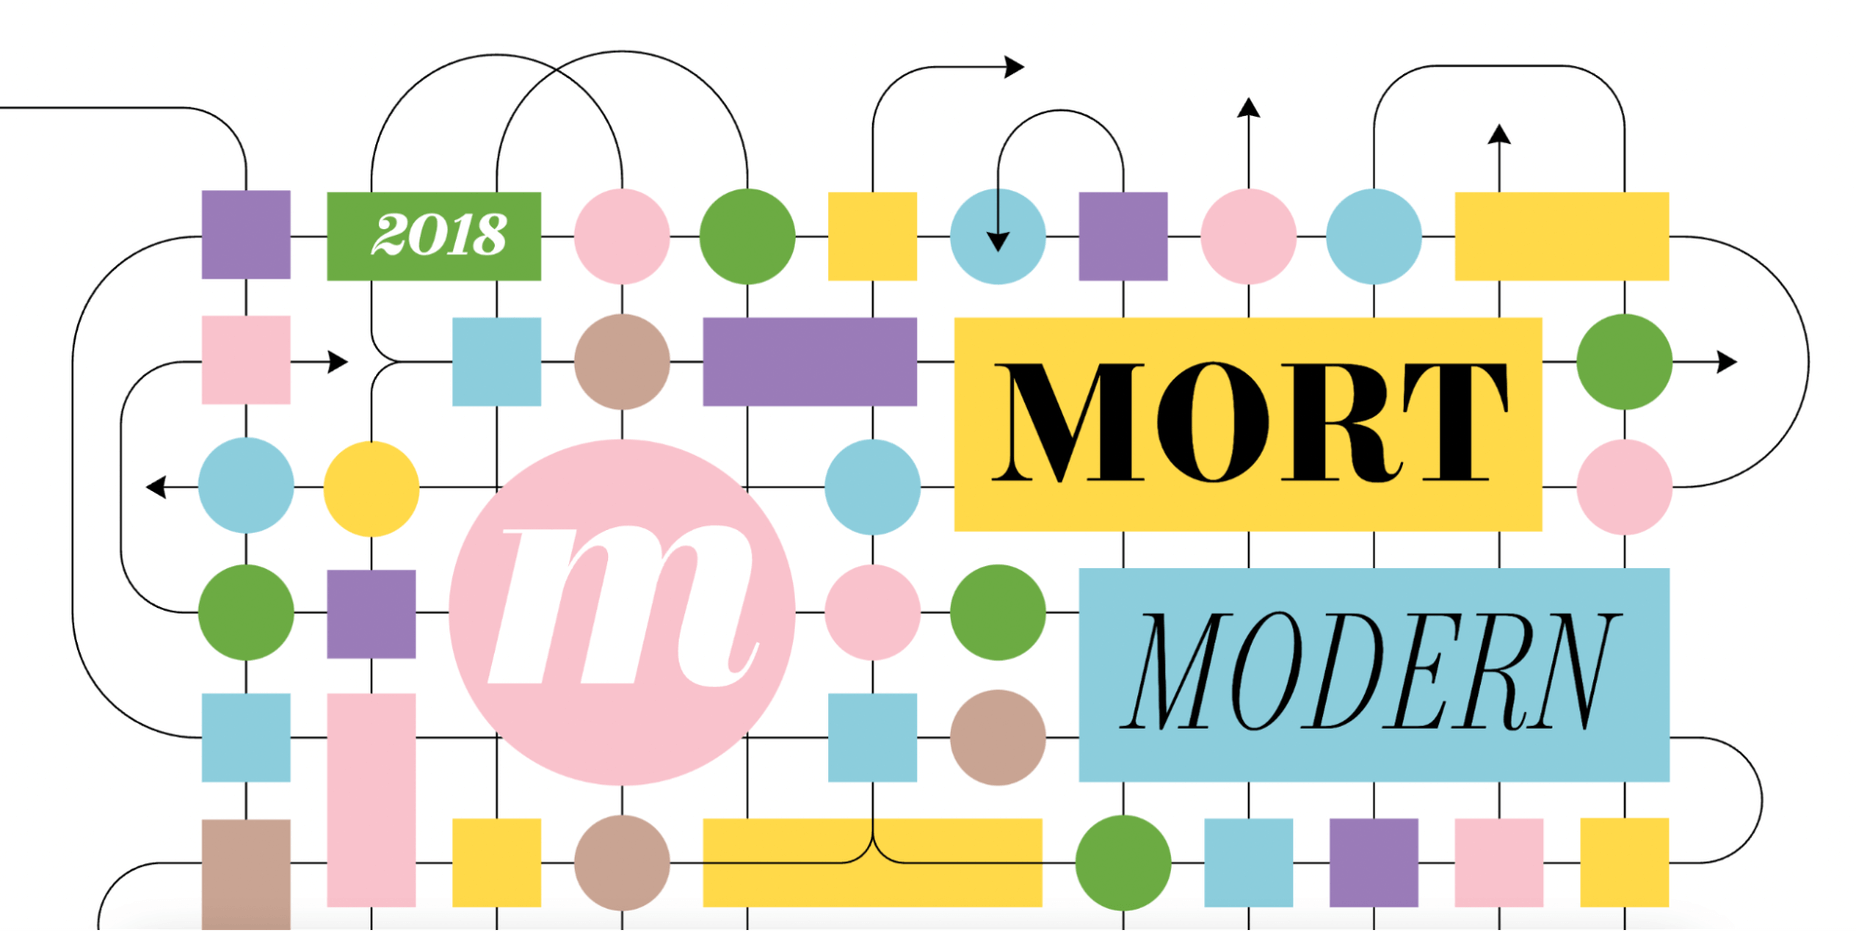
Mort Modern is a unique serif typeface designed by Riley Cran in 2018. The mini-site provides information about the typeface in a creative, cartoon-like way. 

We really liked this responsive, one-page website because it is elegant and colorful at the same time. The font is available in 56 (!) styles and promises to beautifully frame any kind of modern design.

14. Tofino

The Tofino mini-site is a creative, one-page portal that allows us to discover one of the most adventurous Swiss-style fonts on the market. 

Tofino is a top choice for any travel-related project and comes in 75 unique styles. When it comes to creating a well-crafted report on a font, there’s nothing better than this.

15. Faction Typeface

We love websites that offer both a dark and light theme. And the Faction mini-site is one of them. 

In this mini-site, you’ll learn how the Faction typeface was created and why it’s one of the most popular display typefaces for modern designs.

16. Moriston

If you’re looking for a unique sans serif font with extended multilingual support, Moriston is the font for you. 

In this one-page mini-site, Riley Cran tells the story behind this typeface and explains why Moriston is the best choice for Risograph posters, monograms, and more. 

Source

The post 16 Best Typeface Micro-Sites first appeared on Webdesigner Depot.

Source de l’article sur Webdesignerdepot

While working on establishing short- and long-term goals with a client, my focus was establishing horizon two and three objectives in the McKinsey Three Horizons Model

For those who are not aware of this framework, horizons two and three focus on new and next-generation features and functionality. At the top of my priorities’ list for this project was the adoption of an API gateway.

Source de l’article sur DZONE

What stands out as an incredible web design project for you? Do you count your creation as a success if it’s modern, minimal, and accessible? Maybe you’re the kind of designer that’s constantly experimenting with the latest dynamic design tools or state-of-the-art technology. Perhaps your websites are vivid, animated, and brimming with unique components?
Sometimes, creating the ideal design means thinking carefully about what you want to accomplish for your client. The purpose of your web creation has a significant impact on the components that you need to consider. For instance, if you’re hoping for a highly emotive and human design, it may be worth combining some of your sleek lines and graphics with hand-drawn elements. 

The Value of Hand-Drawn Graphics in Web Design

Hand-drawn elements are just like the other components of web design; that way may use to express individuality in a cluttered digital environment. In a world where everyone focuses on futuristic and virtual creations, hand-drawn elements can pull attention back to the importance of humanity in your content. 

As web designers, we know that visual components often impact people more than text-based content. Illustrations are highly engaging functional elements that capture audience attention and convey relevant information. 

The main difference between hand-drawn elements and graphics built with vectors and other digital components is that one appears to be more influenced by the human hand than the other. Even if your illustrations are created on a screen, just like any other web design component, it pushes an audience to see something more straightforward, more natural, and authentic. 

For a brand trying to convey innocence and humanity in its personality, hand-drawn design can speak to the part of the human psyche that’s often unappreciated by web design. Perhaps more than any other visual, the content reminds your audience that there’s a human behind the web page

The Value of Hand-Drawn Features in Web Design

Any image can have a massive impact on the quality of your web design. Visuals deliver complex information in an easy-to-absorb format. In today’s world of fast-paced browsing, where distractions are everywhere, visuals are a method of capturing attention and delivering value fast. 

However, with hand-drawn elements, you go beyond the basic functionality of images to embrace the emotional side of the content. Benefits include:

  • A memorable experience: Web illustrations are becoming more popular among leading brands like Innocent Smoothies and Dropbox. However, the time that goes into these components means that they’re still scarce. If you want to stand out online, illustrations can help you do that. 
  • Brand personality: One of the most significant benefits of hand-drawn web design is showcasing your brand personality. The blocky lines of imperfect content that go into illustrated images highlight the human nature of your company. So many businesses are keen to look “perfect” today to make the human touch much more inviting. 
  • Differentiation: As mentioned above, hand illustrations are still rare in the digital design landscape. If you’re struggling to find a way to make your brand stand out, this could be it. Although there needs to be meaning behind your design, the result could be a more unique brand if you can convey that meaning properly. 

Tips for Using Hand Drawn Elements in Web Design 

Hand-drawn components, just like any other element of visual web design, demand careful strategy. You don’t want to overwhelm your websites with these sketches, or you could end up damaging the user experience in the process. 

As you work on your web designs, pulling hand-drawn elements into the mix, think about how you can use every illustration to accomplish a crucial goal. For instance:

Create Separation

Hand-drawn design components can mix and match with other visual elements on your website. They work perfectly alongside videos and photos and help to highlight critical points. 

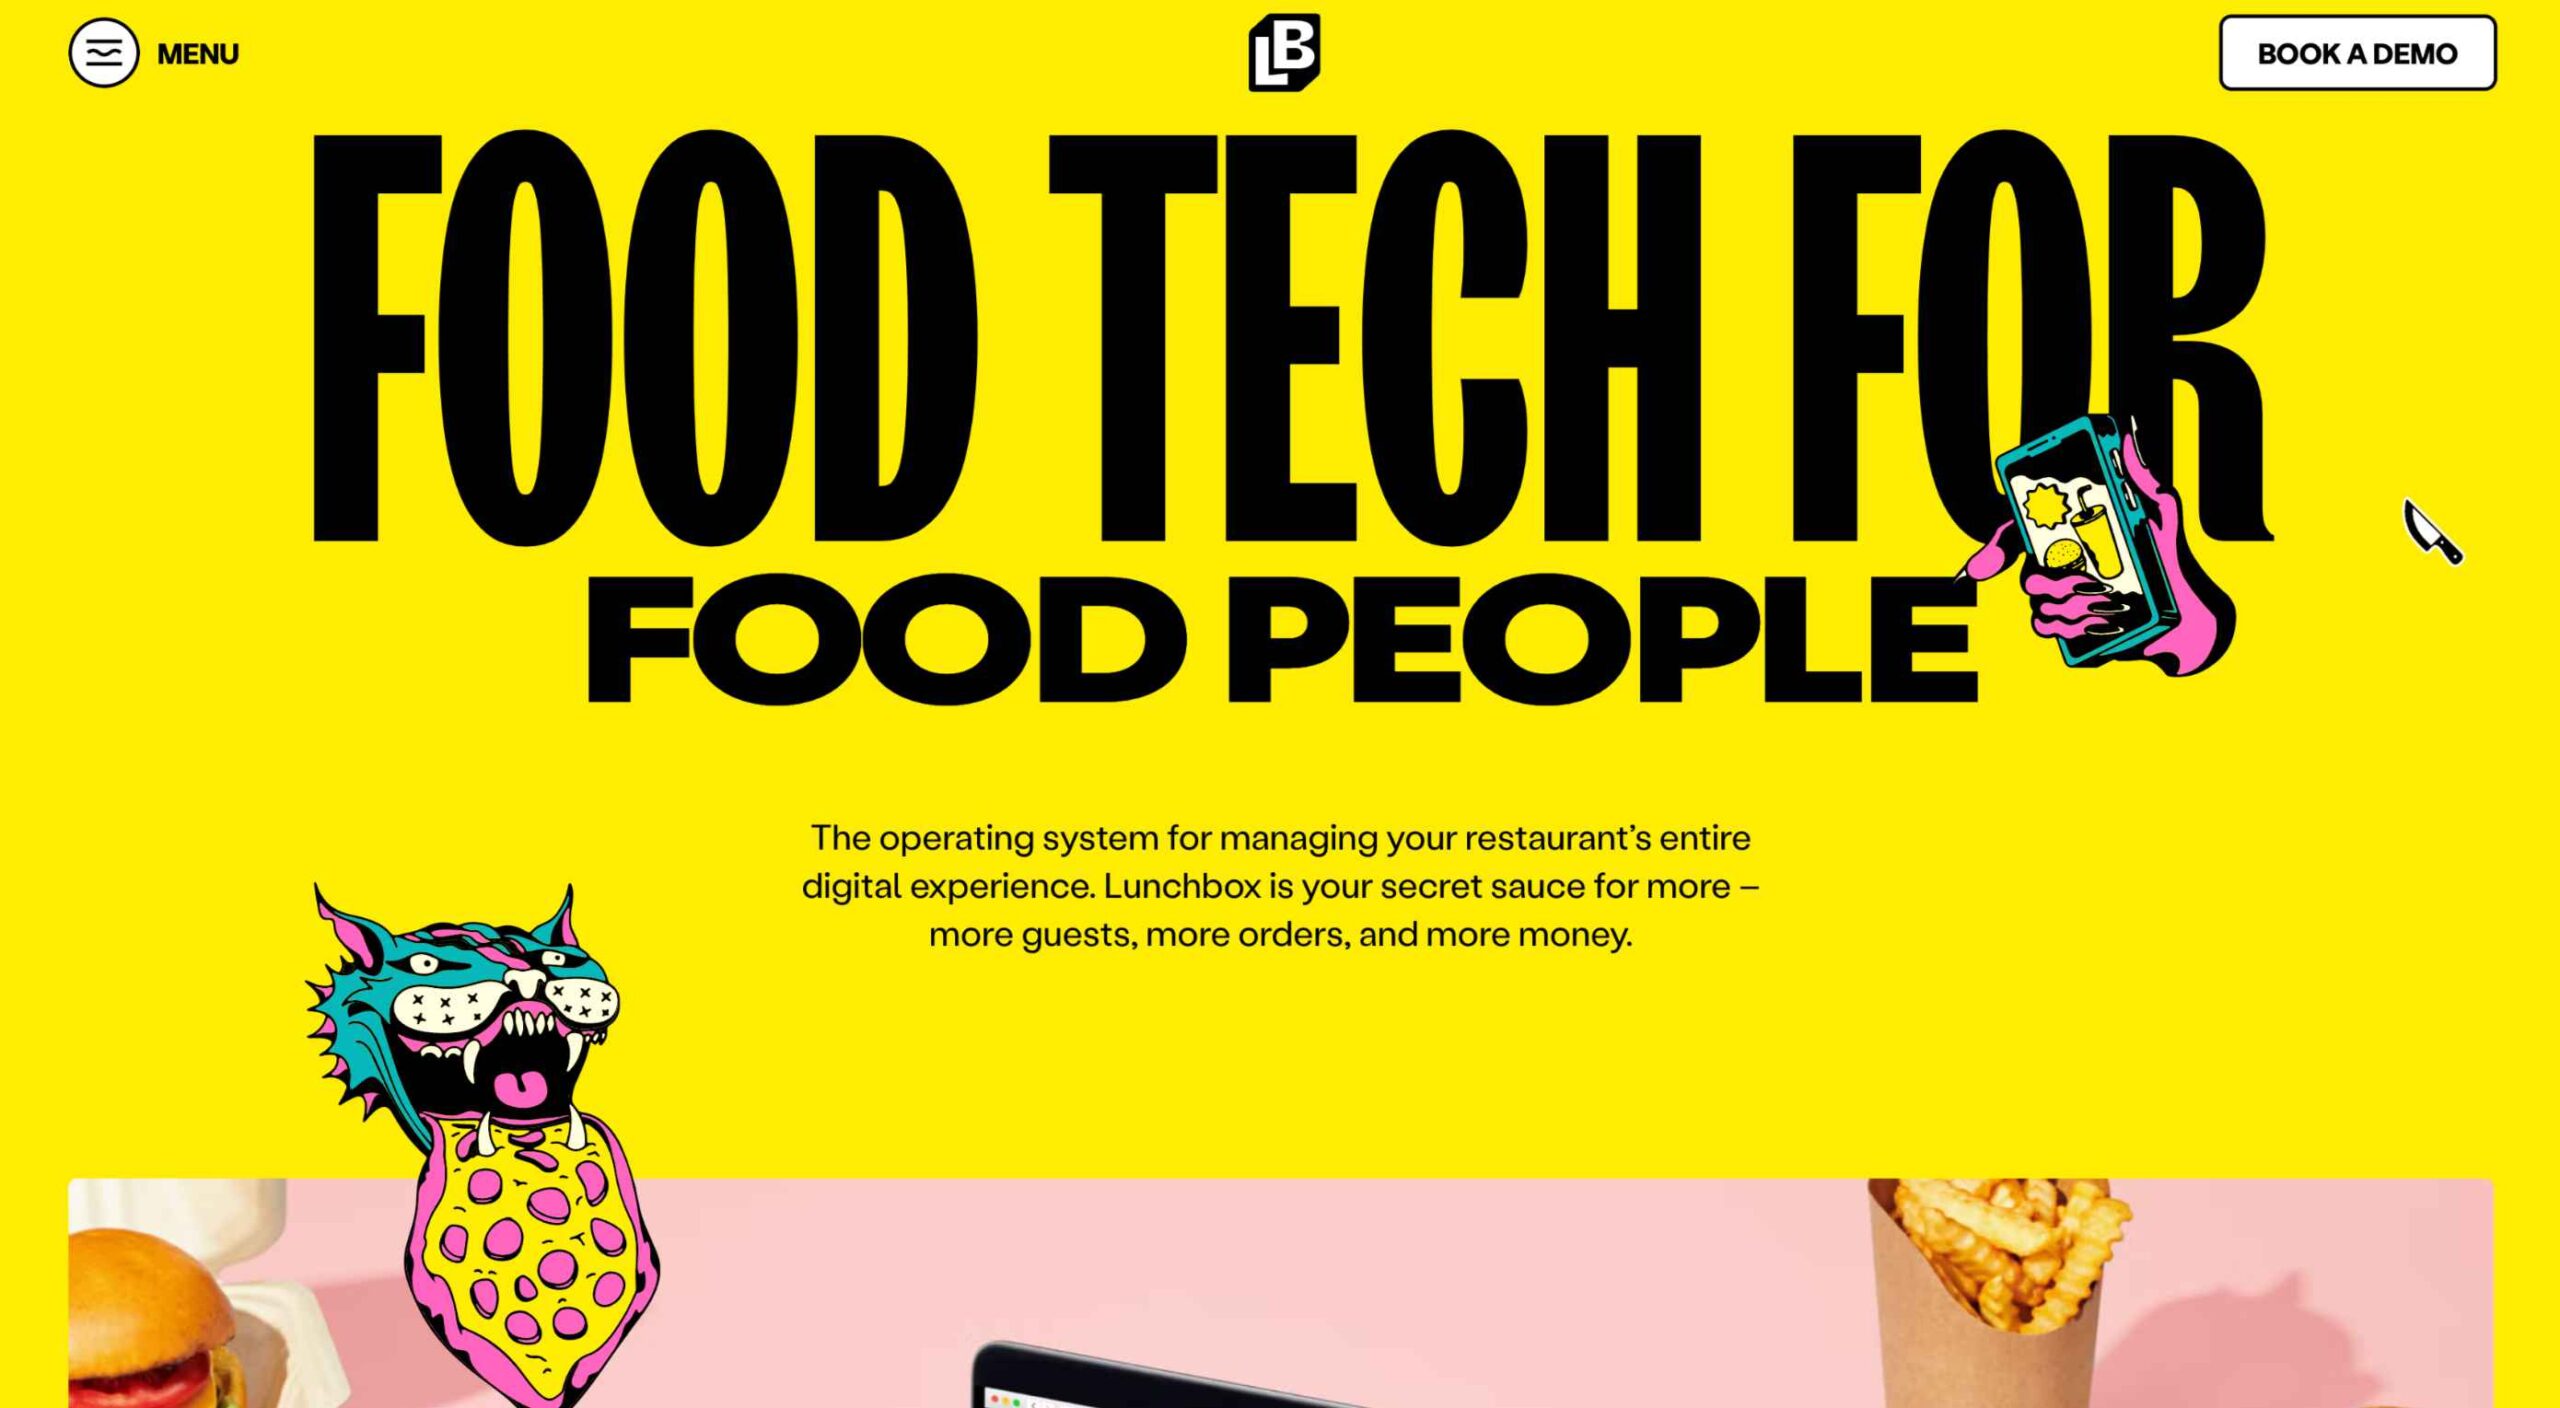
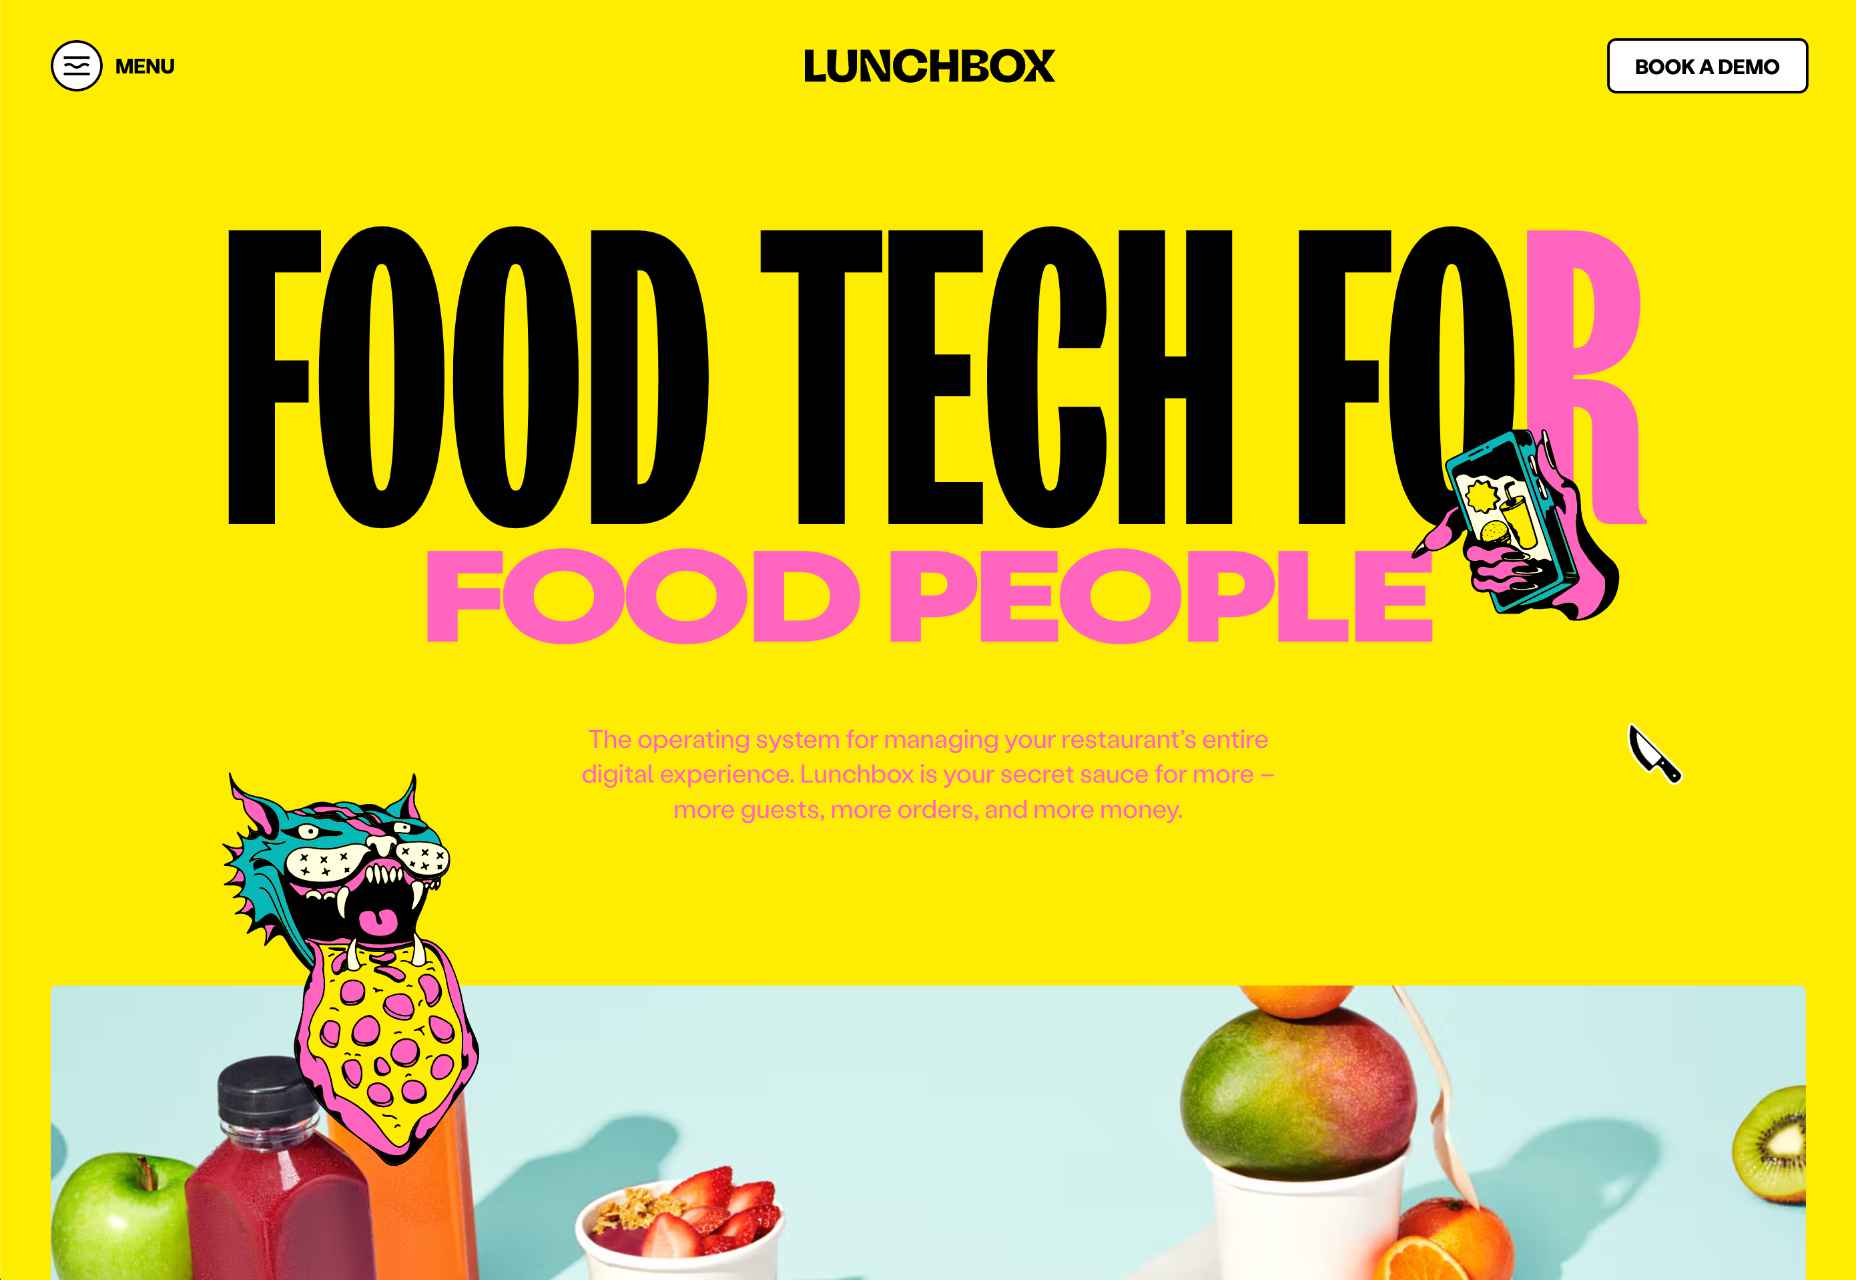
On the Lunchbox website, the company uses hand-drawn elements. This helps make the site stand out, and it provides additional context for customers scanning the website for crucial details.

Engage Your Audience

Sometimes, hand-drawn elements are all about connecting with end-users on a deeper, more emotional level. One of the best ways to do this is to make your hand-drawn elements fun and interactive pieces in the design landscape. 

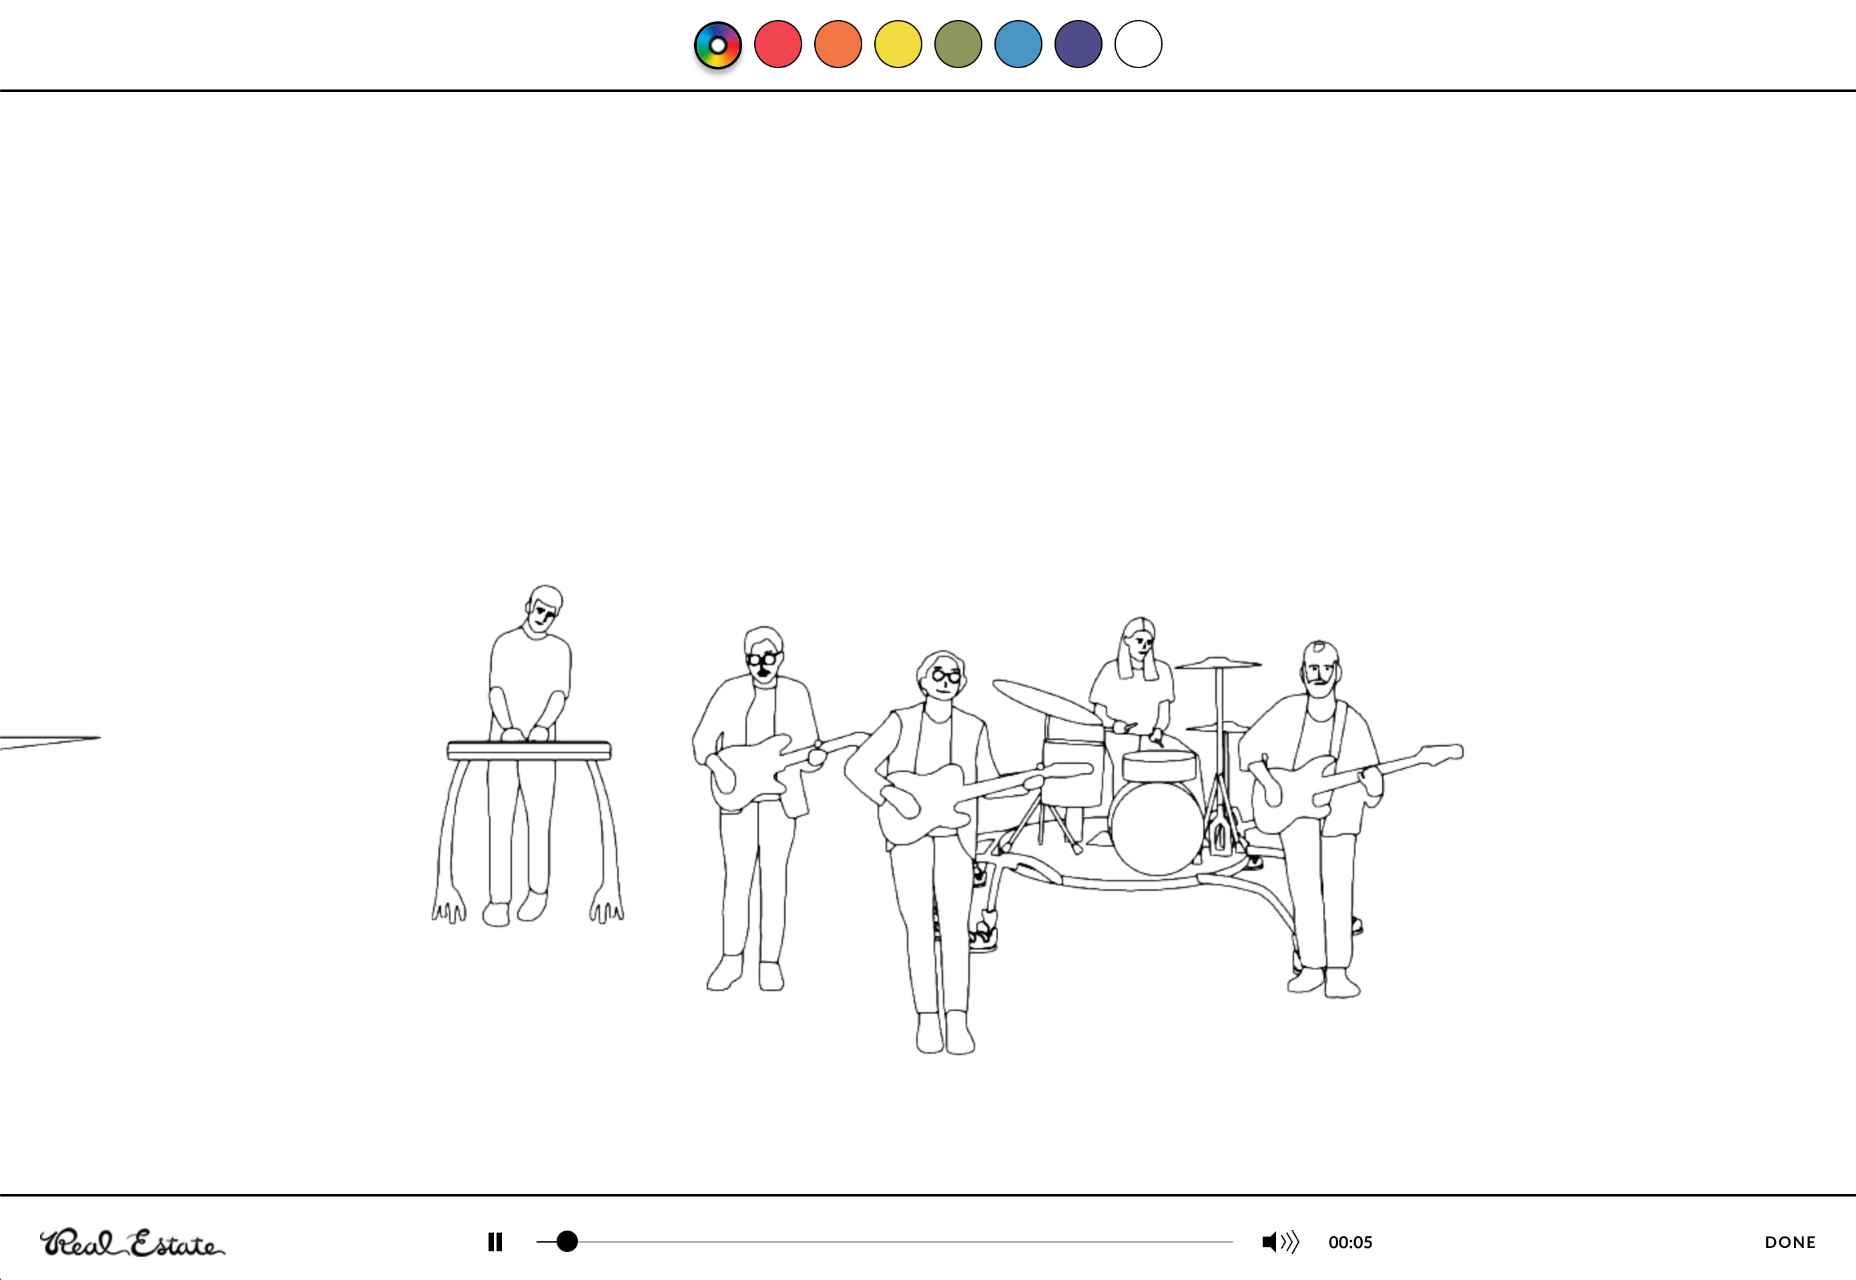
One excellent example of this is in the Stained Glass music video here. This interactive game combines an exciting web design trend with creative interactive components so that users can transform the web experience into something unique to them.

Highlight Headers with Typography

Sometimes, the best hand-drawn elements aren’t full illustrations or images. Hand-drawn or doodle-like typography can also give depth to a brand image and website design. 

Typography styles that mimic natural, genuine handwriting are excellent for capturing the audience’s attention. These captivating components remind the customer of the human being behind the brand while not detracting from the elegance of the website. 

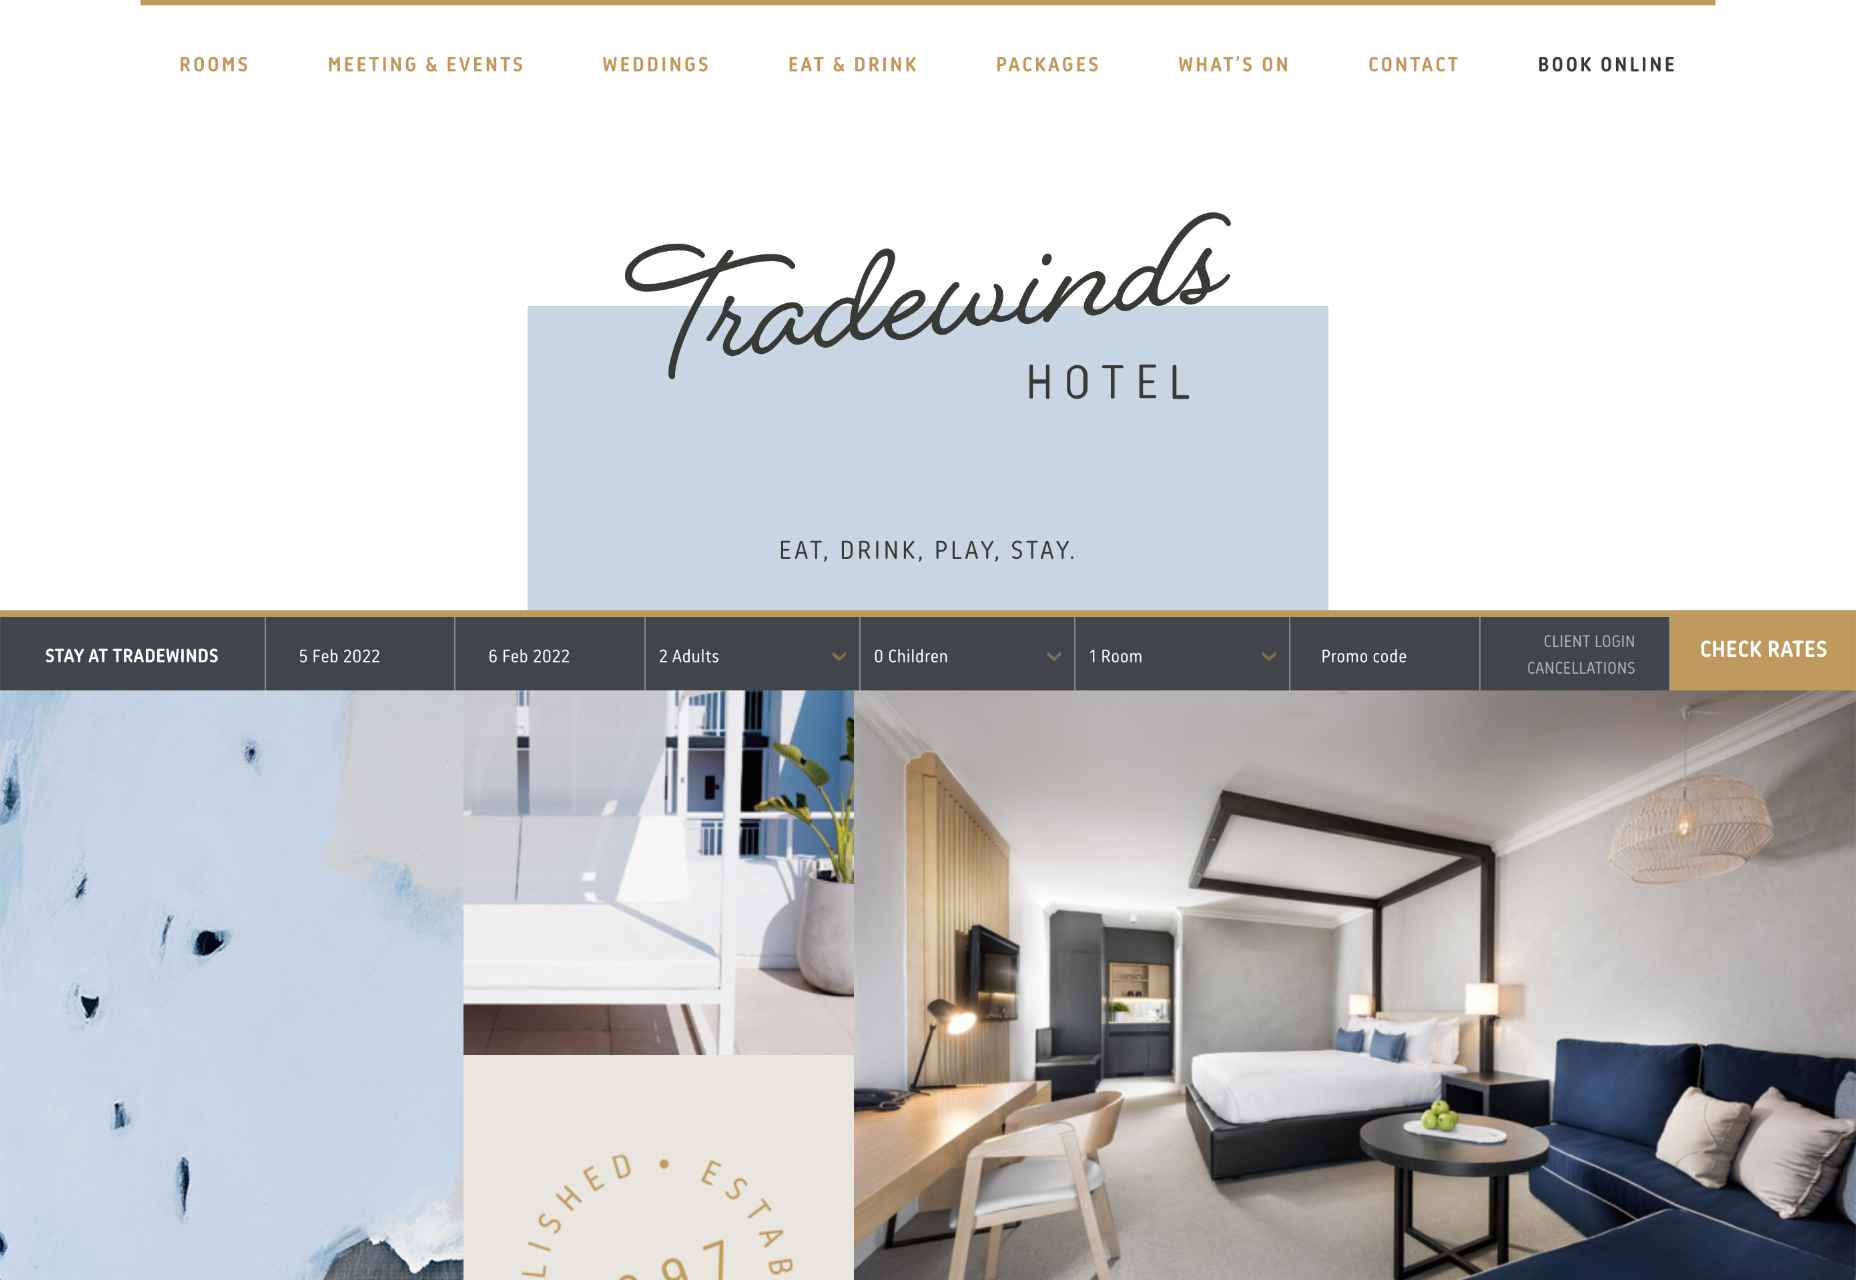
This example of hand-drawn typography from the Tradewinds hotel shows how designers can use script fonts to immediately capture customer attention. Notice that the font is still easy to read from a distance, so it’s not reducing clarity. 

Set the Mood

Depending on the company that you’re designing for, your website creation choices can have a massive impact on the emotional resonance that the brand has with its audience. Hand-drawn elements allow websites to often take on a more playful tone. They can give any project a touch of innocence and friendliness that’s hard to accomplish elsewhere. 

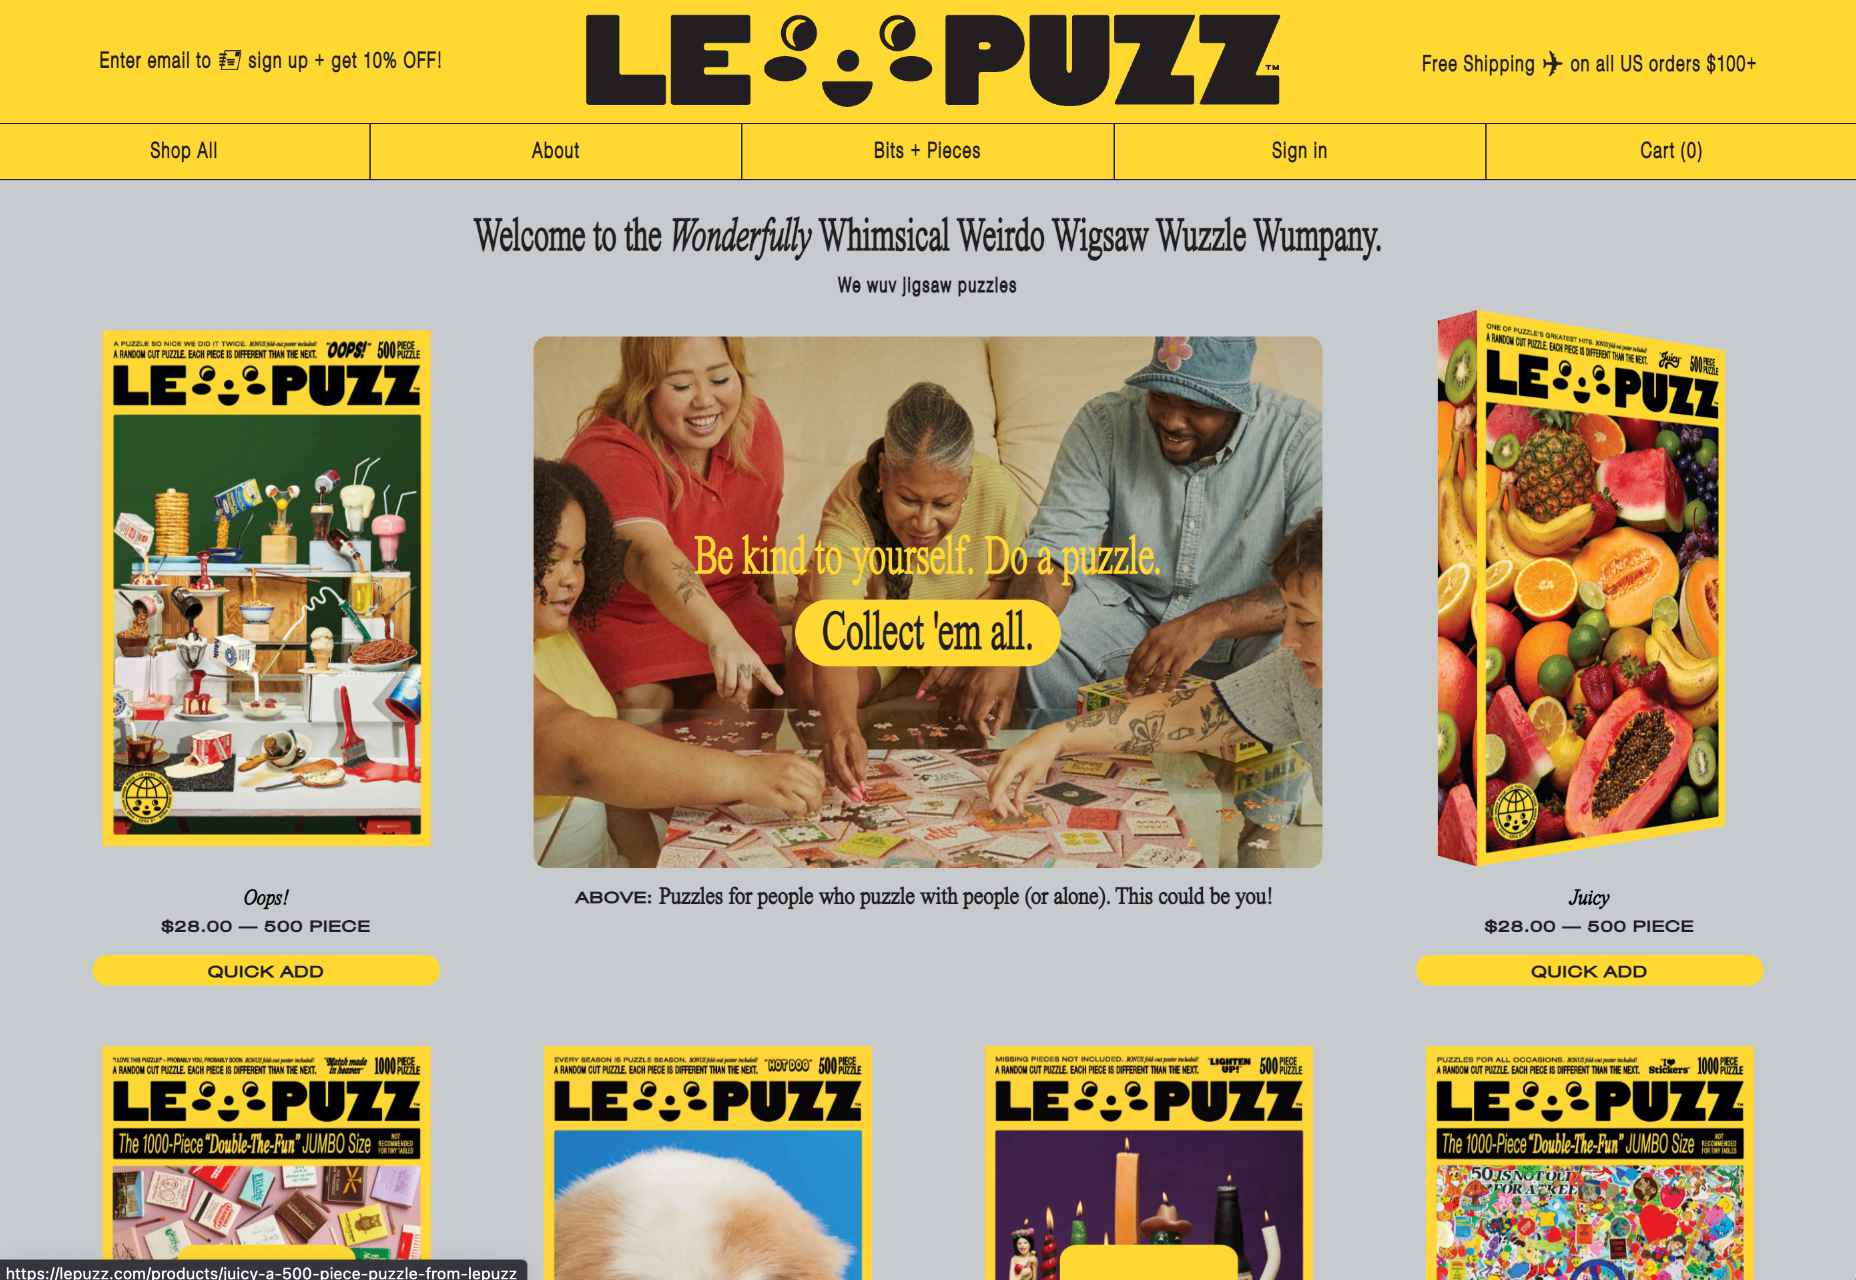
A child-like aesthetic with bright colors and bulky fonts combines with hand-drawn elements on the Le Puzz website. This is an excellent example of how web designers can use hand-drawn elements to convey a mood of creativity and fun.

Animated Elements

Finally, if you want to combine the unique nuances of hand-drawn design with the modern components of what’s possible in the digital world today, why not add some animation. Animated elements combined with illustrations can help to bring a website to life. 

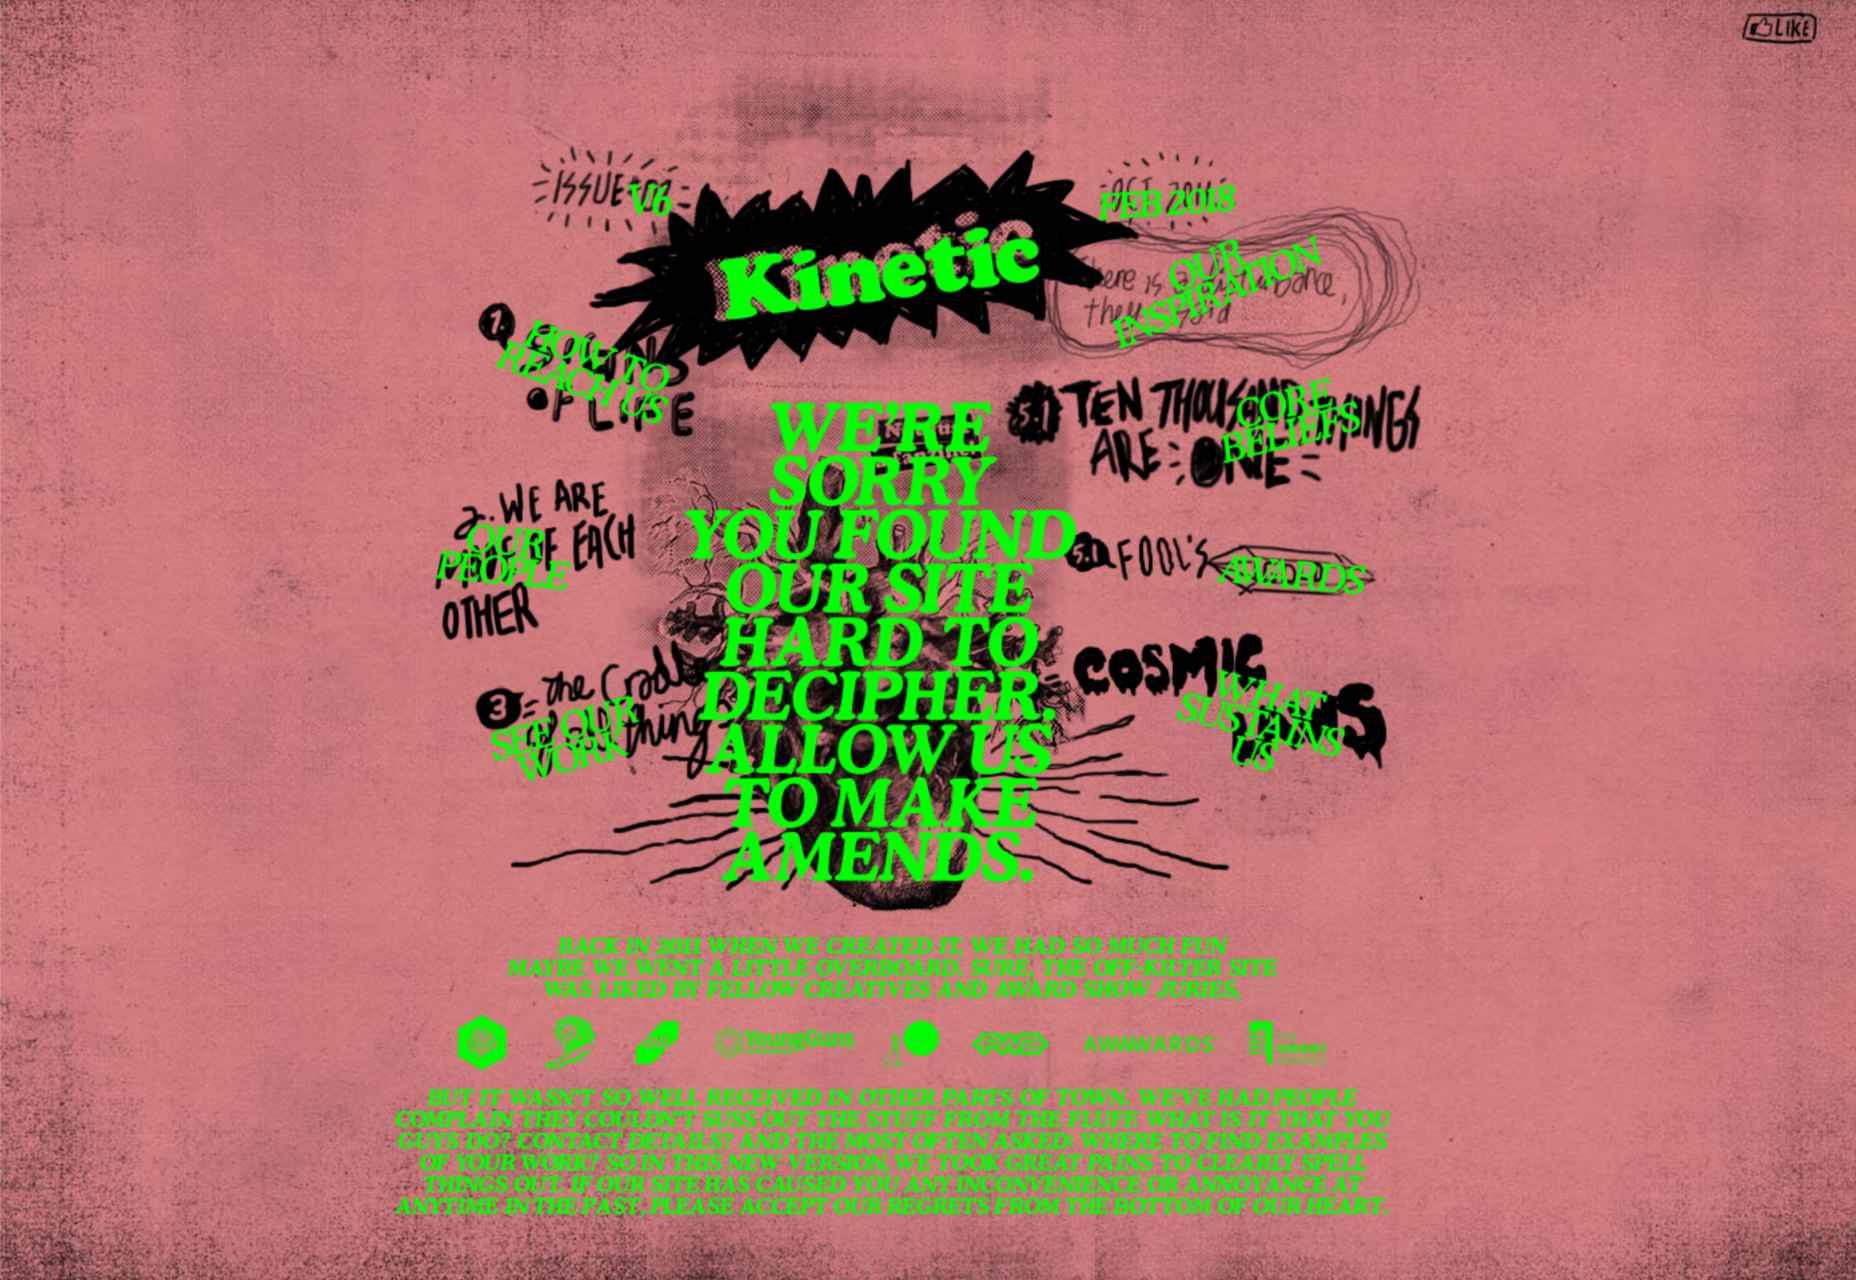
In the Kinetic.com website, the animated illustrated components help to highlight the punk-rock nature of the fanzine. It’s essential to ensure that you don’t go too over-the-top with your animations here. Remember that too many animations can quickly slow down a website and harm user-friendliness.

Finishing Thoughts on Hand-Drawn Elements

Hand-drawn elements have a lot to offer to the web-design world. 

Even if you’re not the best artist yourself, you can still simulate hand-drawn components in your web design by using the right tools and capabilities online. 

Although these features won’t fit well into every environment, they can be perfect for businesses that want to show their human side in today’s highly digitized world. Hand-drawn components, perhaps more than any other web design feature, showcase the innocence and creativity of the artists that often exist behind portfolio pages and startup brands. 

Could you experiment with hand-drawn design in your next project?

Source

The post How to Use Hand-Drawn Elements in Web Design first appeared on Webdesigner Depot.

Source de l’article sur Webdesignerdepot

The importance of scientific research cannot be overstated. User research is crucial to the success of any UX design, and this article will explain all the reasons why.

But first, we will explore what UX research is and how it can give you valuable tools. Then we will analyze why user research is an ongoing, dynamic process.

By the end of this 5-minute read, you will know every efficient research method (qualitative and quantitative) and how to choose the right one(s) for a new or existing UX project.

What is UX Research?

In a few words, we could say that UX research is about observation techniques, feedback methods, and analysis of the whole user experience of a project. As in any scientific research, UX research analyzes how users think and what their motivations and needs are.

The research methods of UX can be divided into two main types: quantitative and qualitative.

Quantitative Research Methods

These methods are all about statistics and focus on numbers, percentages, and mathematical observations. UX designers later transform such numerical data into useful statistics that you can use in UX designs.

To be precise, there are numerous data collection platforms that UX designers use like Google Analytics, Google Data Studio, etc.

Qualitative Research Methods

Qualitative research aims to understand people’s needs and motivations through observation. This includes numerous methods: from interviews and usability testing to ethnographic and field studies.

In general, qualitative research is crucial for us UX designers because it is easier to analyze than quantitative and we can use it quickly in our projects.

Why is UX Research an Ongoing Process?

Suppose you are about to create a UX wireframe. The process is pretty simple. You start with research, proceed with sketching, then prototype and build. But how many times have you gone back to the previous step of the process?

A UX design is completely dynamic and rarely finished. For this reason, UX research should be viewed as an ongoing process. When I stopped worrying about going through this loop over and over again, I immediately became a better UX designer.

Why Should You Invest in UX Research? 

There are many reasons why you should always conduct UX research before you start sketching and prototyping a wireframe:

  1. Stay relevant: Via UX research, you will ensure that you understand what your users need and tailor your product accordingly.
  2. Improve user experience: With comprehensive UX research, you’ll be one step closer to delivering a great user experience.
  3. Clarify your projects: With UX research, you can quickly identify the features you need to prioritize.
  4. Improve revenue, performance, and credibility: When you successfully use UX research, you can boost the ROI (Return on Investment).

9 Effective UX Research Methods  

It becomes clear that UX research is very important to the success of any UX project. All successful approaches derive from three basic foundations: Observation, understanding, and analysis.

So let us take a look at the most popular and effective qualitative and quantitative research methods.

Interviews 

UX designers can conduct one-on-one interviews to communicate with users and analyze the context of the project. This is a very effective UX research method. You just need to set your goals.

  • Difficulty: Medium/Low
  • Cost: Average
  • Phase: Predesign, During Design Phase

Surveys And Questionnaires

This is a very effective approach if you want to gather valuable information quickly. There are many tools like PandaDoc and Wufoo that allow you to create engaging questionnaires and surveys.

  • Difficulty: Low
  • Cost: Low
  • Phase: Predesign, Post Design Phase

Usability Tests

Usability testing is an essential method if you want to test your product in terms of user experience. It can be applied during or after the creation of an app, site, etc.

  • Difficulty: Medium
  • Cost: Average
  • Phase: During Design Phase

A/B Tests

A/B testing is by far the best way to overcome a dilemma. If you do not know which element to choose, all you have to do is organize an A/B test and show each version to a number of users. Based on their feedback, you can then decide which version is the best.

  • Difficulty: Low
  • Cost: Low
  • Phase: During Design Phase

Card Sorts 

With card sorts, you can help your users by providing them with some product content categories (labeled card sets). This is a very cheap and easy way to understand what your users prefer and how they interact with the content you have just designed.

  • Difficulty: Medium
  • Cost: Average
  • Phase: During Design Phase

Competitive Analysis

Analyzing what your competitors are doing differently is critical to the initial stages of a UX design. This will help you identify their strengths and weaknesses and optimize your product.

  • Difficulty: Medium
  • Cost: Average
  • Phase: Predesign

Persona And Scenario Building 

Creating a user persona and a specific scenario for your project is critical. First, you need to build a user persona by integrating the motives, needs, and goals of your target audience.

Then, you can create a scenario that leverages all of this valuable information to deliver a top-notch user experience.

  • Difficulty: Medium
  • Cost: Average
  • Phase: Predesign

Field Studies 

Although a field study is a very effective UX research method, it is also expensive and difficult to conduct. However, there is nothing like field research when it comes to obtaining real-life data.

  • Difficulty: High
  • Cost: High
  • Phase: Predesign, During Design Phase

Tree Tests

Tree testing is a UX research method that you can apply to your designs during or after the construction phase. The process is fairly simple: you provide users with a text-only version of your product and ask them to complete certain tasks. This tactic is a great way to validate your product’s architecture.

  • Difficulty: High
  • Cost: High
  • Phase: During and Post Design Phase

How to Choose the Right UX Research Method?

Good planning is the most important thing for us UX designers. If you know exactly what the UX problem is, you can solve it quickly.

The methods analyzed above are just some of the research tactics used by UX designers. Choosing the right user research method for a project is not easy. To do so, you should first define your goals.

Source

The post How to Get Started With UX Research first appeared on Webdesigner Depot.

Source de l’article sur Webdesignerdepot

Few things are more important to a web designer or developer’s chances of success than having the proper workflow. The term “workflow” applies to the set of standardized steps you or your company uses to create, test, and deploy designs or products.

Over the years, as development processes have evolved, so too have the workflows experts use to bring their ideas to life. The MVP workflow, or “Minimum Viable Product” strategy, is one of the most popular options in 2022.

Here’s what you need to know about the MVP workflow and how it differs from some of the other standard workflows developers may be used to.

What is the Designer/Developer Workflow?

As mentioned above, the designer/developer workflow is a series of steps used by experts in the web design world to achieve a creative goal. The process includes the steps taken to start a project, evolve it, and finish it. Since software is never developed without tools, the technology you’ll access throughout the development process is also considered in most workflows.

An example of a standard development workflow might look like this:

  • Scaffolding: This is the stage wherein you start your new web project, creating a git repo, downloading libraries, preparing file structures, and completing other tasks to make sure your product is ready to roll out into the world.
  • Develop: This is where you’ll spend most of your time writing code for your application or website. The development process may include various specific tools and support from other staff members.
  • Test: In this stage, you examine the functionality of your code to determine if everything works as it should. If there are errors or issues, you can go back and develop fixes to the potential problems. Your code may go through the development/test process several times before you can move to the next stage.
  • Integrate: This is when you merge the code for your part of the development process with the rest of the team. You can also integrate your code into websites and existing apps at this point. If you’re working solo, you can skip this process.
  • Optimize: You prepare all your assets for use on a production server during the optimization stage. Files are generally optimized to ensure your visitors can view your site easily or access your applications with ease.
  • Deploy: In the deployment stage, developers push code and assets up into the server and allow for changes to be viewed by the public.

What is MVP? (Minimum Viable Product)

Now you know what a developer workflow looks like, you can begin to assess the concept of the “MVP” workflow. The term “MVP” stands for Minimum Viable Product.

The idea of “Minimum Viable Product” applies to a range of industries, from education to healthcare and government entities. This term comes from lean start-up practices and focuses heavily on the value of learning and changing during the development process.

When you adapt your workflow to focus on an MVP, you’re essentially adjusting your focus to a point where you can create a stripped-back version of something new – like an app or a website. The MVP is built just with the core features (the minimum), so you can bring the idea to market and test it as quickly as possible.

For instance, if your goal were to create an attractive new website for a client, an MVP would focus on implementing the crucial initial tools, and nothing else. While you may create checkout pages, product pages, and other aspects of the site, you wouldn’t populate it with content or start experimenting with bonus widgets and apps.

So, how does this offer a better alternative to the standard workflow?

Simply put, an MVP workflow is quick, agile, and easy. The idea is you can validate key concepts with speed, fail quickly, and learn just as fast. Rather than having to build an entire app and almost start over from scratch every time you find an error, you can race through the iteration and development process.

MVP workflows are also highly appealing to start-ups and entrepreneurs hoping to validate ideas without a massive amount of upfront investment.

Examples of MVP Workflows

Still confused? The easiest way to understand how an MVP workflow works is to look at an example.

Let’s start with a conceptual example. Say you were building a voice transcription service for businesses. The desired features of this product might include the ability to download transcription, translate them into different languages, and integrate them into AI analytics tools.

However, using the MVP approach, you wouldn’t try to accomplish all of your goals with your software at once. Instead, you’d focus on something simple first – like the ability to download the transcripts. Once you confirm you can do that, you can start a new workflow for the next most important feature for the app.

One excellent example of a company with an MVP approach is Airbnb. The entrepreneurs behind this unicorn company, Joe Gebbia and Brian Chesky, didn’t have a lot of cash to build a business with at first. They had to use their own apartment to validate the idea of creating a website where people could share their available “space” in a home or apartment with the public.

To begin, Airbnb only created a very basic website, published photos of their property, and waited to see the results. After discovering people were genuinely interested in renting another person’s home, the company was able to begin experimenting with new ideas to make a site where people could list their properties for travelers.

The Pros and Cons of an MVP Workflow

There are a lot of benefits to the MVP workflow – particularly when it comes to gaining agility and developing new products quickly. However, there are downsides too.

Pros

  • With an MVP approach, you can maximize your learning opportunities and create a more innovative, successful product at speed. You get to test every step of the way.
  • You release iterations or versions of your product quickly, which means you discover problems faster, allowing you to quickly solve these issues.
  • You build on the benefits of customer fans, “evangelists” in the marketplace who are keen to help your product or service grow.
  • An MVP gives you more freedom to try out unique ideas and “risks” you might otherwise avoid with a traditional workflow.
  • Because you’re focusing on creating only the “minimum viable product,” you don’t have to spend a fortune on initially setting up your workflows.

Cons

  • Agile work with an MVP flow requires a lot of effort in collecting constant feedback from customers and releasing iterations.
  • You’ll need to dedicate yourself to releasing many small and frequent product releases on a tight schedule.
  • You might have to revise the functionality of your product or app a number of times.

Creating Your MVP Workflow

If you believe an MVP workflow might be effective for you, the first step is defining your “Minimum Viable Product.” The app, website, or product you design needs to align with your team’s strategic goals, so think about what your company is trying to achieve at this moment – before you get started. If you have limited resources, or specific purposes, like improving your reputation as a reliable company, now might not be the right time to develop a new MVP.

Ask what purpose your minimum viable product will serve and what kind of market you’re going to be targeting. You’ll need to know your target customer to help you test the quality and performance of each iteration of your MVP. Once you know what your ideal “product” is, ask yourself what the most important features will be.

You can base these decisions on things like:

  • User research
  • Competitive analysis
  • Feedback from your audience

For example, if you’re producing an AI chatbot that helps companies to sort through customer inquiries, the most important “initial feature” may be the ability to integrate that bot into existing websites and apps owned by the company.

MVP Approach Guidelines

Once you have your hierarchy of most valuable features for your minimum viable product, you can translate this into an action plan for development. Remember, although you’re focusing on the “minimum” in development, your product still needs to be “viable.” In other words, it still needs to allow your customer to achieve a specific goal.

  • Review your features: Reviewing your prioritized product requirements and the minimum level of functionality you can deliver with each of these “features.” You need to ensure you’re still providing value to your customer with anything you produce.
  • Build your solution: Build your minimum set of features for the product or service. Remember to build only what is required. You can use methodologies like the agile or waterfall method to help guide your team during this process.
  • Validate your solution: Release your offering into the market, and ensure you have tools in place to gather feedback from early adopters. Use beta programs, focus groups, and market interviews to understand how your solution works for your customers and where you can improve on your current offer.
  • Release new iterations: Based on what you learn from your target audience, release improvements to your product quickly. Use your validation strategies to collect information from your audience with each release.
  • Review again: Go back to your product requirements and desired features and start the process over again, this time focusing on the next most valuable functionality. Over time, the value of your minimum viable product will increase.

Using the MVP Workflow Approach

While the MVP workflow approach might not be the right solution for every development or design team, it can work very effectively in the right circumstances. The MVP approach doesn’t minimize the importance of understanding market problems and delivering value. Instead, the focus is on delivering quick value that gradually increases and evolves over time.

As many developers and designers know, the most useful form of product validation in most cases is real-world validation. When your customers have had an opportunity to use a product on a day-to-day basis, they can provide much more effective feedback.

Just keep in mind that committing to the MVP approach also means changing your workflow and committing to iterations – otherwise, other features may never be completed. You’ll need to be willing to work quickly and in small bursts without getting too heavily caught up in one feature or functionality.


Featured image via Pexels.

Source

The post How to Get Started with the MVP Workflow first appeared on Webdesigner Depot.

Source de l’article sur Webdesignerdepot