Articles

I have lost count of the number of times I have been told that Java is not a suitable language in which to develop applications where performance is a major consideration. My first response is usually to ask for clarification on what is actually meant by “performance” as two of the most common measures – throughput and latency, sometimes conflict with each other, and approaches to optimise for one may have a detrimental effect on the other. 

Techniques exist for developing Java applications that match, or even exceed, the performance requirements of applications that have been built using languages more traditionally used for this purpose. However, even this may not be enough to get the best performance from a latency perspective. Java applications still have to rely on the Operating System to provide access to the underlying hardware. Typically latency-sensitive (often called “Real Time”) applications operate best when there is almost direct access to the underlying hardware, and the same applies to Java. In this article, we will introduce some approaches that can be taken when we want to have our applications utilise system resources most effectively. 

Source de l’article sur DZONE


This is an article from DZone’s 2022 Database Systems Trend Report.

For more:

Read the Report

One of the key components of microservices is how to manage and access data. The means to do that are different compared to traditional monolithic or three-tier applications. Some patterns are quite common, but others are specific and need to be evaluated before being incorporated into a solution. We will briefly go over some of these common database patterns for microservices before exploring CQRS (including how it differs from CRUD) and, finally, look at how it can be combined with event sourcing.

Source de l’article sur DZONE

User Experience is a crucial consideration for any web developer or designer; the only way to ensure that you’re delivering a successful website is to ensure that the end-user or customer will feel comfortable using it. 

A strong user experience increases your client’s chances of successful audience engagement and conversions.

What you might not realize, however, is that the strategies you use to enhance UX as a web developer or designer can also influence how the search engines respond to a website. 

Though many designers assume that SEO (Search Engine Optimization) is the work of a copywriter or content producer, there are design elements to consider too. 

After all, the definition of optimization is “the action of making the best version of a resource.”

So, how are UX and SEO connected?

Adding UX to a Successful SEO Strategy

SEO used to be easy. To stand out on the search results, you just needed to stuff a page full of as many keywords and phrases as possible. Now, it’s a little more complicated. 

Leaders in search engine development, like Google and Bing, know that they need to offer their customers excellent experiences to keep them. In this new experience-focused landscape, SEO and UX share common goals. 

Search engines don’t just want to provide customers with any answers to their questions. Instead, Google and its competitors are using everything from artificial intelligence to machine learning algorithms to ensure that search results are accurate, relevant, and engaging. 

In the same way, user experience is about providing users with easy access to the information and resources they want. 

Now that SEO is a multi-disciplined approach, UX is just one of the essential tools that makes it possible for developers to optimize their websites properly. 

Where UX Developers Influence SEO 

There are plenty of connections between UX and site indexability

We all know that since 2018, site speed has become a crucial ranking factor for companies in search of better search results. As a developer, it’s up to you to ensure that there aren’t too many elements weighing a website down that would prevent it from delivering fast results. 

Bounce rate is another critical factor in search engine ranking algorithms. When customers click on a website, Google wants to see that they get the answers they want. If your navigation is difficult to understand, or the correct information isn’t easy to see on a page, end-users will just hit the back button. 

Let’s take a closer look at how developers can influence SEO with their UX strategies. 

1. Site Navigation and Ease of Use

It’s no secret that today’s digital consumers crave easy-to-use sites.

A complex website with pages ranking for different terms might seem like an excellent idea for SEO. However, from a UX perspective, the easier it is to navigate your website, the more your end-users will benefit. 

According to a study from Ahrefs, well-optimized pages that rank for several keywords can be more beneficial than dozens of pages ranking for similar terms. At the same time, if the search engines have difficulty crawling all your pages due to a poor site navigation strategy, then some pages won’t get indexed. 

So, how do you improve navigation and SEO at once? Follow the proper structure for your site first, categories and subcategories on the retail page help customers find exactly what they need. A solid internal linking structure allows the crawlers to examine your website and index each essential page individually.

Keep navigation simple when designing a website for both UX and SEO potential. 

2. User-Friendly Page Layouts

There are countless cases where poor layout design and formatting disrupts SEO potential. For example, cluttering a page with too much information makes it tougher to read and index. At the same time, if your pages aren’t attractive and easy to navigate, customers are more likely to hit the back button. 

If customers come to a website and immediately leave it again, this tells the search engines that they’re not finding what they need on those pages. That means Google will bump you to a lower position on the SERPs. 

So, how do you make your layouts more UX and SEO-friendly?

  • Get your category pages right: Say you’re creating a blog page for your client. They want to list all of their blogs on one main page while linking to separate locations for each article. A design that puts a large chunk of content from each blog on the main page can be problematic for UX and SEO. It means your customers have to scroll further to find what they need. At the same time, the search engines never know which words to rank that main page for. On the other hand, listing blogs on smaller cards, as Fabrik does in this example, makes sorting through content easier. 
  • Leverage headers and tags: Your customers and the search engines habitually “scan” your pages. When trying to improve UX and SEO simultaneously, you must ensure that it’s easy to find crucial information quickly. Header 1 or H1 tags can help by showing your audience your website’s critical sections. Title tags also give search engines more information on the term you want to rank for. Organizing your content into a structure that draws the eye down the page also means your customers are more likely to stay on your website for longer. That shows the search engines that you have quality, relevant content. 
  • Make the most of images and videos: Visual media isn’t just an excellent way to engage your audience. With videos and pictures, you can convey more vital information in a quick and convenient format. This leads to greater satisfaction from your audience from a UX perspective. However, visual content is also great for SEO. You can optimize every image with alt text and meta descriptions. That means you have a higher chance of ranking both in the main search results and the image searches on Google. 

3. Using Search Data to Inform Site Architecture

Today, SEO is less about building hundreds of landing pages for individual queries. Now, it’s more important to take a simple, de-cluttered approach with your website. SEO can determine what kind of architecture you need to create for a successful website. 

For instance, say you wanted to rank for eCommerce SEO. There are tons of related words that connect to that primary search term. Rather than making dozens of different pages that try to rank for distinct phrases, you can cover a lot of other ideas at once with a larger, more detailed piece of content. 

If a topic is too big to cover everything on a single page, then you might decide to create something called “pillar” content out of your main terms. This involves using one main page where you discuss all of the topics you will cover. Then, you design several smaller sub-pages that link back to that central pillar. 

Once again, this helps the search engines to navigate your website and index your pages while assisting the customers in finding the correct information. At the same time, you combine more pages on a website and remove anything that might be detracting from your site’s authority or not offering enough value. 

4. Improving Website SERP Listings

It’s easy to forget as a developer that a customer’s first experience with a website won’t always happen on that site’s homepage. Usually, when your customers are looking for solutions to a problem, they’ll find your website on the search engine results instead. 

This means that you need to ensure that you make the right impression here:

There are a few ways that developers can ensure the search engine listings they create for their clients are up to scratch. For instance, a reasonable title tag for each page that includes appropriate keywords is excellent for SEO and UX. A title tag lets your customers know they’re in the right place and helps them find the information they need. 

Remember, around eight out of ten users on search engines say that they’ll click a title if it’s compelling. 

Another component you have control over as a developer or designer is the “rich snippet.” Rich snippets are the informative chunks of content that Google adds to a search listing to help it stand out. You can use rich snippet plugins on a website to tell Google what kind of extra information you want to include on a page. 

For instance, you might want a company’s ratings to show up on your search results, so customers can see how trustworthy they are:

5. Local Business Rankings

When you’re creating a website for a company, it’s easy to forget about local rankings. We see the digital world as a way of reaching countless people worldwide. Local orders are easier to overlook when you have a global scope to work with. 

However, as a developer, you can boost a company’s chances of attracting the right local audience and boosting its credibility. For instance, you can start by ensuring that the correct directory information appears on your client’s website and social media profiles.

Another option is to create dedicated location pages for each area the company serves. This will make it easier for clients to find the contact details they need for their specific location. 

At the same time, pages that have been carefully optimized to rank for specific locations will earn more attention, specifically from search engines. The more of the search engine landscape your client can cover, the more chances they have to attract new customers and leads. 

Combing SEO and UX

In a world where experience is crucial for every business, it’s no wonder that UX and SEO are blending more closely together. There are a lot of areas where SEO and UX work in harmony together if you know where to find them. Improving your client’s SEO ranking with UX doesn’t just mean ensuring that their pages load quickly anymore. 

Simple strategies, like making sure a call-to-action button is clickable on a mobile page, can simultaneously boost a website’s UX potential and SEO performance. At the same time, adding images and alt text to a website provides search engines with more information while adding context to your content. 

The key to success is understanding how SEO and UX work together. If you look at SEO and UX as part of the same comprehensive strategy to give end-users a better online experience, achieving the right design goals is much easier. 

Of course, just like any strategy, it’s also worth making sure that you take the time to track the results of your UX and SEO campaigns. Examine which systems help you, and examine customers from an SEO perspective with design and development strategies.


Features image by gstudioimagen on Freepik

Source

The post 5 Ways That UX Developers Influence SEO  first appeared on Webdesigner Depot.

Source de l’article sur Webdesignerdepot

There were mixed reactions on Thursday morning when Adobe announced it had acquired Figma.

Excited press releases extolling the benefits of the “collaboration” followed the news. Dylan Field, founder and CEO of Figma, said: “There is a huge opportunity for us to accelerate the growth and innovation of the Figma platform with access to Adobe’s technology…”

The reaction from the design community has been a little less enthusiastic.

The problem for the design industry is that we’ve been here before. The acquisition of Macromedia followed a period in which Adobe tried to compete, failed to update its legacy code, lost the battle, and purchased the victor. You only need to look at the number of former Macromedia products in Adobe’s stable (zero) to see where Figma’s heading.

Figma has grown faster than any of its rivals in the last eight years. It is, of course, easier to grow when you start at zero. But there’s no denying Figma is a well-managed business and probably a good investment — if not worth the $20bn that Adobe reportedly paid.

Figma’s technology will give Adobe a leg-up in the collaborative design stakes, where it is clearly lacking. And Adobe’s resources will iron out some of the kinks in Figma, especially around typography, which is, if we’re honest, a bit hacky in places.

Adobe will provide a good home (we hope) for the Figma team, who will have the opportunity for career advancement in a much wider pool of development teams.

And, of course, Figma’s annual revenue will begin to trickle into Adobe’s vault — although it may be some time before it makes a dent in that $20bn hole.

But Adobe didn’t buy Figma for its business model, collaborative technology, team, or revenue stream. Adobe bought Figma’s users, all four million of them.

Adobe‘s approach to design software is upselling. It lures you in with free apps, and when you’re engaged, it integrates them with other parts of its ecosystem until suddenly, without meaning to, you’ve agreed to a Creative Cloud subscription.

Adobe was losing customers to a competitor. And more importantly, due to Figma’s free-use approach for individuals, it was losing young customers to a competitor. If it hadn’t bought Figma, Adobe would have needed to invest heavily in its own products while providing them to freelancers for free; that isn’t viable for a company with as many commitments as Adobe.

Yes, it is entirely accurate to say that competition drives innovation, and with fewer competing apps, there is less need for companies like Adobe to build high-quality, reliable products. However, it is also true to say that a lack of competition creates opportunities for new apps.

Somewhere out there, in a dorm room, or a basement, or on a kitchen table, someone is working on Adobe’s next big acquisition. It’s probably an AR design app; we need a few more of those.

For Figma, the next 12 months will be bright as Adobe works to retain the customers it’s bought. Within five years, you’ll probably need an Adobe Fonts subscription and a Photoshop plugin to use Figma. In ten years, it will be stored in a code archive next to Freehand.

Some designers will turn to Sketch; others will turn to Affinity; some will shrug and keep using Figma; others will shrug and keep using XD.

If an app is intrinsic to your design work, it’s probably time to switch apps. Your skills are transferable. I’ve switched apps many times; some I loved, some I just needed. I’ve never encountered an app that improved my work, although plenty have improved my mood while working.

Figma took a great approach and will continue to be great until it isn’t. Tools come and go, Adobe’s acquisitions team, it appears, is eternal.


Featured image uses photos by Afrika ufundi, Andrea Piacquadio, Andrea Piacquadio, Anna Tarazevich, cottonbro, fauxels, Ketut Subiyanto, Mikhail Nilov, Moose Photos, Pavel Danilyuk, Pavel Danilyuk, Polina Tankilevitch, Tima Miroshnichenko.

Source

The post Adobe Has Acquired You first appeared on Webdesigner Depot.

Source de l’article sur Webdesignerdepot

Learning how to design an MVP webpage or website could be one of the best things you can do as a site creator in today’s digital world.

In a fast-paced landscape, where customer preferences and technology are constantly changing, most companies don’t have time to dedicate months or years to each web project. The longer you take to complete your website, the more likely your creation will be outdated by the time you hit “publish.” That’s why countless creators are beginning to take a different approach.

To avoid wasting time, money, and effort on something that doesn’t deliver a significant return on investment, designers are now building “Minimum Viable Products,” or “MVPs.”

Here’s what you need to know about creating your MVP webpage.

What is MVP Web Design?

Typically, the “MVP” development process is most common in the app or software creation world. It refers to when a developer builds the simplest version of a technology capable of achieving specific goals. For instance, if a company wanted to create an ecommerce app, they would design a simple tool capable of listing products, enabling payments, and tracking orders.

After launching the MVP product, the company or developer would check to ensure it had the right impact on the target market and generated positive results. Using feedback and analytics, the developer would then begin to add new features one at a time.

MVP design aims to ensure you’re developing the best, most valuable product for your audience while getting your solution to market as quickly as possible.

The same strategy in MVP app and software design can also apply to website creation. Rather than building a highly complicated website with multiple features straightaway, the designer would focus on creating a single page equipped with the essential elements.

For instance, instead of building an entire site for your online course, you may develop a single-page website where customers can learn about the system, sign up, and pay for their membership. The great thing about an MVP web page is it allows companies to start advertising their solution, product, or service quickly, with the minimum initial investment.

How to Create an MVP Web Page

Creating an MVP web page is similar to designing any Minimum Viable Product. Throughout the project, the focus will be on keeping the development process simple while collecting as much feedback as possible.

Here’s how you’d get started with an MVP web page.

Step 1: Planning

Planning is an important stage in any web design project. It’s particularly crucial in the MVP landscape, where you need to define the most critical features of your webpage or website to ensure it’s “viable” for your needs. The initial planning stage can sometimes be the lengthiest part of the process, depending on the amount of research you need to do.

For the most part, web designers and companies will begin by conducting market research. This means examining crucial concepts intended to drive your strategy, such as:

  • Your target audience: Who are you trying to target with this web page, and what will they need from your site? A user persona can be helpful if you don’t already have one.
  • Competitors: Who are your main competitors in this space, and what do their web pages offer? Which features do you need to replicate or avoid?
  • Goal setting: What is the main objective of this web page? What do you need it to do, and what might it need to accomplish in the future?

The key to MVP web page planning is ensuring you look holistically at your project without thinking too far ahead. The site you create should be capable of scaling and expanding in the future, but it shouldn’t have too many features from day one.

Step 2: Creating Your Feature List

Once you’ve done your research and formed the foundations of your plan, it’s time to list all the features your MVP web page needs to have. Unfortunately, this is where the process can get a little complicated. It’s easy to start adding capabilities and components that aren’t necessary to make your site more exciting or competitive.

As worrying as it can feel to release a very basic web page, remember your focus is on rapid growth and development. With this in mind, concentrate on narrowing your feature lists down into:

  • Initial must-have capabilities: First, decide what your web page can’t thrive without. If the primary goal of your page is to sell software subscriptions, then you’ll need to implement tools for collecting member information and payments.
  • Next stage functionality: Consider the features you might add once you’ve confirmed your webpage is effective. This will allow you to ensure you’re creating a platform that can expand to suit future needs.
  • Possible future requirements: You can also list features that might be helpful in the future but don’t necessarily need to be implemented immediately. For instance, if you’re selling an online course, you might create a separate page where people can sign up to learn about future lessons.

Step 3: Finding the Right Software

Next, you’ll need to decide how to build your web page. There are several options available to today’s designers. An open-source solution is usually the best route for designers who need to create something specific from scratch. However, if the factor that makes your solution “viable” is unique, you may need access to code to bring your idea to life.

Alternatively, if you’re building a basic webpage capable of something like collecting customer email addresses or facilitating transactions, you might be able to use an off-the-shelf tool. CMS services for web designers can reduce the work and expense involved in creating a minimum viable product.

For instance, you might use a tool like Wix or Squarespace to edit a pre-existing template and simply drag-and-drop the features you need into the right places. On the other hand, if you’re planning on adding more functionality to your site down the line, it’s worth checking if any builder you will use has the right level of flexibility. Many tools will allow you access to code, advanced features, and essential module-based building functions.

Step 4: Implement Your Analytics

One of the essential parts of an MVP workflow is feedback. When you roll out your MVP, you’ll be looking for insights, guidance, and analytics to help you decide what your next steps are going to be. As a result, MVP workflows are based heavily on experimentation.

This means you’re going to need the right analytical tools in place to track crucial information. You can implement tools for collecting customer feedback directly. It’s also worth having a system in place for tracking metrics like:

  • Conversion rate;
  • Traffic numbers;
  • User behavior;
  • Most used/least used features;
  • Technical site performance;
  • Bounce rate;
  • Average time spent on the page.

While Google Analytics is one of the most popular tools for collecting insights in the MVP website design world, various other options are available. You can even find tools with in-built heatmaps to see how people navigate your site more effectively.

It’s also worth having A/B testing components in place. This will allow you to test the different “new” features you add to your web pages over time and examine how they influence your conversions and support your goals. For example, you can use A/B testing to explore the impact of everything from CTA button colors to webpage copy and offers.

Creating Your MVP Web Page

In the fast-paced web development and design world, the old-fashioned and slow approach to designing web pages is growing increasingly less common. Instead, an MVP strategy may be the best bet for companies looking to go to market faster, collect insights from their target audience, and accelerate growth.

Though getting used to this design strategy initially can be challenging, it can save you significant time, resources, and money in the long term.


HTML vector created by vectorjuice – www.freepik.com

Source

The post How to Design an MVP Web Page first appeared on Webdesigner Depot.

Source de l’article sur Webdesignerdepot

Continuing from part 2, let’s start this article with a bit of context first (and if you don’t like reading text, you can skip this introduction, and go directly to the section below where I discuss pieces of code).

Context

  • When we start an application program, the operating system creates a process.
  • Each process has a unique id (we call it a PID) and a memory boundary.
  • A process allocates its required memory from the main memory, and it manipulates data within a boundary.
  • No other process can access the allocated memory that is already acquired by a process.
  • It works like a sandbox, and in that way, avoids processes stepping on one another’s feet.
  • Ideally, we can have many small processes to run multiple things simultaneously on our computers and let the operating system’s scheduler schedule them as it sees fit.
  • In fact, this is how it was done before the development of threads. However, when we want to do large pieces of work, breaking them into smaller pieces, we need to accumulate them once they are finished.
  • And not all tiny pieces can be independent, some of them must rely on each other, so we need to share information amongst them.
  • To do that, we use inter-process communication. The problem with this idea is that having too many processes on a computer and then communicating with each other isn’t cheap. And precisely that is where the notion of threads comes into the picture.

The idea of the thread is that a process can have many tiny processes within itself. These small processes can share the memory space that a process acquires. These little processes are called « threads. » So the bottom line is that threads are independent execution environments in the CPU and share the same memory space. That allows them faster memory access and better performance.

Source de l’article sur DZONE

Welcome back! This is the second part of a two-part article series. With this article, my goal is to build a blueprint to show a way how to model, organize and structure our Infrastructure-as-Code Projects using the AWS-CDK framework. Check here to access the first part of this article.

Now, in this second part, as promised, comes the fun part, we get into the hands-on. Let’s run our AWS CDK IaC Project, deploying all the services and resources, and then see the AngularJS Application up and running. Let’s get started.

Source de l’article sur DZONE

Live chat is one of the most powerful tools for customer experience in the current marketplace. 

In a world where customers are constantly connected to the online world, online chat is a reliable way of getting quick solutions to common problems. 

Today’s consumers prefer talking to an agent over chat to calling a contact center, and they often feel that live chat is less frustrating than waiting for the right person to answer the phone. 

Of course, like any digital tool, live chat is only effective when using it correctly. Today, we’re going to show you the crucial KPIs you need to consider if you want to ensure that your chat strategy is delivering a tangible return on investment. 

The Most Important Metrics to Measure for Live Chat

These days, implementing live chat tools is easier than ever. 

You don’t necessarily need to hire a professional developer unless you want a specialist widget with specific functions and unique branding. Many plugins and tools for sites built on Shopify and WooCommerce allow you to instantly access chat functions. 

However, just because implementing live chat is easy doesn’t mean that there aren’t countless ways for your strategy to go wrong. Keeping an eye on these crucial KPIs and metrics ensures you’re making the right impression with your chat strategy. 

1. First Response Time

First response time is a crucial live chat metric. This measures how long customers need to wait before someone responds to them. Technically, this metric only refers to how quickly an actual agent responds to your customer, so automated “thanks for getting in touch” messages don’t count. However, immediately responding with one of those messages can convince your audience to stick around for a little longer. 

The faster your agents can respond to messages and solve problems, the better your brand reputation becomes. The good news is that a good live chat strategy can lead to pretty quick response times. The average time for an agent to see a live chat message is around 2 minutes and 40 seconds.

To improve your FRT statistics, make sure you:

  • Invest in chatbots: AI chatbots can support customers 24/7 with handy, self-service functionality. These tools will also filter out the customers waiting for an agent who can find a solution to their problem on your FAQ page.
  • Prepare canned responses: Quick responses to common queries can help you to address a problem much faster. In addition, preparing canned responses will ensure that your team members can quickly respond to more customers. 
  • Increase your resources: Ensure you have the right hand and enough agents to handle peak demand.

2. Average Resolution Time

The first response rate only looks at how quickly someone responds to a customer’s message for the first time. However, it doesn’t show how rapidly you deal with client problems. Average Resolution Time is the metric that helps to measure customer satisfaction by seeing how long it takes to get to a point where your customer can close the chat. 

If it takes too long for your employees to solve problems, there’s an increased risk of your customers becoming annoyed and frustrated. Additionally, the longer agents take dealing with each individual chat, the more other consumers will have to wait for someone to become available. Finally, the longer it takes to resolve an issue, the more customer satisfaction decreases.

The key to success is ensuring that the right agent deals with the correct customer and that everyone on your team is empowered with the appropriate tools and information. Boost resolution time by:

  • Giving customers a quick self-service solution: For common questions, make sure that you have an FAQ section that you can direct your customers to. In addition, a chatbot that can offer quick canned responses to regular queries can save time. Plus, they’re great for reducing the pressure on your agents’ shoulders. 
  • Integrate CRM tools with live chat: Make sure your agents have access to information about each customer as soon as they start the conversation. This information should include the customer’s name, what they’ve purchased before, and if they’ve issued any support tickets. Integrating with the CRM makes it easier for agents to jump straight into the action without needing the customer to explain everything first. 
  • Keep resources handy: Your team members should have instant access to all the information they need to answer customer questions. Ensure that searchable data repositories are available for everyone on your live chat team. 

Remember, routing tools that automatically send customers to the agent with the proper knowledge or skills will also improve response times and reduce the number of times a customer needs to repeat themselves. 

3. Chat to Conversion Rate 

Live chat tools aren’t just an avenue for problem resolution. Although customers can get excellent service through live chat, they also look to chat to collect information before a potential purchase. Around 38% of customers say that they end up purchasing a positive live chat experience. 

The live chat app on your website can provide real-time assistance for sales queries, converting leads, and maximizing your return on investment. However, to determine how successful your chat system is at encouraging sales, you must look at the chat to conversion rate metric. 

Essentially, you measure the number of chats your company has been involved in, then compare that number to the total number of conversions from those customers. It might be helpful to narrow down your results here by using your data and analytics tools to separate your total number of live chats into those intended for sales information and those requiring assistance. 

If your chat to conversion rate isn’t as high as you would like, there are lots of things you can do to start making a positive impact:

  • Automatically launch a chat: As soon as someone comes to your website, launch a chat window with a bot that asks whether you can help your customer. You can even include a list of commonly asked questions so your customer can get help faster. 
  • Follow up on chat conversations: Make sure you follow up on any questions that customers ask on your chat widget with an email. This is a great way to reach out to customers that may have been distracted and ended up abandoning their cart.
  • Personalize suggestions: Use AI insights and information from your customer management tools to determine which products are most likely to appeal to each customer, then suggest those items. Remember to ensure that your tone of voice in the chat matches your brand too. 

Remember, the faster you can answer customer queries and address their concerns with your live chat strategy, the more likely the chat will lead to a sale. Ultimately, customers are convinced to purchase when they believe they can trust your business to deliver excellent experiences. 

4. Customer Satisfaction Score

The customer satisfaction score is probably one of the most critical metrics in any customer experience strategy. It directly measures customer satisfaction levels and gives you an insight into how well you’re doing from the perspective of your target audience. 

The best way to measure CSAT through live chat is to add a survey to the end of the chat session. For instance, you could ask, “How would you rate this session on a scale of 1 to 10”. Then, based on the score, you’d calculate a “Net Promotion Score.” Each score falls into one of three categories: “Detractors 0-6”, “Passives 6-8,” and “Promotors 9-10”.

The more information you collect about your CSAT score, the easier it will be to determine where you’re going wrong with your live chat strategy. On the other hand, if the score is pretty good after a chat session, you’re probably on the right track. To improve your overall score:

  • Encourage feedback: Getting people to leave feedback, even on a live chat app, can be difficult. Offering customers the chance to win something in exchange for their insights could help you to get more data. 
  • Follow up: Connect with your “detractors” to find out what you did wrong. Follow up in the live chat session by asking if they’d like to leave a more comprehensive review. Alternatively, you can send an email asking for additional information. 
  • Reach out to promotors: Connect with the people who give you the most favorable scores to ask them for their insights. Find out what they enjoyed most about the experience and request a review that you can place on your website for social proof. 

5. Missed Opportunities

The longer someone waits for you to answer their question in a live chat or respond to their initial message, the more likely they’ll give up on the conversation. Unfortunately, this means that your company ends up with missed opportunities. You lose the chance to potentially make a sale, delight a customer, and strengthen your brand reputation.

While you might assume that your customers will know you can’t be available to answer all of their questions immediately, that’s not the case. INC tells us that 51% of consumers believe a business should always be open. So every missed chat is another negative mark against your reputation. 

If you discover that your team is missing a lot of chat chances, this could be a sign that you don’t have enough resources available in this area. However, there are a few ways that you can reduce your chances of missed opportunities, such as:

  • Hiring more team members: If you know that there are times of the year or week when you have peaks in demand, ensure that you have the correct number of staff members available. 
  • Using chatbots: Chatbots won’t be able to answer all customer questions, but they can deliver quick responses to commonly asked queries and reduce the risk of lost opportunities.
  • Provide alternative forms of communication: if your customer can’t reach you on live chat, make sure that there are other options available, like a phone number and email address or a form where your customer can automatically submit a ticket. 

6. Total Number of Chats and Tickets

Keeping track of the total number of tickets your customers submit, alongside the number of chats your employees engage in, will give you helpful information. First, the total number of conversations shows how many customers are taking advantage of your live chat function on the website. 

You’ll also be able to compare your total number of chats to the number of resolved problems you deal with for your customers. For example, comparing your total number of chats to an unlimited number of tickets shows you how many customers have been left to rely on other sources of communication. You can also see how good your employees are at following up with tickets issued by customers. 

When you’re analyzing your number of tickets and chat sessions, you might notice that many of the queries you dealt with were connected to specific questions or topics. If that’s the case, you might be able to create a new FAQ page for your customers or provide your chatbot with extra information that it can use. 

If you’re getting more support tickets through alternative means than live chat, it might be time to ask yourself what’s wrong with your live chat performance and why your customers choose not to use it. 

Improving Live Chat CX for Your Business

Live chat can be a powerful tool for improving customer experience and an excellent way to strengthen your relationship with existing and potential clients.

Step into the shoes of your customer and discover what it feels like to walk through the whole live chat experience, from the moment that you send a request to the live chat team to the moment when you close down the chat with a solution to your problem. Other quick tips include:

  • Getting the software right: Make sure your live chat app is easy for your end customers and your employees. The chat app you use should be convenient and suit your brand. It also needs to collect information effectively without causing problems like GDPR and regulations. Get a developer involved if you think you have a problem with your chat functionality. 
  • Guide your team: Remember that your team needs to know how to use the live chat tools available effectively if they’re going to deliver the best results to your customers. Make sure you give your employees scripts to deal with problems if needed. In addition, chatbots that can quickly grab information from integrated CRM tools and other solutions could make your agents’ lives much more manageable. 
  • Pay attention to feedback: Ask your customers for feedback on their live chat experiences whenever you can. Ensure you pay attention to what they say they like and dislike about the encounter. If you can listen to your customer’s opinions, they’ll give you a lot of helpful information to work with when you’re enhancing and optimizing your live chat strategy. In addition, listening to your audience shows that you have their best interests at heart.

Remember, as well as customer feedback; you might be able to ask your employees for their insights into how you can improve live chat performance too. Employees also work with these tools regularly, so they know which features are more problematic than others. 

Measuring and Improving Live Chat

Live chat functionality isn’t something that you implement into your website and forget about. Instead, like any form of customer service or engagement tool, your live chat solution should be something you test regularly and constantly update to suit your customers’ needs. 

Knowing which metrics to measure when examining live chat functionality and performance will boost the experience you can give your audience and even open the door for better relationships with clients in the long term.

Source

The post How to Measure Live Chat Performance first appeared on Webdesigner Depot.

Source de l’article sur Webdesignerdepot

E-commerce storefronts have been slow to offer crypto payment methods to their customers. Crypto payment plug-ins or payment gateway integrations aren’t generally available, or they rely on third-party custodians to collect, exchange, and distribute money. Considering the growing ownership rate and experimentation ratio of cryptocurrencies, a « pay with crypto » button could greatly drive sales.

This article demonstrates how you can integrate a custom, secure crypto payment method into any online store without relying on a third-party service. Coding and maintaining smart contracts needs quite some heavy lifting under the hood, a job that we’re handing over to Truffle suite, a commonly used toolchain for blockchain builders. To provide access to blockchain nodes during development and for the application backend, we rely on Infura nodes that offer access to the Ethereum network at a generous free tier. Using these tools together will make the development process much easier.

Source de l’article sur DZONE

Creating videos for social media or to embed on your site can be a fun and creative way to promote your brand or business. More importantly, time spent on a page is a significant SEO ranking factor, so providing a video to watch is of enormous benefit.
However, coming up with the music for your videos can be challenging. You want something catchy that fits your video’s tone but don’t want to violate copyright laws.

Music licensing can be tricky, but if you’re smart about it and know what license your needs fall into, things will go swimmingly. Many different types of licenses cover differing budgets or use cases.

Public Domain: Public domain music is music that is not protected by copyright and can be used by anyone for any purpose. This includes traditional folk songs, classical music, and works released explicitly into the public domain.

Creative Commons: Creative Commons is a license that allows you to use someone else’s work for free, as long as you give credit to the creator. There are several Creative Commons licenses, so read the terms before using any music in your videos.

Royalty-Free: Royalty-free music is music you can use without paying royalties. This means you can use the music in your videos without getting permission from the artist or paying for a license. You can usually find royalty-free music on stock audio websites.

10 Places to Find Music for Videos

Below you’ll find the ten most common places to find music for your videos, including Youtube, Instagram, and TikTok videos.

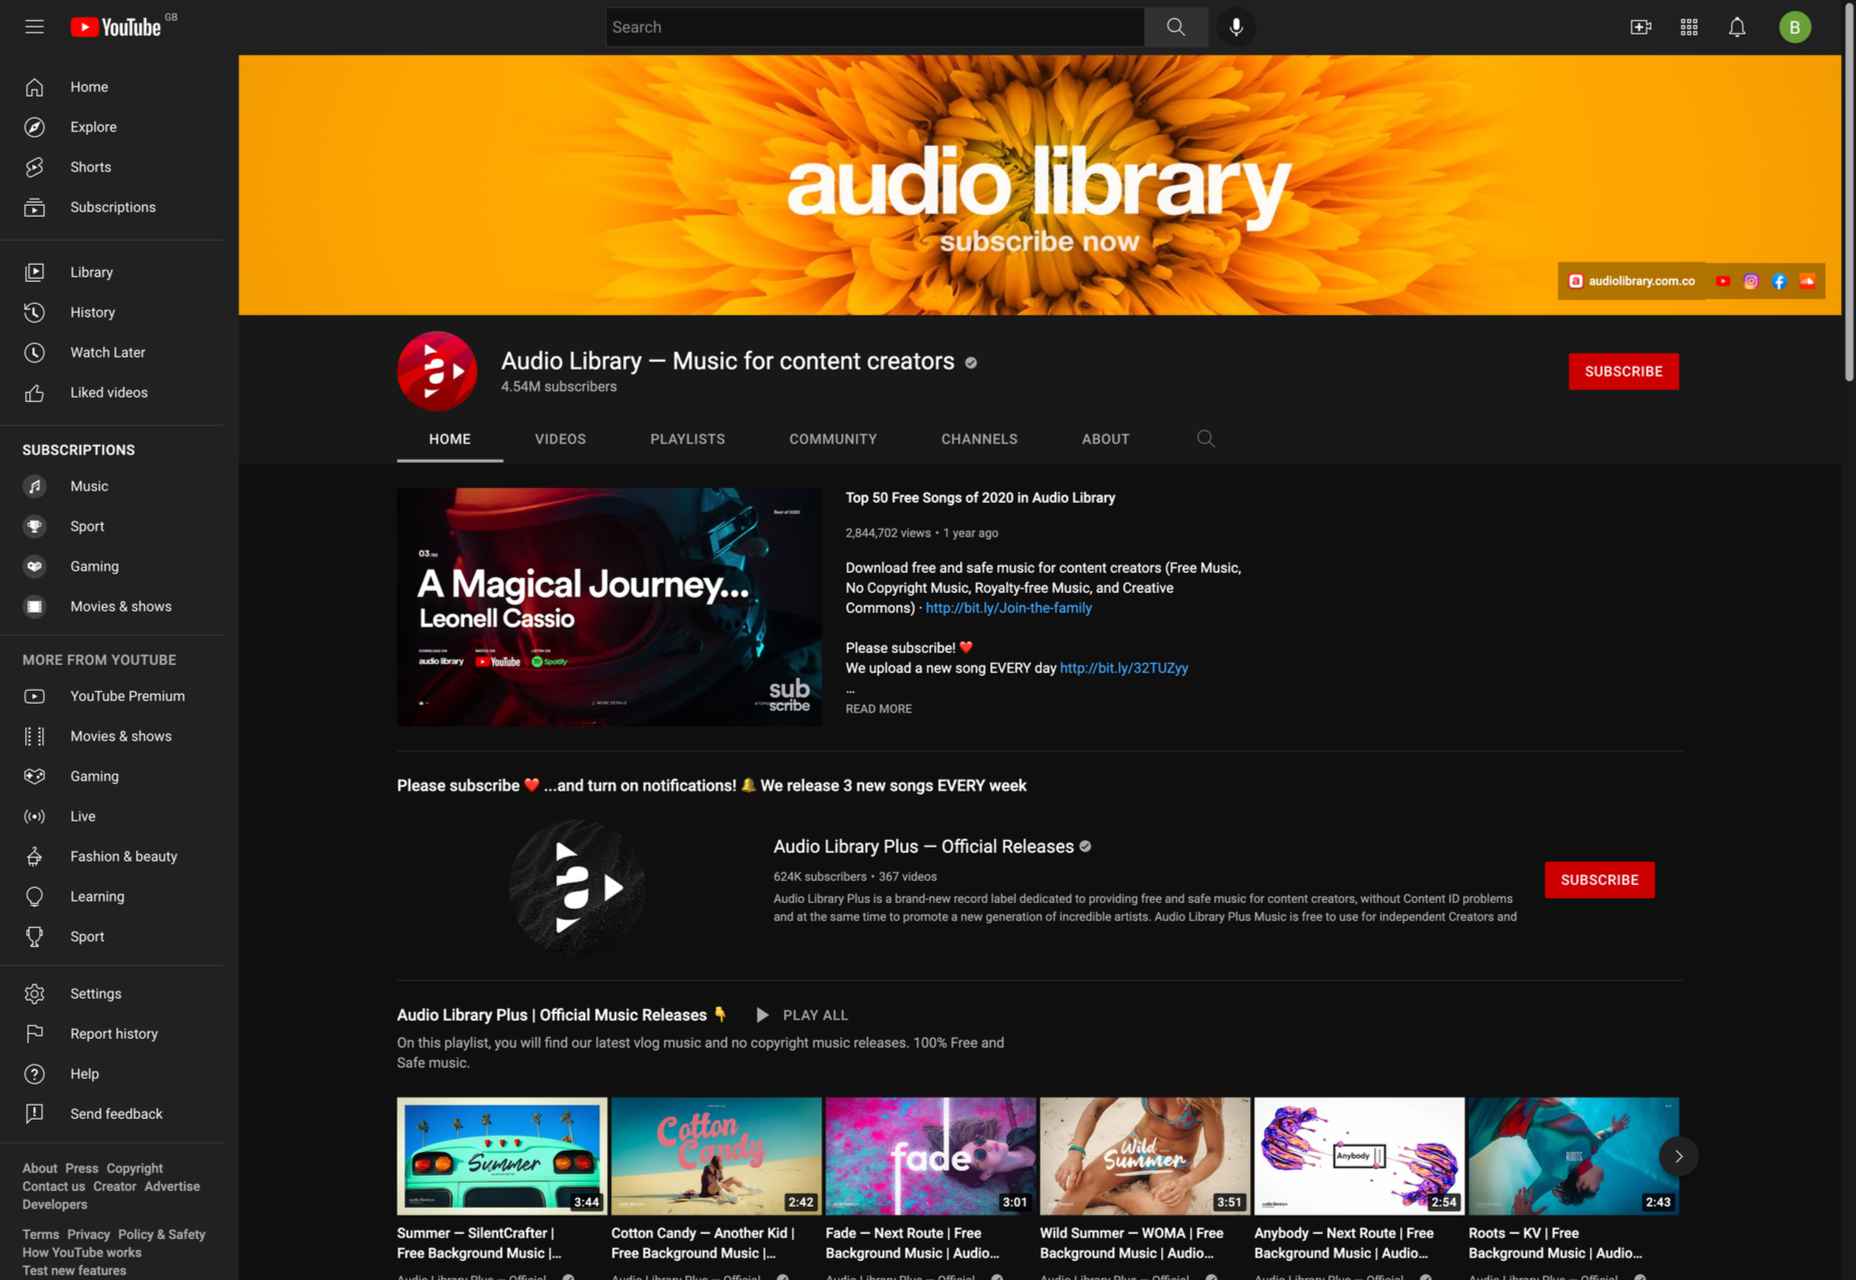
1. YouTube Audio Library

The first place to look for music is YouTube’s Audio Library. This is an excellent resource for finding free, high-quality music for your videos. You can search by genre, instrument, mood, or duration and preview the tracks before downloading them.

You can use music from the YouTube Audio Library in your Instagram and Youtube videos. Just make sure you follow the copyright guidelines specified on the YouTube website.

2. AudioJungle

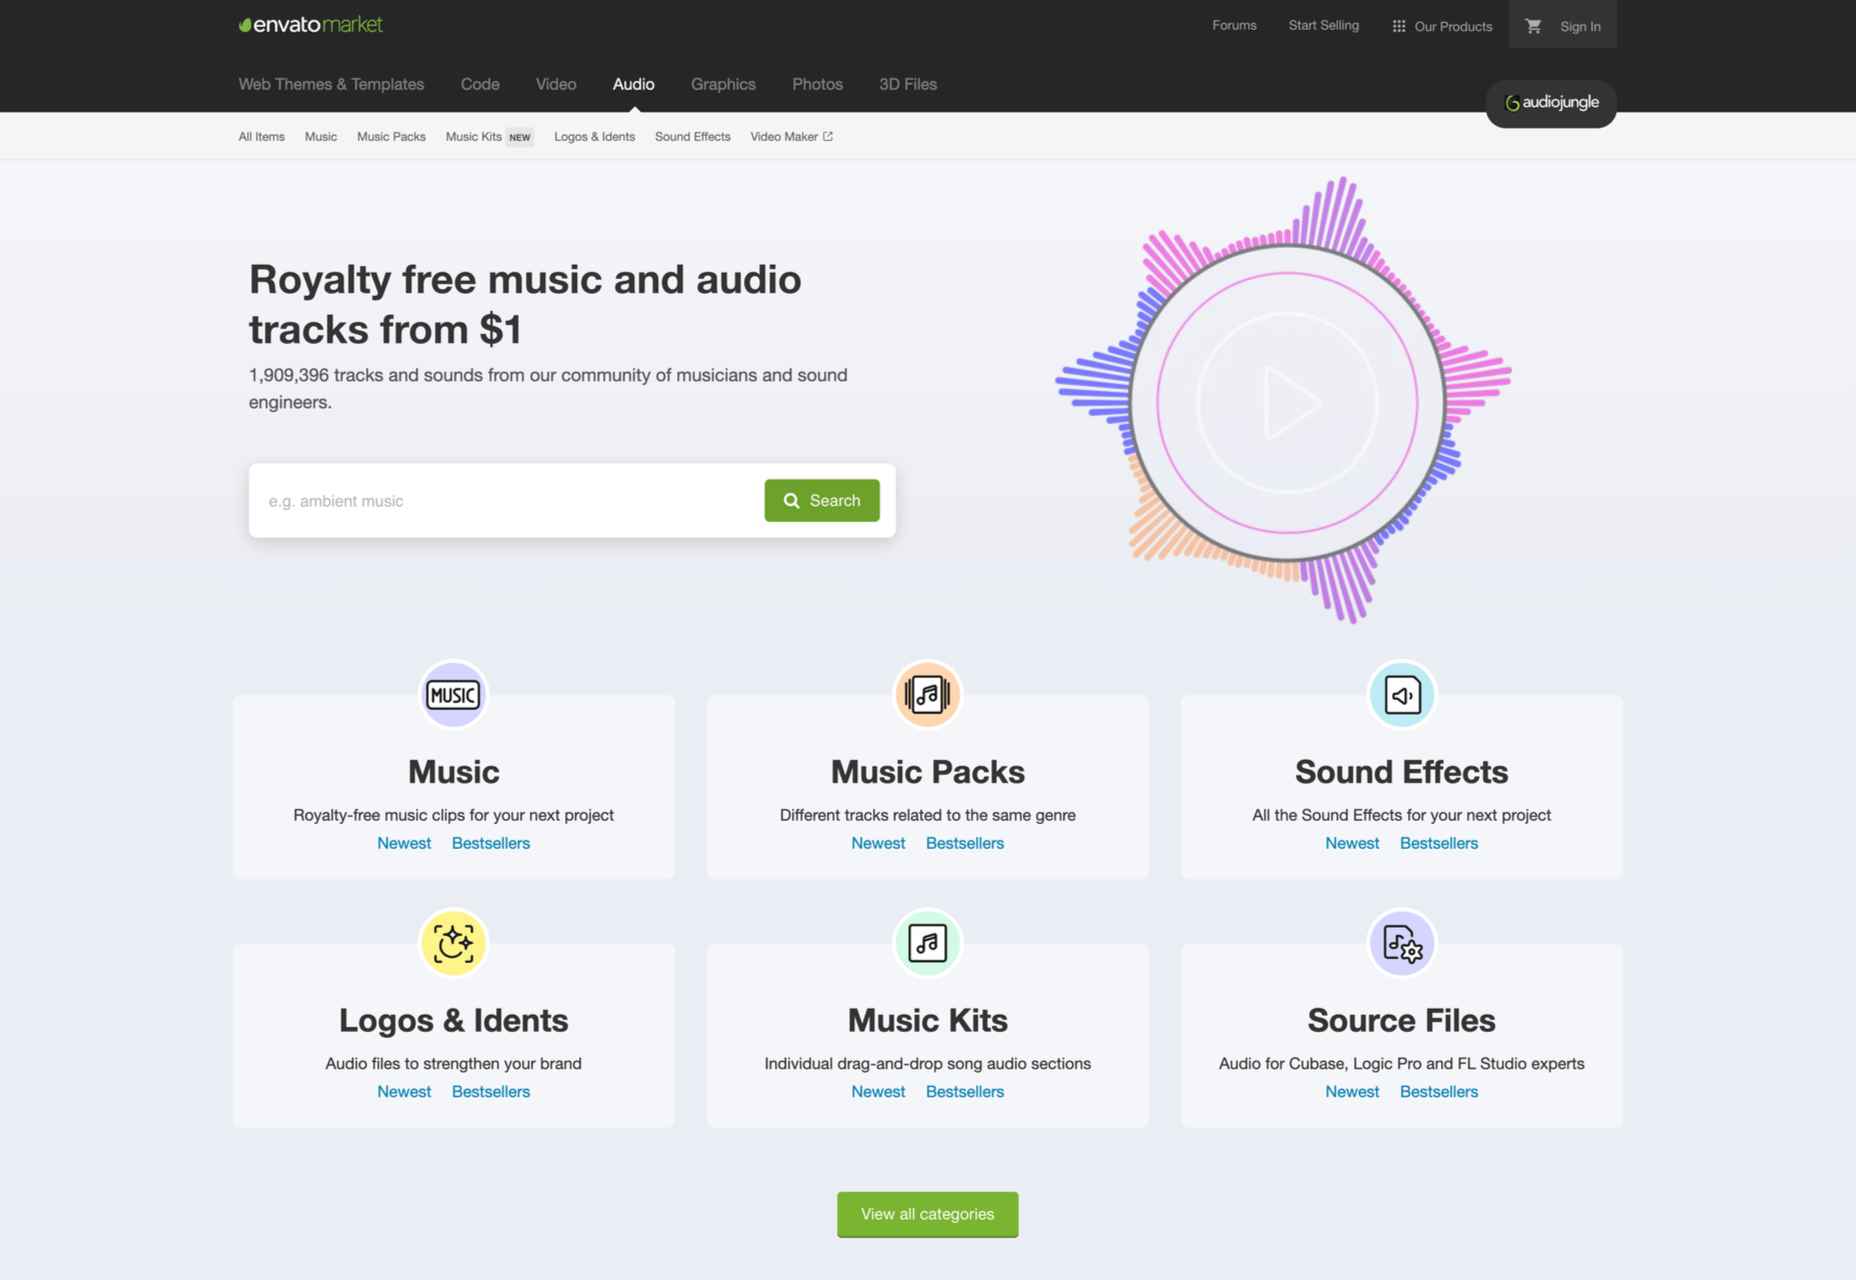
AudioJungle from EnvatoMarket is an excellent resource for finding high-quality music for your videos. You can search by genre or mood and listen to previews of the songs before you download them.

AudioJungle offers a variety of paid plans that give you access to more features and higher-quality audio files. Prices start at $12 per month for the basic plan and go up to $48 per month for the premium plan.

3. Free Music Archive

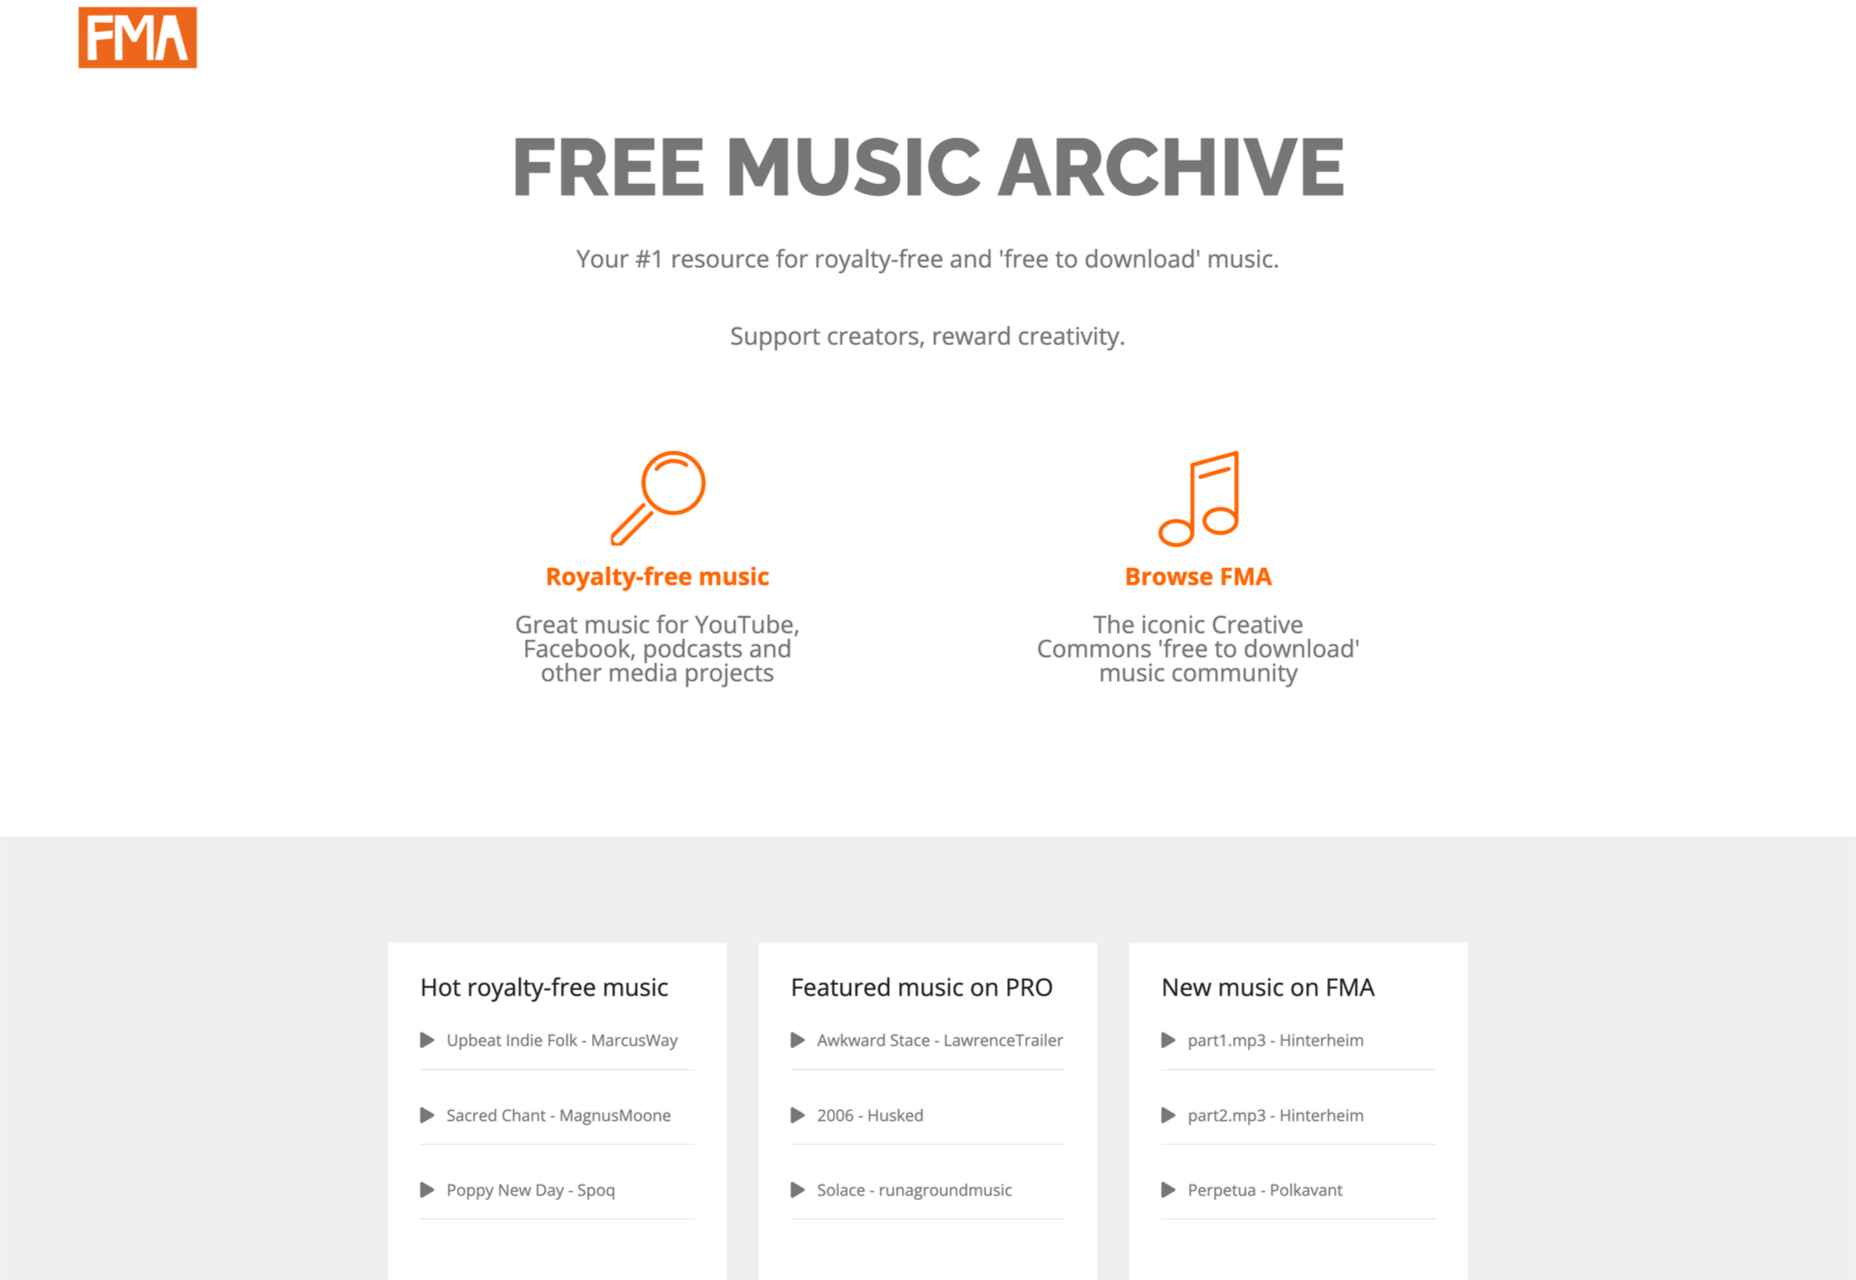
The Free Music Archive is another resource to search for free music. It’s a little more eclectic than the YouTube Audio Library, so you’ll find a broader range of genres and styles here. 

However, all of the music on the site is licensed under Creative Commons, so you’re free to use it in your videos. In addition, you can search by genre or artist and even listen to previews of the songs before you download them.

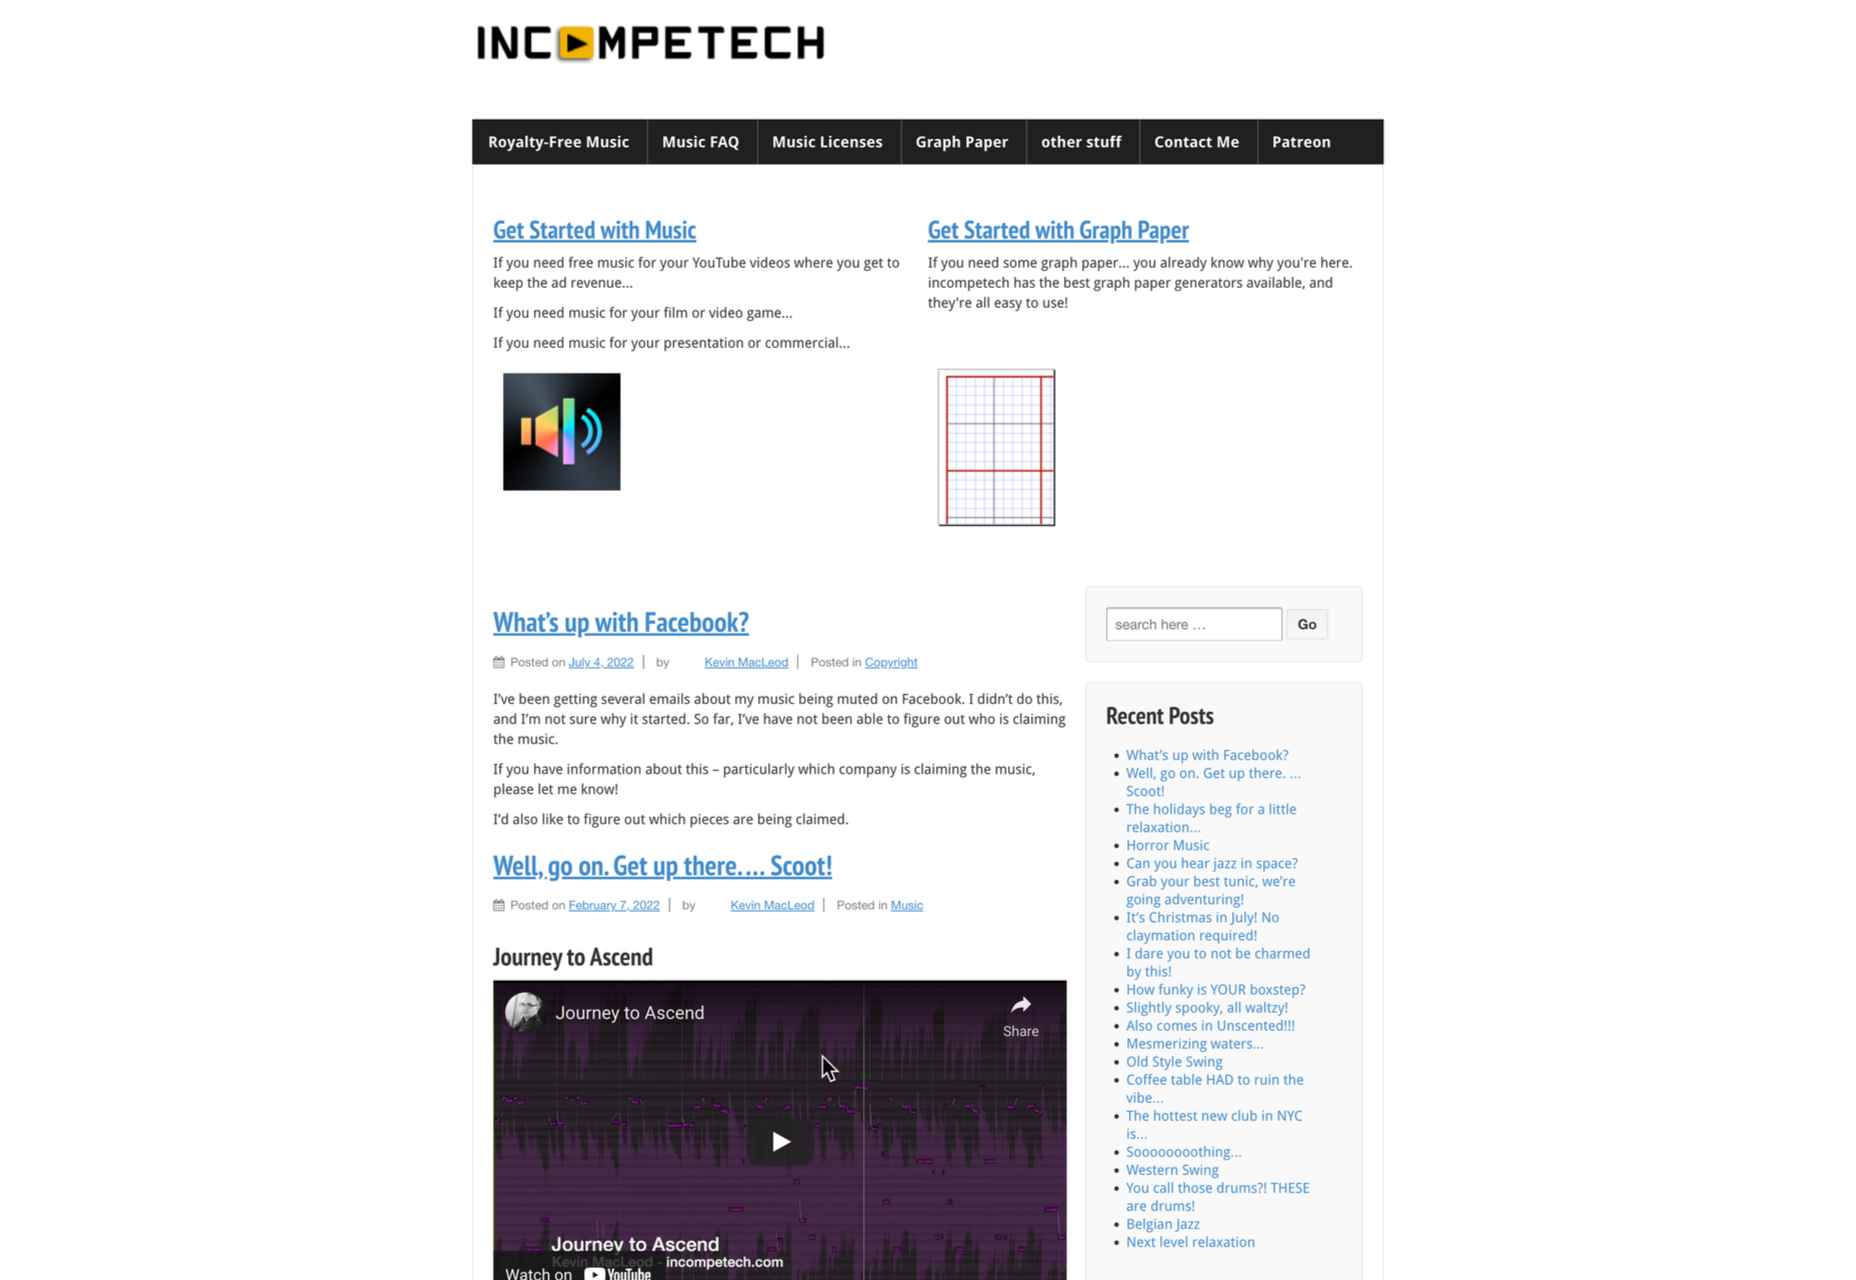
4. Incompetech

The next website to find royalty-free music for videos is Incompetech. You can search by genre, mood, or instrument, but also read about music licenses. Besides, the site has a handy “music for video” section that features tracks that are specifically designed for use in videos.

Incompetech is free for users, but the company still earns money on display ads and Patreon donations.

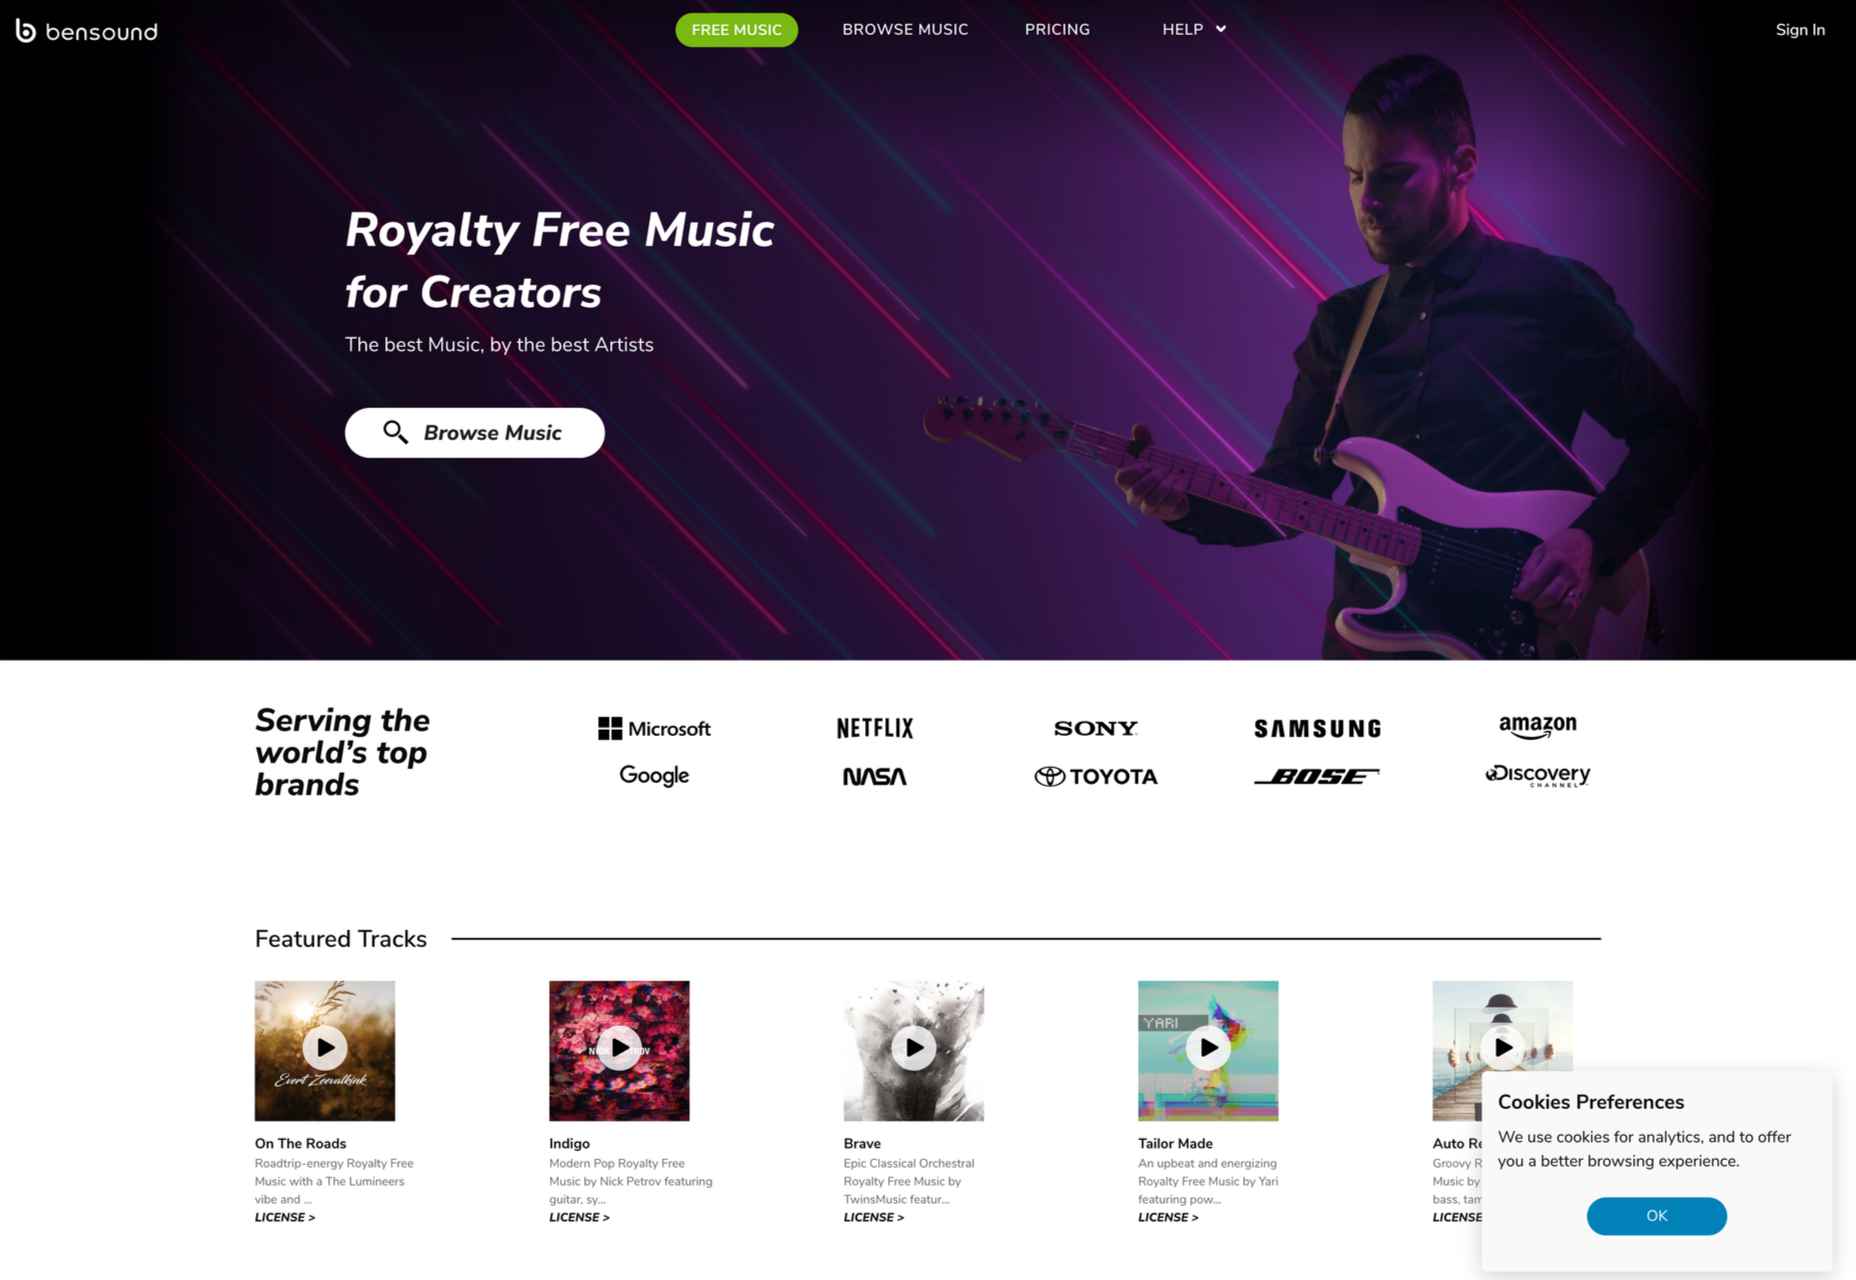
5. Bensound

Bensound is a website where you can find high-quality music for your social media videos. It has a library of music that you can choose from, and you can also create custom playlists. The site is easy to use, and you can search for music by genre, mood, or artist. 

All of the music on the site is licensed under Creative Commons, so you’re free to use it in your videos. Prices start from approximately $12/mo subscription, or you can pay $34 per track.

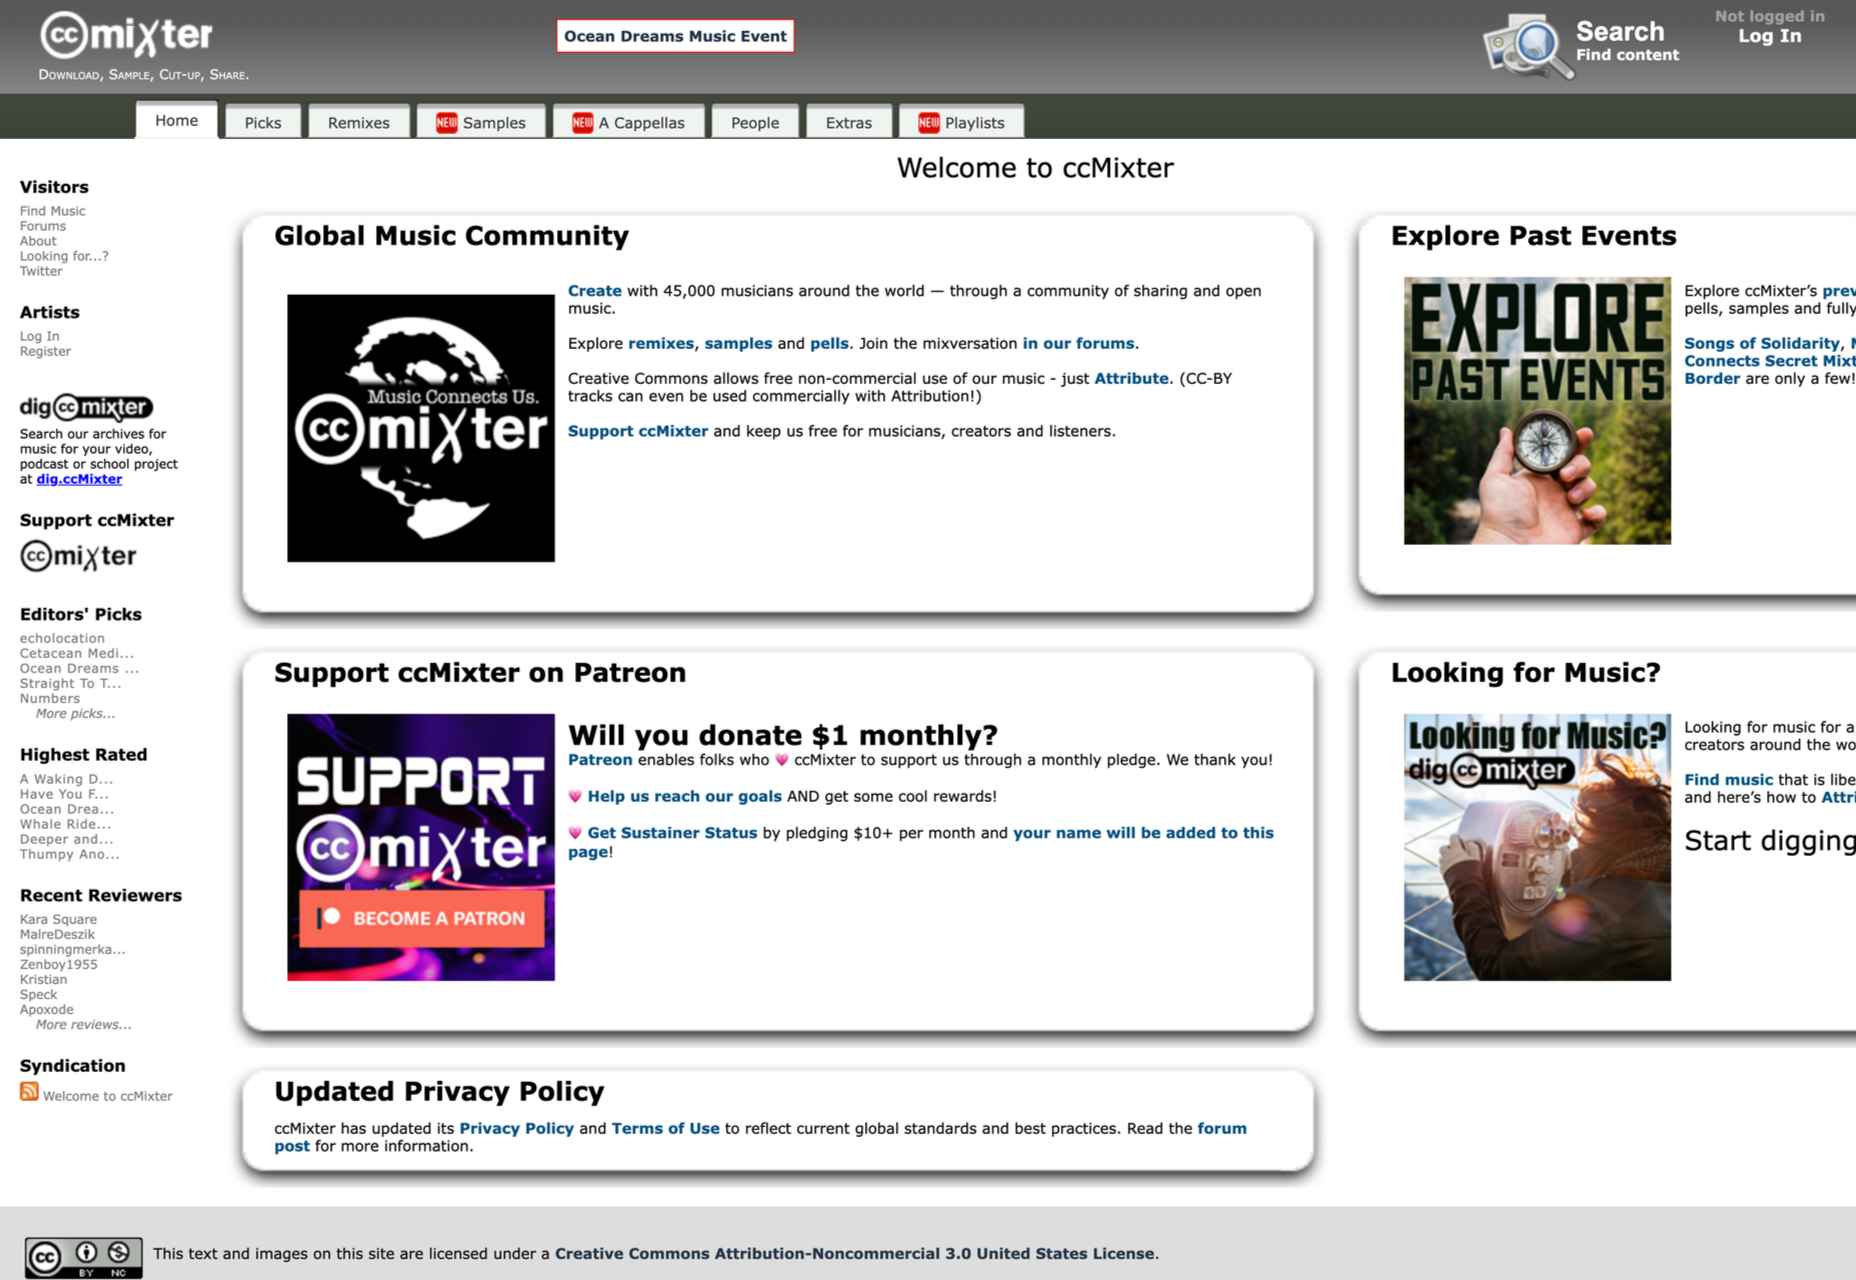
6. ccMixter

ccMixter was created as a Creative Commons Project. It is a collaboration platform for musicians who want to promote their work. The site also has a handy “music for video” section that features tracks that are specifically designed for use in videos.

ccMixter offers a variety of paid plans that give you access to more features and higher-quality audio files. Prices start at $12 per month for the basic plan and go up to $48 per month for the premium plan.

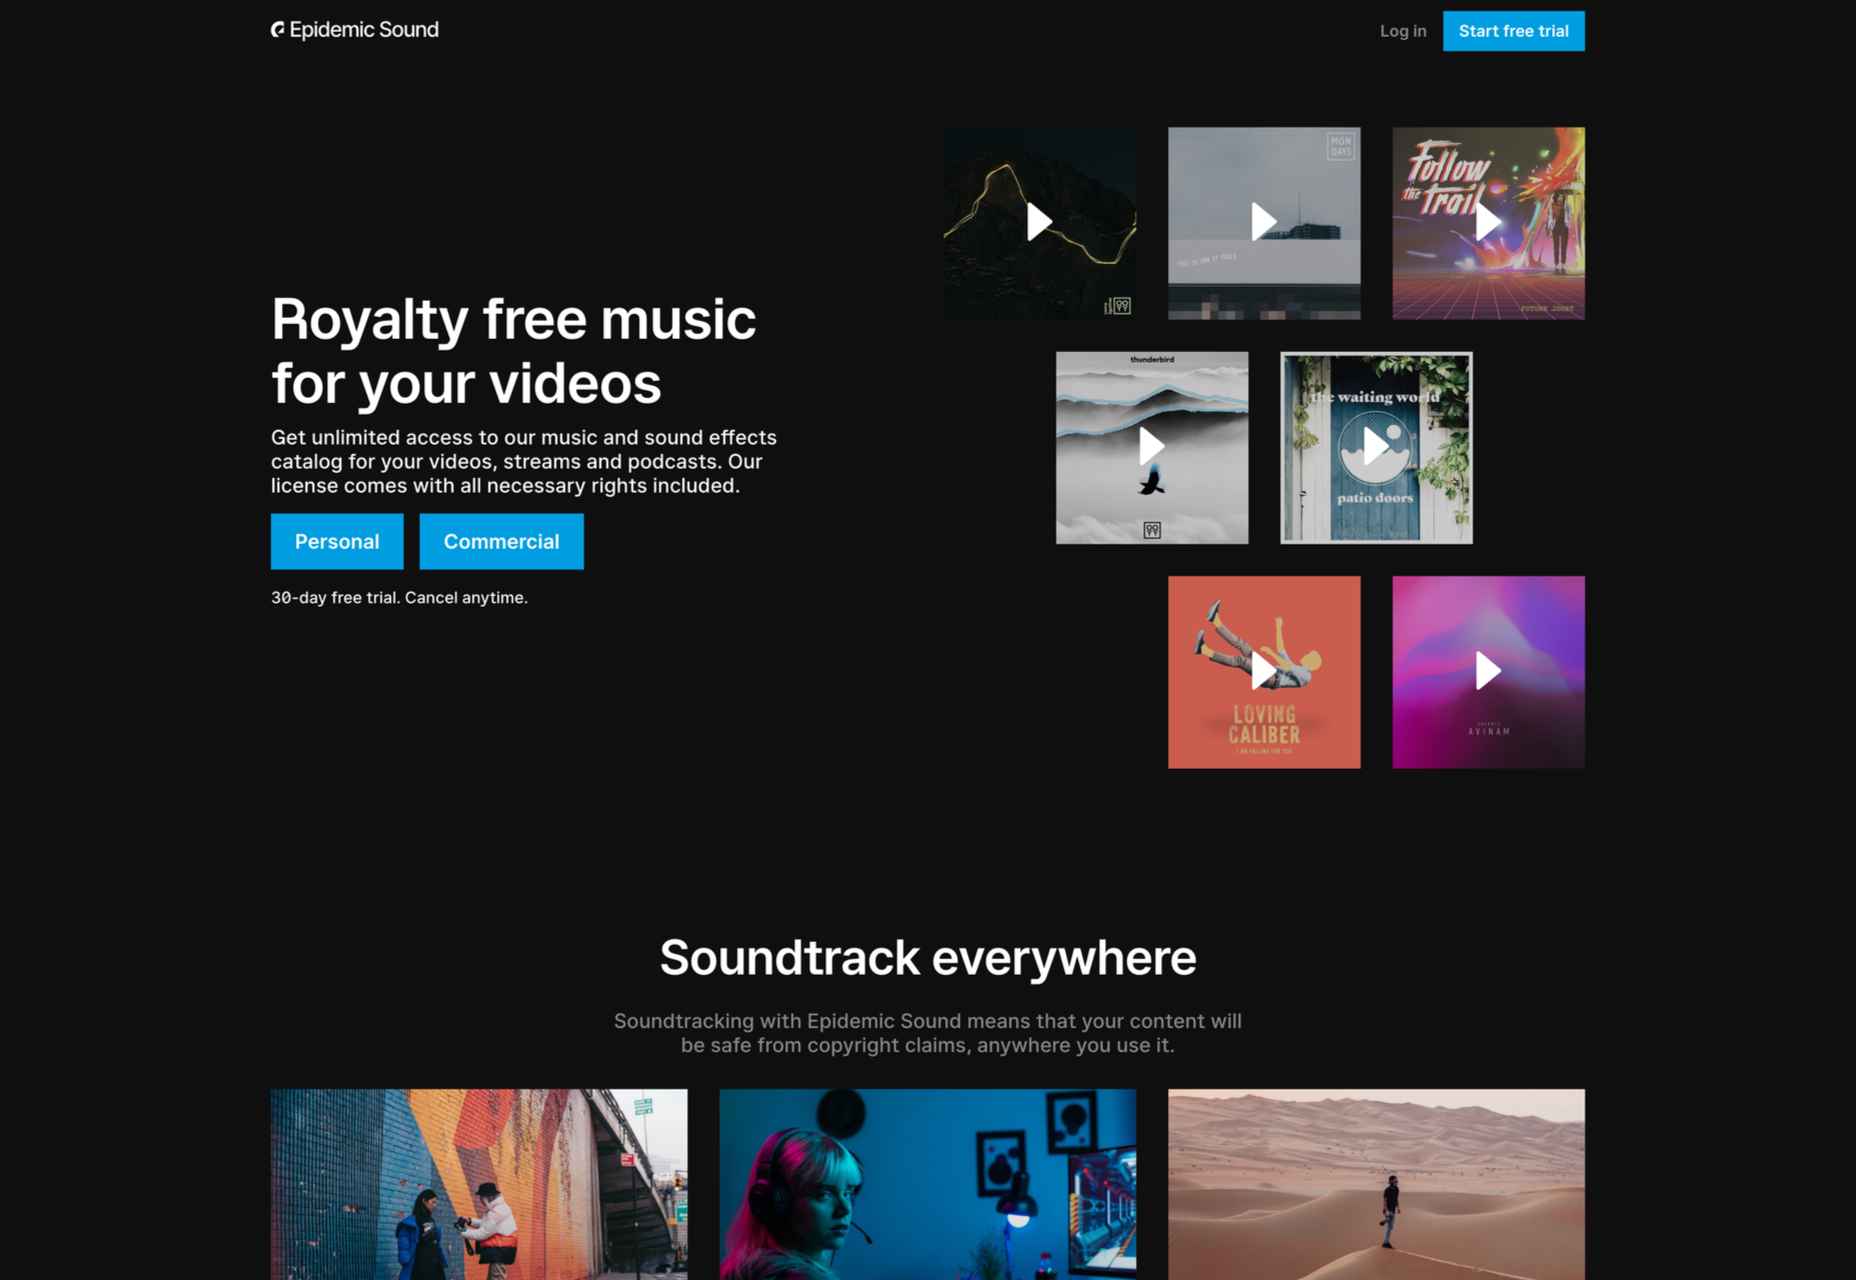
7. Epidemic Sound

Epidemic Sound is a music company with a rich history dating back to 2009. They provide high-quality music for social media videos, and their library is constantly expanding. Epidemic Sound was founded by three friends working in the music industry. They were frustrated with the quality of stock music available, so they decided to create their own. 

Epidemic Sound has since become a go-to source for high-quality music. In recent years, the company has been working hard to expand its library and make it easier for people to find the perfect song for their videos. As a result, they now have over 30,000 tracks available.

Epidemic Sound’s monthly subscription service starts at $15/month. This gives you access to all of the site’s music, and you can download as many tracks as you want.

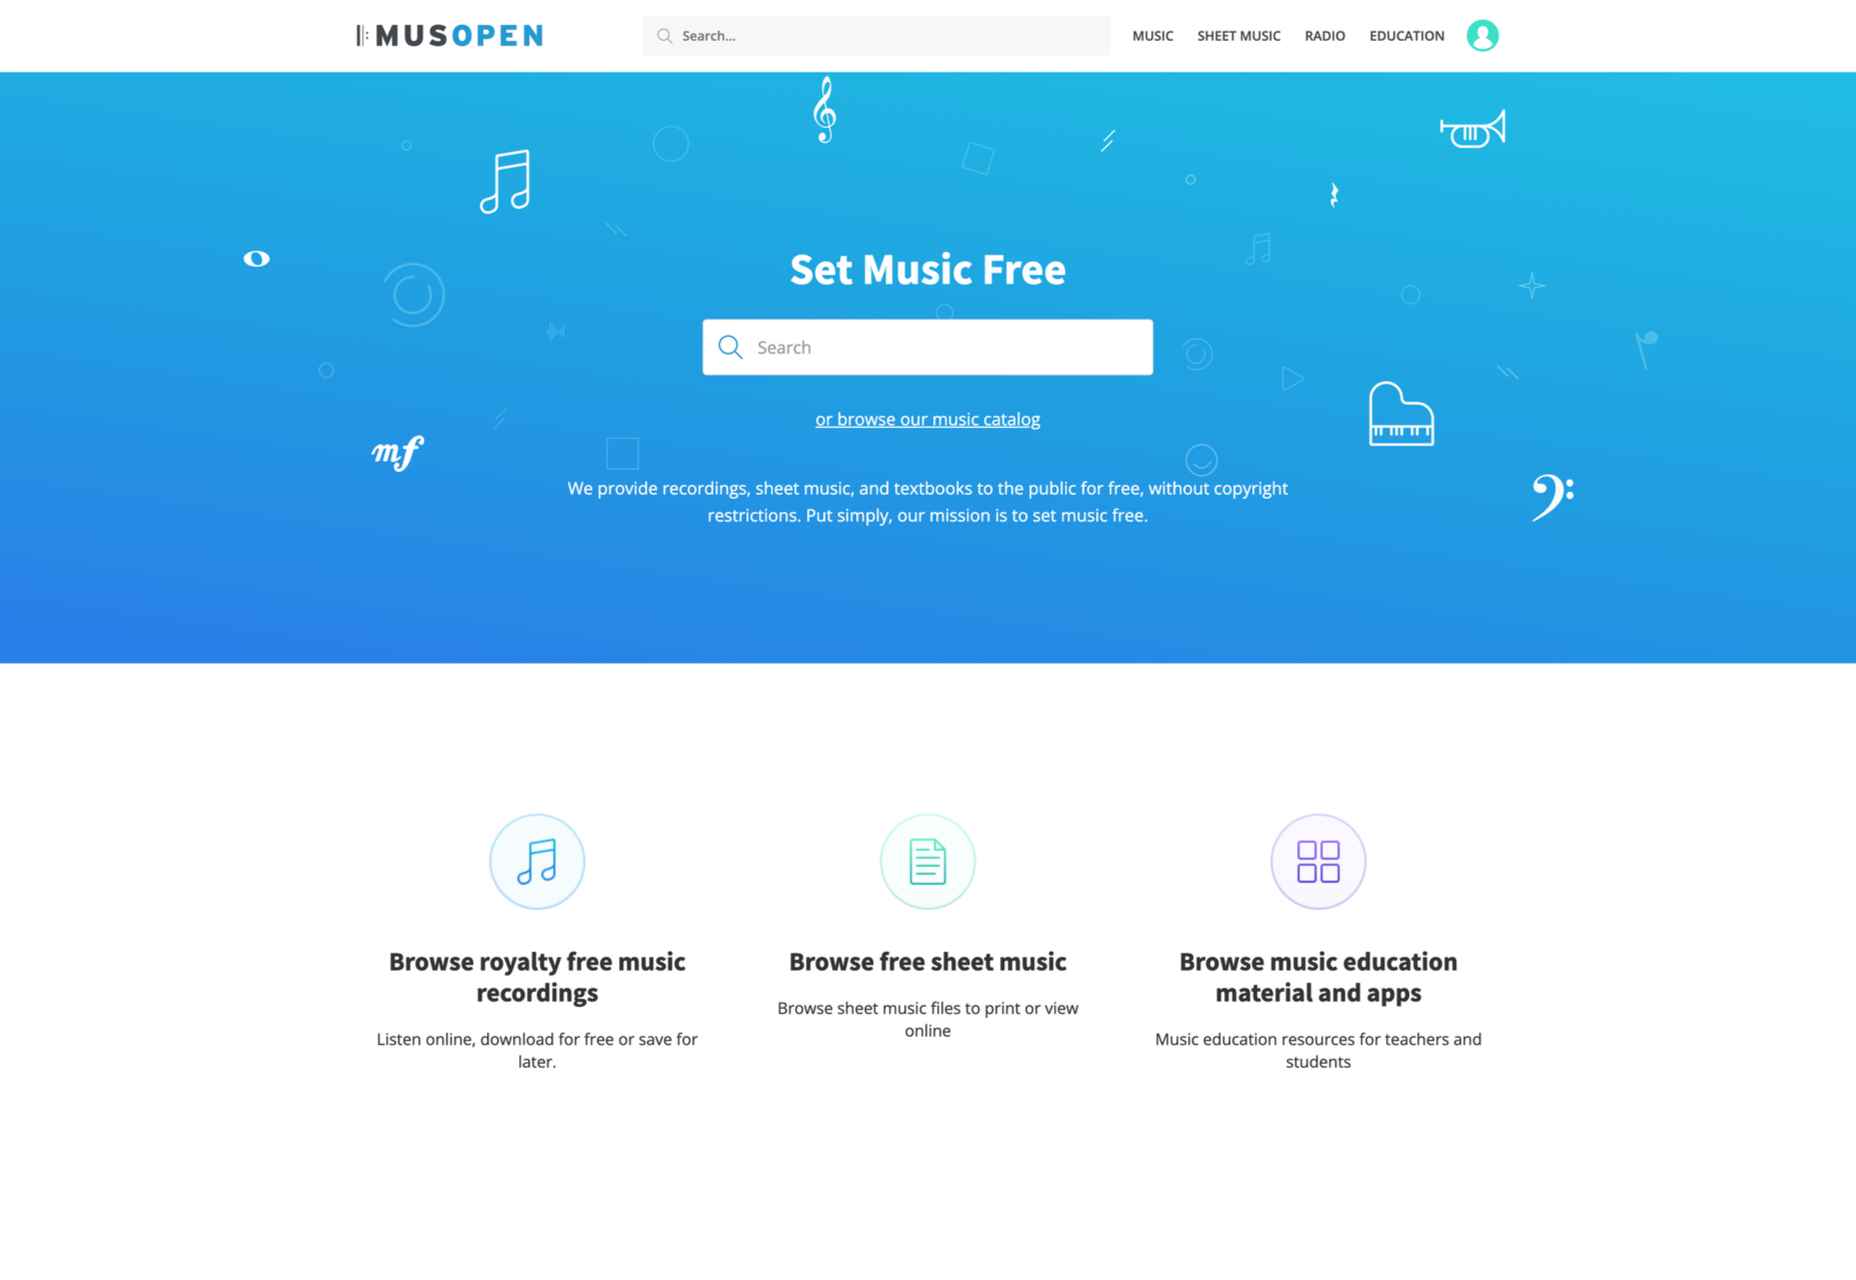
8. Musopen

Musopen is a perfect website for finding classical music for your videos. The site has various tracks to choose from; you can filter them by composer, orchestra, period, mood, length, and more. In addition, all of the music on the site is licensed under Creative Commons, so you’re free to use it in your videos.

Musopen offers a subscription plan that gives you access to high-quality music for your social media videos. You can choose from three different pricing plans, and each plan comes with a different number of downloads per month.

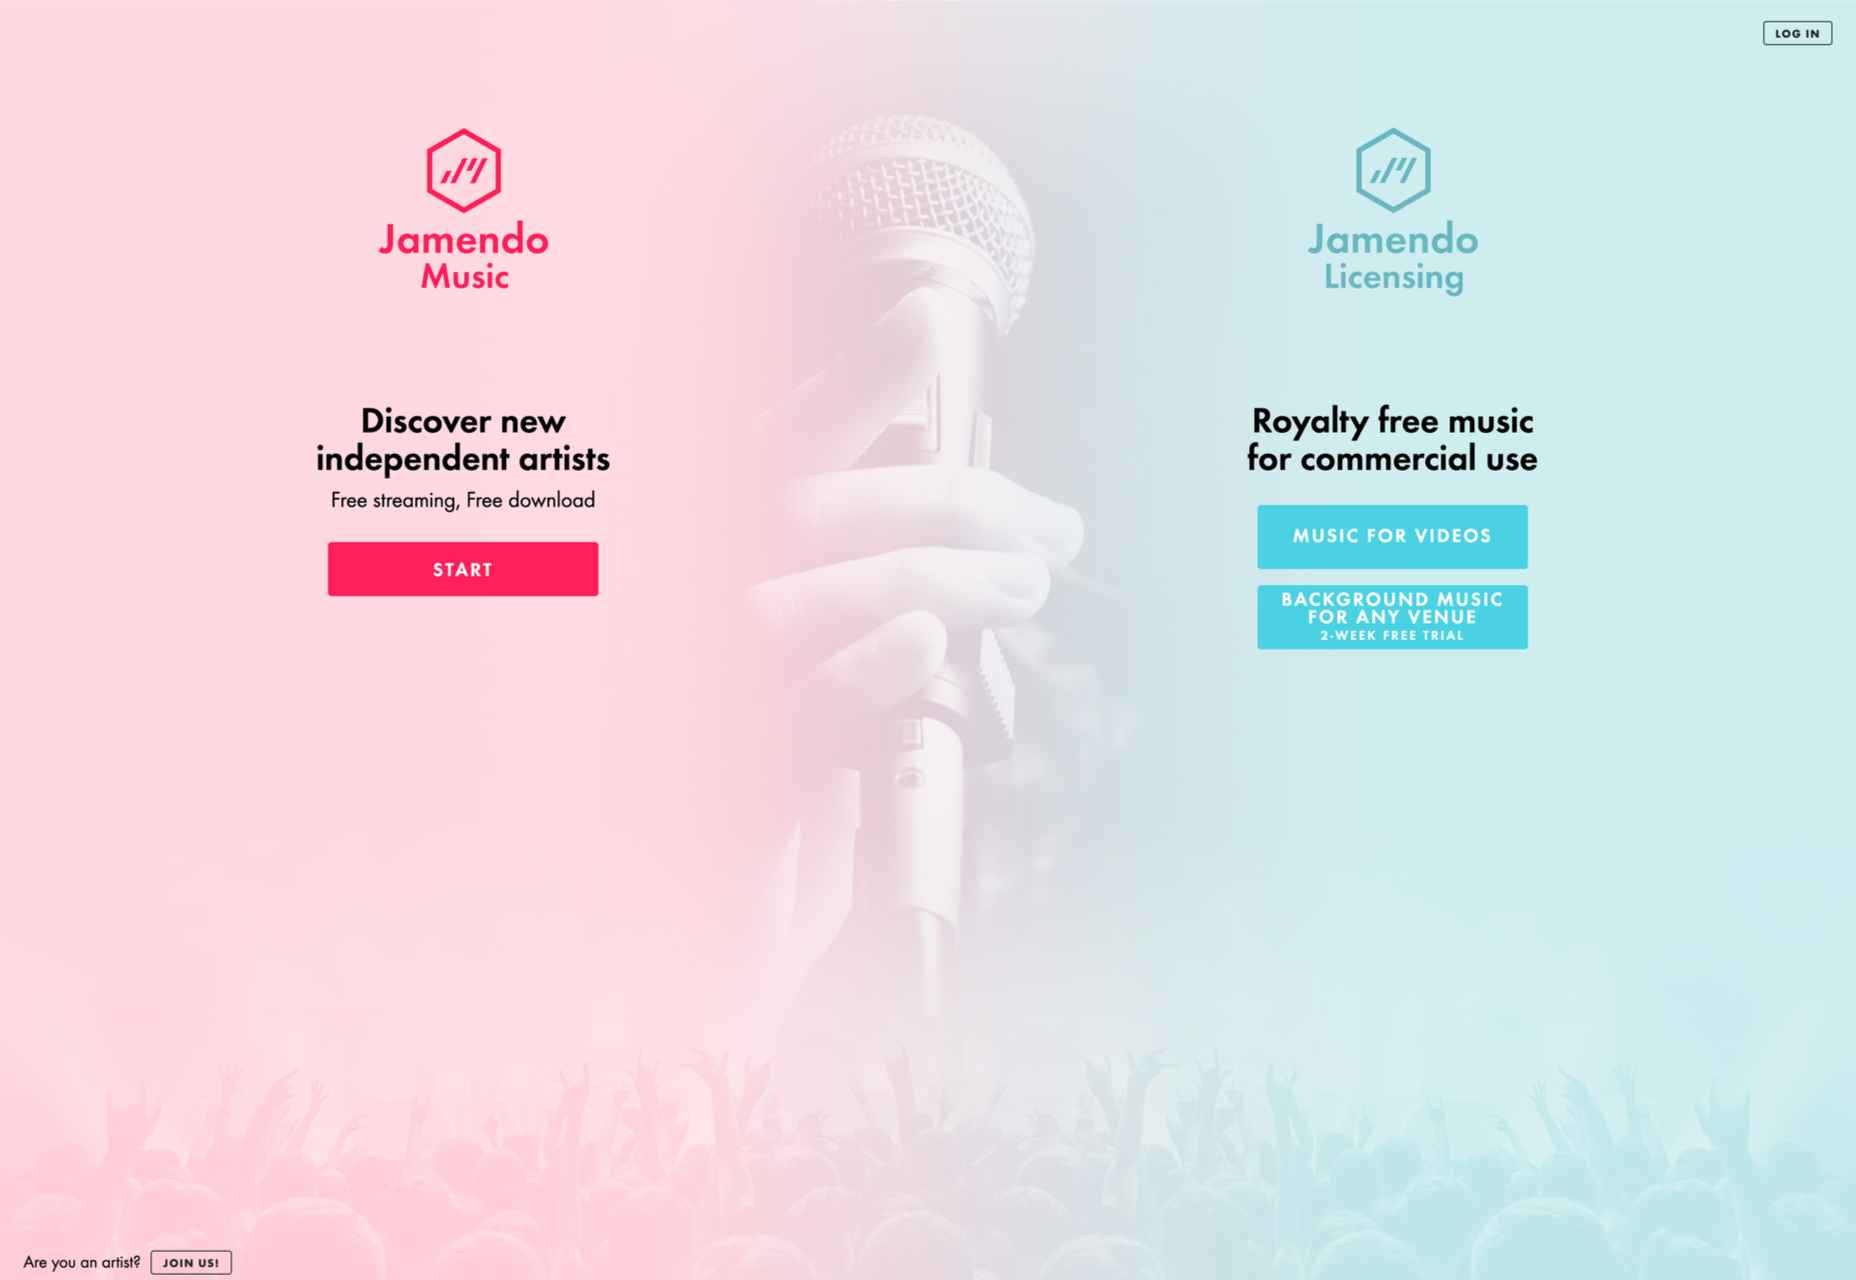
9. Jamendo Music

Jamendo is a website where you can find royalty-free music for your social media videos. The music on the website ranges from rock to electronica, and there is something for everyone. 

You can either browse the music by genre or use the search function to find the perfect song for your video.

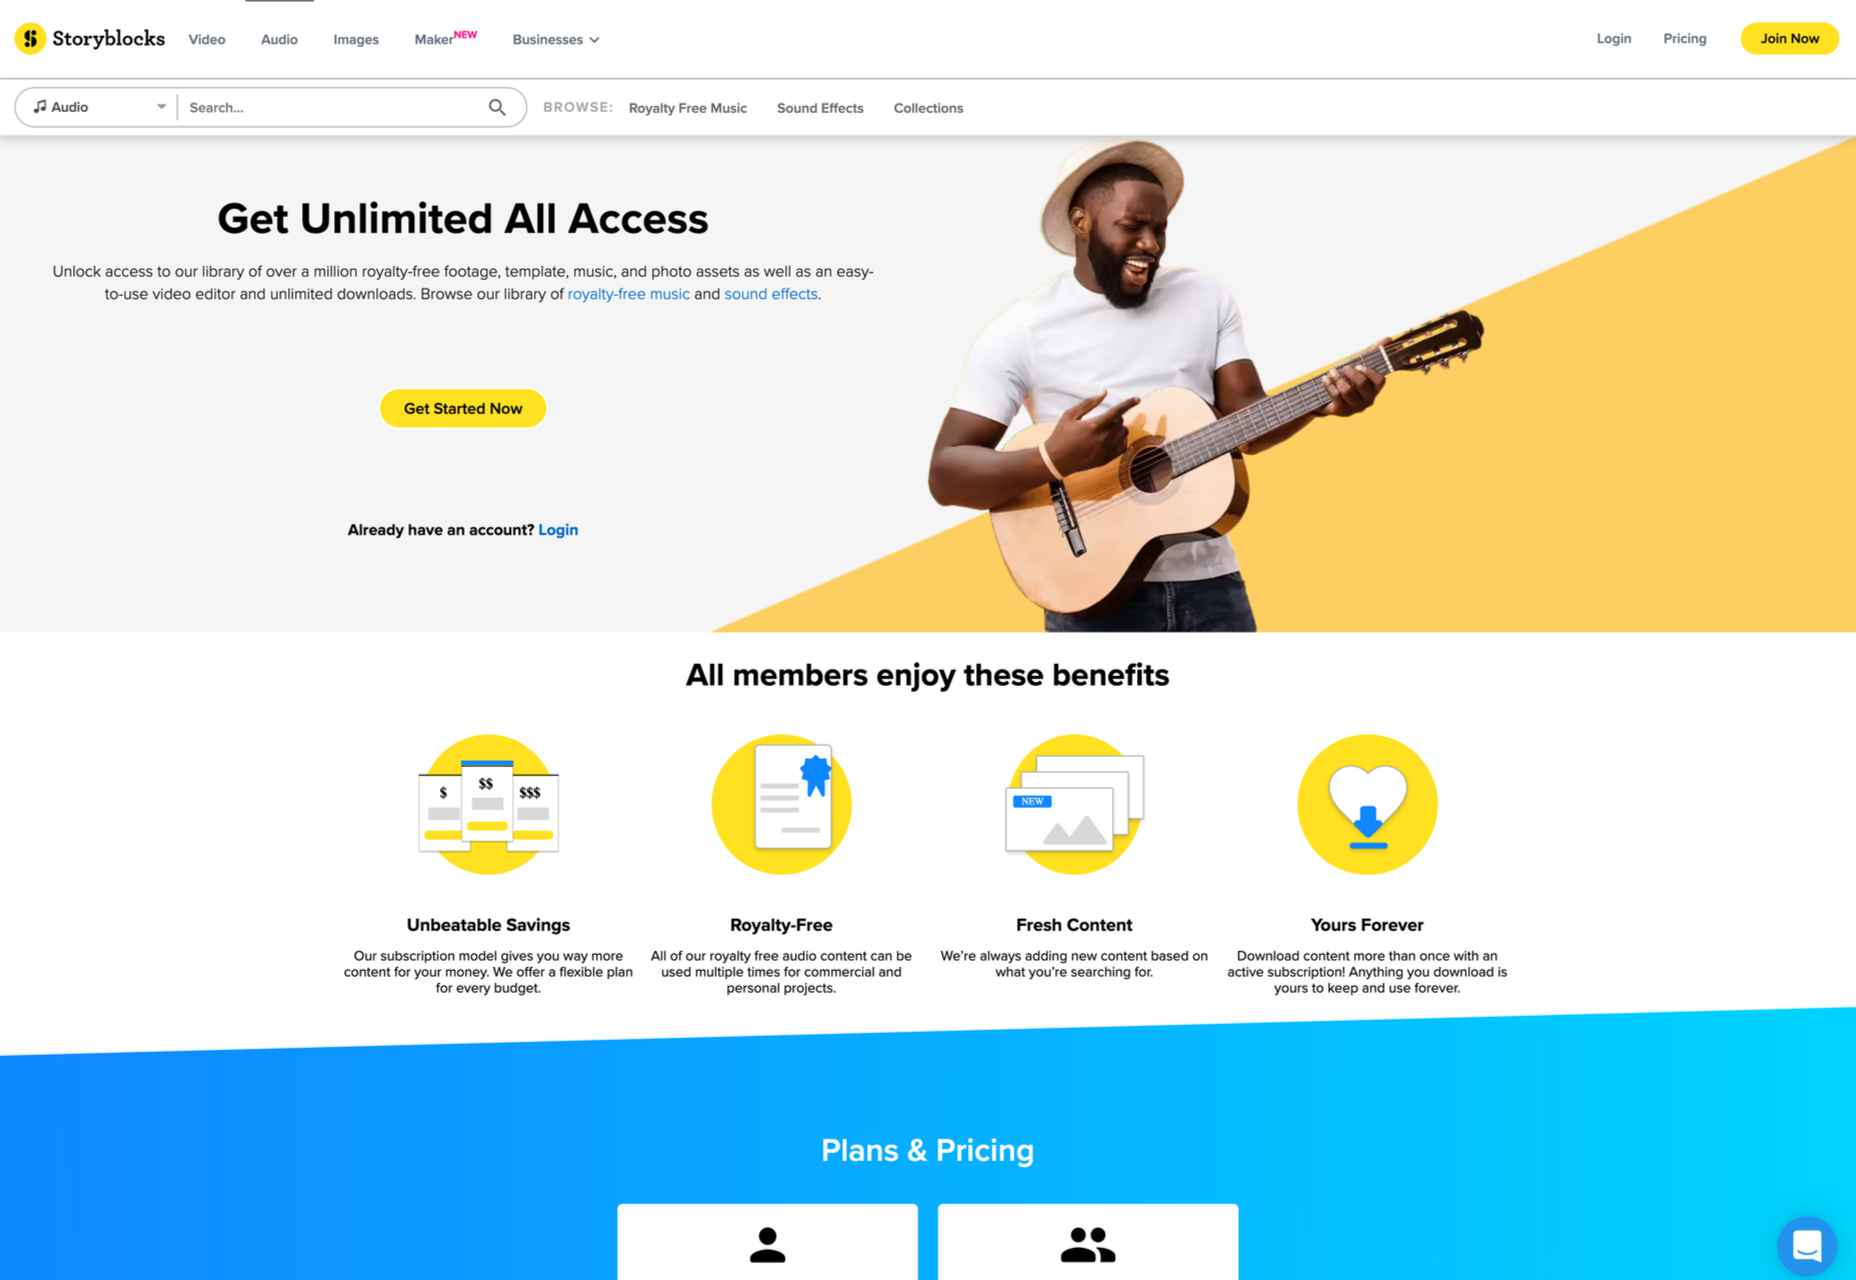
10. StoryBlocks

StoryBlocks is a website created by two brothers, Aaron and Evan Sharp. It has a royalty-free music library with various music genres to choose from. You can find everything from pop to classical on this website. 

There is also a section of the website devoted to social media-friendly tracks. This means you can find music perfect for your videos without worrying about copyright issues.


Featured image via Unsplash.

Source

The post 10 Great Places to Find Music for Videos first appeared on Webdesigner Depot.

Source de l’article sur Webdesignerdepot