 You’ve named your business. You’ve sorted out the visual branding piece. Now, it’s time to get your business online so you can start making money.
In this post, we’re going to look at where your web design business needs to set up shop online and how to get it up and running quickly.
Step 1: Set Up Your Website
As a web designer or developer, having a website is non-negotiable.
Not only does a website provide prospective clients with all the information they need about you, it can help you automate many of those annoying tasks that get in the way of your actual paid work.
So, let’s start here:
Buy Your Domain Name
If you haven’t done so already, use the business name generator exercise to come up with a domain name. You then have a couple of options for buying it.
To Do:
- Buy it from a domain name provider like GoDaddy or Domain.com;
- Or buy it from your web hosting company;
- Check the next step to see which option makes the most sense for you.
Choose a CMS
Use the same CMS as the one you’ll use to build your clients’ sites. That way, clients don’t wonder why you’d use something like Squarespace for your site, but then recommend WordPress for theirs, for example.
To Do:
- If you use a self-hosted CMS (like WordPress, Drupal, or Joomla), hold on this until you purchase your web hosting;
- If you use a hosted CMS (like Wix, Squarespace, or Shopify), you won’t need to do the next step. Instead, just sign up for your website builder and buy your domain name now.
Buy Your Web Hosting
If you’re wondering what the difference is between the various types of web hosting, read this post.
Basically, this is what you’re looking for:
- A hosting company with a good reputation that provides expert and timely support;
- An affordable starter plan — either shared or cloud hosting;
- Server locations near you (at the very least, in the same country as you);
- Top-notch security features at the server level as well as the physical hosting facility;
- Caching and other speed optimizations built into the server and on-site equipment;
- Compatibility with your CMS (look for one-click install, too).
Also, look for add-ons like SSL certificates, CDNs, and, of course, a free domain name.
To Do:
- Sign up for the hosting plan you want along with your domain name and SSL certificate (this is a must for SEO);
- Install your CMS from the control panel once you’re ready to go.
Build Your Website
Ultimately, you have two goals here:
- To build a website that convinces prospective clients that you’re the real deal;
- To build a website that prospects would want for themselves.
So, there’s no need to go crazy with outlandish features or futuristic animations and design. Keep it simple. Keep it neat. And give prospects an honest portrayal of who you are, and what you can do for them.
Design It
The first thing to do is take all that work you did to create your visual branding and use it to design your website.
If you’re building a WordPress website, consider starting with one of these multipurpose themes.
Build Out the Pages You Need
A theme will automatically create the pages you need (most of them, anyway). If you’re not sure which ones to start with, these are the ones your prospects are going to be looking for:
You may also want to add separate pages for Testimonials and Case Studies once you’ve accumulated enough of them to show off. For now, you can include samples of your work in the Portfolio page and testimonials on the Home page.
Fill in the Content
Even if writing isn’t your strong suit, that’s okay. So long as the content you write for your site is free of spelling and grammar errors, your prospective clients are going to focus on what you’re telling them, not on how proficient a writer you are.
That said, if you’re nervous about this piece of your website, here are some tips to help you out:
1. Be concise, it’s not just minimal design that goes over well with modern audiences. Minimal copy does, too.
2. Be transparent. Tell prospects what exactly they can expect when they work with you and why your web design services are going to be different from the competition.
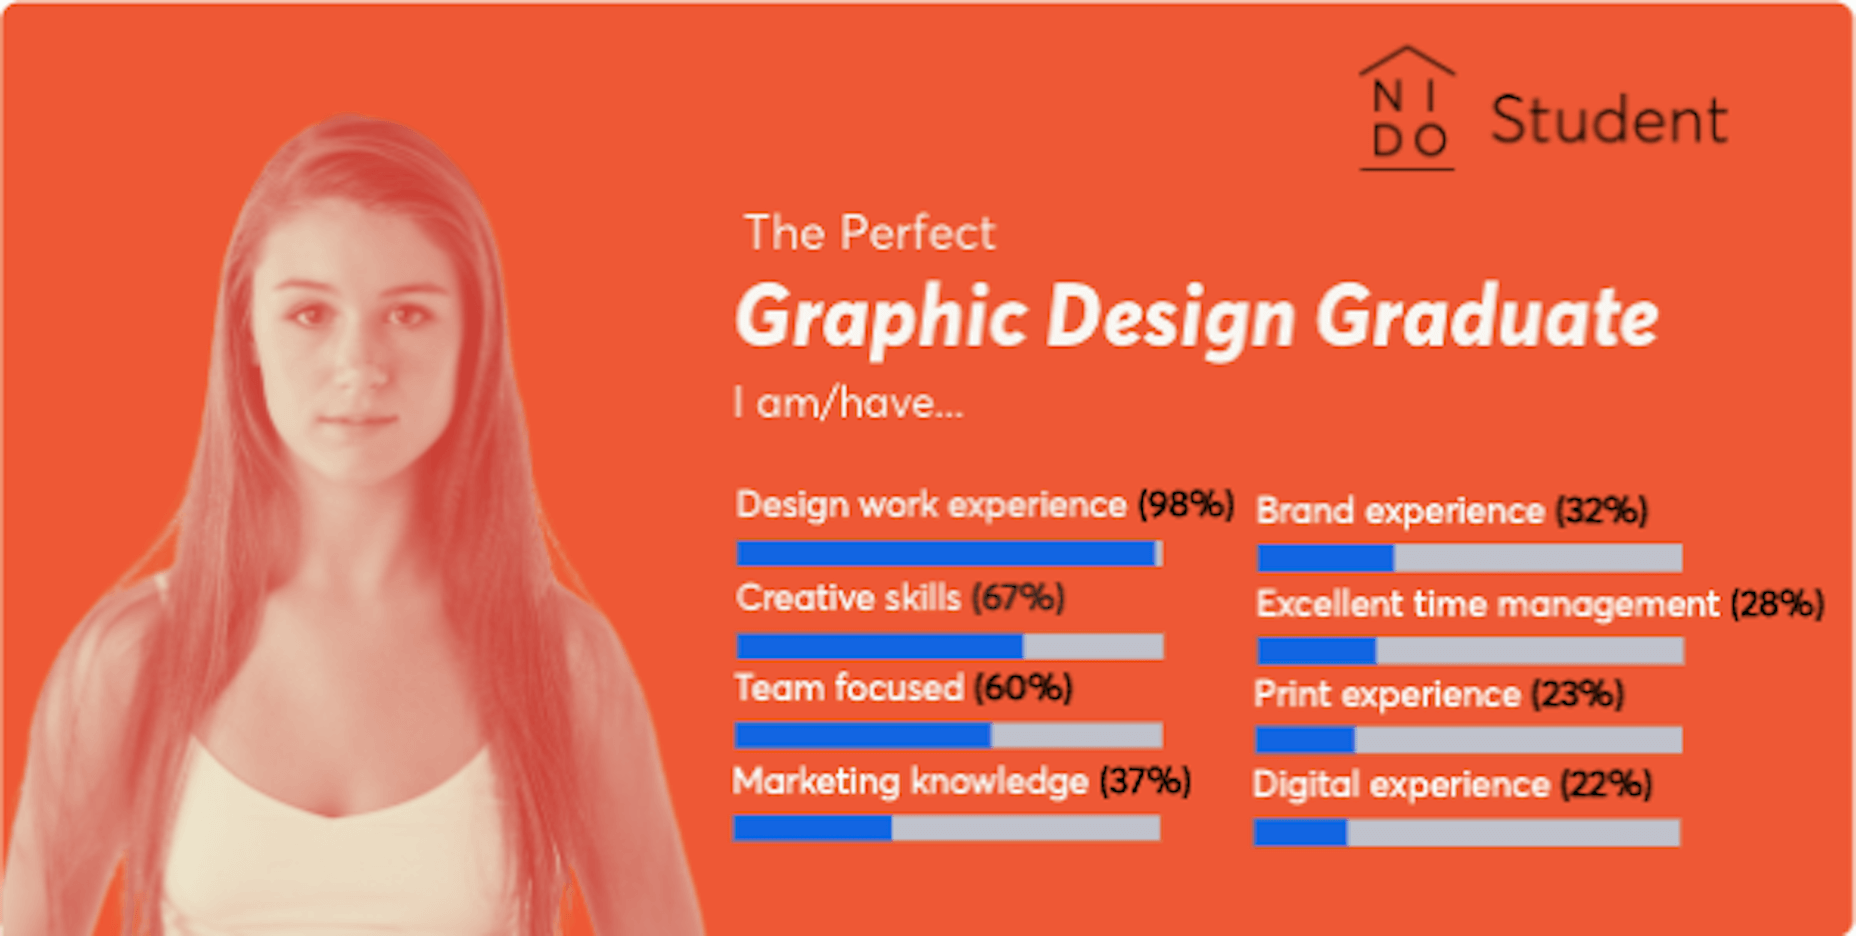
3. Consumers don’t trust companies that use meaningless buzzwords and make empty claims. Instead, focus on writing about the real and very competitive skills you have. According to research from NIDO Student, these are the skills employers look for when hiring a designer:
4. Let your images tell some of the story for you. Just make sure you use (or create) images that will impress your audience.
5. After you’ve written your content, take a step back and tackle the structure and formatting from a designer’s POV.
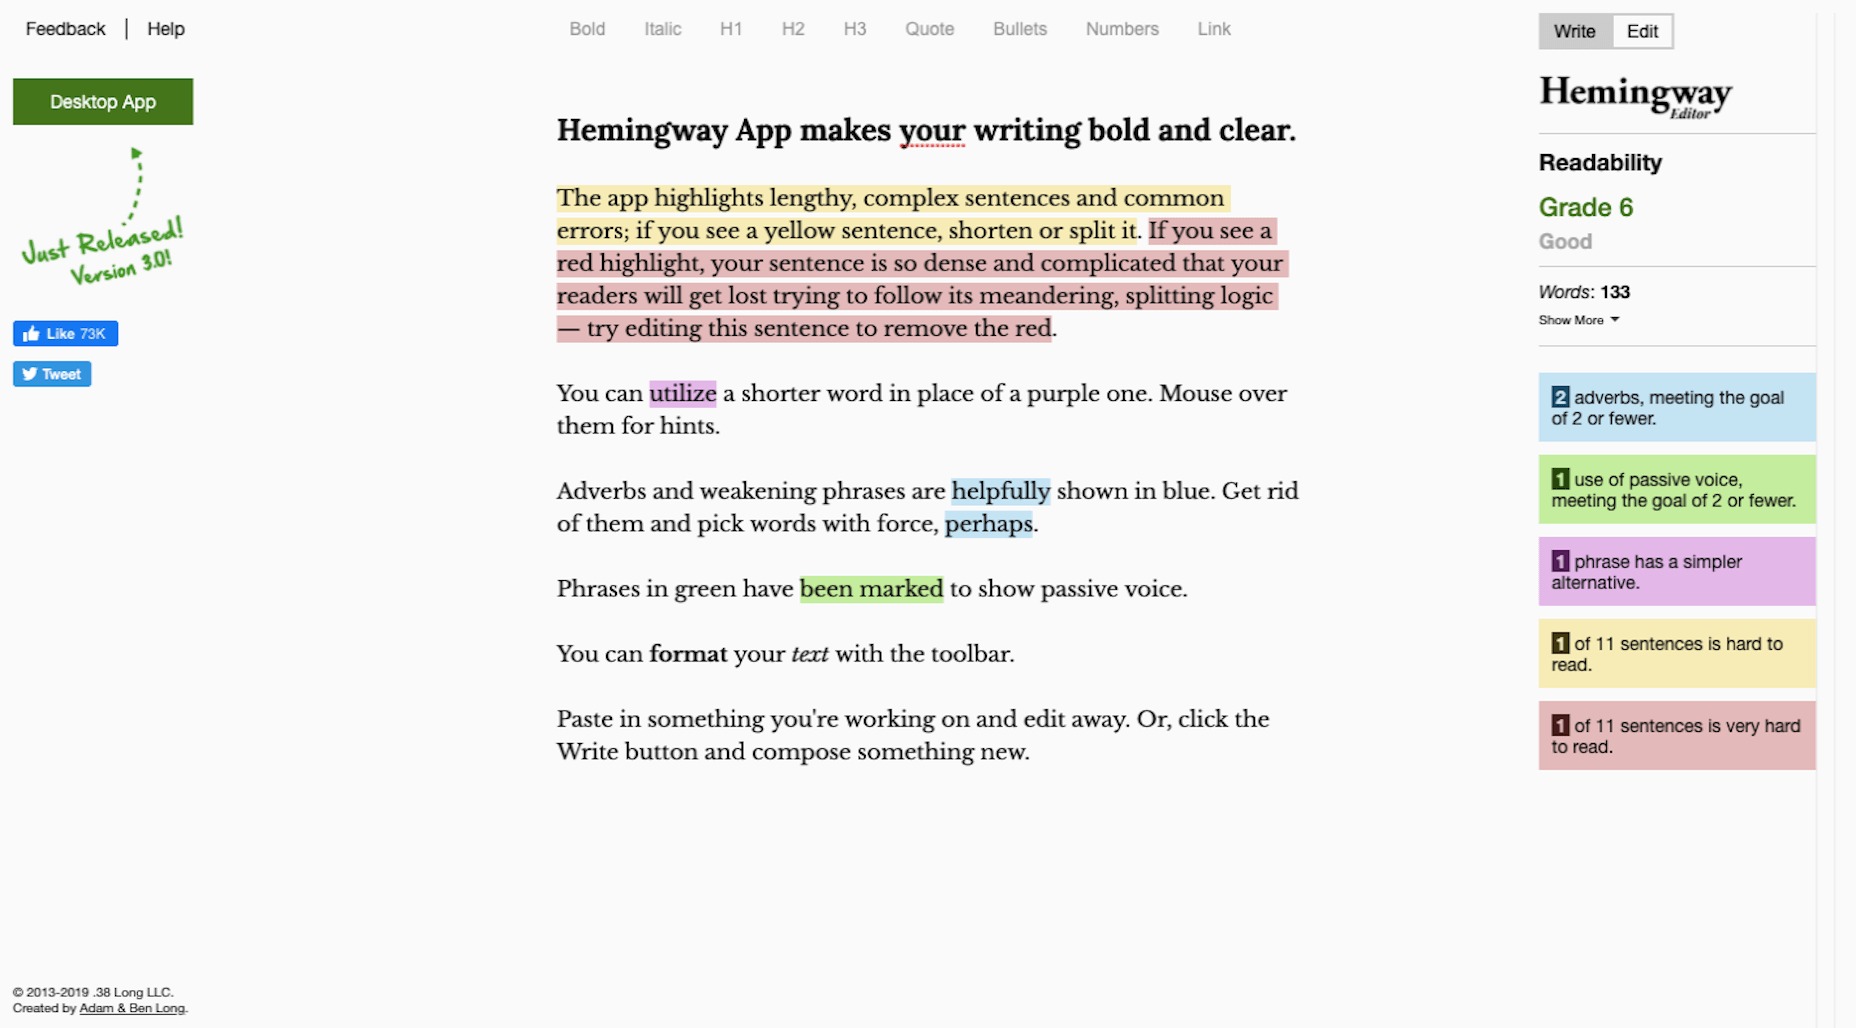
6. Before you hit the “Publish” button, run your copy through Hemingway Editor to ensure your content is error-free.
Add the Right Features
When I talk about features, I’m referring to anything outside the main design and content on your website. These are usually sales and marketing tools like:
- Chatbot/live chat
- Contact forms
- Pop-ups or notification banners
- Discovery call scheduler
- Cookies consent notice
Only add the features you absolutely need. In other words, the features that will automate the marketing and sales tasks you’d otherwise have to manage on your own.
Step 2: Optimize Your Website for Search Engines
Search engine optimization (SEO) is a very important part of the work you do to get your business online. Here’s why:
After you launch your business and website, the next thing you’re going to focus on is getting clients. This can take a lot of work as you pore over the following resources for referrals and leads:
- Your existing contact list (i.e. family, friends, old employers, colleagues, etc.);
- Freelance job boards;
- Industry-specific job boards;
- Social media posts, pages, and groups;
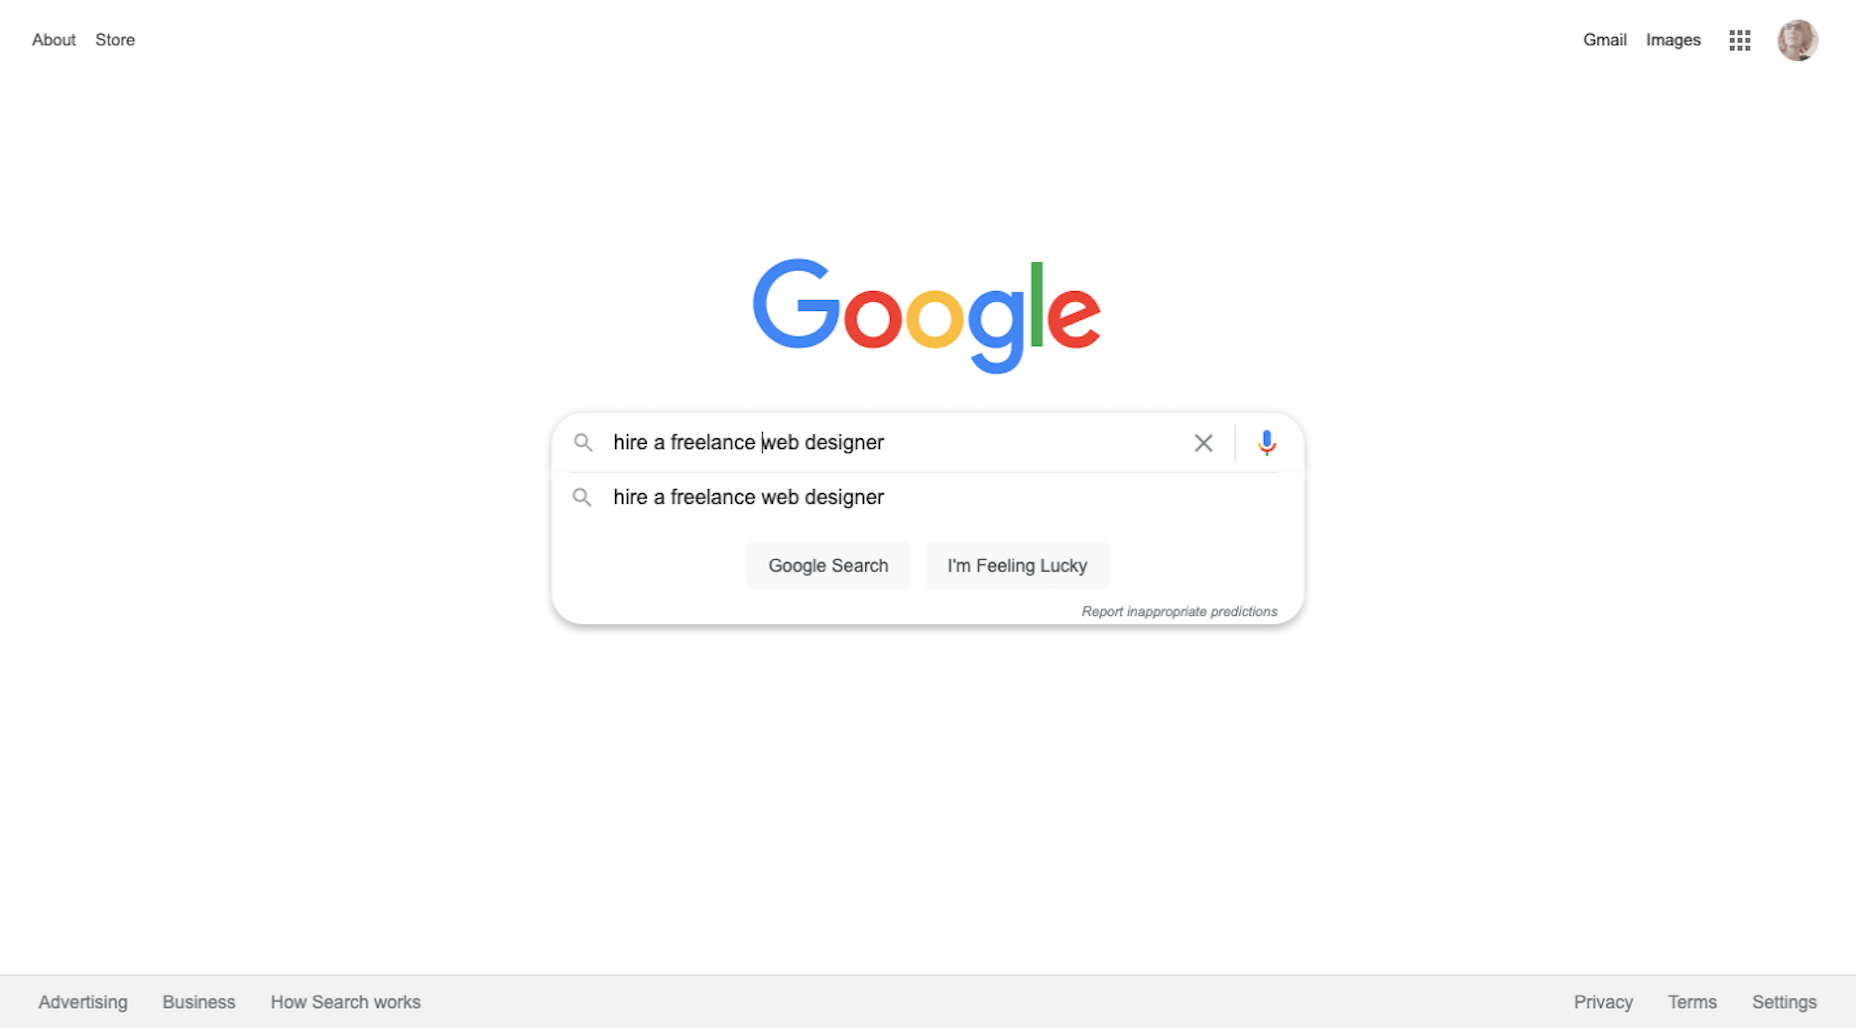
- Google search results for “we’re hiring”;
- And so on…
And when you’re not busy cold-emailing prospective clients or talking to them on the phone, you’re probably going to be working on your business’ processes. Running a business is very time-consuming.
So, what happens when you finally start working on website projects? It’s not like the client search ends there. It’s an ongoing thing. Which is why your website needs to be optimized for search.
Once your site gets indexed by Google and starts to generate authority, your pages will rank better and the increased visibility will start generating leads without you having to actively make the first move.
SEO is a huge topic, so I’m not going to cover it here. However, the links below will do a good job of guiding you towards your next steps.
To Do:
Step 3: Get Active on Social Media
Your website is going to play a lot of roles:
- Digital business card;
- Authority builder;
- Marketing vehicle;
- Sales platform;
- Content marketer.
But there’s one very critical thing it can’t do and that’s directly converse with your audience and grow your network. This is why you need to spend time building out your social media once your website is good to go.
As for which social media platforms to use (as there are way too many), here are my thoughts:
Become an authority on Twitter.
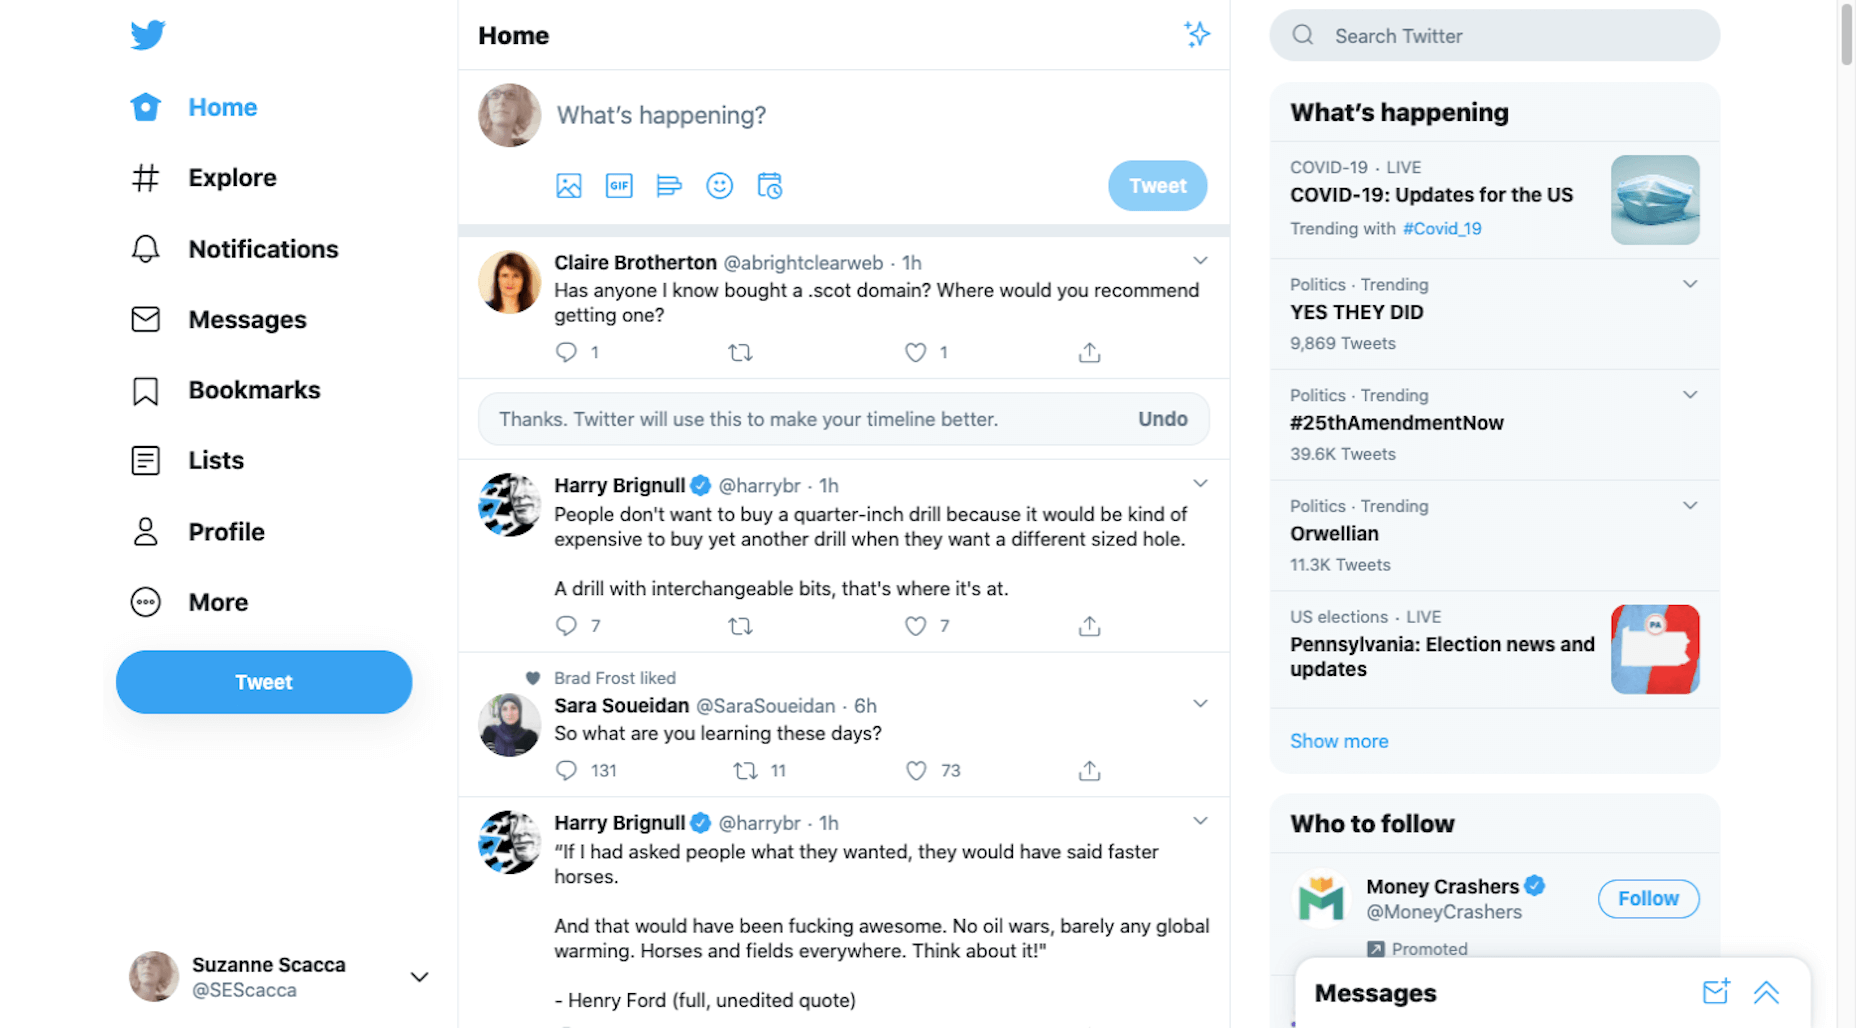
Twitter is a good place to share daily thoughts and interesting content you’ve found on the web.
Get discovered on LinkedIn.
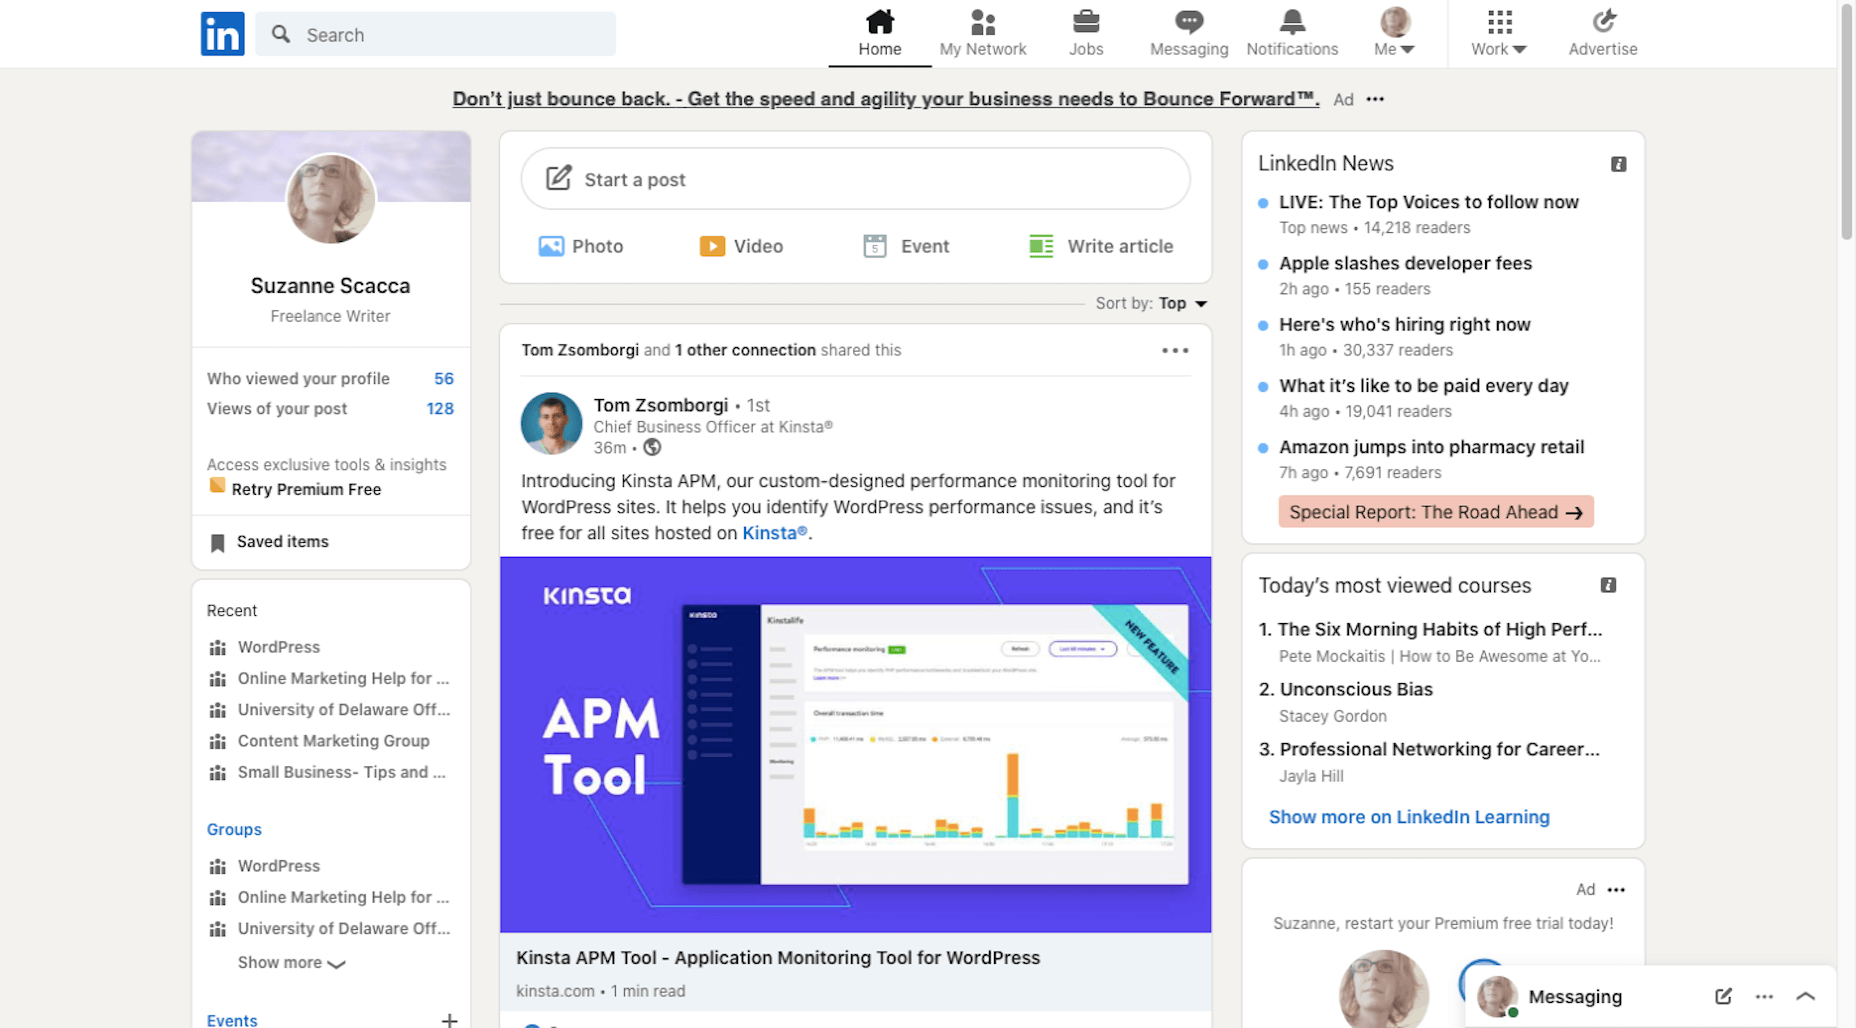
LinkedIn is useful because it’s another place to get noticed by potential employers, so make sure your relevant work experience and portfolio are up-to-date.
Connect with other creatives on Facebook.
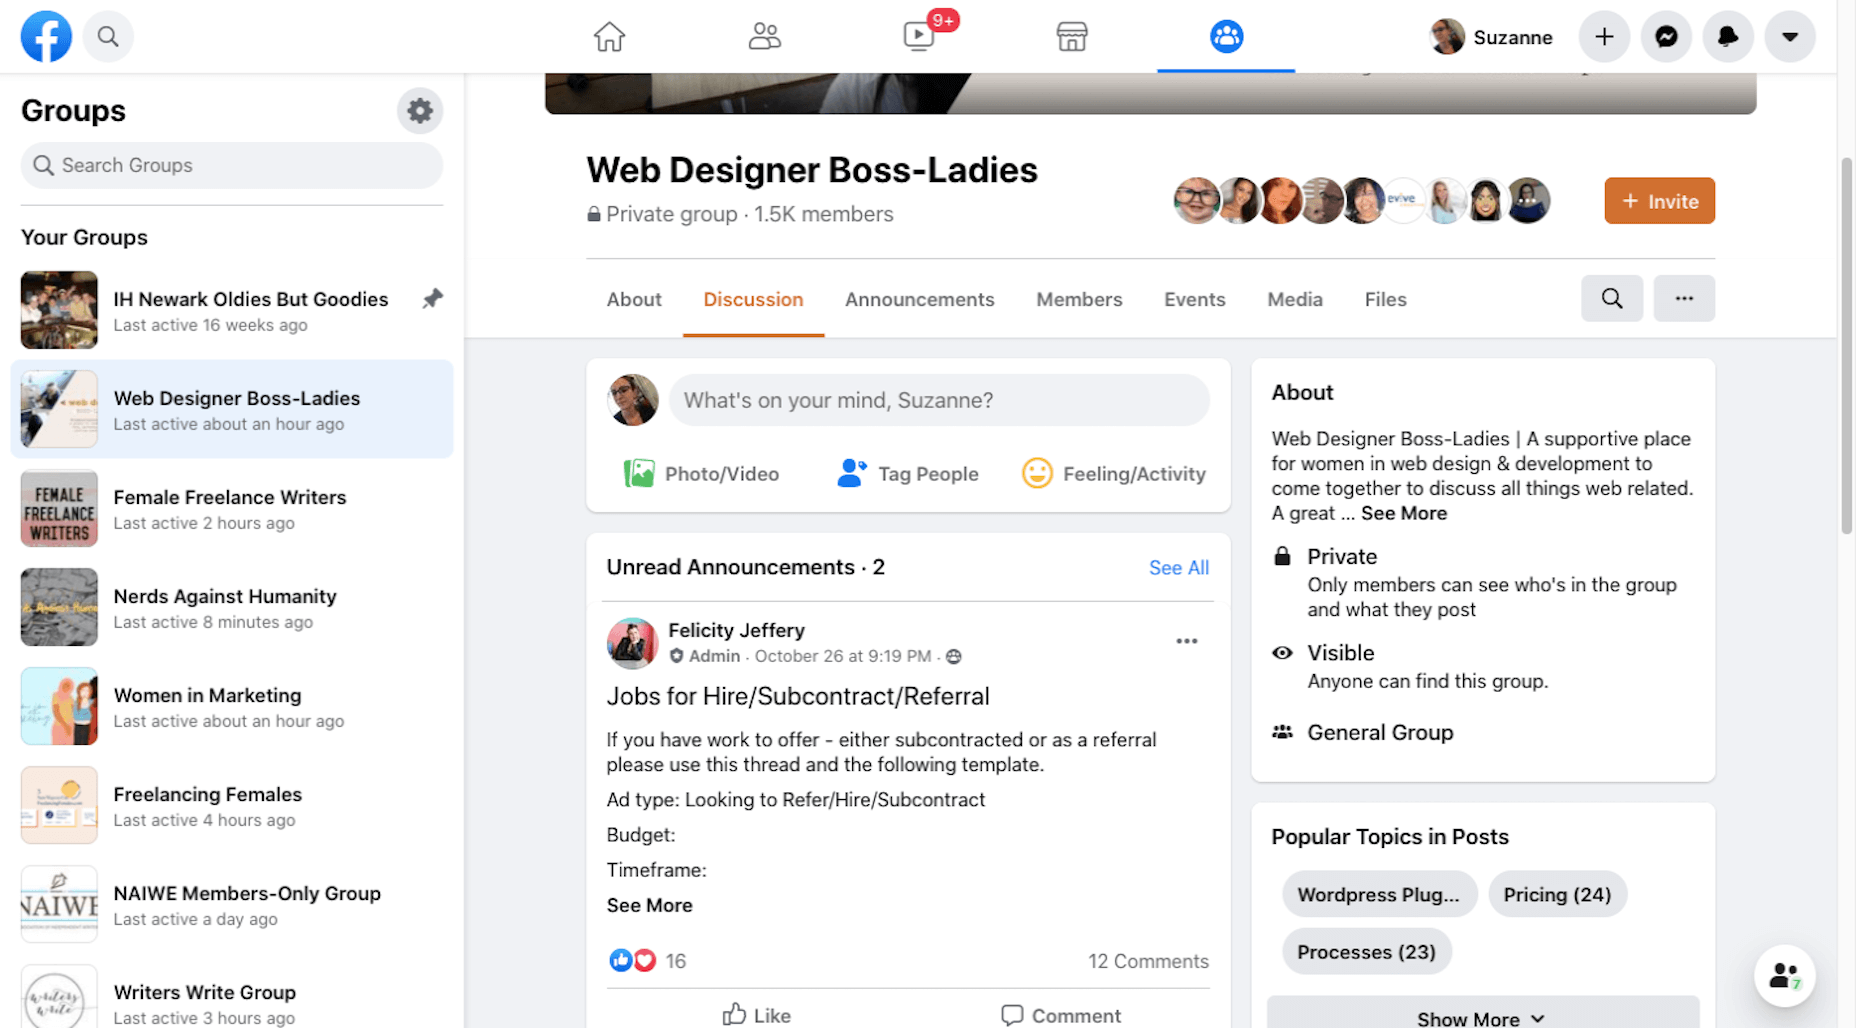
It’s really hard to get noticed on Facebook unless you pay to play. Instead, use it to find groups that you can turn to for support, referrals, and brainstorming.
Share your work on Dribbble.
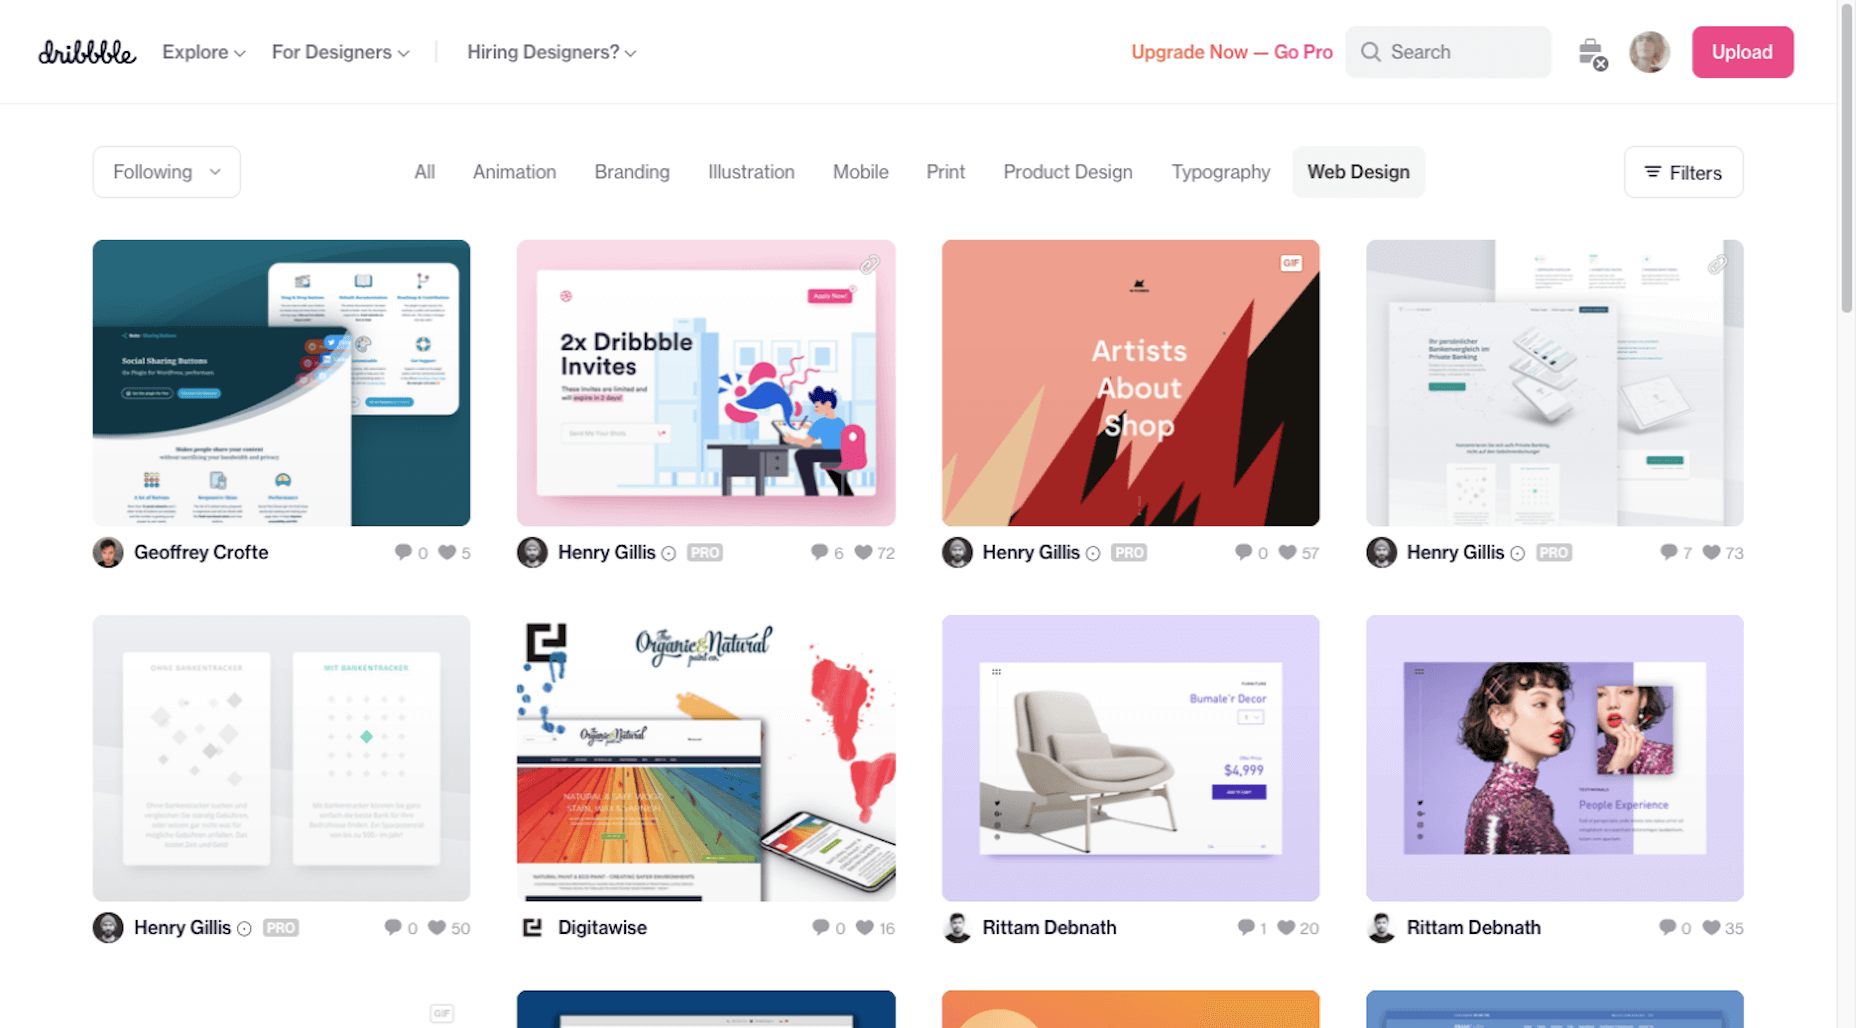
While you could use Instagram or Pinterest to show off your work, you might get more traction on a design-specific platform like Dribbble. Serve as inspiration for others and potentially get discovered by prospects looking for designers there.
Down the line you might decide to expand your business into recurring revenue opportunities like online courses. In that case, a platform like YouTube would be great. For now, focus your efforts on the main ones above.
To Do:
- Create your social media accounts;
- Brand them to match your website — both the visual component as well as the bio;
- Start sharing content on a regular basis. You can automate sharing with a social media management tool, but remember to log in at least a couple times a week so you can engage with others, too;
- Be careful not to commit these social media faux pas.
Wrap-Up
I realize this is a ton of information to throw at you. However, if you want to get your new business online and for it to succeed, you need to maximize the opportunities that are available to you.
I hope this three-part guide to starting a new business has been helpful. If you have any questions on the tips provided along the way, let me know in the comments.
Featured image via Pexels.
Source

Source de l’article sur Webdesignerdepot