Articles

A career as a web designer can be extremely lucrative. The average web designer in the US makes around $50-55,000 per year, equating to an hourly rate of around $25. Of course, not every designer will automatically get a full-time, high-paying job as soon as they earn their web design credentials.

Sometimes, you might need to generate a little extra cash, perhaps to supplement your part-time income or keep the lights on while you’re taking some new courses. You can even use your web design skills to earn some extra money on the side while working a standard 9-to-5.

Today, we will be looking at some of the most effective ways to make extra cash on your web design skills.

1. Freelance

Starting with the simplest option, working as a freelancer is one of the best ways to start making cash with your design skills. There are dozens of websites out there to help freelancers find clients these days. Some of the best options include:

  • Toptal: For web developers, designers, and software experts;
  • Upwork: For all kinds of design freelancing;
  • 99Designs: Excellent for selling your designs whenever you like;
  • Dribbble: Display your work and find new clients;
  • Behance: Sell everything from animations to videos;
  • Envato Studio: Sell packages for web design.

As a freelancer, you’ll be able to choose which hours you want to work, and which projects to work on. You can make money from all kinds of design skills this way, from making pages for a website to designing widgets and applications.

However, you’ll also be responsible for tracking down potential leads, building your portfolio, and managing your own taxes, so keep this in mind.

2. Sell Design Assets

As a web design professional, you’ll end up with a lot of assets over the years. Whether you’re working freelance or full-time, not every asset you create is going to be picked up by your customers. Sometimes, you’ll end up with unused content sitting on your computer.

Fortunately, you can leverage these assets for some extra cash. You can sell things like icons, backgrounds, UI assets, and more. You can even sell themes on sites like ThemeForest if you’ve built something your clients weren’t happy with.

There’s a market out there for just about every asset, from icons and PSD templates to documents, fonts, UI assets, backgrounds, and brushes. You might even build your own website where you can sell assets in the future.

3. Design and Sell NFTs

Feel like getting in on the cutting-edge of a new marketplace? NFTs are probably one of the hottest topics in the digital world today. As concepts like Web 3.0 and the metaverse gain traction, NFTs will only become more valuable.

Countless companies and innovators are looking for people to design their NFTs for them these days. If you don’t mind dedicating some of your free time to creating digital graphics, you’re in for a significant amount of earning potential.

If you learn enough about the NFT landscape and blockchain, you could even create your own NFTs. However, this would probably require a lot of time and research. You can learn more about the NFT design and art landscape here.

4. Become a Consultant

Don’t have time to build endless new websites right now? No problem, just help other people build their sites instead. Consultants are people in any industry with expertise and insights they can share to support other people. As a web design consultant, you can offer your expertise to other upcoming freelance designers or business leaders.

You’ll need to invest some time into building your personal brand as a consultant. This means developing your social media pages (like LinkedIn) and creating a portfolio. It also helps to have an air of thought leadership. This usually means you’ll need to share at least some content online.

Consulting can be an excellent way to share your skills with other people without having to do all the work of building a design course.

5. Teach Web Design

On the other hand, if you like the idea of being a teacher, you can make money almost passively with web design courses and webinars these days. While you do have the option of selling one-on-one education to students, this will usually take up a lot of your time.

If your focus right now is on a side hustle to increase your earnings, it’s often much easier to use a site like Udemy or Skillshare. The great thing about teaching web design these days, it’s much easier than you might expect. The majority of solutions on the web allow you to drip content to your clients automatically. This means you only have to create the content once.

You can create a handful of videos, quizzes, and downloadable assets, and make money off your educational resources while you sleep.

6. Create a Web Design Blog

Blogging is still a surprisingly lucrative way to make money. If you have a creative streak and you know how to write about web design in a way other people can understand, you can turn this into an excellent side hustle.

Start by building your own website using your design skills, then start publishing regular blogs with the content you know your customers would be interested in. It’s a good idea to cover a range of topics, from Photoshop, to how to design widgets and more. You can even share reviews of various web design tools and add affiliate links to earn money that way.

Make sure you use SEO strategies to improve your chances of customers actually seeing your blog and promote your content as often as you can across social media. Once you have your blog, you can make money from it by:

  • Working as an affiliate and promoting design products;
  • Showing banner ads or sponsored posts on your website;
  • Selling digital products through your blog (like themes).

If you decide to take the affiliate route, here are some excellent programs to consider.

7. Contribute to other Websites

If you don’t have time to launch your own website and build a following for your blog, you can still make money from writing in other ways. Becoming a freelance web design writer means you can sell your blogs and content to other leading publications.

Many popular websites are constantly looking for new content to add to their blog. If you develop a strong relationship with some of these site owners, you could get yourself a regular gig.

Contributing to other sites as a writer helps you to develop your thought leadership. Many companies will even allow you to link back to your social media pages or profile.

At the same time, you get to earn some extra money writing about things you enjoy.

8. Sell Themes and Templates

A lot of web designers today rely on other themes and templates created for WordPress to help them build their websites. Access to themes and templates can make building a new website a much easier, straightforward process.

If you’ve got some excellent coding prowess, you can develop and sell a host of website themes and templates, and sell them wherever you choose. As mentioned above, there are a number of websites available for selling web design assets. Alternatively, you can sell your own packages and templates on your website, depending on your needs.

If you create a particularly valuable theme, you can actually earn a full-time passive income over time. Placing your themes and templates on marketplace sites will also get you a lot of attention from potential clients in the future.

9. Flip Websites

If you’ve ever seen one of those shows where someone buys a house, makes it look great, and then sells it for a higher price, you’ll understand the basic premise of flipping websites. The idea is to purchase an existing website for a low price (preferably with a good domain name), then fix it up to sell on a website selling directory.

If you want to earn a decent amount of money for your website, you’ll need to dedicate a decent amount of time to building traffic, improving the appearance of the site, and so on. However, it can be fun to take on these projects in your free time if you’re looking for a way to hone your skills.

You might learn some important lessons about how to make websites more profitable while you’re flipping your various sites, which could make you more appealing to customers in the long term.

10. Write a Book

Similar to flipping websites or producing an income from a high-traffic blog, writing a book isn’t something that’s going to give you a lot of extra income overnight. However, it can be an excellent source of passive income in time if you know how to use this strategy correctly.

If you have a specialist skill in web design, or you serve a specific niche, you can generate a lot of attention for an eBook or physical book sharing plenty of accurate and specific information. Remember, writing about web design, in general, will usually make it harder to earn money because there’s already a lot of competition out there.

Writing a book is a fantastic way to create a possible extra source of income as a side hustle, and it can also make you more credible if you decide to go full-time with your web design skills in the future. It’s definitely more impressive to present yourself to clients as a published author.

Remember to advertise your book whenever you can to improve your chances of additional sales.

Find Your Side Hustle

Web design skills are highly sought after in various parts of the digital world. If you’re willing to devote a little time and creativity to exploring the various avenues above, they can all deliver an excellent source of income to you and your potential business. All you need to do is figure out which side hustle makes the most sense for you.

Remember, there’s no one-size-fits-all. In some cases, you might even be able to run multiple side hustles at the same time, particularly if you’re using strategies for passive income, like writing your own book or selling your own course.


Featured image via Unsplash.

Source

The post Side Hustles for Web Design Professionals: How to Make Some Extra Cash first appeared on Webdesigner Depot.
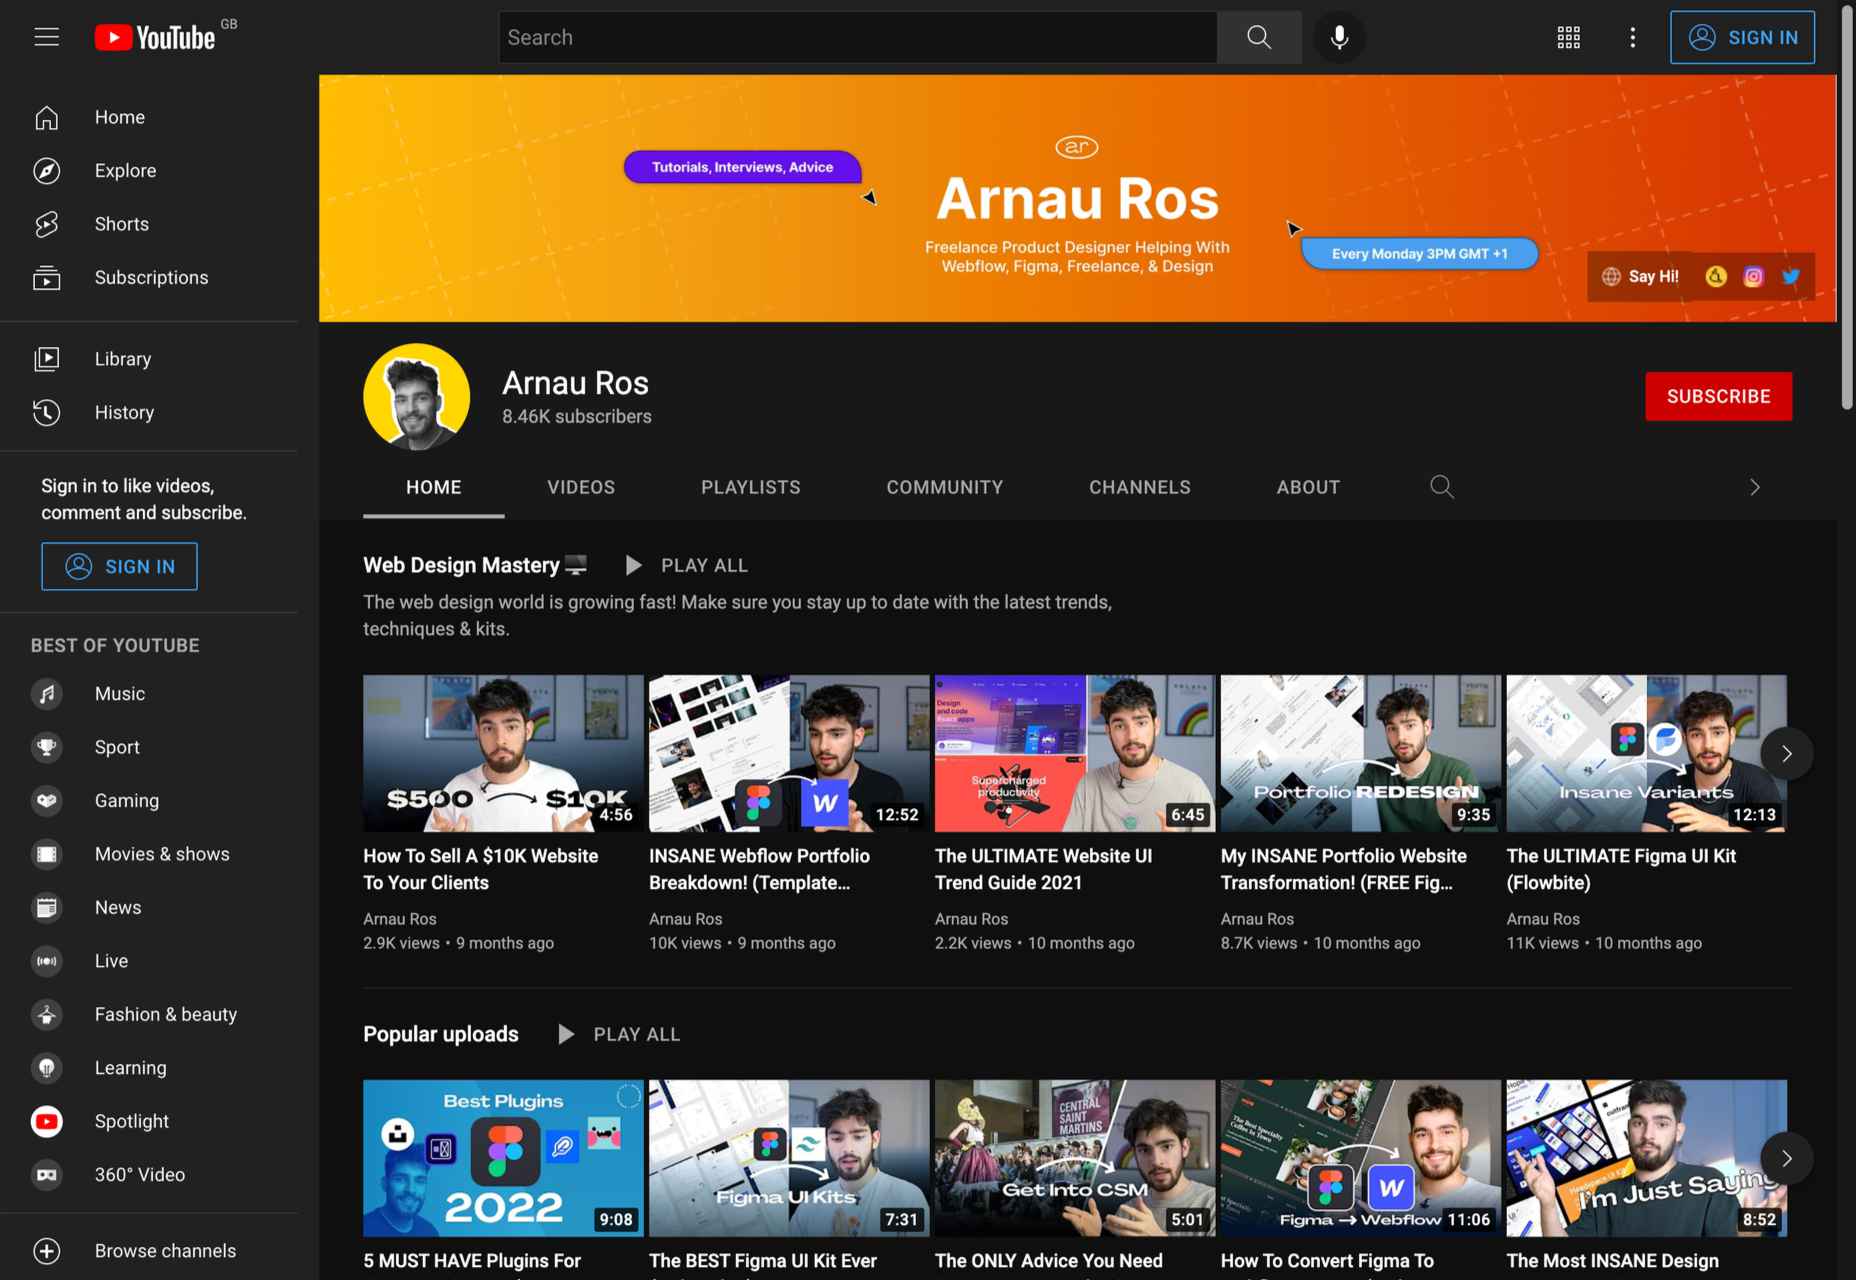
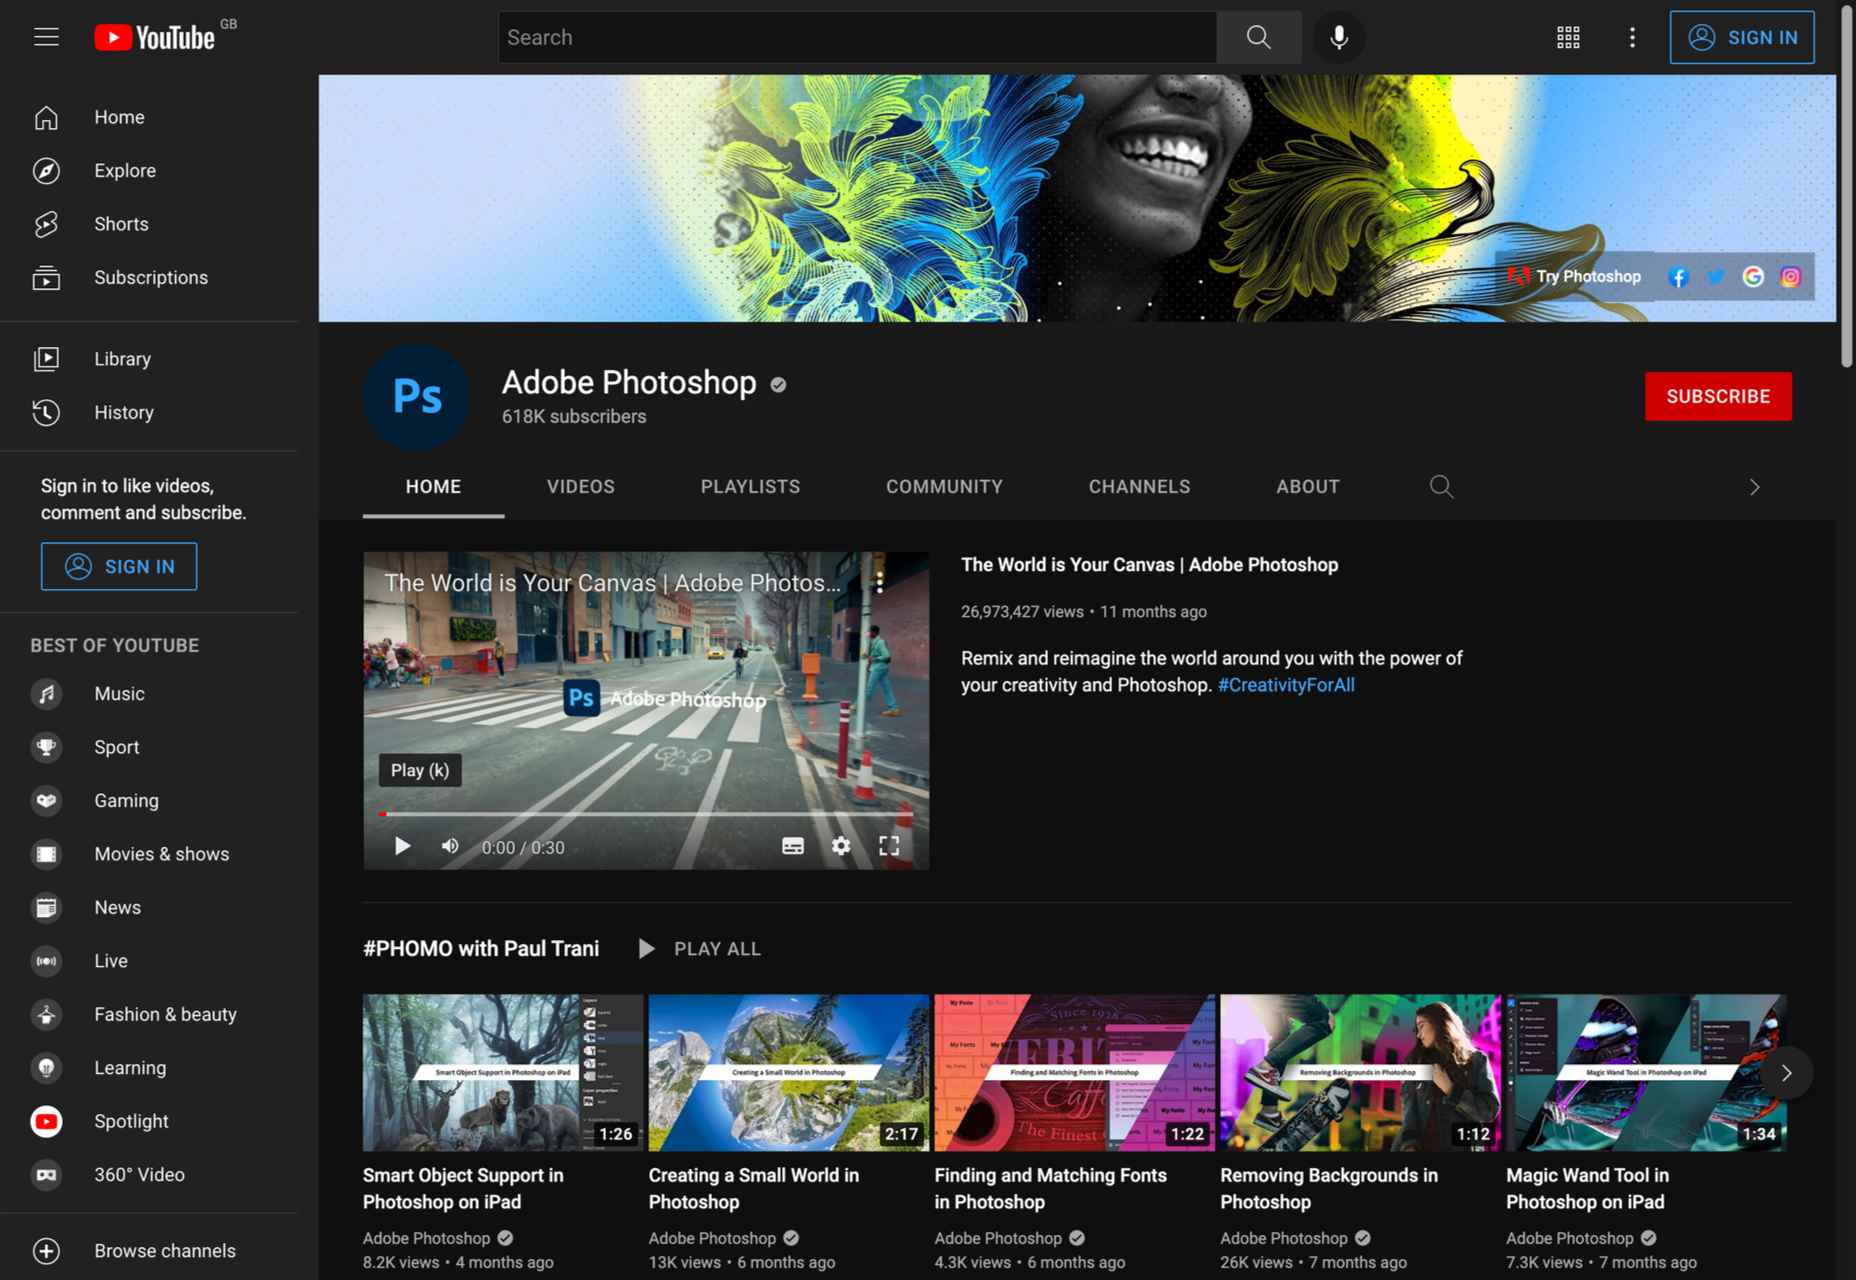
Source de l’article sur Webdesignerdepot


WordPress is by far the world’s most popular CMS. Not only does it dominate the CMS market with a 64% market share, but it also powers 39.6% of all websites. It has taken the internet by storm by democratizing the web for all. Now, anyone can build, manage, and host a successful website without needing a college degree or coding expertise.

However, while WordPress is great at managing many technical aspects, it still can’t do everything for you. Built mostly on PHP, there are often concerns regarding how performant WordPress is. And, with performance impacting everything from bounce rates to SEO rankings to conversions, it’s something that should be on your radar too.

If you don’t know it yet, images are one of the main causes of slow-loading websites. In recent years, WordPress has stepped up its efforts to try and help users with image optimization out-of-the-box.

Still, as we’ll show, it’s not a total solution, and there is still plenty you can do to deliver better experiences on your WordPress website through image optimization.

What is WordPress Image Optimization? Why is it Important?

Simply put, image optimization is anything you do to make images load faster on your website pages. Almost all websites that use images can benefit from some form of image optimization, even those using WordPress.

Why?

Well, performance is a hugely significant factor when it comes to the competitiveness of your website today.

Google has also made performance an increasingly important factor when it comes to SEO rankings. In fact, performance is a direct ranking signal that carries significant weight.

Google’s Page Experience Update that went live in 2021 has been the biggest move in that direction yet. Soon, Google might even use visual indicators in SERP results to distinguish high-performing websites from the rest.

In Google’s own words, “These signals measure how users perceive the experience of interacting with a web page and contribute to our ongoing work to ensure people get the most helpful and enjoyable experiences from the web.”

So, Why Should We Target Images For Performance Optimization?

According to Google, images are the largest contributor to page weight. Google has also singled out image optimization specifically as the factor with the most untapped potential for performance optimization.

This problem isn’t going away soon. According to data by the HTTP Archive, there are roughly 967.5 KB bytes of image data on desktop web pages and 866.3 KB of image data on mobile pages. This is an increase of 16.1% and 38.8%, respectively, over the last five years.

Thanks to popular e-commerce tools like Woocommerce, it’s estimated that up to 28% of all online sales happen on WordPress websites.

And don’t forget, images are both a key part of conveying information to the user and integral to the design of your website. If they take significantly longer to load than your text, for example, it will negatively impact the user experience in a variety of ways.

In summary, optimized images help your WordPress website by:

  • Improving user satisfaction.
  • Improving various traffic metrics, like bounce rates, time-on-page, etc.
  • Boosting your SEO rankings.
  • Contributing to higher conversions (and sales).

How Does Image Optimization in WordPress Work?

WordPress is so popular because it’s a CMS (content management system) that allows anyone to build, design, and manage a website without any coding or advanced technical experience. Advanced features can be installed with just a few clicks, thanks to plugins, and you rarely have to touch the code behind your website unless you want to make some unique modifications.

In short, using a CMS like WordPress shields you from many of the day-to-day technicalities of running a website.

WordPress Image Optimization: What It Can Do

As we mentioned, one of the main reasons WordPress is so popular is because it takes care of many of the technical aspects of running a website. With that in mind, many think that WordPress should also automatically take care of image optimization without them having to get involved at all.

Unfortunately, that’s not really the case.

True, WordPress does offer some built-in image optimization. Whenever you upload an image to WordPress, it currently compresses the quality to about 82% of the original (since v4.5).

In v4.4, WordPress also introduced responsive image syntax using the srcset attribute. This creates four breakpoints for each image you upload according to the default WordPress image sizes:

  • 150px square for thumbnails
  • 300px width for medium images
  • 768px max-width for medium_large images
  • 1024px max-width for large images.

Here you can see an example of the actual responsive syntax code generated by WordPress:

<img loading="lazy" src="https://bleedingcosmos.com/wp-content/uploads/2021/12/33-1024x683.jpg" alt="" class="wp-image-9" width="610" height="406" srcset="https://bleedingcosmos.com/wp-content/uploads/2021/12/33-1024x683.jpg 1024w, https://bleedingcosmos.com/wp-content/uploads/2021/12/33-300x200.jpg 300w, https://bleedingcosmos.com/wp-content/uploads/2021/12/33-768x512.jpg 768w, https://bleedingcosmos.com/wp-content/uploads/2021/12/33-1536x1024.jpg 1536w" sizes="(max-width: 610px) 100vw, 610px">

Depending on the screen size of the device from which a user visits your webpage, WordPress will let the browser pick the most appropriately sized image. For example, the smallest version for mobile displays or the largest for 4K Retina screens, like those of a Mac.

While this may seem impressive, it’s only a fraction of what can be achieved using a proper image optimization solution, as we’ll show later.

Lastly, WordPress implemented HTML native default lazy loading for all images starting with version 5.5.

So, in short, WordPress offers the following image optimization capabilities baked-in:

  • Quality compression (limited)
  • Responsive syntax (up to 4 breakpoints)
  • Lazy loading

WordPress Image Optimization: What it Cannot Do

There are other issues many have with both the implementation of image compression and responsive syntax as it’s used by WordPress. This leads to some users even purposefully deactivating WordPress’ built-in image optimization so they can fully take control of it themselves.

Here are some of the reasons why:

  • WordPress uses a very basic form of quality compression. It does not use advanced technologies like AI and machine learning algorithms to compress images while maintaining maximum visual quality. It’s also lossy compression, so the quality is lost for good. You can clearly see the difference between an original HD image and the compressed version created by WordPress.
  • WordPress only compresses most images by up to 20%, while advanced image optimization tools can reduce all image sizes intelligently by up to 80%.
  • Responsive syntax can provide significant performance improvements over simply uploading a single HD image to be served on all devices and screens. However, it’s still only limited to a set number of breakpoints (typically 3 or 4). Since it’s not dynamic, a whole spectrum of possible image sizes is not created or used.
  • Responsive syntax code is not scalable and can quickly lead to code that’s bloated, messy, and hard to read.
  • WordPress doesn’t accelerate image delivery by automatically caching and serving them via a global CDN, although this can be done using other tools.

Another important optimization feature that WordPress does not have is auto-conversion to next-gen image file formats. Different image formats offer different performance benefits on different devices. Some formats also enable higher levels of compression while maintaining visual fidelity.

Next-gen formats like WebP, AVIF, and JPEG-2000 are considered to be the most optimal formats on compatible devices. For example, until recently, WebP would be the optimal choice on Chrome browsers, while JPEG-4000 would be optimal on Safari browsers.

However, WordPress will simply serve images in the same formats in which they were originally uploaded to all visitors.

How to Measure the Image Performance of a WordPress Website?

As the undisputed king of search engines, we’ll base most of our performance metrics on guidelines established by Google.

Along with its various performance updates, Google has released a number of guidelines for developers as well as the tools to test and improve their websites according to said guidelines.

Google introduced Core Web Vitals as the primary metrics for measuring a web page’s performance and its effect on the user experience. Thus, Core Web Vitals are referred to as “user-centric performance metrics.” They are an attempt to give developers a testable and quantifiable way to measure an elusive and abstract concept such as “user experience.”

Combined with a number of other factors, Core Web Vitals constitute a major part of the overall page experience signal:

You can find a complete introduction to Core Web Vitals here. However, they currently consist of three main metrics:

  • LCP (Largest Contentful Paint): The time it takes the largest above-the-fold element on your page to load. This is typically a full-sized image or hero section.
  • FID (First Input Delay): The delay from the moment a user first interacts with an element on the page until it becomes responsive.
  • CLS (Cumulative Layout Shift): The visual stability with which the elements on a page load.

Here is an illustration of how these metrics are scored:

While these are the three most important metrics to optimize, they are not the only ones. Google still measures other metrics like the FCP (First Contentful Paint), SI (Speed Index), as well as the TTFB (Time to First Byte), TBT (Total Blocking Time), and TTI (Time to Interactive).

A number of these metrics are directly affected by the images used on your web pages. For example, LCP, FCP, and SI are direct indicators of how fast the content of your web page loads and depends on the overall byte size of the page. However, it can also indirectly affect FID by keeping the main thread busy with rendering large amounts of image content or the perceived CLS by delaying the time it takes large images to load.

These metrics apply to all websites, whether they are custom-made or built using a CMS like WordPress.

When using tools like Lighthouse or PageSpeed Insights, you’ll also get scored based on other flags Google deems important. Some of them are specific to images, such as properly sizing images and serving images in next-gen formats.

If you only use built-in WordPress image optimization, you’ll get flagged for the following opportunities for improvement:

Some of the audits it will pass, however, are deferring offscreen images (lazy loading) and efficiently coding images (due to compression):

A Better Way to Optimize WordPress Images: ImageEngine

Billions of websites are all vying for prime real estate on Google SERPs, as well as the attention of an increasingly fussy internet-using public. Every inch matters when it comes to giving your website a competitive advantage.

So, how can you eliminate those remaining performance flags and deliver highly optimized images that will keep both your visitors and Google happy?

Sure, you could manually optimize images using software like PhotoShop or GIMP. However, that will take you hours for each new batch of images. Plus, you still won’t benefit from any automated adaptive optimization.

A more reasonable solution in today’s fast-paced climate is to use a tool developed specifically for maximum image optimization: an image CDN like ImageEngine.

ImageEngine is an automated, cloud-based image optimization service using device detection as well as intelligent image compression using the power of AI and machine learning. It can reduce image payloads by up to 80% while maintaining visual quality and accelerating delivery around the world thanks to its CDN with geographically dispersed PoPs.

Why is ImageEngine Image Optimization Better Than WordPress?

When making a head-to-head comparison, here are the reasons why ImageEngine can deliver better performance:

  • Device Detection: ImageEngine features built-in device detection. This means it picks up what device a visitor to your website is using and tailors its optimization strategy to what’s best for that specific device.
  • Client hints: By supporting client hints, ImageEngine has access to even more information regarding the device and browser to make better optimization decisions.
  • Next-gen formats: Based on optimal settings, ImageEngine automatically converts and serves images in next-gen formats like WebP, AVIF, JPEG2000, and MP4 (for GIFs).
  • Save data header: When a Chrome user has save-data mode enabled, ImageEngine will automatically compress images more aggressively to save on data transfer.
  • CDN with dedicated edge servers: ImageEngine will automatically cache and serve your optimized image assets using its global CDN. Each edge server has device awareness built-in to bring down latency and accelerate delivery. You can also choose to prioritize specific regions.

So, the key differentiator is that ImageEngine can tailor optimizing images for what’s optimal for each of your visitors. ImageEngine is particularly good at serving mobile visitors thanks to WURFL device detection, which can dynamically resize images according to most devices and screen sizes in use today. As of now, this is a completely unique capability that none of its competitors offer.

It allows for far better and more fine-tuned optimization than WordPress’ across-the-board approach to compression and responsive syntax.

If you want, you could turn off WordPress responsive syntax and compression, and you would still experience a performance increase using ImageEngine. However, ImageEngine also plays nice with responsive syntax, so it’s not completely necessary unless you want to serve the highest-fidelity/low-byte-size images possible.

How Does ImageEngine Work with WordPress?

The process ImageEngine uses to integrate with WordPress can be broken down into a few easy steps:

  • Sign up for an ImageEngine account: ImageEngine offers three pricing plans depending on the scale and features you need as well as a no-commitment 30-day free trial.
  • Specify your image origin: This tells ImageEngine where to find the original versions of your images. For a WordPress website, you can just use your domain, e.g., https://mywordpresswebsite.com. ImageEngine will then automatically pull the images you’ve uploaded to your WordPress website.

  • Copy the Delivery Address: After you create an account and specify your image origin, ImageEngine will provide you with a Delivery Address. A Delivery Address is your own unique address that will be used in your <img> tags to point back to the ImageEngine service. Delivery Addresses may be on a shared domain (imgeng.in) or customized using a domain that you own. A Delivery Address typically looks something like {random_string}.cdn.imgeng.in. If your images are uploaded to the default WordPress folder /wp-content/uploads/, you can access your optimized images from ImageEngine simply by changing your website domain. For example, by typing {imageengine_domain}.cdn.imgeng.in/wp-content/uploads/myimage.jpg into your browser, you’ll see the optimized version of that image. Just press the copy button next to the Delivery Address and use it in the next step configuring the plugin.

  • Install the ImageEngine Optimizer CDN plugin: The plugin is completely free and can be installed just like any other plugin from the WordPress repository.
  • Configure and enable ImageEngine Plugin in WordPress: Just go to the plugin under “ImageEngine” in the main navigation menu. Then, copy and paste in your ImageEngine “Delivery Address,” tick the “Enabled” checkbox, and click “Save Changes” to enable ImageEngine:

Now, all ImageEngine basically does is replace your WordPress website domain in image URLs with your new ImageEngine Delivery Address. This makes it a simple, lightweight, and non-interfering plugin that works great with most other plugins and themes. It also doesn’t add unnecessary complexity or weight to your WordPress website pages.

ImageEngine vs Built-in WordPress Image Optimization

So, now let’s get down to business by testing the performance improvement you can expect from using ImageEngine to optimize your image assets.

To do this test, we set up a basic WordPress page containing a number of high-quality images. I then used PageSpeed Insights and the Lighthouse Performance Calculator to get the performance scores before and after using ImageEngine.

Importantly, we conducted this test from a mobile-first perspective. Not only has mobile internet traffic surpassed desktop traffic globally, but Google themselves have committed to mobile-first indexing as a result.

Here is a PageSpeed score using the Lighthouse calculator for WordPress with no image optimization:

As we can see, both Core Web Vitals and other important metrics were flagged as “needs improvement.” Specifically, the LCP, FCP, and TBT. In this case, both the LCP and FCP were a high-res featured image at the top of the page.

If we go to the opportunities for improvement highlighted by PageSpeed, we see where the issues come from. We could still save as much as 4.2s of loading time by properly resizing images and a further 2.7s by serving them in next-gen formats:

So, now let’s see how much ImageEngine can improve on that.

The same test run on my WordPress website using ImageEngine got the following results:

As you can see, we now have a 100 PageSpeed score. I saved roughly 2.5s on the SI (~86%) as well as roughly 1.7s on the LCP (~60%). There was also a slight improvement in the FCP.

Not only will you enjoy a stronger page experience signal from Google, but this represents a tangible difference to visitors regarding the speed with which your website loads. That difference will lead to lower bounce rates, increased user satisfaction, and more conversions.

There was also a 53% overall reduction in the total image payload. This is impressive, considering that it’s on top of WordPress’ built-in compression and responsive syntax.

Conclusion

So, as someone with a WordPress website, what can you take away from this?

Well, first of all, WordPress does feature some basic image optimization. And while not perfect, it should help you offer reasonable levels of performance, even if you use a lot of image content.

However, the caveat is that WordPress applies aggressive, across-the-board compression, which will lead to a noticeable reduction in visual quality. If you use WordPress for any type of website where premium quality images are important, this is a concern — for example, as a photography portfolio, exhibition, or image marketplace like Shutterstock.

By using ImageEngine, you can reduce image payloads and accelerate delivery even further without compromising too harshly on visual quality. What’s more, ImageEngine’s adaptive image optimization technology will provide greater improvements to more of your visitors, regardless of what device(s) they use to browse the web.

Whether or not you still want to use WordPress’ built-in optimizations, ImageEngine will deliver significant improvements to your user experience, traffic metrics, and even conversions.

Plus, true to the spirit of WordPress, it’s extremely simple to set up without any advanced configuration. Just sign up for ImageEngine in 3 easy steps, install the plugin, integrate ImageEngine by copy/pasting your image domain, and you’re good to go.


[ This is a sponsored post on behalf of ImageEngine ]

Source

The post WordPress Website Analysis: Before & After ImageEngine first appeared on Webdesigner Depot.

Source de l’article sur Webdesignerdepot

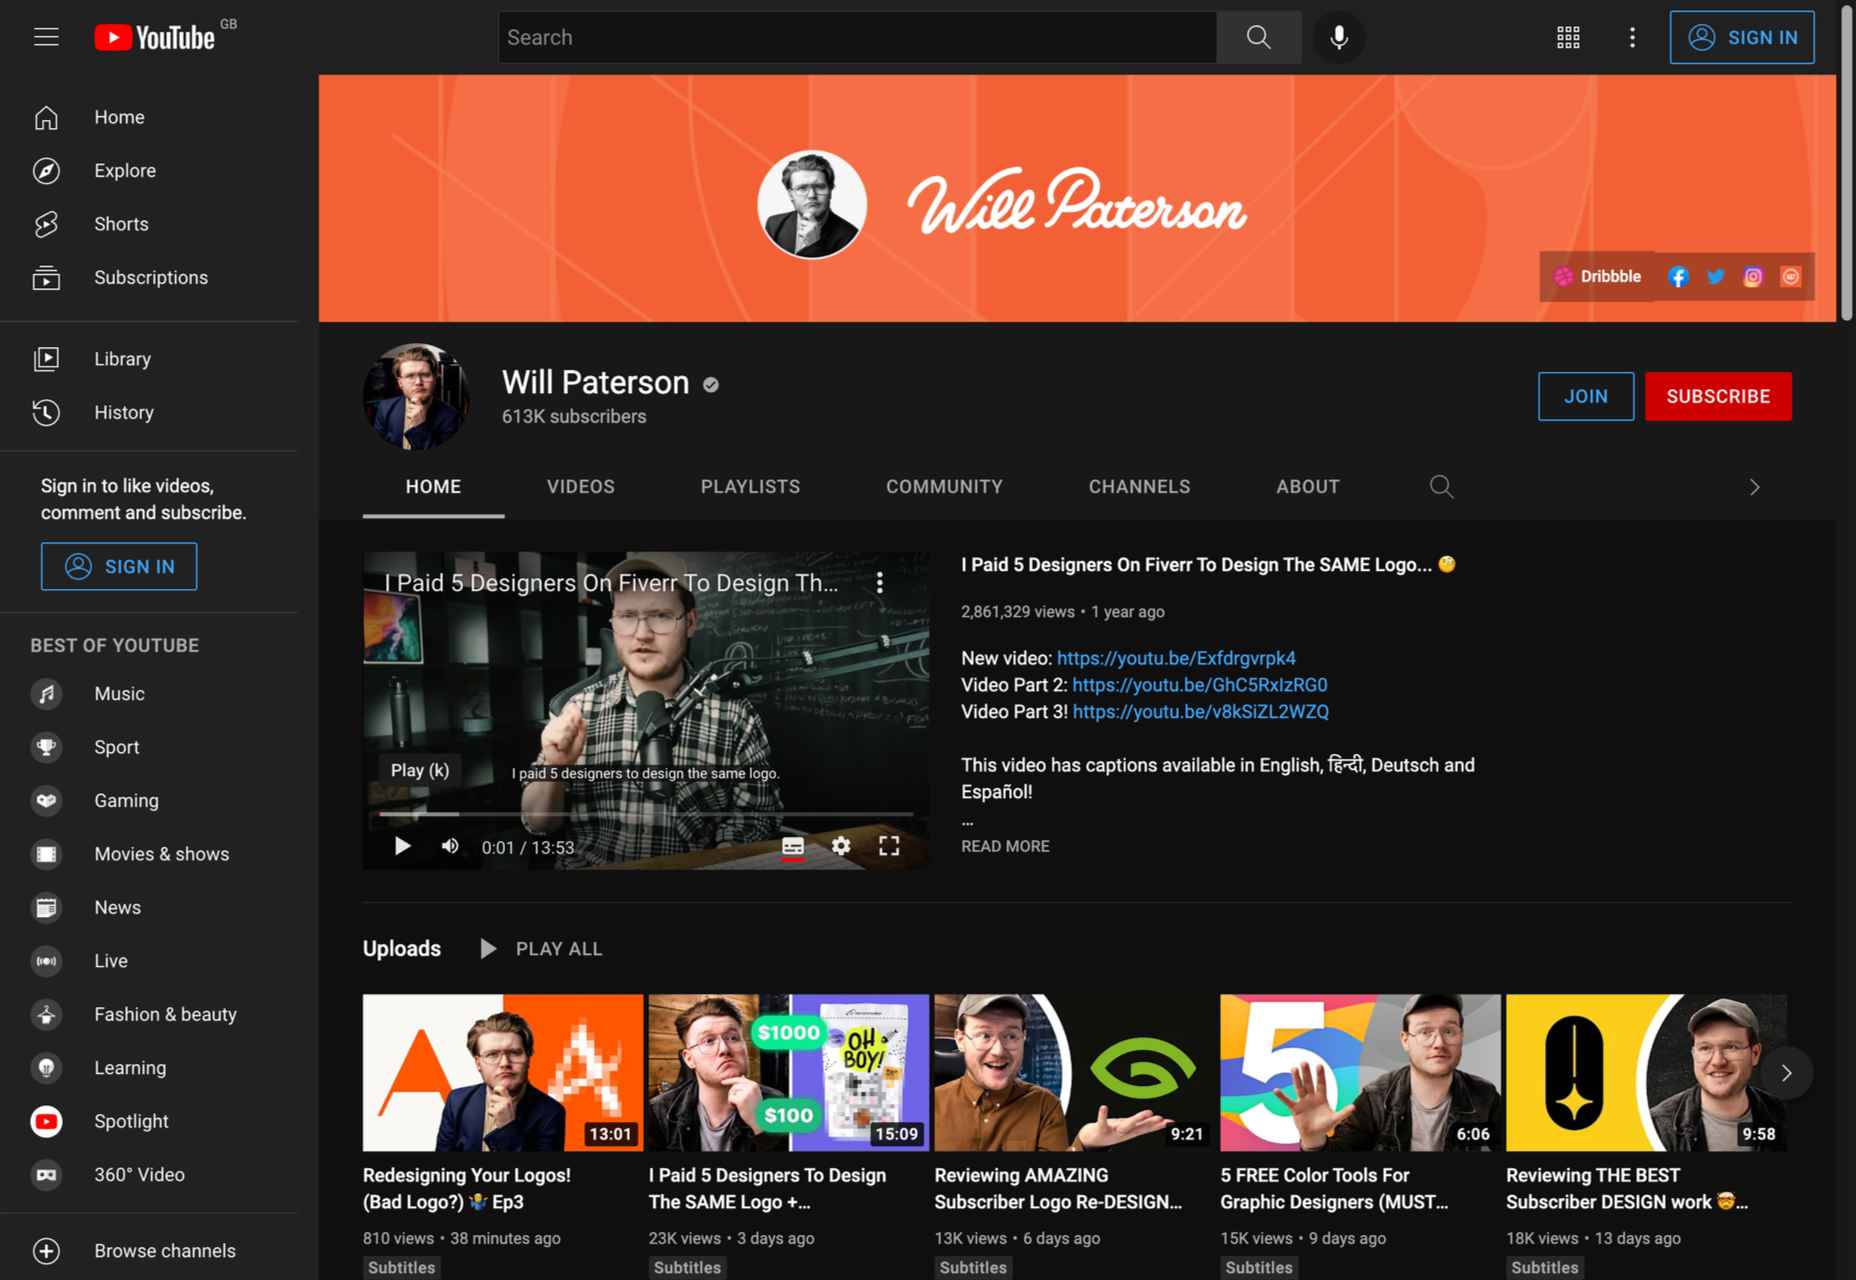
There was a point at which I was very close to losing my business, and I didn’t realize how close.

I wasn’t always a good planner, and I didn’t plan to start an agency. One day I was a freelance graphic designer, my job list grew, I hired some help, and suddenly I was managing a team.

There isn’t a guidebook for new business owners, you have to learn on the job, and there’s no one-size-fits-all approach. We expanded rapidly from two to four people, then seven, and suddenly we hit 16 employees in just 18 months. It was pretty scary and felt like driving on the freeway without brakes. A client shared a story that they were turning over $20m, and the owner was only taking home $30k. It felt like where I was headed. At that point, I could easily have lost it all.

I took a hard look at the numbers and realized that we were barely breaking even, let alone profitable. That needed to change to stabilize the business and regain control of my operations. The change wasn’t easy, and there were some hard lessons, but 11 years later, with a strong local team and 40+ awards for our work, I’m thankful for that wake-up call.

There are other people in my position struggling with the same issues I faced, so I’d like to share the four key things I did that helped turn things around and move us from surviving to thriving.

1. Don’t Diversify Your Services

I wanted to do it all, and as the business owner, it was hard to turn down a new client. Our instincts are to help, and declining opportunities feels wrong. In our industry, digital agencies, especially web design agencies, try to cover all bases from marketing, SEO, adwords, design, photography, and coding. Everyone wants to be a one-stop shop for clients. I used to be that person: I would wash your car and shine your shoes if I could.

Do not give in to that fear.

When you’re a generalist, you spread yourself too thin. I know: a decade ago, we were offering dozens of services outside of the web design realm: packaging, branding, copywriting, sticker design, SEO, hosting, analytics, you name it, we provided it. We used over seven different CMS for our projects. If a client wanted it, we tried to offer it, no matter how unsuitable it was for us.

On the surface, we fulfilled our projects, and our clients were always thrilled with the results. But below the surface, our operations were dissolving into a mess. Our eyes weren’t on the prize; we were always chasing after each little job for cash. It took too much time to learn new skills. When I looked at our timesheets and deducted the unbillable hours, our projects would hardly break even.

What hurt us even further is that with diversifying, we had to manage multiple workflows, software, and systems: Sketch, Illustrator, Photoshop, WordPress, Joomla, Drupal, Google Analytics, Final Cut Pro, etc. It was expensive with minimal return. It was like an Olympic swimmer signing up for a swimming-diving-ice-skating club when their passion is swimming.

So I took a step back. I boiled it down to what we enjoyed and excelled at. Ask yourself: for what do you want to be known? For us, it was psychology-driven, conversion-focused web design. This was the service our team had the most skills in and collectively could give the best value to our clients. Once I’d figured that out, it was easy to eliminate those other services and specialize.

You can niche down by service or industry and be the specialist in what you offer.

2. Know Your Numbers

The first red flag that my business was in trouble was when I said to my accountant, “I feel like my business is doing great.” He replied, “I don’t care how you feel. The facts are in the numbers. Show me your accounts, and I’ll tell you if you’re actually doing well.” As an intuition-driven guy, it was a real eye-opener; I’d only ever relied on gut instinct.

At one point, we had a ton of work coming in, so I hired a few juniors to help the rest of the team. The team grew to 16, and the vibes in the studio were great, but the numbers weren’t. Instead of increasing efficiency, projects took 40 hours longer than they should have done. Why? The seniors and mid-level designers were taking time out to train the juniors! Reassessing the team showed me I needed to hire experienced staff, so projects ran on time and budget. It was a hard decision but a necessary one to keep us afloat.

The crucial numbers for any design agency are your timesheets, where bottlenecks lie, how much you’re spending, how long a project takes; these determine your actual margins. Setting up quantitative software like Toggl, Gantt, and Asana were a game-changer for us. They gave our project management real purpose and potential. Knowing the average hours our primary type of project took made it easy to give clients realistic deadlines, anticipate the need for fresh hiring, and know when our plates were full. You do not want to bite off more than you can chew.

3. Become The Best Fit For Your Target Market

You can’t please everyone, and frankly, you shouldn’t be trying to. One type of bait won’t attract every kind of fish. First, identify the type of fish you want to catch, the pond where this type of fish lives, and finally, bait your hook with something that type of fish can’t resist.

Your sales team should be able to identify them instantly, and all you then need to do is streamline your team, process, and systems towards being the best fit for them.

4. Double Down On Marketing That Works

There are many different marketing avenues you can go down, but go down too many, and it becomes a tangled web of confused messaging.

Remember, just because your competitors are doing it does not mean it’s the most effective approach for your target market.

There are really only inbound and outbound types of strategies, and it’s a great idea to list out the pros and cons (and the ROI of each) concerning your target market. Or, you can approach marketing based on your existing skillset — for example, if you detest being in front of a camera and don’t want to do video marketing, then just don’t do it.

Identify what works for you, and then be consistent. Consistency is the secret to a successful marketing strategy.

Source

The post How I Saved My Design Agency & Tripled My Profits first appeared on Webdesigner Depot.

Source de l’article sur Webdesignerdepot

Every day design fans submit incredible industry stories to our sister-site, Webdesigner News. Our colleagues sift through it, selecting the very best stories from the design, UX, tech, and development worlds and posting them live on the site.

The best way to keep up with the most important stories for web professionals is to subscribe to Webdesigner News or check out the site regularly. However, in case you missed a day this week, here’s a handy compilation of the top curated stories from the last seven days. Enjoy!

Supercharge Your Node.js With Rust

Icon Trends in 2021

Material Design 3

5 Pillars of Effective Landing Page Design

Can Include (a Certain HTML Element Within Another Certain HTML Element)

Is Photoshop & Illustrator in the Web the Most Exciting Reveal of Adobe MAX?

Box Shadow Generator – Generate Multilayer CSS3 Box Shadows

Olio – Illustration Constructor with 130+ Characters and Objects

The Button Cheat Sheet

Marvel Character or Font?

Source

The post Popular Design News of the Week: October 25, 2021 – October 31, 2021 first appeared on Webdesigner Depot.


Source de l’article sur Webdesignerdepot

According to a recent Hubspot survey, more than 85% of marketers believe video content is essential for any marketing strategy. This percentage is more than 20% higher than in 2016.

Understanding why this is the case is not hard. Modern digital marketing is all about engaging with your audience and sharing personal stories. And there’s simply no better way to do that than video content.

Videos are engaging for people of all ages and less boring than other types of content. However, it’s not easy to create or optimize video content. That’s why we have created a list of the top 10 video content tips and tricks you should follow.

Top 10 Tips and Tricks to Succeed in Video Content Marketing 

Whether you are an influencer, blogger, or business owner, video content is important for promoting your services or products. The following tips will help you improve your video content strategies.

Plus, you can apply these tactics across all websites and platforms: from your website or YouTube channel to social media platforms like Instagram or Twitter.

1. Utilize Video SEO

Contrary to what many believe, SEO does not only apply to written content. In fact, video SEO is just as important for drawing organic traffic to your website or social network account.

You can achieve this in several ways. When you upload a new video, you need to consider things like keywords, tags, file names, and descriptions. However, this is only part of what you can do to optimize your videos for SEO purposes.

There are plenty of video SEO guides for beginners that can help you improve your online presence through your video content. 

2. Identify Your Goals and the Scope of Your Videos

As with written and visual content in general, it is critical to identify your business goals for video content. This is one of the first things you should think about when launching a new video content campaign.

Think about what you want to achieve. For example, do you need to generate new customer leads or expand your audience? Considering the reach of your videos can help you stand out from your competitors.

When it comes to video content, planning is key. For this reason, setting the goals of your strategy should be a priority.

3. Schedule Your Video Content

While it’s important to set goals, no video content strategy will work without consistency. Planning your video content is the best way to be consistent when creating, uploading, and promoting.

There are many online apps and tools that can help you organize your video content strategy. For example, scheduling tools like Buffer or MeetEdgar can help you keep everything organized and save time uploading your videos.

In addition to these social media scheduling tools, you can also use apps like Trello to help you organize your content creation in general.

4. Use Premade Material like Instagram Templates

If you are a professional video creator or video editor, you’ll have no problem creating top-notch video content. But what happens if you have no experience with video content at all?

Luckily, there are plenty of tools out there to make your life easier. For example, if you want to create video stories for Instagram, you can use captivating pre-made Instagram templates.

Editing such templates using software like Photoshop can save you both time and money. However, if you do not have Photoshop experience, you can also create videos using simple online editors like Canva

5. Make Your Videos Engaging and Emotional

There are a few tips we would like to share when it comes to the content of videos. An important thing to keep in mind is that your videos should always be engaging. If you don’t try to engage with your audience through your videos, there is a big chance of failure. 

Therefore, whether you own a personal blog or an enormous corporate website, your video content should connect you emotionally with your audience. Adding a personal feel to your videos is a fantastic approach to consider. 

By doing so, your customers/readers will feel the need to engage by sharing their stories with you.  

6. Create Educational and Relevant Video Content

There are a few tips we’d like to share with you when it comes to video content. One important thing to keep in mind is that your videos should always be engaging. If you are not trying to engage your audience through your videos, there is a high chance of failure.

Whether you have a personal blog or a huge corporate website, your video content should connect emotionally with your audience. Adding a personal touch to your videos is an excellent approach to consider.

This way, your customers/readers will feel the need to engage by sharing their stories with you.

7. Implement CTAs

Calls to action are one of the most effective marketing strategies for written content. Although most websites only include CTAs on the homepage, it’s a brilliant thing to also use them in blog posts, videos, and visual content in general.

You should let your customers know how they can interact with your brand. For example, let them know about your website or how they can follow you on social media for more information.

CTAs are the best way to keep your customers and ultimately increase your conversion rates.

8. Focus on Storytelling

Videos that focus on sales often bore viewers. For this reason, you should add some value to your video content. Creating videos that act like stories is a great thing to do.

When you tell a personal story, your customers can better understand your brand and how it can help them. Remember, storytelling makes your content more engaging and interesting.

9. Promote your Content

Say you have developed a great video content strategy and have already created some top-notch videos. What should be your next step? Well, maximizing your target audience is a smart approach.

You can achieve this by promoting your videos on platforms like Facebook, YouTube, Instagram, etc. Another smart move is to incorporate your video content into other content like blog posts, your website, etc.

10. Occasionally Evaluate your Video Content Strategy

Since you have already established your goals and the scope of your videos, you know exactly what you want to achieve with your video content strategy. Therefore, it’s important to evaluate how your plan is working. If you are happy with the analytics of your videos, that’s great.

If not, you can always consider what’s going wrong. For example, maybe you need to promote your videos better or include more CTAs.

Wrap Up

In this article, we analyzed how important video content has become for marketing. For this reason, implementing videos into your marketing strategies is a great thing to do.

If you follow the tips and tricks above, you will increase your video content strategy’s chances of success.


Featured image via Unsplash.

Source

The post 10 Tips to Help Video Content Succeed in 2021 first appeared on Webdesigner Depot.


Source de l’article sur Webdesignerdepot

Every designer has their own preferred strategy for collecting resources. Some pluck brushes, fonts, and templates from different “stock photo sites” and public marketplaces. Others collect graphics from swipe files and forums around the web.

The never-ending desire for themes, visual content, and graphical components has prompted an influx of “design packages” to appear around the web. These all-in-one bundles, ranging from Envato Elements to Elegant Themes, promise a selection of valuable creative content in exchange for a single fee or monthly subscription. 

If you’ve been planning to seek out a few of these high-value subscriptions yourself, you’re in the right place! Today, we’re going to talk about some of the top designer resources available on the market. 

1. Envato Elements

Probably the best-known of all the designer resource marketplaces, Envato Elements advertises itself as the unlimited creative subscription. On this website, you’ll be able to access around 54 million creative assets through a single subscription. There are endless resources to unlock here, ranging from templates for your graphics to video templates, audio, and stock photos. 

Unlike most marketplaces, Envato gives you peace of mind by promising only the highest quality designs and graphics. Your content comes with quality assurance, and there are many PSD elements on the site, too, including stationery and web design templates, mock-ups, and more. Categories for your creative content include:

  • Stock photos
  • Video templates
  • Music
  • Sound effects
  • Graphic templates
  • Graphic designs
  • Presentation templates
  • Fonts
  • Photos
  • Web templates
  • Add-ons
  • CMS templates
  • WordPress resources
  • 3D content

Pricing: Pricing starts at only $16.50 per month, and this gives you unlimited access to everything on the site, including millions of digital assets and stock photos. You’ll also be able to use various courses and tutorials on the website too.

2. Elegant Themes

Elegant Themes is an all-in-one creative resource for website themes. The solution offers you access to some of the most popular WordPress themes worldwide. 

You’ll also get access to a visual page builder as part of the kit. When you sign up for the Elegant Themes subscription, you get access to all of the resources within, including the Divi page builder and WordPress theme, Extra, Monarch, Bloom, and more. If you’re a site builder or work on building pages for clients, this is a must-have subscription. 

Elegant themes are currently the go-to resource for more than 750,000 people. It’s also home to some of the highest-rated themes around. Features include:

  • Divi WordPress page builder
  • Endless WordPress themes
  • Page editing tools
  • Monarch, Bloom, and Extra 
  • Hundreds of website packs
  • Lifetime premium support
  • Unlimited website usage

You can either pay for yearly access with Elegant Themes or pay a one-off price for lifetime access. For most, the lifetime option is likely to be a pretty appealing one. You don’t have to worry about renewing your subscription this way.

3. Template Monster

Template Monster offers the “ONE” web development membership, perfect for creative professionals. The MonsterONE offering is a complete unlimited subscription for all of your creative needs, with access to unlimited downloads, new weekly items, and simple licensing. You also get plenty of support from the Template Monster Team. 

A goldmine for anyone who needs to upgrade their selection of video and photo assets, graphic templates, HTML templates, or anything else, Template Monster is packed full of amazing resources for any project. You can also find new products from fresh contributors all the time, so the value of your membership is constantly increasing. 

Features include:

  • HTML templates
  • Presentation templates
  • CMS templates
  • Graphic templates
  • Video assets
  • 3D models
  • Audio assets
  • WordPress themes and plugins

Pricing starts at a tiny $6.90 per month, with a slight discount if you pay yearly. The lowest-cost package gives you access to all of your graphic and design assets, but you won’t get any eCommerce or WordPress themes. However, if you upgrade to the all-in-one package at $14.95 per month, you get a more extensive range of resources.

4. Creative Market

Creative Market is another one of those amazing all-in-one environments for creatives and designers. This marketplace is supplied by thousands of independent artists from around the globe, each offering a host of top-quality designs and resources. You’ll find photos, graphics, templates, fonts, web themes, and countless other tools on the Creative Market. 

If you’re looking for sheer size, it’s hard to find another company that competes with the Creative Market package. There are literally millions of ready-to-use products available, including Instagram templates, textures, and procreate brushes. 

You’ll have access to 3D content for your immersive website designs and a host of purchasing products. Although there’s no “subscription model” per-se for this marketplace, you can invest in a credit plan that allows you to set how much you spend on your assets each month. 

Features include:

  • Millions of creative products
  • Huge selection of independent designers
  • Brushes, textures, templates 
  • Fonts and web content available
  • Huge selection of stock photos
  • Convenient credit plan

The individual purchasing plan is likely to appeal more to people just beginning to test Creative Market for the first time. However, if you want a subscription experience, we’d recommend using the credit plan to estimate how many credits you’ll need each month.

5. Adobe Stock

All web designers know Adobe. The chances are that no matter what kind of creative work you do, you’ve developed a few skills with an Adobe product, from Photoshop to Lightroom. Adobe Stock is also one of the leading platforms for images on any topic. 

Although Adobe Stock doesn’t compete with other marketplaces in terms of versatility, it still stands out as one of the main resources for designers. There are hundreds of millions of stock images, videos, editorial content, and vectors. You can also access a premium collection of custom content and 3D resources too. The great thing about Adobe stock is that you can easily create your own libraries and download content into your Adobe software. Resources include:

  • Stock photos
  • Premium images
  • 3D content
  • Vectors and brushes
  • Stock video footage
  • Royalty-free templates
  • Vector art and illustrations
  • Stock music and audio
  • Integration with Adobe software

Adobe Stock is a little pricier than some of the other marketplaces available today, but it’s still pretty impressive. You’ll pay around $29.99 per month for 10 assets per month, or you can access a full annual plan at $199.99 per month. The amount you pay will depend on the quality of the resources that you want to download.

6. Motion Elements

If Elegant Themes is the go-to resource for designers searching for WordPress themes and web design solutions, Motion Elements is the top choice for “motion” content. Here, you’ll find videos, SFX content, images, music, 3D solutions, and so much more. 

Though it’s located in Asia, Motion Elements is available worldwide. The marketplace offers a monthly subscription plan wherever you can download unlimited products to suit your needs. There are tons of resources to choose from here, including After Effects elements, tools for Lottie, Premiere Pro, FCPX motion, DaVinci Resolve, and more. 

Features include:

  • After Effects elements
  • Premier Pro resources
  • FCPX Motion
  • DaVinci Resolve
  • Video and audio content
  • Stock images
  • SFX resources
  • 3D content

Pricing starts at $16.50 per month for an unlimited annual plan. This means that you can download as much as you like without having to pay any more. There is a small discount if you pay for a full year of access in one go.

7. Creative Tim

Simple but effective, Creative Tim is an amazing resource for front-end and back-end content bundles. You get fully coded UI tools here that can help you create various mobile and web apps and a huge selection of dashboards and templates. If you’re the kind of designer who likes working on top of things like Bootstrap, React, Angular, Laravel, Node.js, and more, then Creative Tim has you covered. 

This is one of the more technical creative resource packages that we’ve looked at so far, but it has a lot of value to offer. That’s probably why there are already more than 1.5 million people using the service. You can search through administration dashboards, UI kits, premium templates, free content, and design systems. Of course, everything is easy to access too. Features include:

  • Frontend design technologies for endless platforms
  • Soft design, light design, paper design, and more
  • Bootstrap content 
  • Resources and third-party tools
  • Complete design and web kits
  • UI kits and templates
  • Admin and dashboard templates

There’s a free version of Creative Tim available for beginners if you want to keep your costs low, but it’s generally much better to sign up for the premium subscription. You can also purchase kits and templates on a one-off basis if you prefer to start small. However, the best prices generally come from buying the bundles from Creative Tim’s subscription side. 

8. Storyblocks

Similar in style to Motion Elements, Storyblocks is a creative design resource for any designer getting involved with the video world. This website is home to some of the best free-to-use videos around, with simple licensing available at a click. Aside from high-quality videos and templates, you also get audio and sound effects as part of your subscription and images or illustrations. 

The unlimited access pass gives you all the resources you might want, from 4K and HD footage to music and sound effects, After Effects templates, and photos, vectors, or illustrations. You can also export a host of your own video projects with access to the Maker video editor, which allows you to make various changes to your custom video content. Features include:

  • HD and 4K video footage
  • After Effects Templates
  • Sound Effects and Music
  • Photos, Illustrations, and Vectors
  • Unlimited video exports
  • Video editor access
  • Licensing support

The standard all-access plan from Storyblocks starts at a very affordable £39 per month for all of the content you might want. In addition, everything you get here is unlimited, so you don’t have to worry about running out of credits. There’s also an enterprise option available if you want to share access to resources with your team.

9. Motion Array

Motion Array is an all-in-one video creation platform for those with an eye for visual content. This fantastic resource center is packed full of valuable tools, from Da Vinci Resolve templates to Adobe Premier Pro Content. As part of your subscription payment, you’ll get endless presets, audio effects, plugins, video footage, tutorials, and more. 

Though a little more expensive than some of the other premier subscription services on the market, Motion Array does offer a lot of content that you can’t get anywhere else. There’s an unlimited marketplace constantly updating with access to royalty-free footage, stock photos, music, and sound effects. You also get plugins built for Premiere Pro. Features include:

  • Adobe Exchange elements
  • Final Cut Pro and DaVinci resolve templates
  • Royalty-free music and sound effects
  • Stock footage and video
  • Photos and images
  • Time-saving integrations with your favorite apps
  • Portfolio site builder
  • Stock media requests

There’s a free subscription option for Motion Array, which you won’t find from most alternatives. This only gives you access to some basic stock photos and assets, but it’s a nice way to start. When you are ready to upgrade, you can pay $29.99 per month for the full stock media library, as well as requests for custom media assets and exclusive plugins.

Start Stocking Up on Designer Resources

As a designer or creative professional, keeping a constant stack of resources available is crucial to your ongoing productivity. Fortunately, there are tons of premium marketplaces out there today, making it easier to access everything you need. 

Whether you’re looking for full UI kits and templates, or you want some free-to-use images and videos for the website content you’re creating, there’s something for everyone. With most monthly subscription services available at a highly affordable price, you could even sign up for multiple sites at once. 

Source

The post 9 Amazing Design-Resource Package Sites first appeared on Webdesigner Depot.


Source de l’article sur Webdesignerdepot

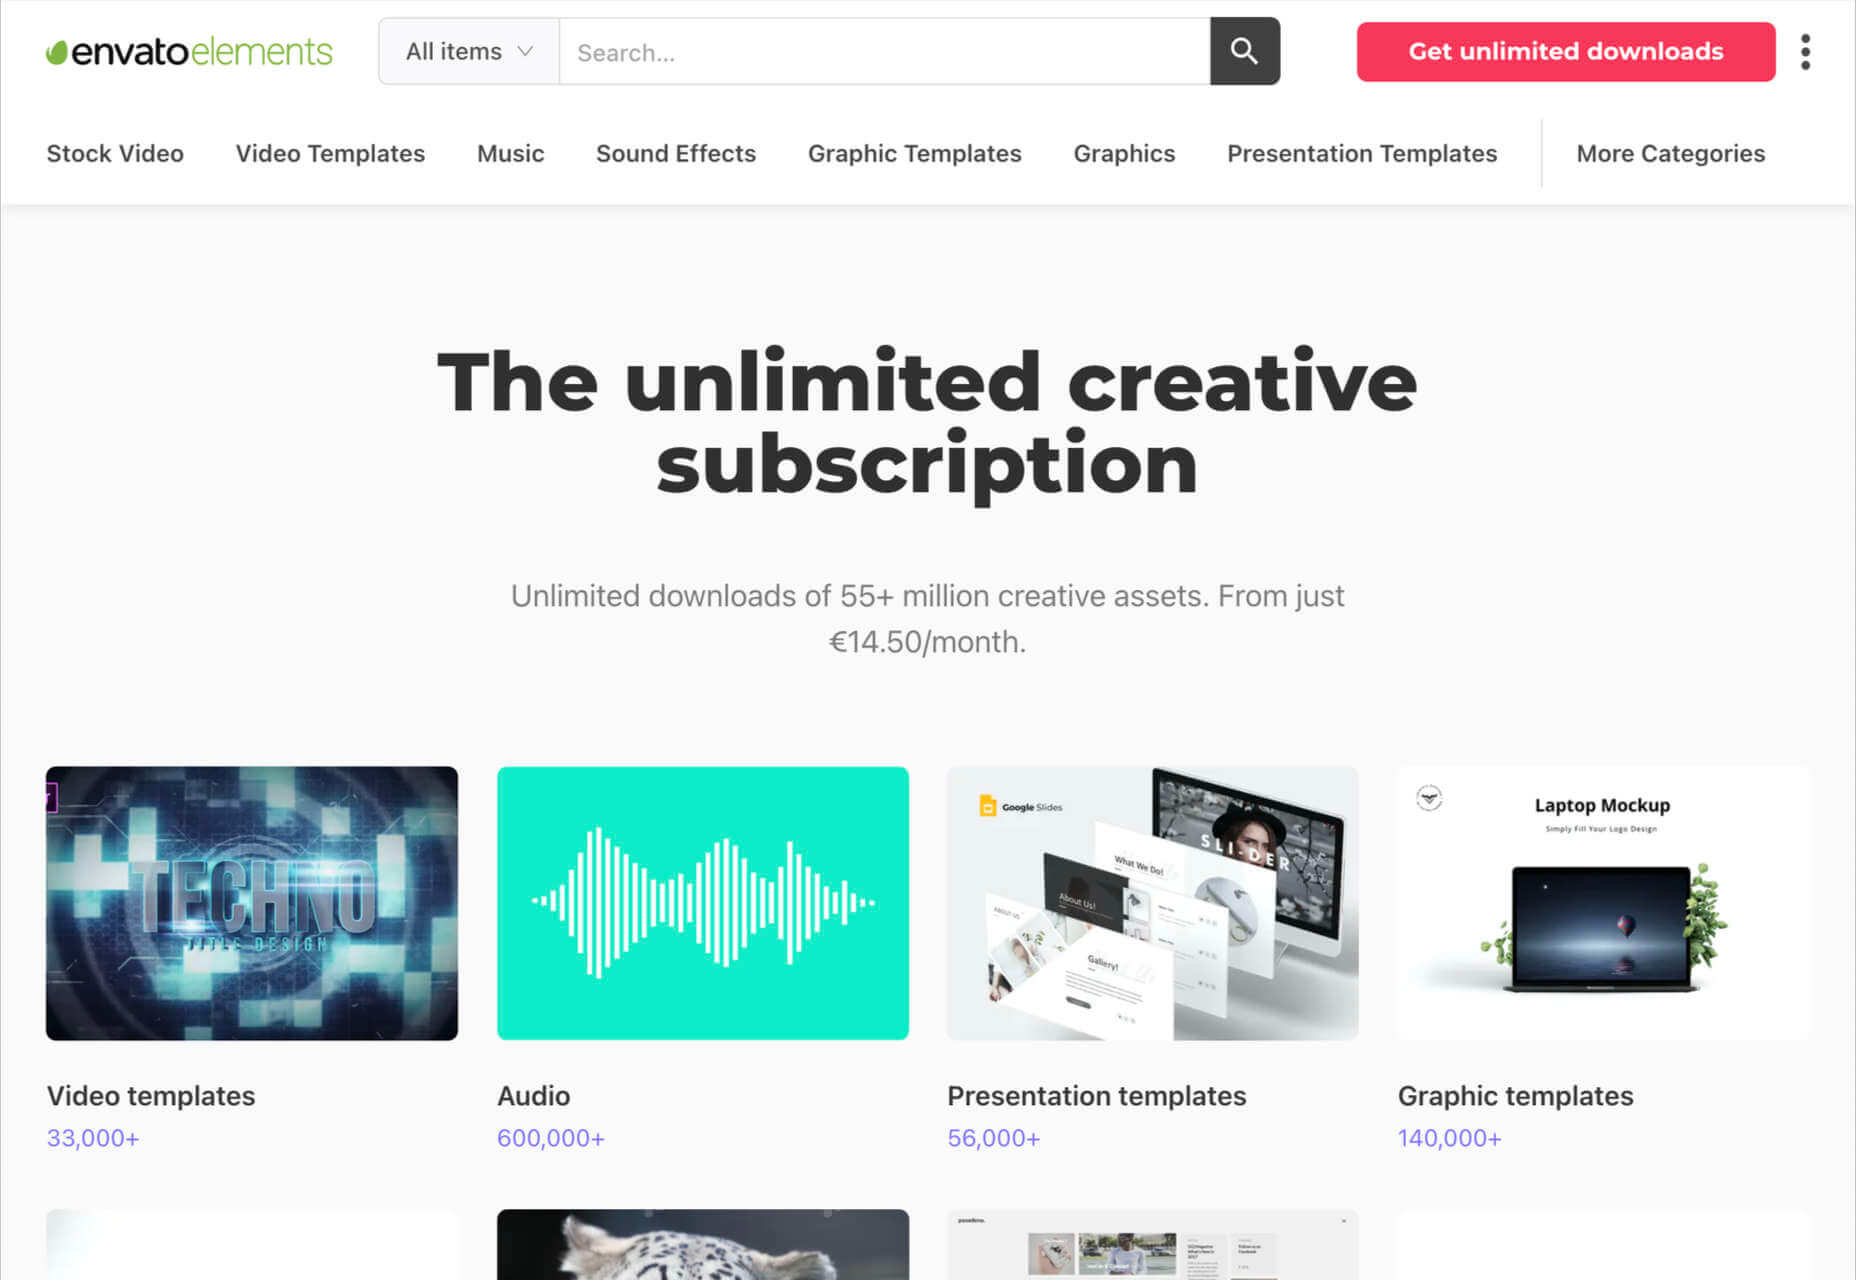
Illustration is a big trend in 2021. Every designer should have some ability to illustrate, whether that’s producing icons, creating lettering, mocking up layouts, or crafting full-blown illustrations.

Designers’ workflows are as varied as their work, and one designer’s favorite tool is a frustrating mess to the next designer. Most design apps have a free trial, so it’s worth trying out a few before committing.

Counting down to the best illustration app for designers in 2021, all of the apps on this list are worthy of at least a second glance:

10. Vectr

Vectr is a simple vector design tool. It is heavily geared towards layout and even product design. It’s difficult to use it for many illustration jobs, but simple icon and UI creation are possible. It scrapes into our top ten thanks to the fact that it’s free to use.

9. Paper

Paper is a sketching app developed by WeTransfer. It grabs number nine in our top ten thanks to its simplified interface that is perfect for generating ideas. It may not be the most flexible app, but it’s free to download, making illustration accessible to anyone with an iOS device.

8. Inkscape

We love the fact that there’s someone out there producing a professional-grade artwork app for free. Inkscape is available for GNU/Linux, Windows, and macOS. If you’re interested in exploring this design area without signing up for a subscription or buying an iPad, Inkscape is a great place to start.

7. Assembly

Assembly is another app that’s dependent on the transition of illustrators from desktop machines to mobile devices and is available for iOS. Assembly does things a little differently; instead of manipulating boolean curves, Assembly builds illustrations out of shapes. If you’re someone who thinks they can’t draw (spoiler alert: everyone can draw), this is the app for you.

6. Sketch

It’s a shock low-rating for Sketch, the highly popular product design app doesn’t make it out of the bottom half of our list. The reason for the lower ranking? Sketch is an incredible design app, but its greater investment in prototyping features has come at the cost of drawing innovation. It’s still a great choice for crisp icon design, but it’s not flexible enough to take a higher spot in our list.

5. CorelDRAW

If you’re getting the impression that design apps are mostly for macOS or iOS, then you’d not be alone. CorelDRAW Graphics Suite is one of the few that began its life on Windows before being rebuilt for Mac. CorelDRAW is a premium option, but like Adobe’s offering, it is a suite of tools that cover everything you’ll need to create any form of design work you could ever need.

4. Vectornator

Moving closer to the top spot, Vectornator is an up-and-coming tool. Like many other apps further up our chart, Vectornator does a lot more than simply illustration. Its underlying tools provide a solid foundation for a flexible set of tools that you can use for any artwork. Vectornator does an awful lot, awfully well. 

3. Procreate

Procreate is one of the finest apps on this list, thanks in main to its incredible brush studio; being able to edit the marks you make is essential for any expressive artwork. Procreate enables expressive illustration, typography, and simple sketches. The only downside to this app is that it’s iOS only; if available on more platforms, it might have been even further up the list.

2. Adobe Illustrator

That’s right; we don’t think design giant Adobe’s illustration app Illustrator is worthy of the number one spot.

Illustrator is an excellent tool and arguably deserves to be considered Adobe’s flagship product. Since Adobe relented and allowed individual app subscriptions, it is also reasonably priced. It does everything you could want in an illustration app, from designing icons to creating original artwork.

So why not the top spot? It wasn’t so much that Illustrator fell down anywhere, as a different app pipped it to the post…

1. Affinity Designer

The best app for illustration in 2021 is Affinity Designer. We’ve been fans since its first beta version, and we’ve watched it go from underdog to champion.

On top of being an excellent vector app, Designer is comfortable with raster graphics. Although it certainly can’t compete with Photoshop (Affinity built Photo for that), Designer is more than adequate for many image tasks, making it a great all-around design app. Designer was also the first design app to support macOS’ new M1 chip natively.

The knockout blow is that Affinity Designer is available as a desktop app and an iOS app; the two apps have minor differences in their interfaces; what matters is that both apps use the exact same file format. You can seamlessly switch between desktop, iPad, and back to desktop, taking advantage of the precision of a mouse and the expression of a stylus.

It’s this kind of flexibility that bends Affinity Designer to your workflow instead of the other way around, and that’s why it’s top of our list.

Source

The post Ranked: Top 10 Illustration Apps in 2021 first appeared on Webdesigner Depot.


Source de l’article sur Webdesignerdepot