Articles

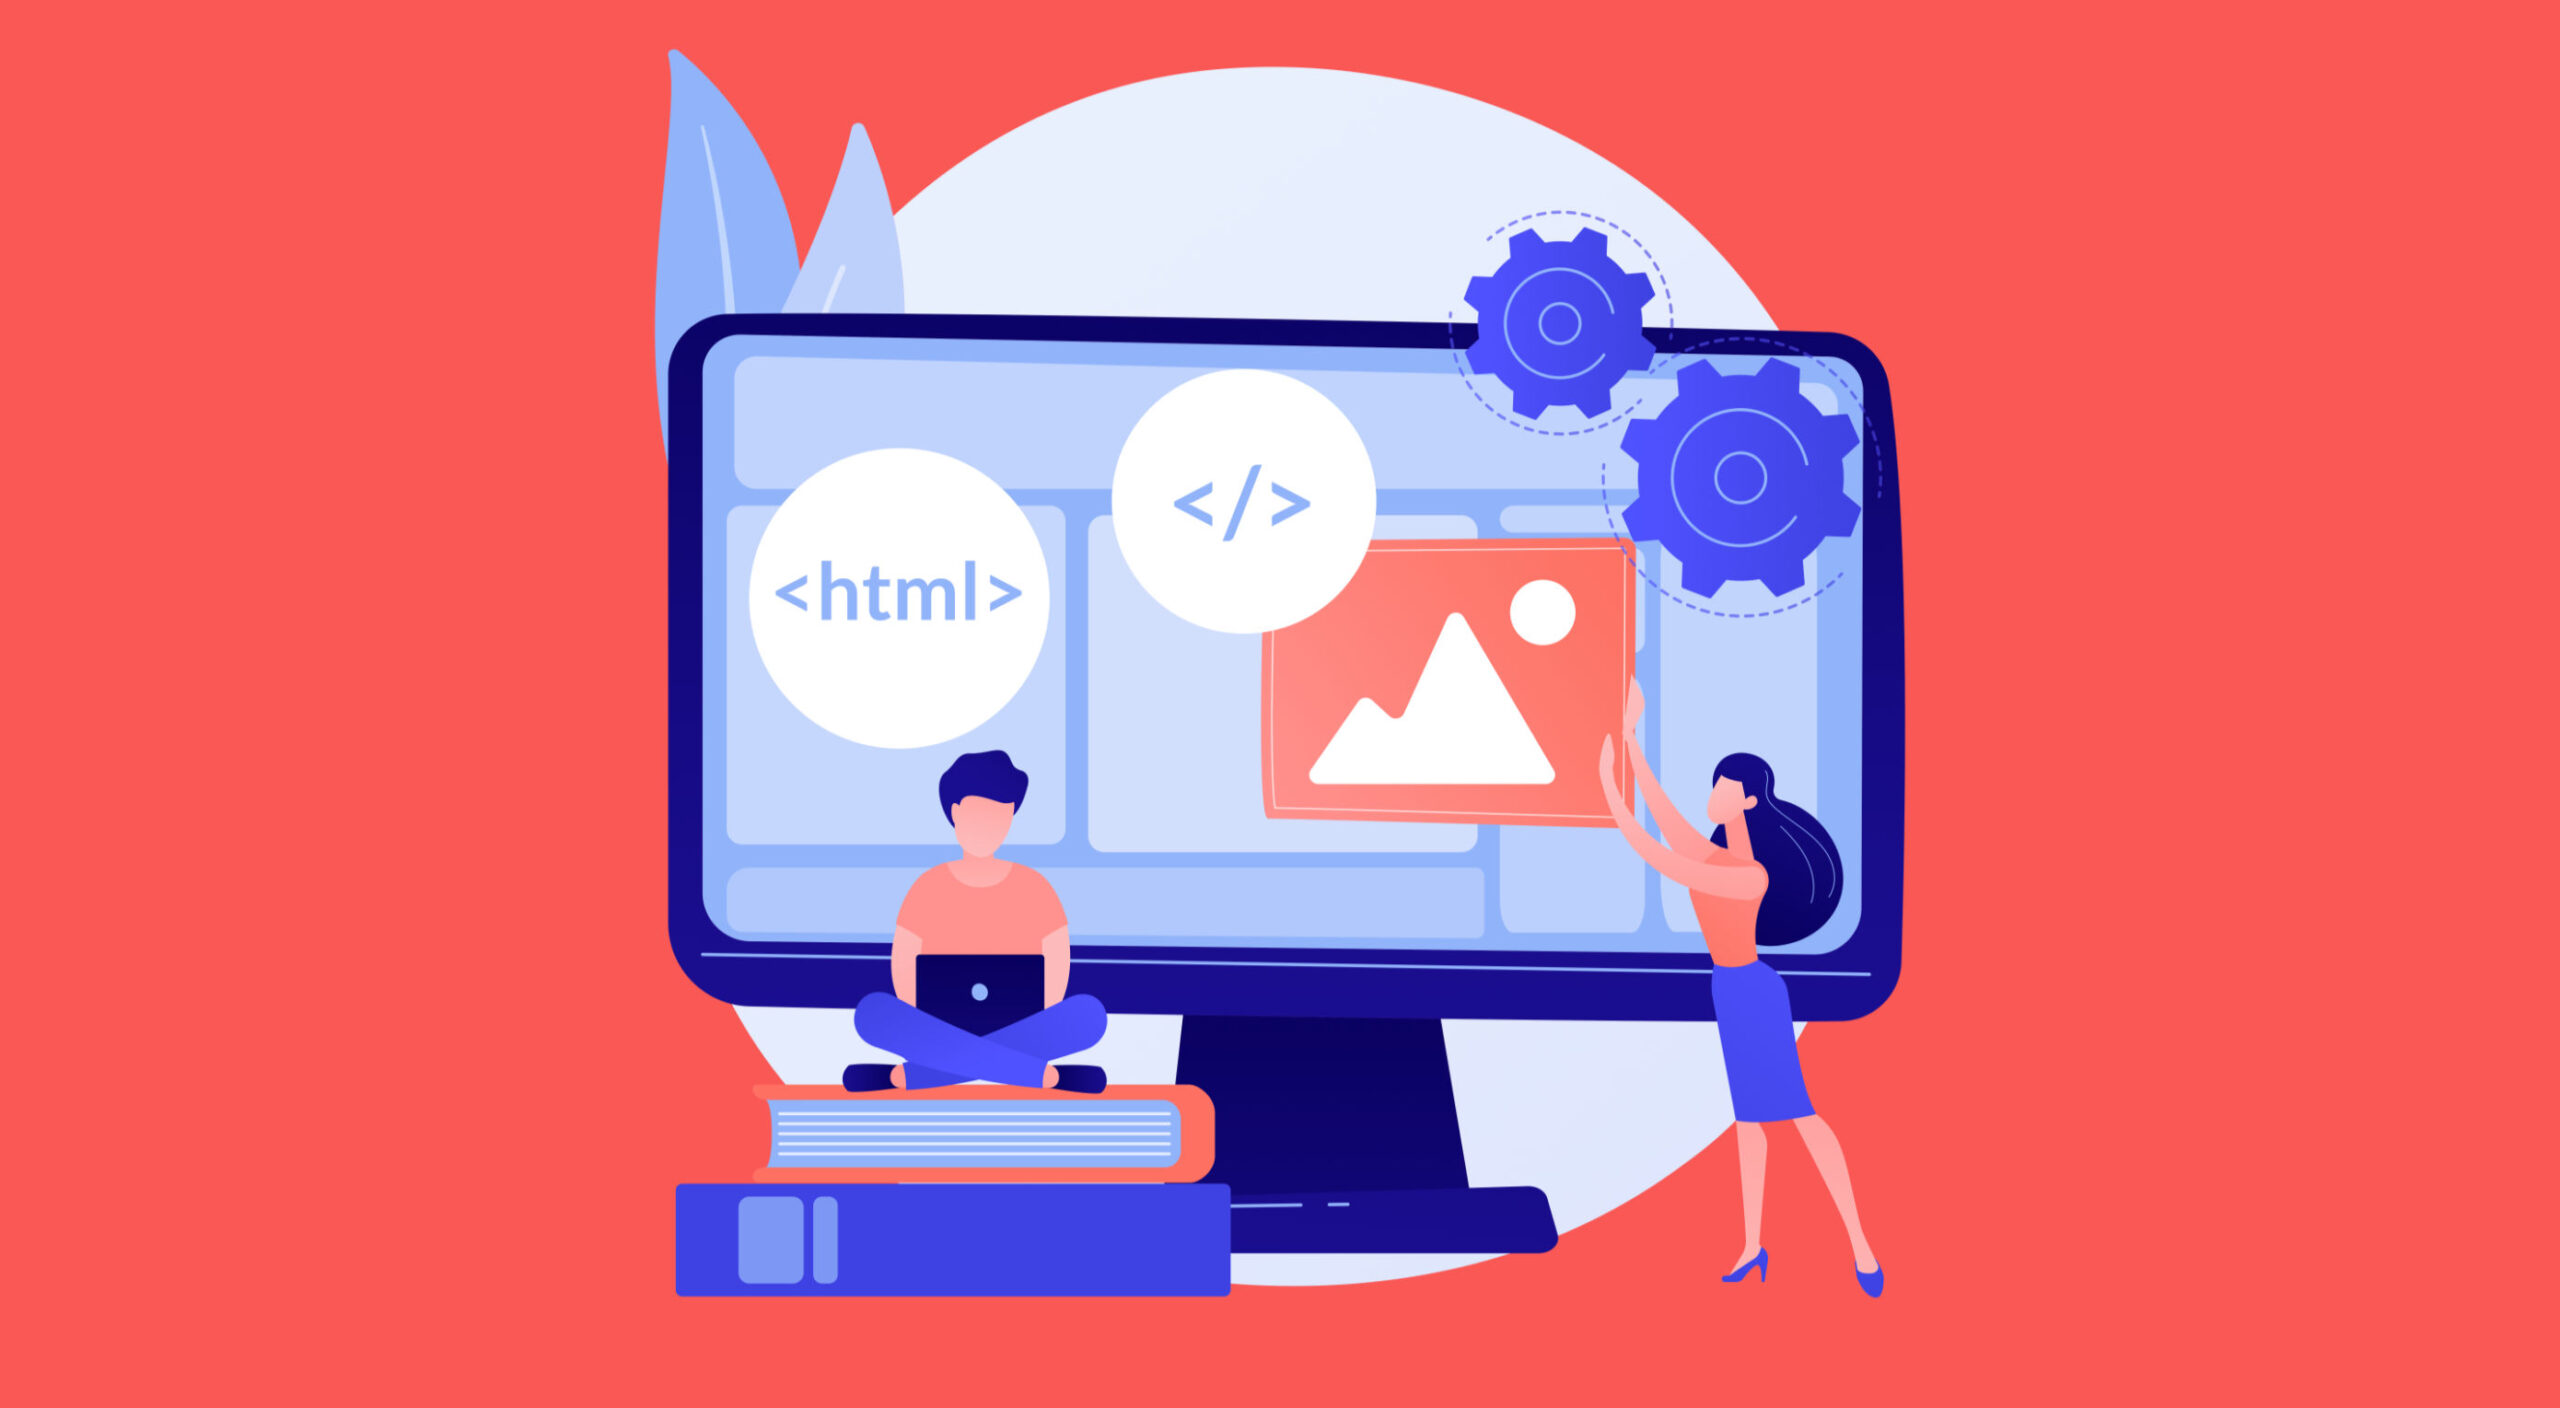
The purpose of a website is to reach new customers and keep current ones engaged. Therefore, customer-first should be at the top of your list for design features. After all, without your clients, your business won’t grow or succeed.

Customer-first has been a buzzword for a few years now. In a nutshell, it’s easy to imagine what customer-first design means. The needs of consumers come before anything else. However, the concept isn’t quite as simple in practice. A lot of nuances enter the equation.

Just what does it mean to have a customer-first web design? What are the must-haves to reach users on their level and keep their attention for the long haul?

Embracing quality customer experiences has driven loyalty for as long as anyone can remember. However, we now live in a time of uncertainty, and when people leave companies on a dime if they’re dissatisfied with any aspect. So you must hit the high notes on every song – your website is your purest online persona and must engage users and keep them entertained.

Whether you embrace causes that matter to your customers and share information on them or tweak your design to meet accessibility guidelines, many factors come into play with a customer-centric design.

In a recent report, researchers found that about 88% of company leaders feel customer engagement impacts revenue. You can’t control every variable, but you can ensure your website hits all the strong points for a customer-first web design that grabs them and keeps them on your page.

Here are our favorite tips to create a customer-first approach. You may already be doing some of these things. Pick and choose what makes the most sense for your business model. Even small changes can have a big impact.

1. Know Your Customers

Before creating a website centered around your customers’ needs, you must know who they are. What are the demographics of your typical clients? Survey them and find out what their needs and expectations are. How can you best help them?

You may also want to survey them about your website. What’s missing that might help them? Is there anything they love? What do they hate? The more you know, the better your design can match their expectations. Create buyer personas based on their preferences.

At the same time, buyers will sometimes say one thing but actually feel another way. No one is quite sure why people do this when being surveyed. One way around that issue is to do some A/B testing to see how they actually feel about various changes. Do they respond the way you thought? What other adjustments need to be made?

2. Find the Right Color Palette

Different industries trend toward various hues. For example, businesses in the banking industry trend toward blues and occasionally reds. Blue elicits trust from users and has a calming effect. On the other hand, the fashion industry might tap into brighter shades, such as lime green. Think about what colors people expect in your industry, and then find your color palette.

Each hue has its emotional impact. For example, red is a color of power and can elicit excitement in the viewer. Choose your shades accordingly to get the most emotional punch possible.

3. Accept Feedback

One of the best ways to improve your site over time to match the needs and preferences of your audience is by allowing feedback. Add reviews, place a feedback form in your footer, and even send out requests for feedback to your mailing list.

It’s also a good idea to find a mentor who has been successful at running a business. Ask them to look at your site and give you advice. You might also enlist the help of a marketing professional.

4. Stick With the Familiar

Have you heard of Jakob’s Law? The rule of thumb states that people prefer common design patterns they’re most familiar with. So when they see a pattern they know, such as a navigation bar layout, it boosts their mood and improves their memory of the site.

When making edits, don’t make significant changes. Instead, implement minor adjustments over time to give your followers a chance to acclimate to the shift.

5. Cut the Clutter

If you want users to feel wowed by your page and engage, you have to limit their choices. Add in too many options, and they may not know where to go first.

Start by choosing an objective for the page. Cut anything that doesn’t point the user toward the goal. Ideally, you’d have a little info, an image, and a call to action (CTA) button. However, this may vary, depending on where your buyer is in the sales funnel and how much information they need to decide to go from browser to customer.

6. Choose Mobile Friendliness

Recent reports indicate about 90% of people use mobile devices to go online at times. With phones gaining greater capabilities and 5G bringing faster speeds to communities, expect people to use their mobile devices even more frequently for internet browsing.

Making sure your site translates well on smaller screens makes sense for your company and for your customers. Be sure to test everything. Click through all links. Fill in forms. Ensure images and text auto-adjust to the correct size, so people don’t have to scroll endlessly.

7. Make Multiple Landing Pages

Like most businesses, you probably have several buyer personas as you segment your audience. Don’t just create a single home page and expect it to fulfill the purpose of every reader. Instead, create unique pages for each persona to best meet their needs.

Make sure each landing page speaks in the natural language patterns of your specific audience. Think about the unique needs of each group. How do their pain points differ? How can you best meet their needs?

8. Keep Important Info Above the Fold

People are busy. They work, have families, and might visit your site on the 15-minute break they get in the afternoon. Most consumers want the information they need to decide and don’t want to dilly-dally around with other things.

Place the essential headlines and info they need above the fold, so they see it first. Make it as readable as possible by using headings and subheadings. Add in a few bullet points. People also absorb information easier in video format, so add a video highlighting your product’s or service’s main benefits.

You should also place a CTA button above the fold if it makes sense for your overall design. Keep in mind people may have visited and already read some of the information. Some users return just to sign up and want to find the CTA quickly.

Step Into Your Customers’ Shoes

Look at your site through the eyes of your audience. What works well? What needs to be adjusted? Over time, you’ll develop a customer-first web design that speaks to those most likely to buy from you. Then, keep making changes and tweaking your site until it hits the perfect balance for your customers.


Featured image via Freepik.

Source

The post What Customer-First Web Design Looks Like first appeared on Webdesigner Depot.

Source de l’article sur Webdesignerdepot

Milvus is an open-source vector database for AI applications. It provides a variety of installation methods, including building from source code and installing Milvus with Docker Compose/Helm/APT/YUM/Ansible. Users can choose one of the installation methods depending on their operating systems and preferences. However, there are many data scientists and AI engineers in the Milvus community who work with Python and yearn for a much simpler installation method than the currently available ones.

Therefore, we released embedded Milvus, a user-friendly Python version, along with Milvus 2.1 to empower more Python developers in our community. This article introduces what embedded Milvus is and provides instructions on how to install and use it.

Source de l’article sur DZONE

Learning how to design an MVP webpage or website could be one of the best things you can do as a site creator in today’s digital world.

In a fast-paced landscape, where customer preferences and technology are constantly changing, most companies don’t have time to dedicate months or years to each web project. The longer you take to complete your website, the more likely your creation will be outdated by the time you hit “publish.” That’s why countless creators are beginning to take a different approach.

To avoid wasting time, money, and effort on something that doesn’t deliver a significant return on investment, designers are now building “Minimum Viable Products,” or “MVPs.”

Here’s what you need to know about creating your MVP webpage.

What is MVP Web Design?

Typically, the “MVP” development process is most common in the app or software creation world. It refers to when a developer builds the simplest version of a technology capable of achieving specific goals. For instance, if a company wanted to create an ecommerce app, they would design a simple tool capable of listing products, enabling payments, and tracking orders.

After launching the MVP product, the company or developer would check to ensure it had the right impact on the target market and generated positive results. Using feedback and analytics, the developer would then begin to add new features one at a time.

MVP design aims to ensure you’re developing the best, most valuable product for your audience while getting your solution to market as quickly as possible.

The same strategy in MVP app and software design can also apply to website creation. Rather than building a highly complicated website with multiple features straightaway, the designer would focus on creating a single page equipped with the essential elements.

For instance, instead of building an entire site for your online course, you may develop a single-page website where customers can learn about the system, sign up, and pay for their membership. The great thing about an MVP web page is it allows companies to start advertising their solution, product, or service quickly, with the minimum initial investment.

How to Create an MVP Web Page

Creating an MVP web page is similar to designing any Minimum Viable Product. Throughout the project, the focus will be on keeping the development process simple while collecting as much feedback as possible.

Here’s how you’d get started with an MVP web page.

Step 1: Planning

Planning is an important stage in any web design project. It’s particularly crucial in the MVP landscape, where you need to define the most critical features of your webpage or website to ensure it’s “viable” for your needs. The initial planning stage can sometimes be the lengthiest part of the process, depending on the amount of research you need to do.

For the most part, web designers and companies will begin by conducting market research. This means examining crucial concepts intended to drive your strategy, such as:

  • Your target audience: Who are you trying to target with this web page, and what will they need from your site? A user persona can be helpful if you don’t already have one.
  • Competitors: Who are your main competitors in this space, and what do their web pages offer? Which features do you need to replicate or avoid?
  • Goal setting: What is the main objective of this web page? What do you need it to do, and what might it need to accomplish in the future?

The key to MVP web page planning is ensuring you look holistically at your project without thinking too far ahead. The site you create should be capable of scaling and expanding in the future, but it shouldn’t have too many features from day one.

Step 2: Creating Your Feature List

Once you’ve done your research and formed the foundations of your plan, it’s time to list all the features your MVP web page needs to have. Unfortunately, this is where the process can get a little complicated. It’s easy to start adding capabilities and components that aren’t necessary to make your site more exciting or competitive.

As worrying as it can feel to release a very basic web page, remember your focus is on rapid growth and development. With this in mind, concentrate on narrowing your feature lists down into:

  • Initial must-have capabilities: First, decide what your web page can’t thrive without. If the primary goal of your page is to sell software subscriptions, then you’ll need to implement tools for collecting member information and payments.
  • Next stage functionality: Consider the features you might add once you’ve confirmed your webpage is effective. This will allow you to ensure you’re creating a platform that can expand to suit future needs.
  • Possible future requirements: You can also list features that might be helpful in the future but don’t necessarily need to be implemented immediately. For instance, if you’re selling an online course, you might create a separate page where people can sign up to learn about future lessons.

Step 3: Finding the Right Software

Next, you’ll need to decide how to build your web page. There are several options available to today’s designers. An open-source solution is usually the best route for designers who need to create something specific from scratch. However, if the factor that makes your solution “viable” is unique, you may need access to code to bring your idea to life.

Alternatively, if you’re building a basic webpage capable of something like collecting customer email addresses or facilitating transactions, you might be able to use an off-the-shelf tool. CMS services for web designers can reduce the work and expense involved in creating a minimum viable product.

For instance, you might use a tool like Wix or Squarespace to edit a pre-existing template and simply drag-and-drop the features you need into the right places. On the other hand, if you’re planning on adding more functionality to your site down the line, it’s worth checking if any builder you will use has the right level of flexibility. Many tools will allow you access to code, advanced features, and essential module-based building functions.

Step 4: Implement Your Analytics

One of the essential parts of an MVP workflow is feedback. When you roll out your MVP, you’ll be looking for insights, guidance, and analytics to help you decide what your next steps are going to be. As a result, MVP workflows are based heavily on experimentation.

This means you’re going to need the right analytical tools in place to track crucial information. You can implement tools for collecting customer feedback directly. It’s also worth having a system in place for tracking metrics like:

  • Conversion rate;
  • Traffic numbers;
  • User behavior;
  • Most used/least used features;
  • Technical site performance;
  • Bounce rate;
  • Average time spent on the page.

While Google Analytics is one of the most popular tools for collecting insights in the MVP website design world, various other options are available. You can even find tools with in-built heatmaps to see how people navigate your site more effectively.

It’s also worth having A/B testing components in place. This will allow you to test the different “new” features you add to your web pages over time and examine how they influence your conversions and support your goals. For example, you can use A/B testing to explore the impact of everything from CTA button colors to webpage copy and offers.

Creating Your MVP Web Page

In the fast-paced web development and design world, the old-fashioned and slow approach to designing web pages is growing increasingly less common. Instead, an MVP strategy may be the best bet for companies looking to go to market faster, collect insights from their target audience, and accelerate growth.

Though getting used to this design strategy initially can be challenging, it can save you significant time, resources, and money in the long term.


HTML vector created by vectorjuice – www.freepik.com

Source

The post How to Design an MVP Web Page first appeared on Webdesigner Depot.

Source de l’article sur Webdesignerdepot

Last year we saw the launch of a new Web programming language Dart – Structured Web Programming from Google. A very interesting approach to support web application development. Not so long after Go, Groovy, Ruby, Scala, << Name your DSL here >>; we see Dart. Is it a good thing to have at least one programming language to solve one problem? The answer is, like we already know, it depends.

Stay Away From “Do it Yourself”

It is your choice as to if you will try to do things yourself or allow the truly seasoned professionals to help out. Some decide that they are going to try to go it alone when they are programming something new, but this often ends up in a less than desirable place. It may even be more expensive than just hiring an expert who can help you get it programmed for you in the first place.

Source de l’article sur DZONE

Live chat is one of the most powerful tools for customer experience in the current marketplace. 

In a world where customers are constantly connected to the online world, online chat is a reliable way of getting quick solutions to common problems. 

Today’s consumers prefer talking to an agent over chat to calling a contact center, and they often feel that live chat is less frustrating than waiting for the right person to answer the phone. 

Of course, like any digital tool, live chat is only effective when using it correctly. Today, we’re going to show you the crucial KPIs you need to consider if you want to ensure that your chat strategy is delivering a tangible return on investment. 

The Most Important Metrics to Measure for Live Chat

These days, implementing live chat tools is easier than ever. 

You don’t necessarily need to hire a professional developer unless you want a specialist widget with specific functions and unique branding. Many plugins and tools for sites built on Shopify and WooCommerce allow you to instantly access chat functions. 

However, just because implementing live chat is easy doesn’t mean that there aren’t countless ways for your strategy to go wrong. Keeping an eye on these crucial KPIs and metrics ensures you’re making the right impression with your chat strategy. 

1. First Response Time

First response time is a crucial live chat metric. This measures how long customers need to wait before someone responds to them. Technically, this metric only refers to how quickly an actual agent responds to your customer, so automated “thanks for getting in touch” messages don’t count. However, immediately responding with one of those messages can convince your audience to stick around for a little longer. 

The faster your agents can respond to messages and solve problems, the better your brand reputation becomes. The good news is that a good live chat strategy can lead to pretty quick response times. The average time for an agent to see a live chat message is around 2 minutes and 40 seconds.

To improve your FRT statistics, make sure you:

  • Invest in chatbots: AI chatbots can support customers 24/7 with handy, self-service functionality. These tools will also filter out the customers waiting for an agent who can find a solution to their problem on your FAQ page.
  • Prepare canned responses: Quick responses to common queries can help you to address a problem much faster. In addition, preparing canned responses will ensure that your team members can quickly respond to more customers. 
  • Increase your resources: Ensure you have the right hand and enough agents to handle peak demand.

2. Average Resolution Time

The first response rate only looks at how quickly someone responds to a customer’s message for the first time. However, it doesn’t show how rapidly you deal with client problems. Average Resolution Time is the metric that helps to measure customer satisfaction by seeing how long it takes to get to a point where your customer can close the chat. 

If it takes too long for your employees to solve problems, there’s an increased risk of your customers becoming annoyed and frustrated. Additionally, the longer agents take dealing with each individual chat, the more other consumers will have to wait for someone to become available. Finally, the longer it takes to resolve an issue, the more customer satisfaction decreases.

The key to success is ensuring that the right agent deals with the correct customer and that everyone on your team is empowered with the appropriate tools and information. Boost resolution time by:

  • Giving customers a quick self-service solution: For common questions, make sure that you have an FAQ section that you can direct your customers to. In addition, a chatbot that can offer quick canned responses to regular queries can save time. Plus, they’re great for reducing the pressure on your agents’ shoulders. 
  • Integrate CRM tools with live chat: Make sure your agents have access to information about each customer as soon as they start the conversation. This information should include the customer’s name, what they’ve purchased before, and if they’ve issued any support tickets. Integrating with the CRM makes it easier for agents to jump straight into the action without needing the customer to explain everything first. 
  • Keep resources handy: Your team members should have instant access to all the information they need to answer customer questions. Ensure that searchable data repositories are available for everyone on your live chat team. 

Remember, routing tools that automatically send customers to the agent with the proper knowledge or skills will also improve response times and reduce the number of times a customer needs to repeat themselves. 

3. Chat to Conversion Rate 

Live chat tools aren’t just an avenue for problem resolution. Although customers can get excellent service through live chat, they also look to chat to collect information before a potential purchase. Around 38% of customers say that they end up purchasing a positive live chat experience. 

The live chat app on your website can provide real-time assistance for sales queries, converting leads, and maximizing your return on investment. However, to determine how successful your chat system is at encouraging sales, you must look at the chat to conversion rate metric. 

Essentially, you measure the number of chats your company has been involved in, then compare that number to the total number of conversions from those customers. It might be helpful to narrow down your results here by using your data and analytics tools to separate your total number of live chats into those intended for sales information and those requiring assistance. 

If your chat to conversion rate isn’t as high as you would like, there are lots of things you can do to start making a positive impact:

  • Automatically launch a chat: As soon as someone comes to your website, launch a chat window with a bot that asks whether you can help your customer. You can even include a list of commonly asked questions so your customer can get help faster. 
  • Follow up on chat conversations: Make sure you follow up on any questions that customers ask on your chat widget with an email. This is a great way to reach out to customers that may have been distracted and ended up abandoning their cart.
  • Personalize suggestions: Use AI insights and information from your customer management tools to determine which products are most likely to appeal to each customer, then suggest those items. Remember to ensure that your tone of voice in the chat matches your brand too. 

Remember, the faster you can answer customer queries and address their concerns with your live chat strategy, the more likely the chat will lead to a sale. Ultimately, customers are convinced to purchase when they believe they can trust your business to deliver excellent experiences. 

4. Customer Satisfaction Score

The customer satisfaction score is probably one of the most critical metrics in any customer experience strategy. It directly measures customer satisfaction levels and gives you an insight into how well you’re doing from the perspective of your target audience. 

The best way to measure CSAT through live chat is to add a survey to the end of the chat session. For instance, you could ask, “How would you rate this session on a scale of 1 to 10”. Then, based on the score, you’d calculate a “Net Promotion Score.” Each score falls into one of three categories: “Detractors 0-6”, “Passives 6-8,” and “Promotors 9-10”.

The more information you collect about your CSAT score, the easier it will be to determine where you’re going wrong with your live chat strategy. On the other hand, if the score is pretty good after a chat session, you’re probably on the right track. To improve your overall score:

  • Encourage feedback: Getting people to leave feedback, even on a live chat app, can be difficult. Offering customers the chance to win something in exchange for their insights could help you to get more data. 
  • Follow up: Connect with your “detractors” to find out what you did wrong. Follow up in the live chat session by asking if they’d like to leave a more comprehensive review. Alternatively, you can send an email asking for additional information. 
  • Reach out to promotors: Connect with the people who give you the most favorable scores to ask them for their insights. Find out what they enjoyed most about the experience and request a review that you can place on your website for social proof. 

5. Missed Opportunities

The longer someone waits for you to answer their question in a live chat or respond to their initial message, the more likely they’ll give up on the conversation. Unfortunately, this means that your company ends up with missed opportunities. You lose the chance to potentially make a sale, delight a customer, and strengthen your brand reputation.

While you might assume that your customers will know you can’t be available to answer all of their questions immediately, that’s not the case. INC tells us that 51% of consumers believe a business should always be open. So every missed chat is another negative mark against your reputation. 

If you discover that your team is missing a lot of chat chances, this could be a sign that you don’t have enough resources available in this area. However, there are a few ways that you can reduce your chances of missed opportunities, such as:

  • Hiring more team members: If you know that there are times of the year or week when you have peaks in demand, ensure that you have the correct number of staff members available. 
  • Using chatbots: Chatbots won’t be able to answer all customer questions, but they can deliver quick responses to commonly asked queries and reduce the risk of lost opportunities.
  • Provide alternative forms of communication: if your customer can’t reach you on live chat, make sure that there are other options available, like a phone number and email address or a form where your customer can automatically submit a ticket. 

6. Total Number of Chats and Tickets

Keeping track of the total number of tickets your customers submit, alongside the number of chats your employees engage in, will give you helpful information. First, the total number of conversations shows how many customers are taking advantage of your live chat function on the website. 

You’ll also be able to compare your total number of chats to the number of resolved problems you deal with for your customers. For example, comparing your total number of chats to an unlimited number of tickets shows you how many customers have been left to rely on other sources of communication. You can also see how good your employees are at following up with tickets issued by customers. 

When you’re analyzing your number of tickets and chat sessions, you might notice that many of the queries you dealt with were connected to specific questions or topics. If that’s the case, you might be able to create a new FAQ page for your customers or provide your chatbot with extra information that it can use. 

If you’re getting more support tickets through alternative means than live chat, it might be time to ask yourself what’s wrong with your live chat performance and why your customers choose not to use it. 

Improving Live Chat CX for Your Business

Live chat can be a powerful tool for improving customer experience and an excellent way to strengthen your relationship with existing and potential clients.

Step into the shoes of your customer and discover what it feels like to walk through the whole live chat experience, from the moment that you send a request to the live chat team to the moment when you close down the chat with a solution to your problem. Other quick tips include:

  • Getting the software right: Make sure your live chat app is easy for your end customers and your employees. The chat app you use should be convenient and suit your brand. It also needs to collect information effectively without causing problems like GDPR and regulations. Get a developer involved if you think you have a problem with your chat functionality. 
  • Guide your team: Remember that your team needs to know how to use the live chat tools available effectively if they’re going to deliver the best results to your customers. Make sure you give your employees scripts to deal with problems if needed. In addition, chatbots that can quickly grab information from integrated CRM tools and other solutions could make your agents’ lives much more manageable. 
  • Pay attention to feedback: Ask your customers for feedback on their live chat experiences whenever you can. Ensure you pay attention to what they say they like and dislike about the encounter. If you can listen to your customer’s opinions, they’ll give you a lot of helpful information to work with when you’re enhancing and optimizing your live chat strategy. In addition, listening to your audience shows that you have their best interests at heart.

Remember, as well as customer feedback; you might be able to ask your employees for their insights into how you can improve live chat performance too. Employees also work with these tools regularly, so they know which features are more problematic than others. 

Measuring and Improving Live Chat

Live chat functionality isn’t something that you implement into your website and forget about. Instead, like any form of customer service or engagement tool, your live chat solution should be something you test regularly and constantly update to suit your customers’ needs. 

Knowing which metrics to measure when examining live chat functionality and performance will boost the experience you can give your audience and even open the door for better relationships with clients in the long term.

Source

The post How to Measure Live Chat Performance first appeared on Webdesigner Depot.

Source de l’article sur Webdesignerdepot

Ktor is an asynchronous web framework written in and designed for Kotlin, leveraging coroutines and allowing you to write asynchronous code without having to manage any threads yourself.

Here is a bit more background information on Ktor. It is backed by Jetbrains, who are also the creators of Kotlin itself. Who better to make a Kotlin web framework than the people that work on the language?

Source de l’article sur DZONE

Creating videos for social media or to embed on your site can be a fun and creative way to promote your brand or business. More importantly, time spent on a page is a significant SEO ranking factor, so providing a video to watch is of enormous benefit.

However, coming up with the music for your videos can be challenging. You want something catchy that fits your video’s tone but don’t want to violate copyright laws.

Music licensing can be tricky, but if you’re smart about it and know what license your needs fall into, things will go swimmingly. Many different types of licenses cover differing budgets or use cases.

Public Domain: Public domain music is music that is not protected by copyright and can be used by anyone for any purpose. This includes traditional folk songs, classical music, and works released explicitly into the public domain.

Creative Commons: Creative Commons is a license that allows you to use someone else’s work for free, as long as you give credit to the creator. There are several Creative Commons licenses, so read the terms before using any music in your videos.

Royalty-Free: Royalty-free music is music you can use without paying royalties. This means you can use the music in your videos without getting permission from the artist or paying for a license. You can usually find royalty-free music on stock audio websites.

10 Places to Find Music for Videos

Below you’ll find the ten most common places to find music for your videos, including Youtube, Instagram, and TikTok videos.

1. YouTube Audio Library

The first place to look for music is YouTube’s Audio Library. This is an excellent resource for finding free, high-quality music for your videos. You can search by genre, instrument, mood, or duration and preview the tracks before downloading them.

You can use music from the YouTube Audio Library in your Instagram and Youtube videos. Just make sure you follow the copyright guidelines specified on the YouTube website.

2. AudioJungle

AudioJungle from EnvatoMarket is an excellent resource for finding high-quality music for your videos. You can search by genre or mood and listen to previews of the songs before you download them.

AudioJungle offers a variety of paid plans that give you access to more features and higher-quality audio files. Prices start at $12 per month for the basic plan and go up to $48 per month for the premium plan.

3. Free Music Archive

The Free Music Archive is another resource to search for free music. It’s a little more eclectic than the YouTube Audio Library, so you’ll find a broader range of genres and styles here. 

However, all of the music on the site is licensed under Creative Commons, so you’re free to use it in your videos. In addition, you can search by genre or artist and even listen to previews of the songs before you download them.

4. Incompetech

The next website to find royalty-free music for videos is Incompetech. You can search by genre, mood, or instrument, but also read about music licenses. Besides, the site has a handy “music for video” section that features tracks that are specifically designed for use in videos.

Incompetech is free for users, but the company still earns money on display ads and Patreon donations.

5. Bensound

Bensound is a website where you can find high-quality music for your social media videos. It has a library of music that you can choose from, and you can also create custom playlists. The site is easy to use, and you can search for music by genre, mood, or artist. 

All of the music on the site is licensed under Creative Commons, so you’re free to use it in your videos. Prices start from approximately $12/mo subscription, or you can pay $34 per track.

6. ccMixter

ccMixter was created as a Creative Commons Project. It is a collaboration platform for musicians who want to promote their work. The site also has a handy “music for video” section that features tracks that are specifically designed for use in videos.

ccMixter offers a variety of paid plans that give you access to more features and higher-quality audio files. Prices start at $12 per month for the basic plan and go up to $48 per month for the premium plan.

7. Epidemic Sound

Epidemic Sound is a music company with a rich history dating back to 2009. They provide high-quality music for social media videos, and their library is constantly expanding. Epidemic Sound was founded by three friends working in the music industry. They were frustrated with the quality of stock music available, so they decided to create their own. 

Epidemic Sound has since become a go-to source for high-quality music. In recent years, the company has been working hard to expand its library and make it easier for people to find the perfect song for their videos. As a result, they now have over 30,000 tracks available.

Epidemic Sound’s monthly subscription service starts at $15/month. This gives you access to all of the site’s music, and you can download as many tracks as you want.

8. Musopen

Musopen is a perfect website for finding classical music for your videos. The site has various tracks to choose from; you can filter them by composer, orchestra, period, mood, length, and more. In addition, all of the music on the site is licensed under Creative Commons, so you’re free to use it in your videos.

Musopen offers a subscription plan that gives you access to high-quality music for your social media videos. You can choose from three different pricing plans, and each plan comes with a different number of downloads per month.

9. Jamendo Music

Jamendo is a website where you can find royalty-free music for your social media videos. The music on the website ranges from rock to electronica, and there is something for everyone. 

You can either browse the music by genre or use the search function to find the perfect song for your video.

10. StoryBlocks

StoryBlocks is a website created by two brothers, Aaron and Evan Sharp. It has a royalty-free music library with various music genres to choose from. You can find everything from pop to classical on this website. 

There is also a section of the website devoted to social media-friendly tracks. This means you can find music perfect for your videos without worrying about copyright issues.


Featured image via Unsplash.

Source

The post 10 Great Places to Find Music for Videos first appeared on Webdesigner Depot.

Source de l’article sur Webdesignerdepot

An unreliable, semi-broken and unresponsive website is an excellent way to lose leads and visitors — regardless of how aesthetically pleasing or well-designed, the visual elements are.

Over the past decade, we’ve seen more initiative to deliver faster internet to regions of the world that were previously devoid of it. With online communities expanding and more people becoming receptive to online shopping, ensuring your site’s dependability is now more important than ever. 

One way to achieve this is by employing uptime and downtime monitoring tools. This guide will examine the best ways to get alerts when something goes wrong and your website falters.

Why Is Website Uptime Monitoring Important?

Downtime is bound to occur occasionally. Nonetheless, the goal is to minimize it. The longer the downtime occurs, the more traffic and potential clients you lose. A dysfunctional website is also detrimental to your credibility and reputation. People may associate your website’s unreliability with your real-world products or services.

With web developers charging an average of $200 per hour, high-quality websites can be expensive to build and maintain. Nevertheless, it’s often worth the investment. However, an unreliable website can backfire on you. Instead of attracting more customers, it could potentially repel them. This can result in lost revenue.

An uptime monitoring solution can help you prevent or reduce these losses. It verifies if your website is up and functional and notifies you if it’s not. This allows you to troubleshoot the issue and get your website back up and running as soon as you’re alerted. The most common issues behind your website’s downtime include: 

  • Server faults;
  • Network outages;
  • Power outage;
  • Traffic spikes;
  • Cyberattacks;
  • Domain name issues;
  • An erroneous web application deployment;
  • Increased server loads;
  • DNS Resolve issues;
  • Human error.

Thus, you must employ a dependable tool that detects downtime or any interruptions related to your website as soon as they occur. They are must-have tools for web designers, developers, and network administrators. However, not all of them are built the same. So how do you identify the best uptime monitoring tools?

Essential Features of Uptime Monitoring Tools

Uptime monitoring tools typically detect interruptions by running network tests such as pings and trace routes. You could practically monitor your website’s uptime by constantly running these tests yourself. 

However, this isn’t an efficient way to monitor your website’s uptime. A comprehensive uptime monitoring tool will automatically monitor your website’s uptime in the background. It will then alert you through various channels as soon as it senses that your website may be down. 

Furthermore, high-quality uptime monitoring solutions tend to offer additional information regarding your website’s uptime/downtime and its performance. These tools commonly feature dashboards, status pages, badges, exportable records, etc., to help you keep track of your site’s overall health.

9 Best Features of an Uptime Monitoring Solution

The ideal uptime monitoring tool or service should feature: 

  1. Website security features that notify of and repel potential cyber attacks;
  2. 24/7 uninterrupted background website monitoring;
  3. Multi-channel alerts (email, SMS, push notifications, instant messages, social media, etc.);
  4. Report generation;
  5. 24/7 customer support available through different channels (email, phone, chat, etc.);
  6. Be capable of monitoring multiple websites and proxies at the same time;
  7. Offer insights and suggestions to improve your website’s performance;
  8. Be affordable;
  9. High customizability should allow you to choose which features to enable and disable.

Another optional feature to look out for is public status pages that your clients can access to determine if all your services are up and running. GetWeave is an excellent example of this. The website features a well-organized systems status page where customers can check if all of Weave’s services are functional. 

Nevertheless, you can use the above information as a buying guide when assessing potential uptime monitoring tools. The rest of this guide will supply a few suggestions as to which tools you should use for your website.

3 Best Website Uptime Monitoring Tools 

Some of the best uptime monitoring tools for website downtime alerts include:

1. Uptrends

Uptrends isn’t just a downtime detection tool; it’s a complete web performance monitoring solution. It will notify you as soon as it detects any disturbance in your website’s performance. It features highly customizable checks. For instance, you can set performance check limits for load times. Uptrends will notify you instantly if your website takes too long to load.

You can also configure from which locations you want it to monitor your website. Uptrends will then point you to where your website usually suffers performance dips in the real world. 

The service uses multiple communication channels to send users notifications: email, phone calls, and SMS. Alternatively, you can download one of Uptrend’s mobile applications and receive push notifications. Additionally, you can integrate Uptrends with messaging and communication applications such as PagerDuty, Slack, and Microsoft Teams.   

Another impressive Uptrend feature is its ability to emulate your website’s performance on different browsers. It runs Google Chrome, Mozilla Firefox, and Microsoft Edge on its servers. Thus, you can compare how your website runs on these web browsers without installing them on your servers or computer. 

Uptrends supplies users with various charts, reports, and graphs to help identify sudden spikes or dips. Waterfall reports display the complete page-load from the initial request to the last download. This allows you to compare the history of your website’s performance element by element. It comes with three price plans whose costs depend on the number of monitors you would like. Starting at $16.21 (at the time of writing) the Starter Plan is the most affordable.

2. Oh Dear

Oh Dear is a slightly cheaper option than Uptrends, with the most affordable plan starting at $12 per month (at the time of writing). However, while Uptrends offers a 30-day free trial, Oh Dear only provides a 12-day trial period. Nevertheless, Oh Dear’s interface is a lot cleaner and more minimal. 

Since Oh Dear runs servers in different locations across the globe, it can track how your website performs in various regions. Oh Dear will scan through your website and index all the pages. If it detects any issues, it will alert you immediately. 

Oh Dear also features a continuous certificate monitoring function. Site owners who are concerned with their website’s security may find this feature to be especially useful. It will verify your SSL certificate expiration dates and alert you of any changes.  

Oh Dear’s public status page enables your clients to keep track of your website’s availability.

Oh Dear uses email and SMS text messages to alert site owners of any issues. It also features integrations with communications and social media applications such as Telegram, Discord, Slack, Microsoft Teams, etc. Oh Dear ensures that messages are as detailed and user-friendly. This makes it easier to troubleshoot and find the origin of your problem. Oh Dear is more than a worthy alternative to Uptrends. 

3. WP Umbrella

WP Umbrella is a little different from the previous entries. It’s intended to help users manage and monitor multiple WordPress sites. Thus, it is far more particularized in its approach to website uptime monitoring. Again, as is the primary function of the uptime monitoring tool, it offers a real-time alert system that will contact you through email, SMS, Slack, etc. 

WP Umbrella employs a simple minimal UI. Its main screen consists of a dashboard that allows you to view all your WordPress websites. By default, this dashboard features four columns: Site, Uptime, Speed, and Issues.

WP Umbrella will alert you of any outdated or erroneous plugins or themes. While it doesn’t offer dedicated public status pages, it does have a client report generation feature. You can automatically send these reports to your various subscribers or clients when your website is down. 

WP Umbrella is the most affordable option on this list. Users are charged $1.99 per month (at the time of writing) for each website monitored. In addition, WP Umbrella offers a 14-day trial and does not require your credit card details. It’s an excellent option for anyone running a WordPress website or two.

Conclusion

This guide has only explored three possible uptime monitoring solutions. They won’t only assist you in detecting downtimes, they can also help you find the reason your site may be slow.

These solutions are an excellent place to start. But there are many other options coming to market all the time. You may find that this is the first step to converting more leads and reducing your bounce rate. 

Source

The post 3 Best Website Uptime Monitoring Tools  first appeared on Webdesigner Depot.

Source de l’article sur Webdesignerdepot