Articles

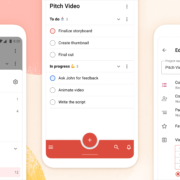
Todoist is a to-do list app that 25 million people rely on every day to keep their lives organized. As part of the Doist design team’s goals for 2021, we aimed to redesign the Todoist Android app to take advantage of the latest Google Material Design guidelines.

In this post, we cover the design decisions and processes behind redesigning the Todoist Android app for Material Design. We explore the Design and Android team’s collaboration practices that brought the app update to life, which resulted in winning the Material Design Award 2021 in the large screen category. Let’s get started!

Opportunity

When we started the project, our design implementation on Android was ready for a major overhaul. The last milestone redesign on Android was initiated after the release of the first Material Design guidelines in 2016. Since then the team successfully worked on continuous improvements to the Android app, but we saw the opportunity to improve Todoist on Android on a more holistic level.

We set out to clean up instances of older UI components, colors, and text styles and update them with the latest Material Design components. We observed that some interactions and navigational patterns had become inconsistent with what users were expecting on newer Android devices and were eager to modernize this experience. With new hardware and software changes in mind, we set out to make the experience on larger phones and tablets even better, so Todoist could take full advantage of the latest generation of devices. Material 2 and 3 provided an incredible new framework to rethink the current app experience. With this in mind, we set out to challenge what a modern Android app should look like and innovate on top of the default user experience.

Solution

The team set itself the goal of redesigning our Todoist Android app and aspiring to make it the best-designed productivity app on Android. The project was ambitious and scheduled to take several months to complete. We set ourselves the following targets while working on the project:

  • Review the current implementation and older design specs.
  • Study the latest Material Design Guidelines and assess what is relevant for our project.
  • Research great Material Design apps and case studies and learn from their execution.
  • Define the new Todoist Android app design language and document the changes.
  • Design and development work together to assess the proposed solution and implementation.
  • Test an early version of the new app internally to gather feedback and make adjustments.
  • Invite beta testers to the new app to gather feedback and make adjustments.
  • Refine the app and address core issues before launching to the public.

Review

The project was kicked off by reviewing the current Todoist Android app implementation, noting down what areas needed to be fixed and what was up to date. While reviewing, we took screenshots of the app implementation for reference. This way we could easily see the current state of the app and compare it to the new design proposals that would be created. Once the review process was finalized, we had a comprehensive overview of the current state of the app and the layout, component, and styling changes we wanted to make.

Study

We continued the project by studying the latest Material Design Guidelines, assessing the components and practices that were most relevant to Todoist.

When the project kicked off in February 2021, Material 2 was the most recent version of their design system. Since Material 2 had already been released for quite some time, we anticipated that design changes to Material would be announced soon at the Google I/O event in May 2021. Rather than wait, because we expected the changes to be iterative, we pushed ahead with our work.

We identified 25 components and UI patterns that we wanted to change across the app. The changes included buttons, forms, menus, sheets, navigation drawer, app bar, system bars, text and color styles, and more. We started by creating a table view in a Dropbox Paper document with the component changes and references links to Google’s Material Design Guidelines.

This components list was a starting point for discussion to plan the scope and complexity of the changes. Close async discussions between the design and development team in Twist and Dropbox Paper comments helped us make decisions about scope and complexity early on and set a solid foundation for the project.

Research

In the initial Material Design study, we also researched inspiring Material Design apps, Material studies, Play Store apps, and Google Workspace apps to learn from their execution.

We started out by studying the Material Design Award Winners 2020 and tested out the products that were showcased. The showcased winners struck a good balance between implementing the Material Design Guidelines while maintaining their own product’s brand within the system. This balance between Google’s guidelines and the Todoist brand was also key for us to get right and so we strived to find this mix across the work we created and implemented in the project.

Along with the MDA winners, we researched the Material Studies that Google produced to showcase what apps could look like with branding and Material Design guidelines applied. It was a great reference to see how far components could be customized while maintaining the core platform principles. The Reply case study in particular offered valuable insight to us as its content type and layout came closest to Todoist. It showcased how components like the app bar, navigation drawer, and large screen layouts worked while being customized.

We continued our research by searching the Google Play store for inspiring app examples. Google Tasks, Press, Periodic Table, and Kayak stood out to us as the level of polish and quality of the apps were on par with the experience we were aspiring to create.

Sometime later in the project when Material You was released (more on that later), we stumbled upon the Google Workspace apps blog post which previewed Material 3 changes that Google was introducing to their own products. It offered a great glimpse at what was to come before the Material 3 Design Guidelines were officially released. This post sparked new internal discussions and further design explorations that we considered for future Todoist Android updates.

Design Spec

As we started to define the new Todoist Android app design language and document the changes, we opted to create a design framework, focusing on creating components rather than designing every screen in the app. This allowed us to consistently apply the design system in the app. We did so by using the previously defined component list that we created during the review and study process.

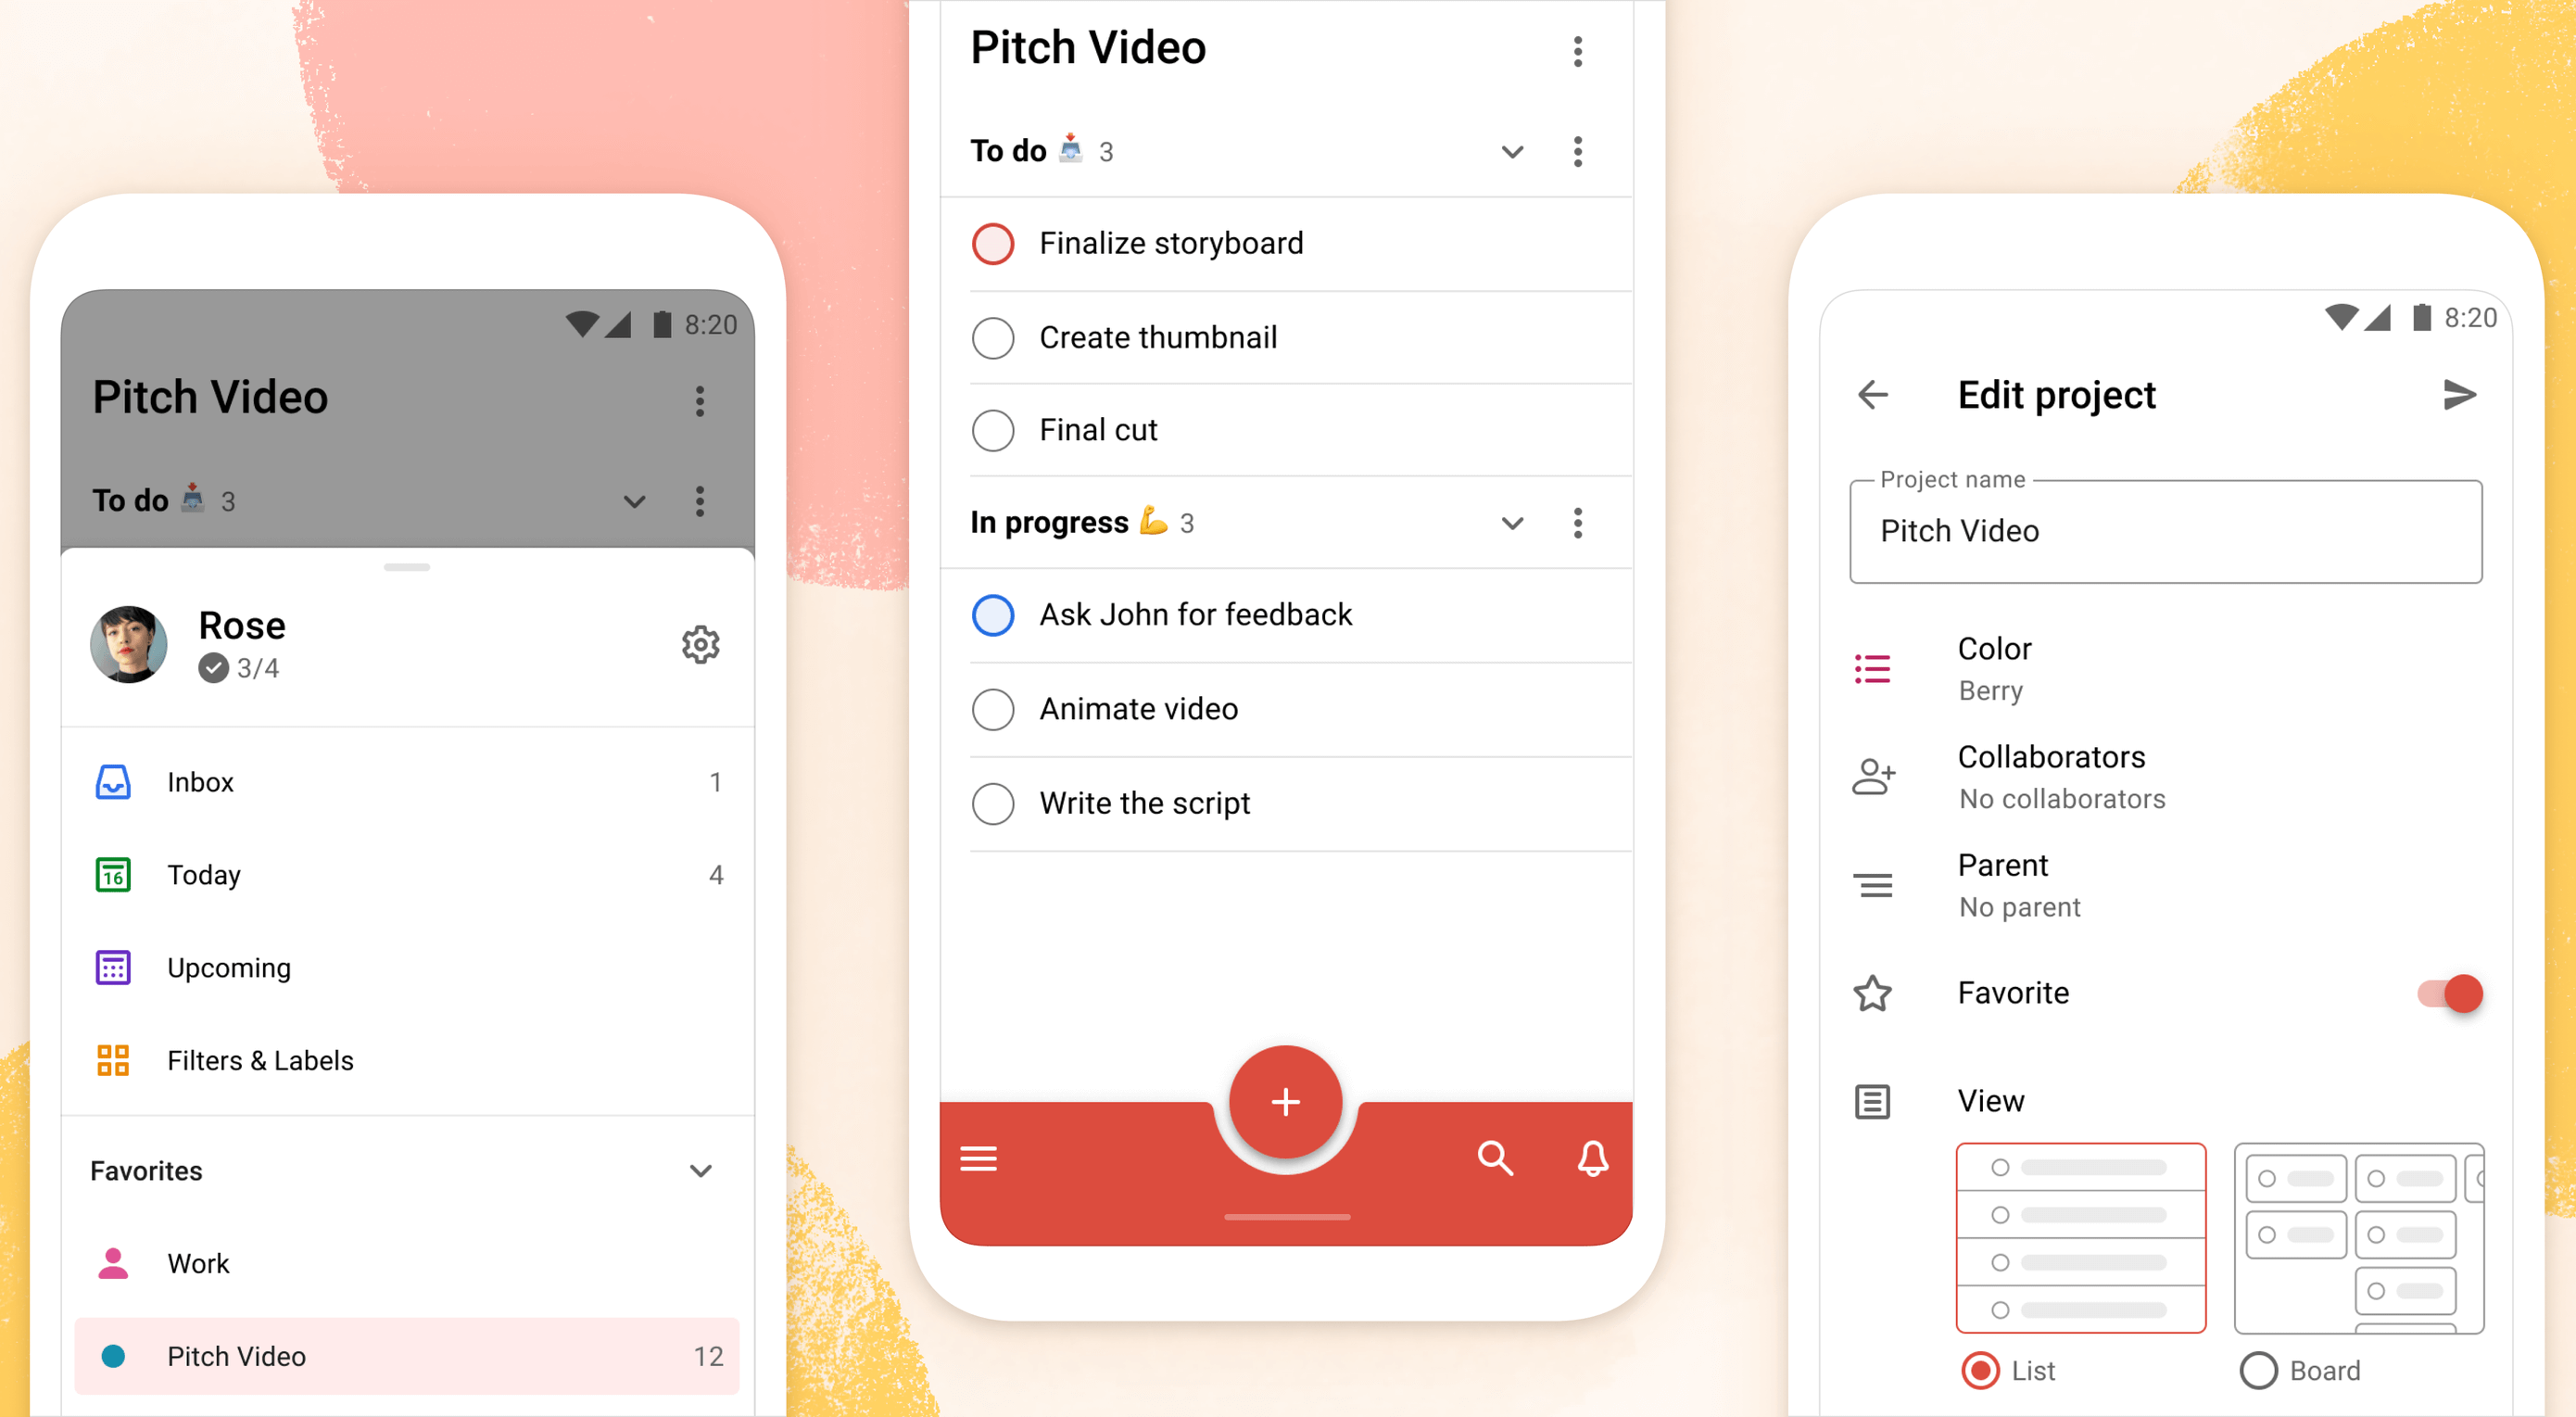
Core screens from different areas of the app were chosen to demonstrate how the components could be applied. We chose to mock up the Todoist project view, navigation drawer menu, project view edit screen, settings, and project detail view, among others. These screens gave us a good overview of how buttons, forms, drawers, lists, and other components would work together and in different states; selected, pressed, disabled, etc.

During the project, we were transitioning our Doist design system to Figma and started creating our first components in the new Doist Product Android Library. We started by using some components from the Material Design UI kit – Components library from the official Google Figma resource file and added them to our Doist design system. We then continued to build up the Product Android Library file with our Todoist-specific components such as task list & board views, detail views, sheets, colors, typography, etc.

We continued by documenting color and typography changes that were based on the Material Design guidelines. The design team opted to implement a new Design Token framework that would share the same values between our design system and the development implementation. The development team would output the values they had in the current implementation and the design team would analyze which values were needed and which could be merged, changed, or deleted. This informed the new Design Token color and typography system which we then documented and discussed with the team to implement. Later in the project, we were happy to see a similar token system introduced by Material 3 in the latest guidelines which validated our thinking and principles behind the new design system.

The design documentation expanded to hold other edge-case mockups that could sit alongside the design system. We documented different responsive screen experiences between phones and tablets against the previous implementation. Additional sections were created to document the motion that should be used for certain components and screens by referencing existing Material Design guidelines examples or prototyping custom motion in Principle and After Effects. The design spec also touched on haptic feedback that should appear on touch targets, how dark mode should work across the new components, documenting Todoist themes within the new design language, and more.

Design Implementation

At Doist, the benefit of the squad is that cross-team collaboration is built into the make-up of the team. Designers, developers, support, and product managers work together in a squad to deliver the project. This close collaboration from the start is key to bridging the gap between scope, estimations, design, development, and delivery. The squad discussed their findings on a daily basis and came up with the best plan of action together.

Designers started by creating components in Figma and shared them with developers in Dropbox Paper. We used screenshots to document the current implementation next to the new designs and linked to the default Google Material Design components. This allowed the team to compare all references in one place. Developers shared their feedback, adjustments would be brainstormed together as the designs were iterated.

Designers on the project would share their work in progress on a weekly basis with the rest of the design team in a design review Twist thread. Here details about the designs were discussed, alternatives mocked up and bigger picture plans made. Design reviews brought up topics like FAB (Floating Action Button) placement, theme options, accent color usage on components, consistency with other platforms, navigation options, and shadow elevation. After thorough discussions and alternative mockups were presented, the design team aimed to find the right balance between Material Design and Todoist brand guidelines. The development team, also part of the design reviews, gave their feedback on the solution and raised technical complexities early on.

Eventually, the design was stabilized and consistencies updated across components and mockups. The design spec was kept up to date so the development team could always review the latest designs in Figma.

Testing

As soon as the development process started, the Android team provided early screenshots and videos in Twist threads while they were implementing the design spec. This practice allowed us to review the app implementation early and often. Designers could review the development work and share feedback in Twist, which resulted in getting the implementation to a high quality. Alongside Twist discussions, the team set up a Todoist project to track ongoing issues and fix bugs. Designers logged new issues, developers would solve them and share the new implementation for designers to review.

When the team had the first stable version of the Android app, we shared it internally at Doist to get more insight and feedback. Other Doisters could access the redesign via a feature flag that could be turned on in the app settings and test the new version for however long they wanted. The feature flag system allowed people to give us early feedback on the design decisions we made and report bugs. Feedback was submitted by the wider team through a dedicated Twist thread and designers and developers could discuss how best to address the feedback during the active project implementation.

After we refined the app implementation further and addressed early feedback we opened up the app update to our beta users. Here users had access to the new Android redesign and were able to give us feedback. Our support team gathered feedback and shared it with us in a dedicated Twist thread. The squad aimed to analyze every comment and looked for patterns where we could make tweaks and improvements to the user experience.

As part of these tweaks, we made changes to how the bottom bar and navigation drawer worked. Some users reported frustrations with the way the new bottom navigation and menu drawer worked. In its first implementation, the drawer was half raised when opened and had to be swiped up to be raised again to see the full content list. This was an issue for some users as it was slower to get to the content below the list. So we decided to fully raise the drawer by default when opening. We also made it easier to open the navigation drawer by sliding up from the bottom app bar. This was a small shortcut but it enabled users to get to their content faster.

Material You

While we were in the testing phase and about to wrap up the project, Google unveiled Material You, and sometime later the Material 3 Guidelines were published. With the newly announced resources, we went back to study the latest guidelines and references we could find to see where the Todoist Android app redesign fits in and which adjustments we might need to make now or in the future.

Dynamic Color was a big new feature that was announced as part of the Material You update. As Todoist supports many different themes the Material You Dynamic Color feature seemed like a good fit for our product. We decided to prioritize this feature and implement Dynamic Color light and dark themes as part of our Todoist theme settings options.

To implement Dynamic Color, the development team started off by creating a demo prototype that utilized the Dynamic Color system and showcased how we could select from a range of color choices that the system defined based on the wallpaper choice. From there, we tried to incorporate system behavior in our design mockups. We designed a range of different color mockups and components to see which ones could fit with which components. We then came up with a color system that worked for the Todoist app and the new themes. These new Dynamic Color themes would sit alongside our current theme options in the Todoist app settings. From here users could choose between Dynamic Color Light and Dark themes.

Along with Dynamic Color, the team also created a customizable bottom app bar, allowing users to set up the app in a way that’s most convenient to their workflow. The location of the Dynamic Add Button can be changed to the center, left, or right corner of the screen. The order of the Menu, Search, and Notification buttons can be rearranged to best fit the ergonomics of the user’s dominant (left or right) hand and optimize their navigation patterns.

Launch

As critical beta feedback was addressed and stability tweaks were made, the squad felt ready to release the new Todoist Android app to the public. The team logged the issues that could not immediately be addressed for future reviews and updates.

The design and marketing team readied the launch by creating What’s New banner artwork and copy that are displayed within the app when launching the update. The Doist marketing team also created release notes and shared the app update announcements on our social channels. The brand and product design team worked together to create custom image assets and copy that summarised the project work in a simple and beautiful way.

What’s Next: Material 3

After a successful launch of the redesigned Todoist for Android app, Google contacted Doist to announce that Todoist was selected as the Material Design Award 2021 winner in the Large Screen category. The team was excited to be recognized for their hard work and it felt like we achieved the goal we had set out to accomplish.

Internally, designers and developers continued to study and discuss the Material 3 updates. The design team started exploring mockups and design changes inspired by Material 3 and Google’s Workspace app updates. Some of our current Todoist explorations include changing the FAB styling, updating the app bar, further removing elevation shadows, and more. Here is a preview of what a future Todoist update could look like.

We hope these insights into Doist’s design process and collaboration practices have sparked your interest. Thank you for reading and stay tuned for future design updates!

Takeaways

  • Study the Material guidelines, Material Design winners, Material studies, and Google Workspace apps to make informed design decisions when designing your next product or app update.
  • Evaluate which Material Design components and practices are right for you and implement them into your product.
  • Carefully balance the Material Design guidelines with your brand guidelines to create a unique and consistent experience between your product and the platform it lives on.
  • Collaborate with your Android developers early and often to ship app updates efficiently and increase the design implementation quality.
  • Use design components and build a design system along with practical mockups to create an efficient design spec.
  • Consider how the latest Android features fit into your product and which have the most impact on your users before deciding to implement them.
  • Test and review builds with your internal team and external beta users to get valuable feedback and make adjustments before releasing them to the public.
  • Create announcement artwork to showcase your latest app or feature update along with a clear description to share in-app and on social media.

Source

The post Case Study: Redesigning Todoist for Android first appeared on Webdesigner Depot.
Source de l’article sur Webdesignerdepot

If you don’t keep in touch with your customer base, it can become easy for them to drift away. Newsletters are an affordable and effective way to check in with your audience occasionally.

However, you will need to craft well-designed newsletters to have the desired impact. Your newsletters should include engaging content, including images and written content. They should look highly professional and aesthetically appealing, so people are encouraged to read them. Another thing to consider is the method you want to send the newsletters. Picking the right platform can save you time and energy, especially if you have a large readership. 

The good news is that there are a variety of available platforms that can help you make great-looking emails. These services can also make it easier for you to send newsletters.

Let’s take a look at some of the best newsletter platforms available:

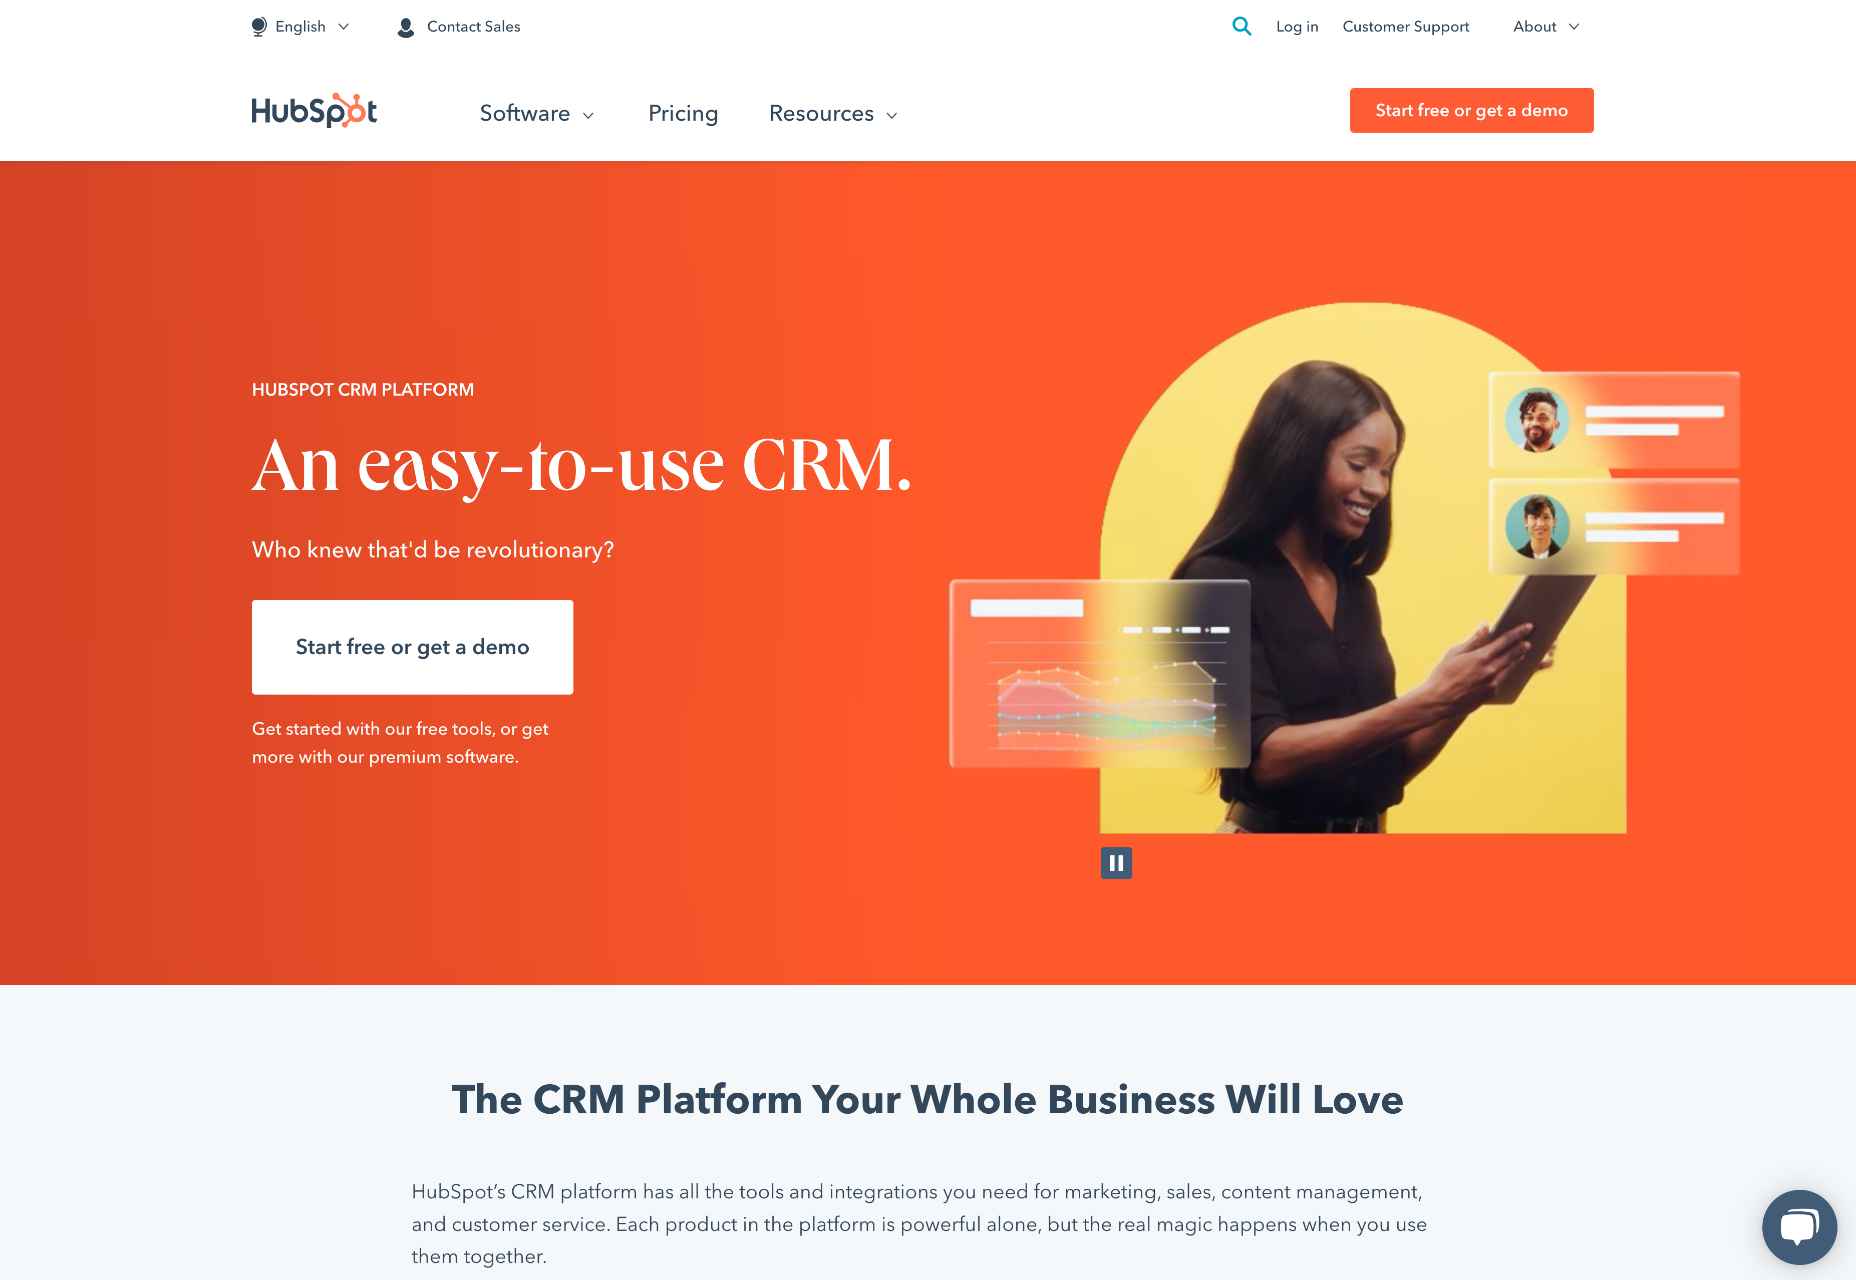
1. HubSpot

This is a name that needs no introduction among digital marketers. HubSpot offers several powerful marketing platforms with valuable tools and features to help any marketing campaign succeed.

HubSpot’s email marketing tool includes easy drag-and-drop tools that make it simple even for novices to write killer newsletters.

When you choose HubSpot’s email marketing tool, you will also have access to its powerful customer relationship management (CRM) platform. HubSpot’s CRM platform includes various email automation tools like follow-up email tools and helps you personalize your newsletters.

HubSpot’s marketing tool includes a free plan that provides access to some of the platform’s powerful email marketing features. The free plan limits users to sending 2,000 emails/month, and paid plans start from $50/month.

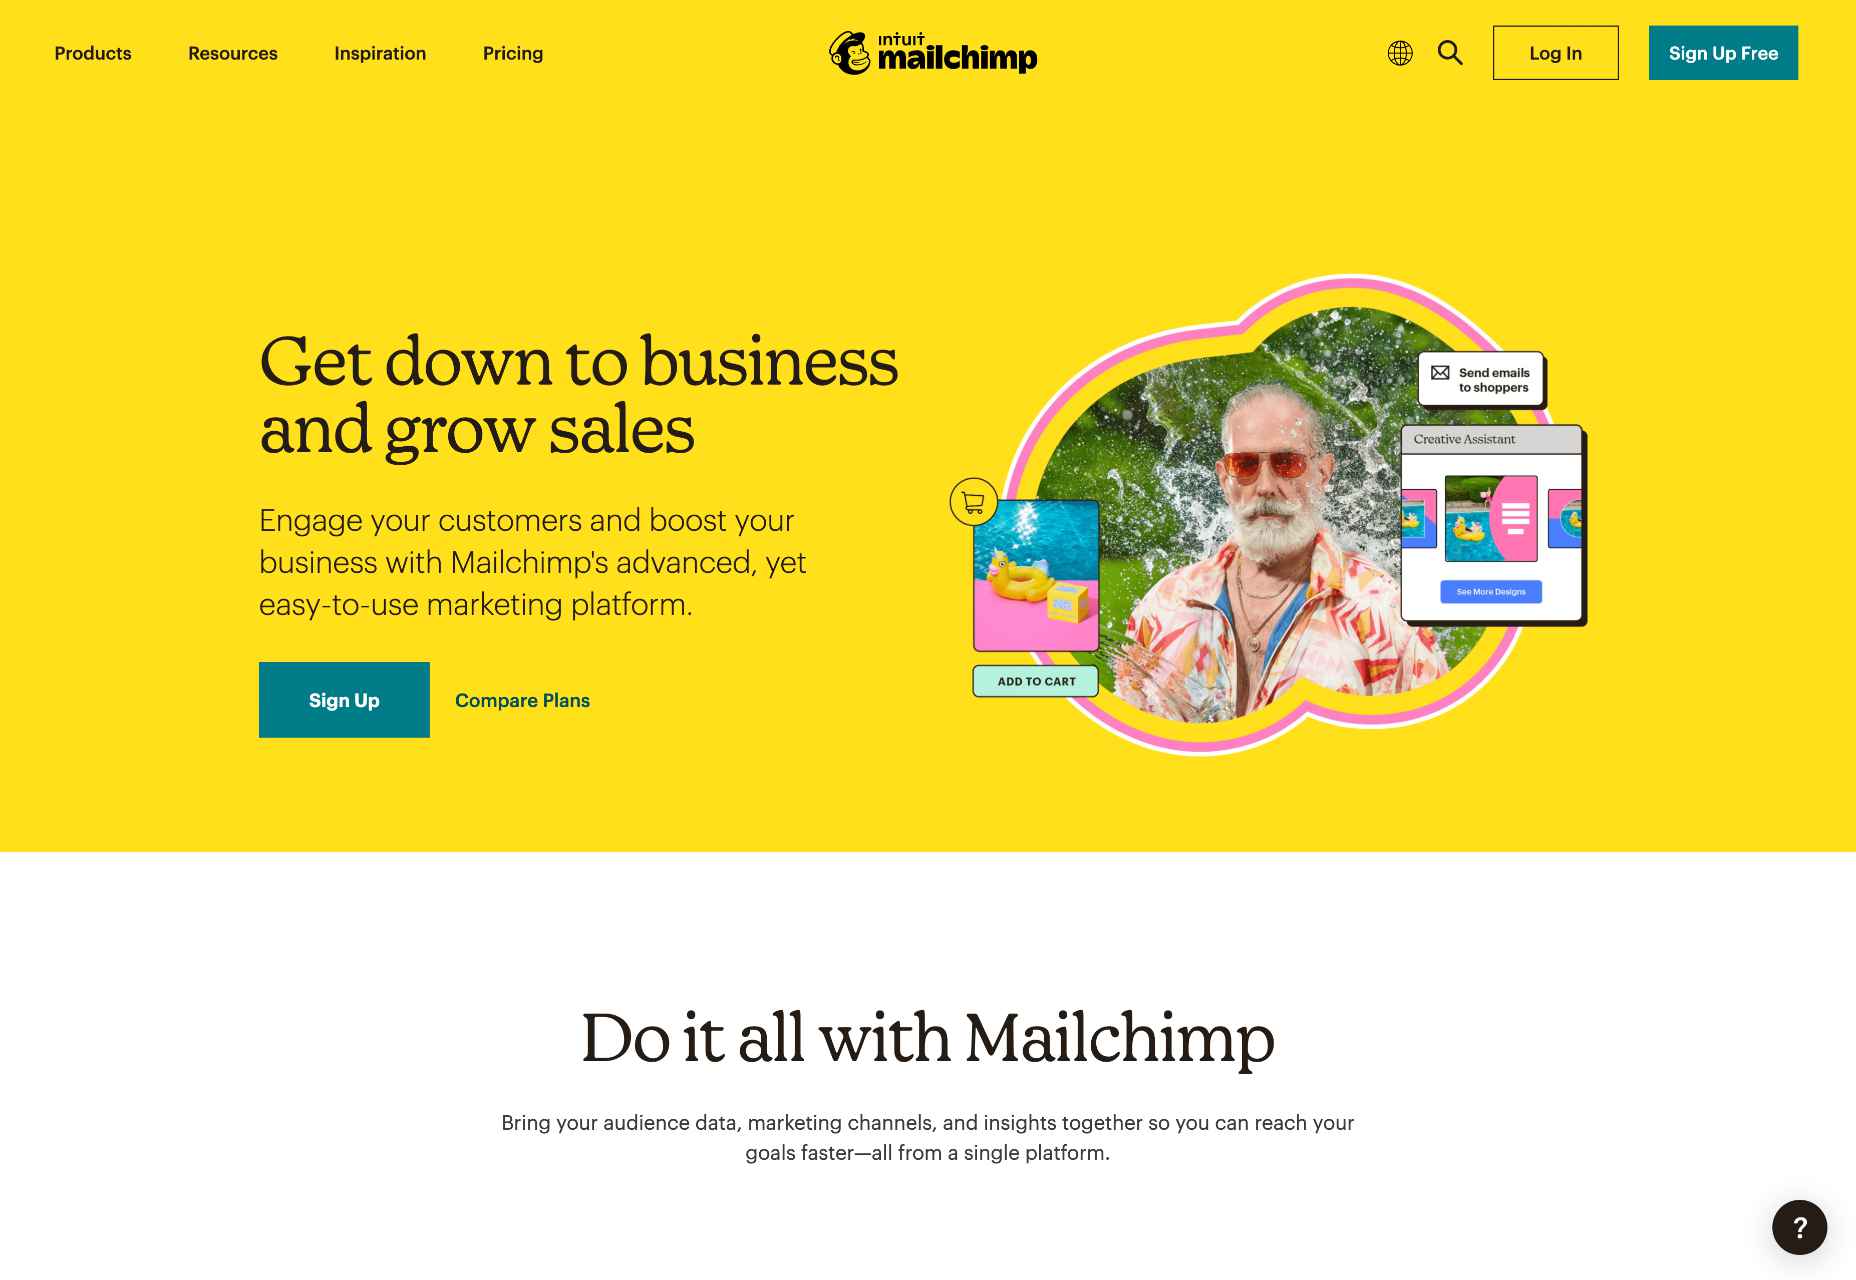
2. Mailchimp

Here’s another name that is well known among marketers – particularly concentrated marketers that focus on email campaigns. Mailchimp uses a drag-and-drop email editor that helps just about anybody create professional-looking newsletters and emails.

Mailchimp also has A/B testing tools to help you fine-tune your campaigns and cross-device tools that ensure your newsletters look great on any platform.

The platform offers a selection of newsletter templates to help you get started and make it easy to manage your contact list. The platform allows you to automatically resend newsletters using different subject lines if the recipient didn’t open previous emails.  

Mailchimp offers a free plan that manages up to 2,000 contacts and sends up to 12,000 emails/month with limited access to other features. Paid plans start at just $11/month per 500 contacts with access to more services. Other plans range from $17/month per 500 users to $299/month per 500 users, increasing access to Mailchimp’s tools.

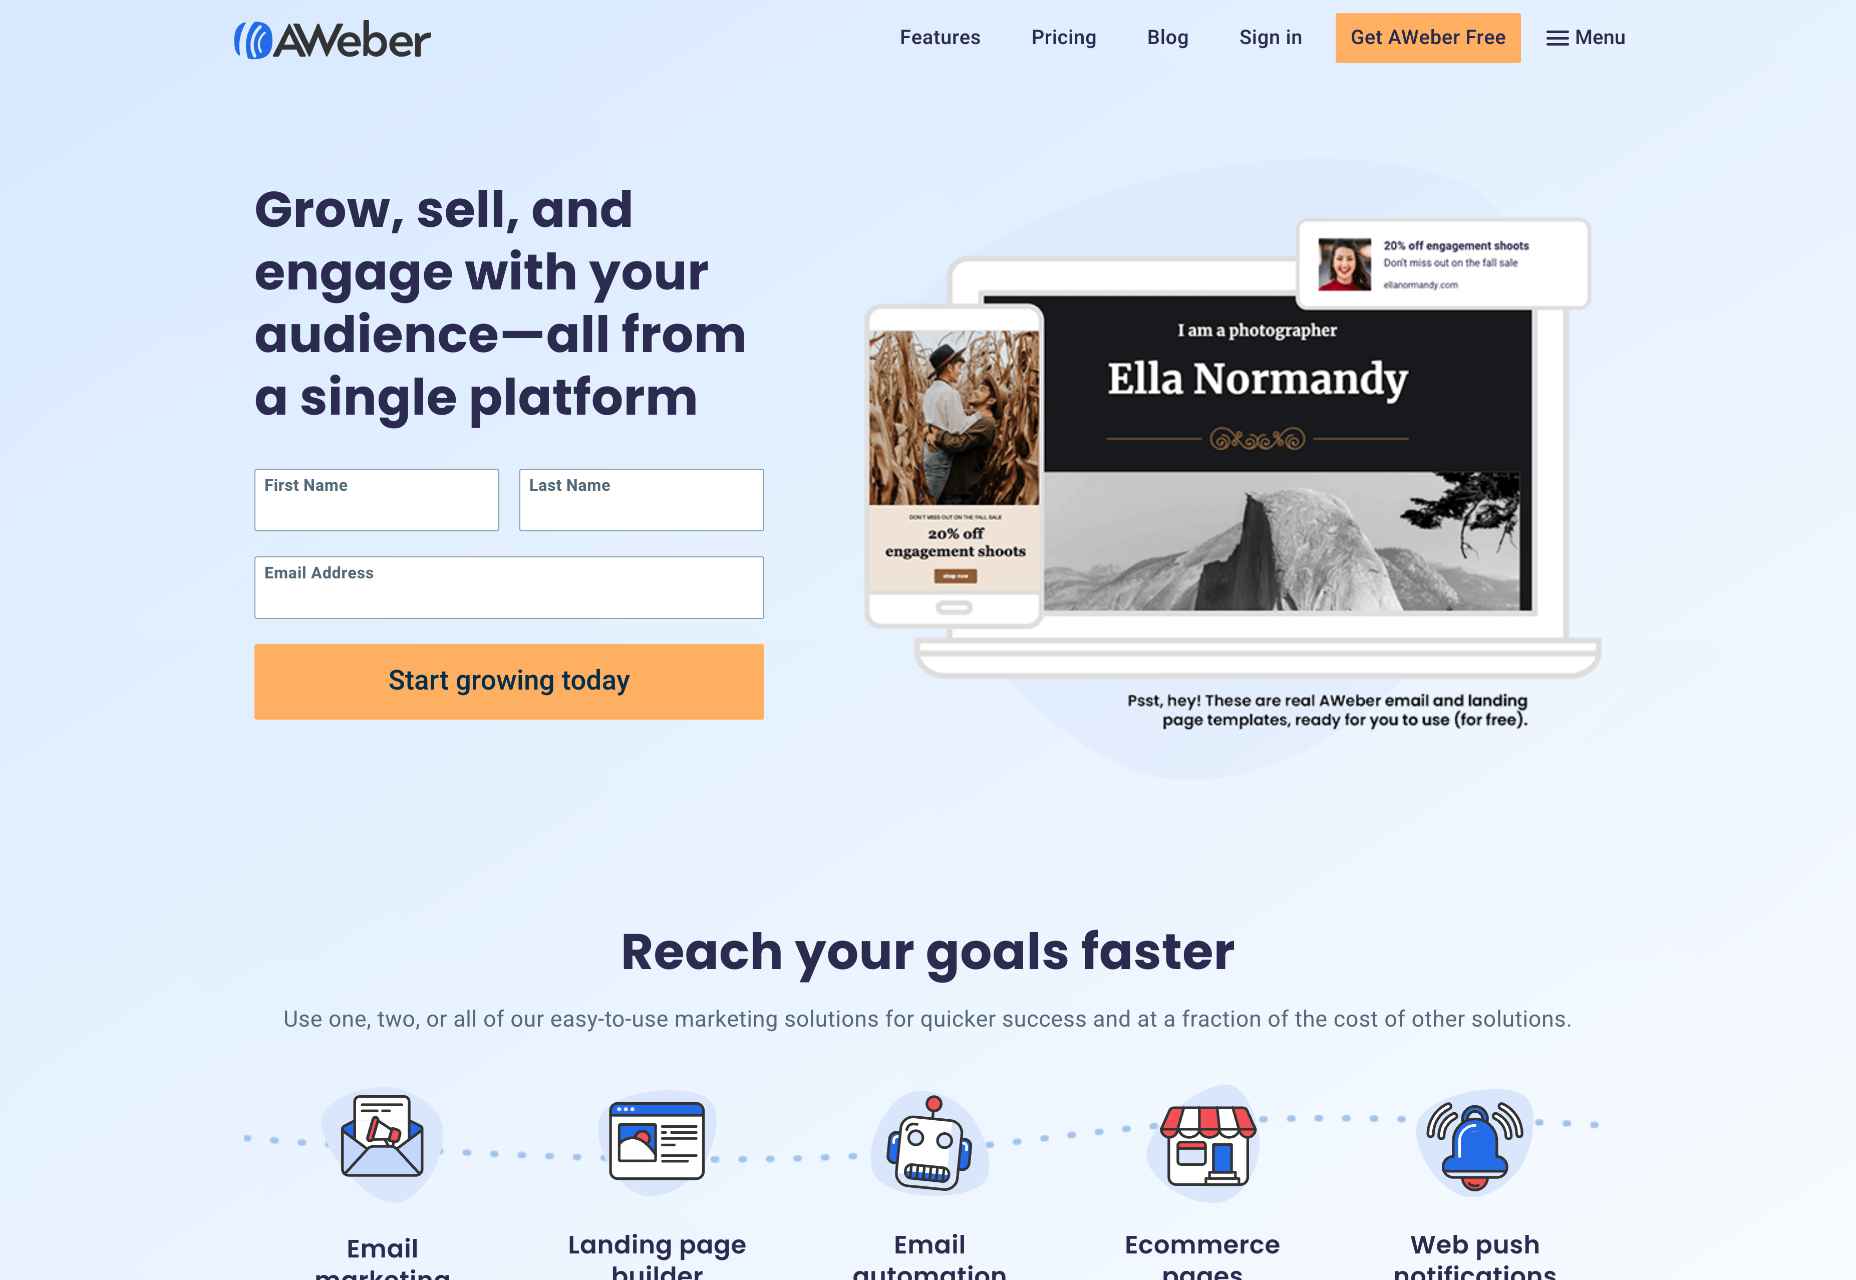
3. AWeber

AWeber is a popular choice because it is so easy to use. It’s another platform that uses drag-and-drop design technology that requires no coding knowledge. The software allows users to add carousels for a truly professional look.

The platform also includes tools that simplify list management and segmentation. AWeber features 6,000 royalty-free stock photos, and it can be integrated with other platforms, including WordPress.

Some people might find that AWeber isn’t as advanced as other options and doesn’t have some of the features they need. However, the platform is ideal for smaller companies and people just getting started with newsletter software applications.

AWeber offers a free plan that lets you add up to 500 contacts. Paid plans start from $16.15/month, and other pricing plans are available to users who need to manage more contacts.

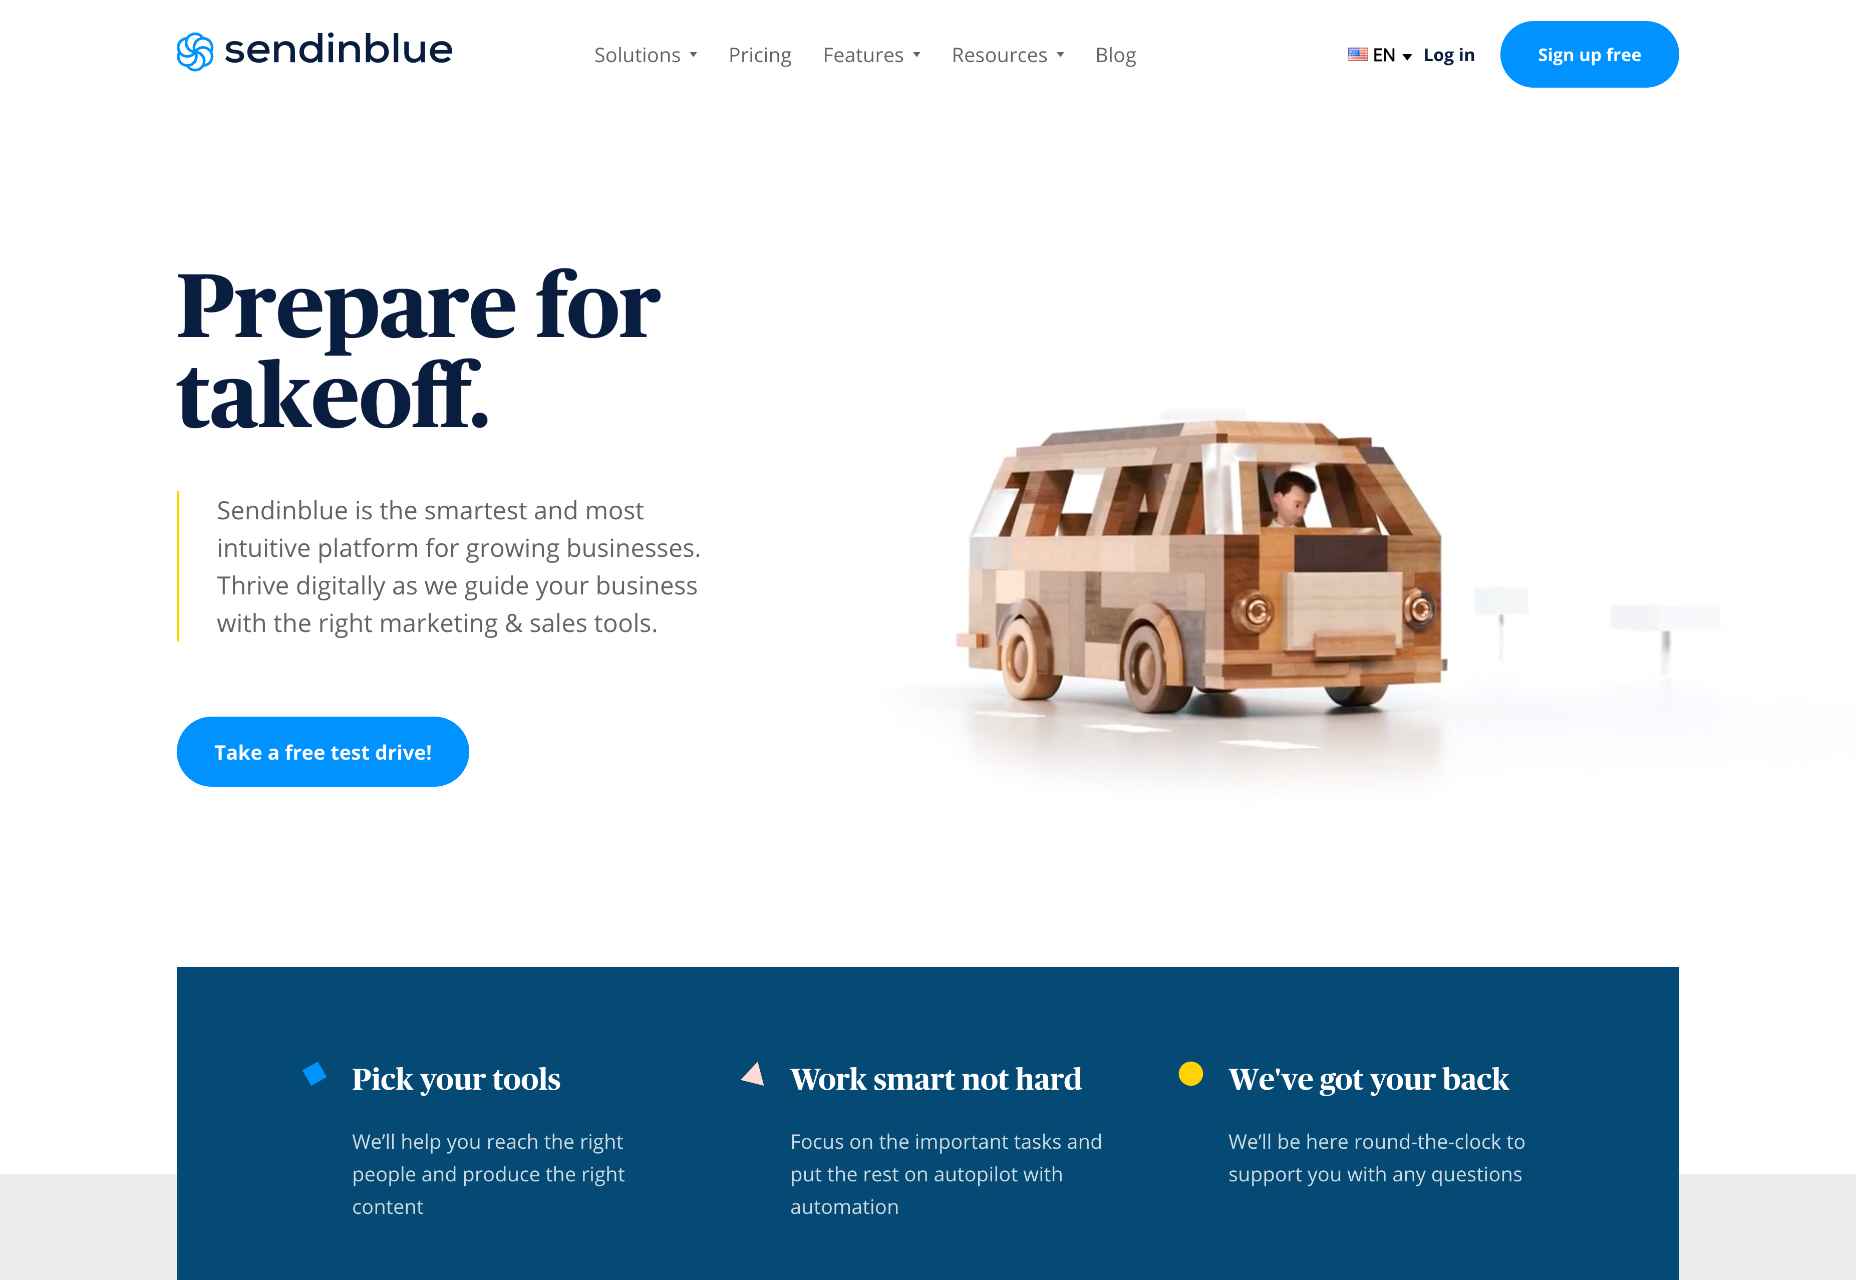
4. Sendinblue

With an expansive template gallery and efficient drag-and-drop design technology, Sendinblue is another platform that helps people create professional, aesthetically pleasing newsletters. It lets users select display conditions that determine which content recipients see.

The software offers a range of features that help automate sending numerous newsletters, including the ability to send according to the recipients’ time zones. It also provides analytical tools to show how well your newsletters are performing.

Sendinblue offers a free plan that allows you to send up to 300 emails/day. Paid plans start from $25/month for the Lite plan and $65/month for the Premium plan with 20,000 emails/month. Each tier gives you access to more features, and prices increase if you want to send more emails.

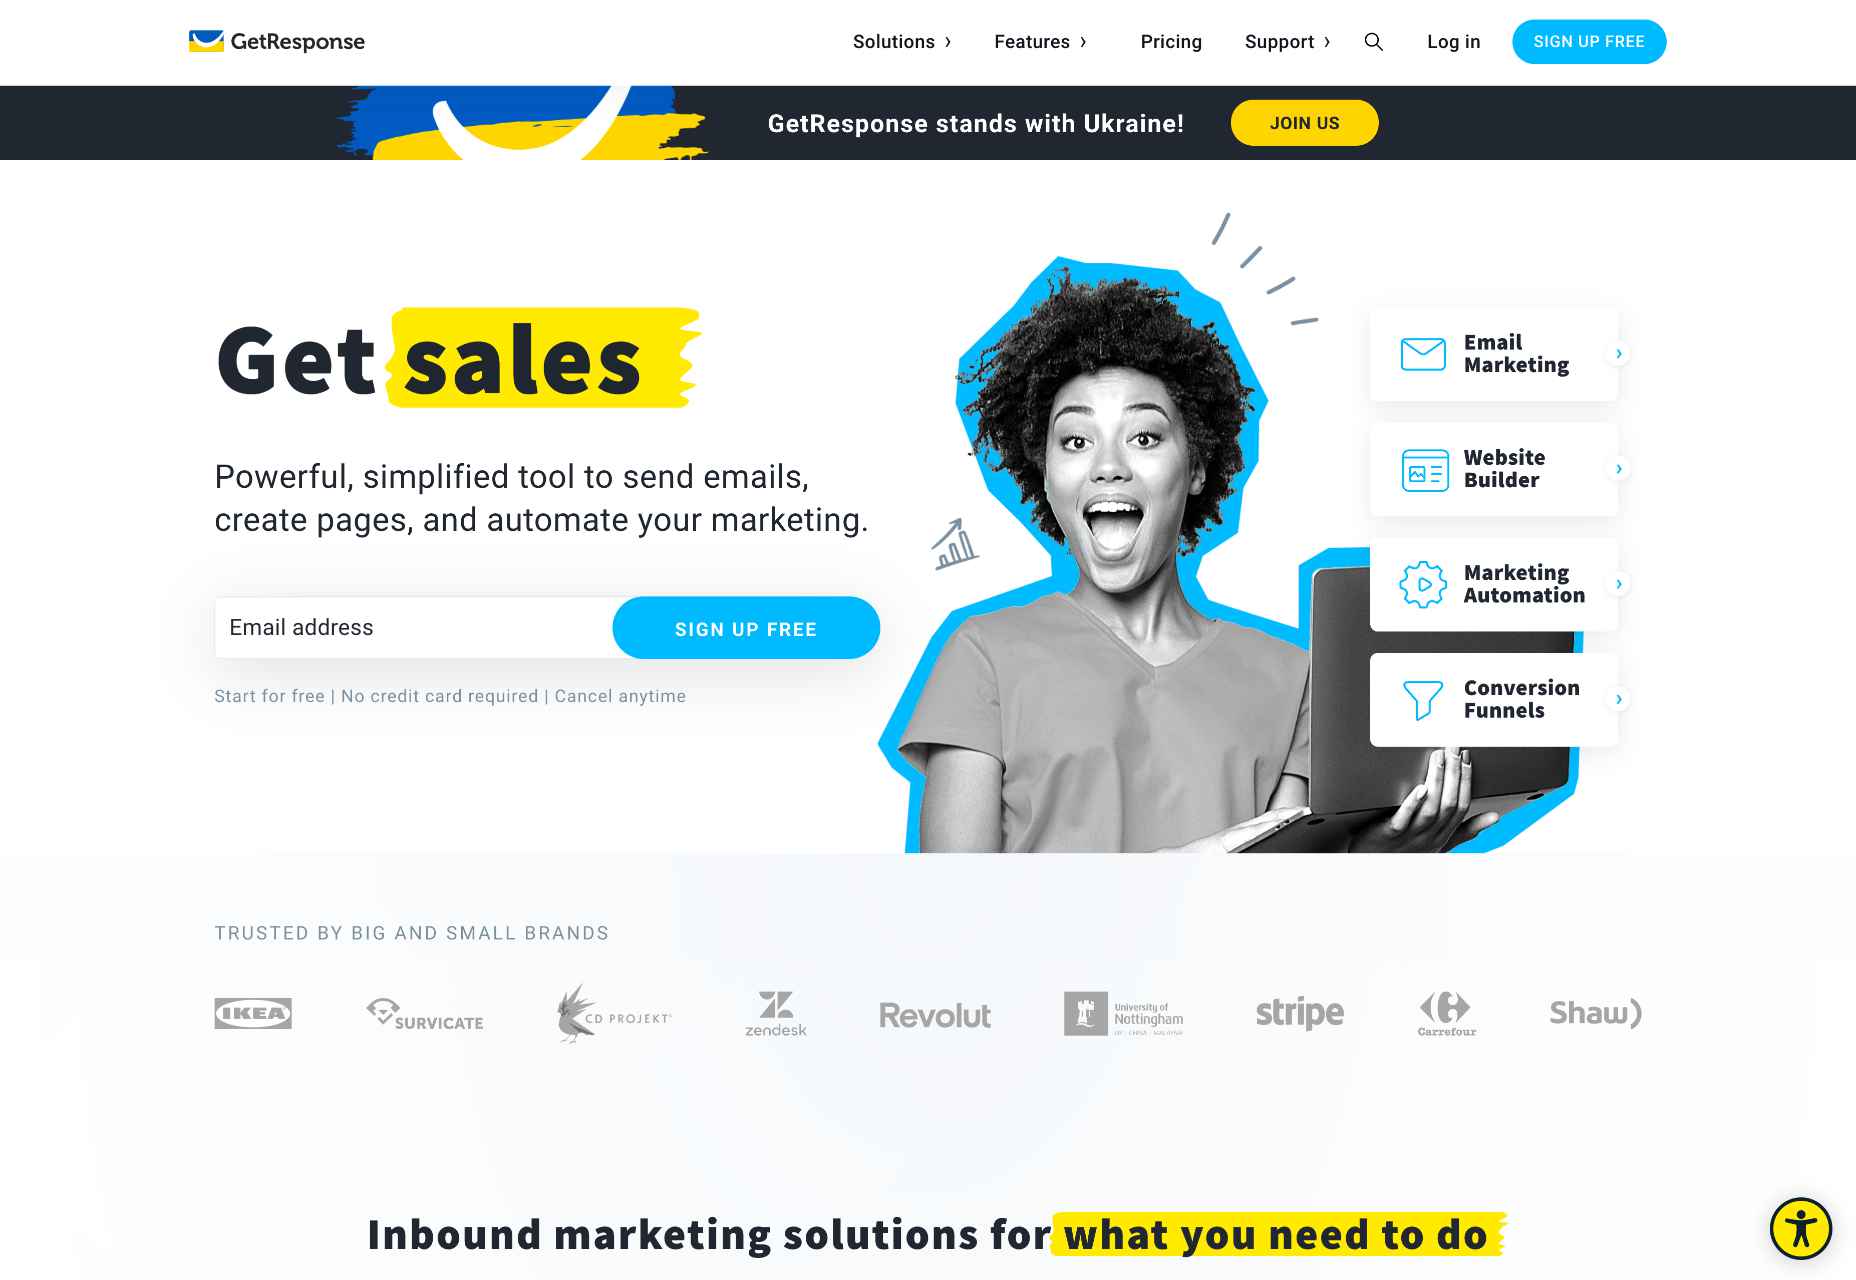
5. GetResponse

GetResponse has been around for longer than most other newsletter options, so they’ve had plenty of time to get it right. With the platform’s fluid design features, it’s easy to create impressive newsletters and emails that look professional. 

Other features from GetResponse include segmentation and lead scoring features, autoresponders, and automation workflows. In addition, you can have your newsletters sent at optimal times and take advantage of A/B testing tools.

The platform’s free plan lets you manage up to 500 contacts with unlimited newsletters.

GetResponse also provides a Basic plan from $12.30/month, a Plus plan from $40.18/month, and a Professional plan from $81.18/month, each of which lets you have up to 1,000 contacts. Each plan gives access to more features than the other, and you can pay more to manage more contacts.

Start Sending Professional Newsletters Today

Choosing the best newsletter software for you depends on various factors. These factors include which tools you need from the software, your technical ability, and how much you can afford to spend.

As with any product, it’s a good idea to shop around before making any decisions. Most platforms offer free plans, allowing you to try them out first without paying a penny. If you need more advanced features or hope to scale up at some point in the future, it’s probably best to look at platforms that can do more for you.


Featured image via Pexels.

Source

The post 5 Best Newsletter Platforms for Startups in 2022 first appeared on Webdesigner Depot.

Source de l’article sur Webdesignerdepot

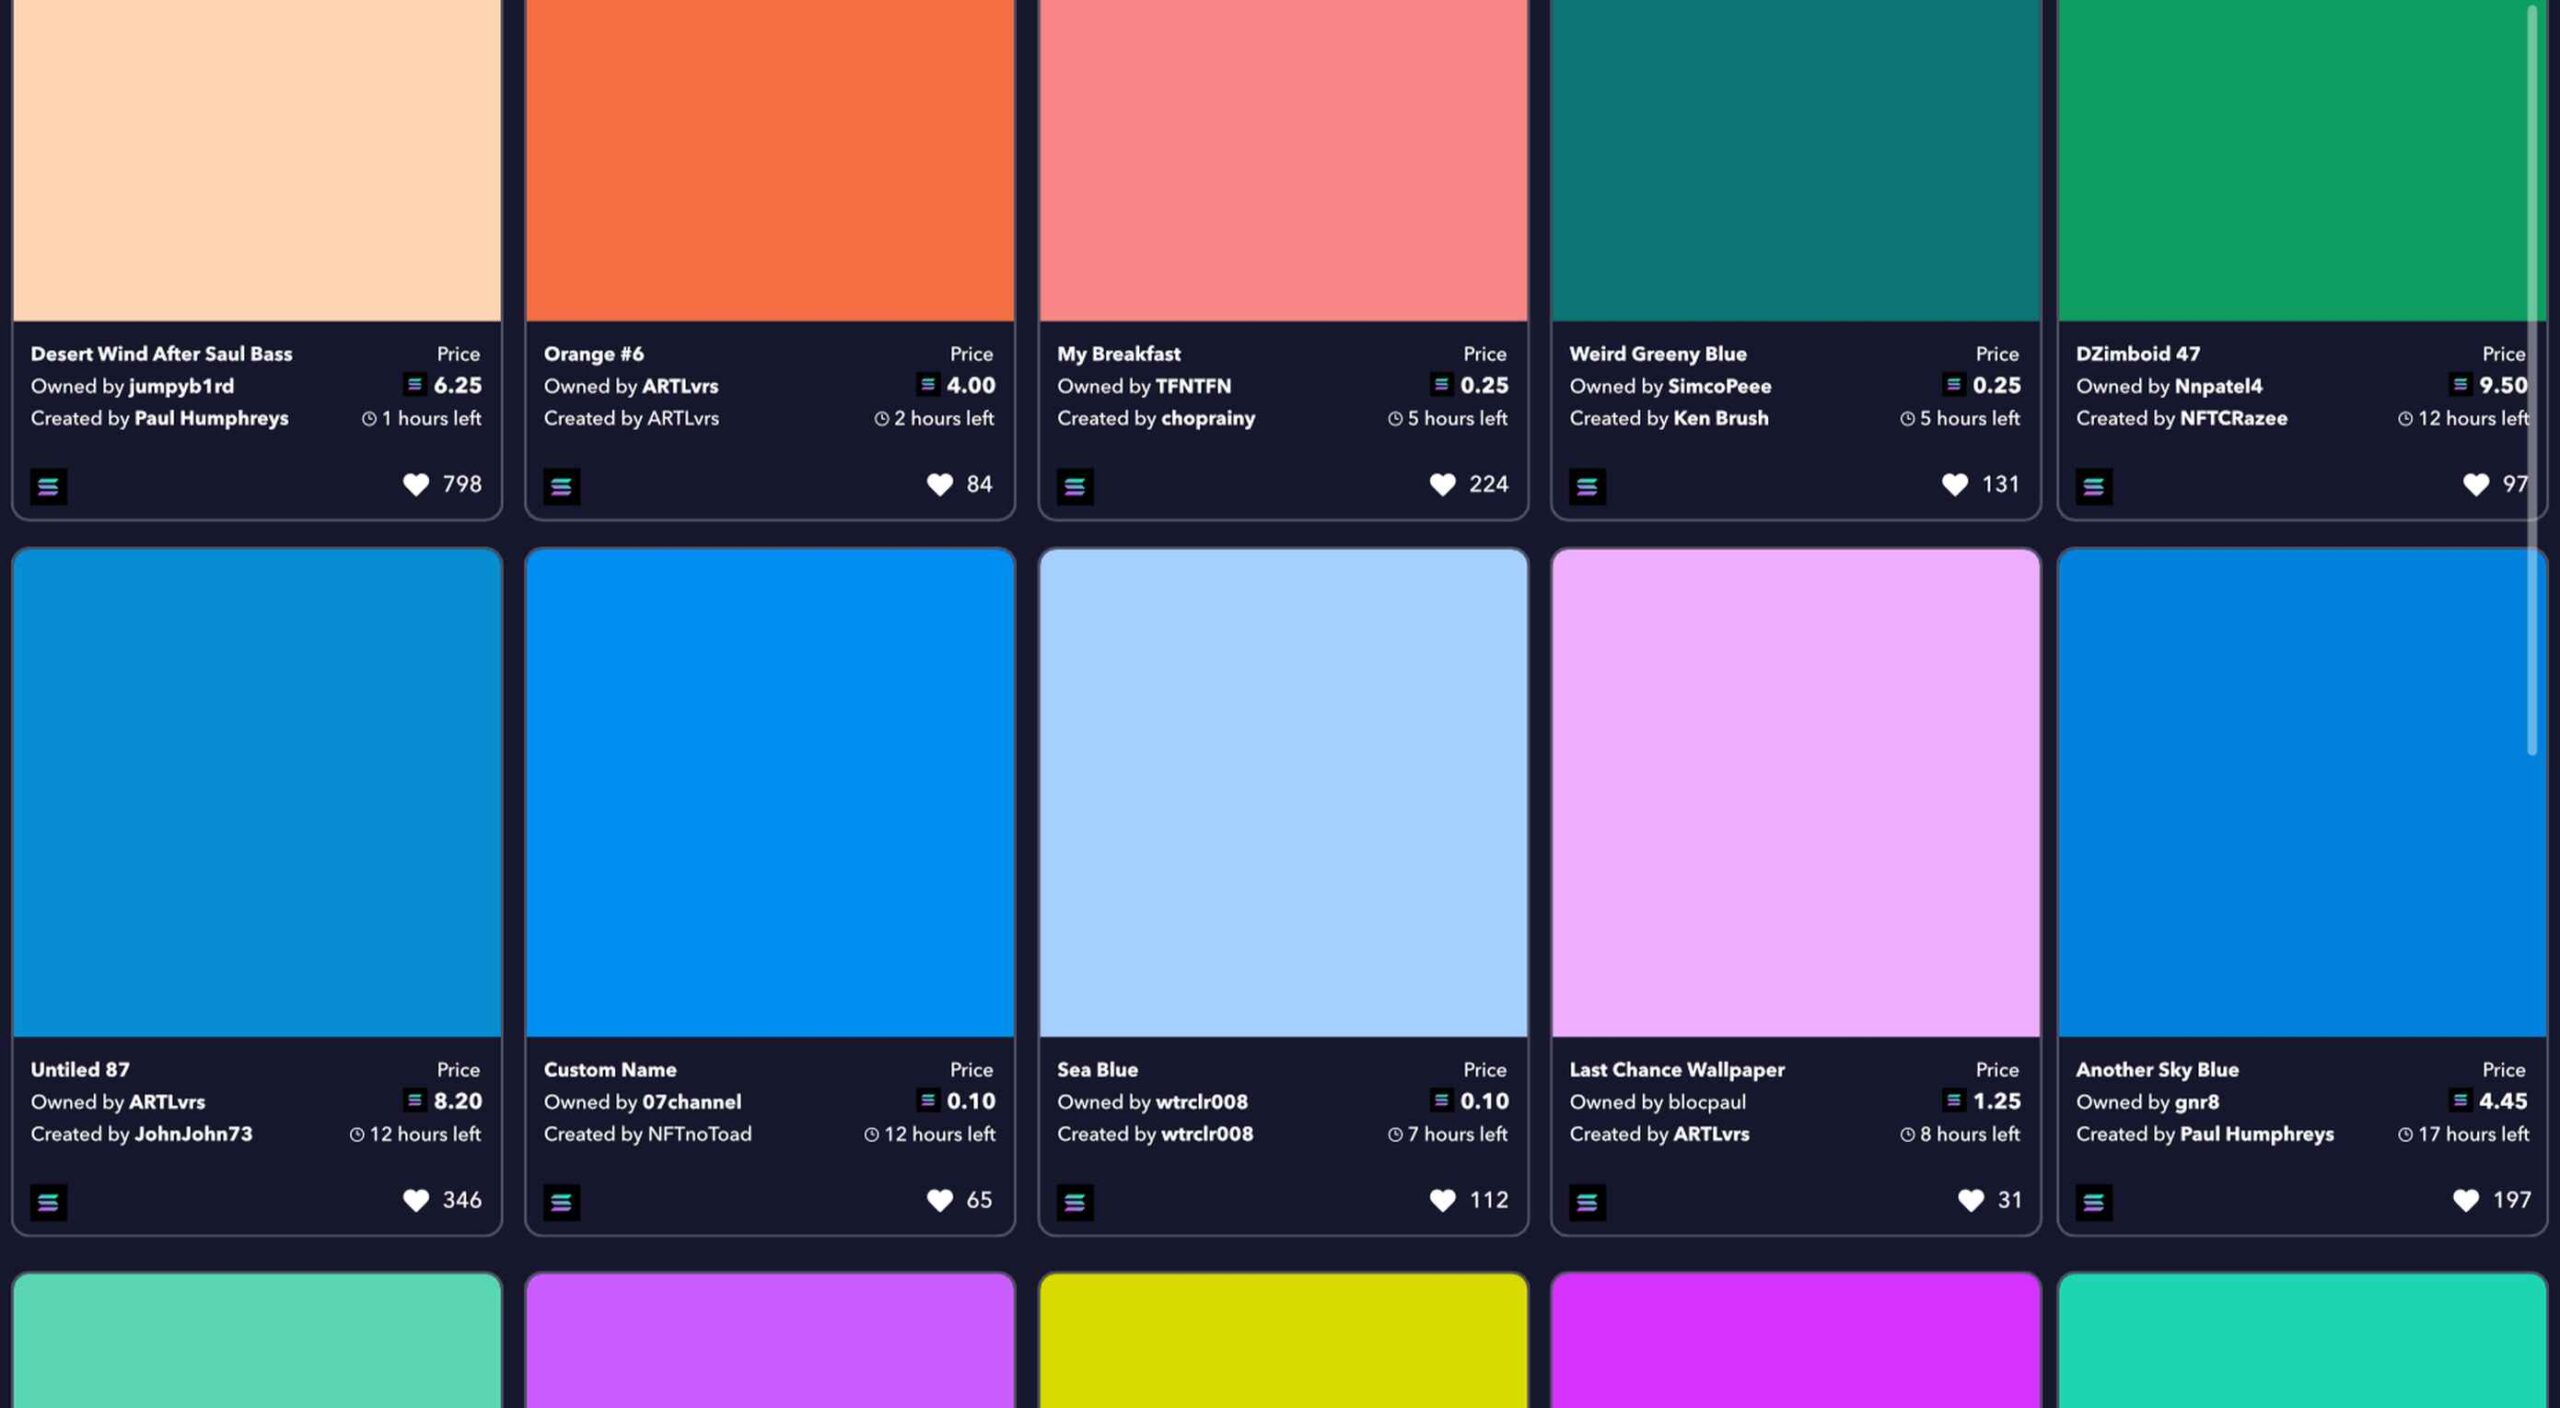
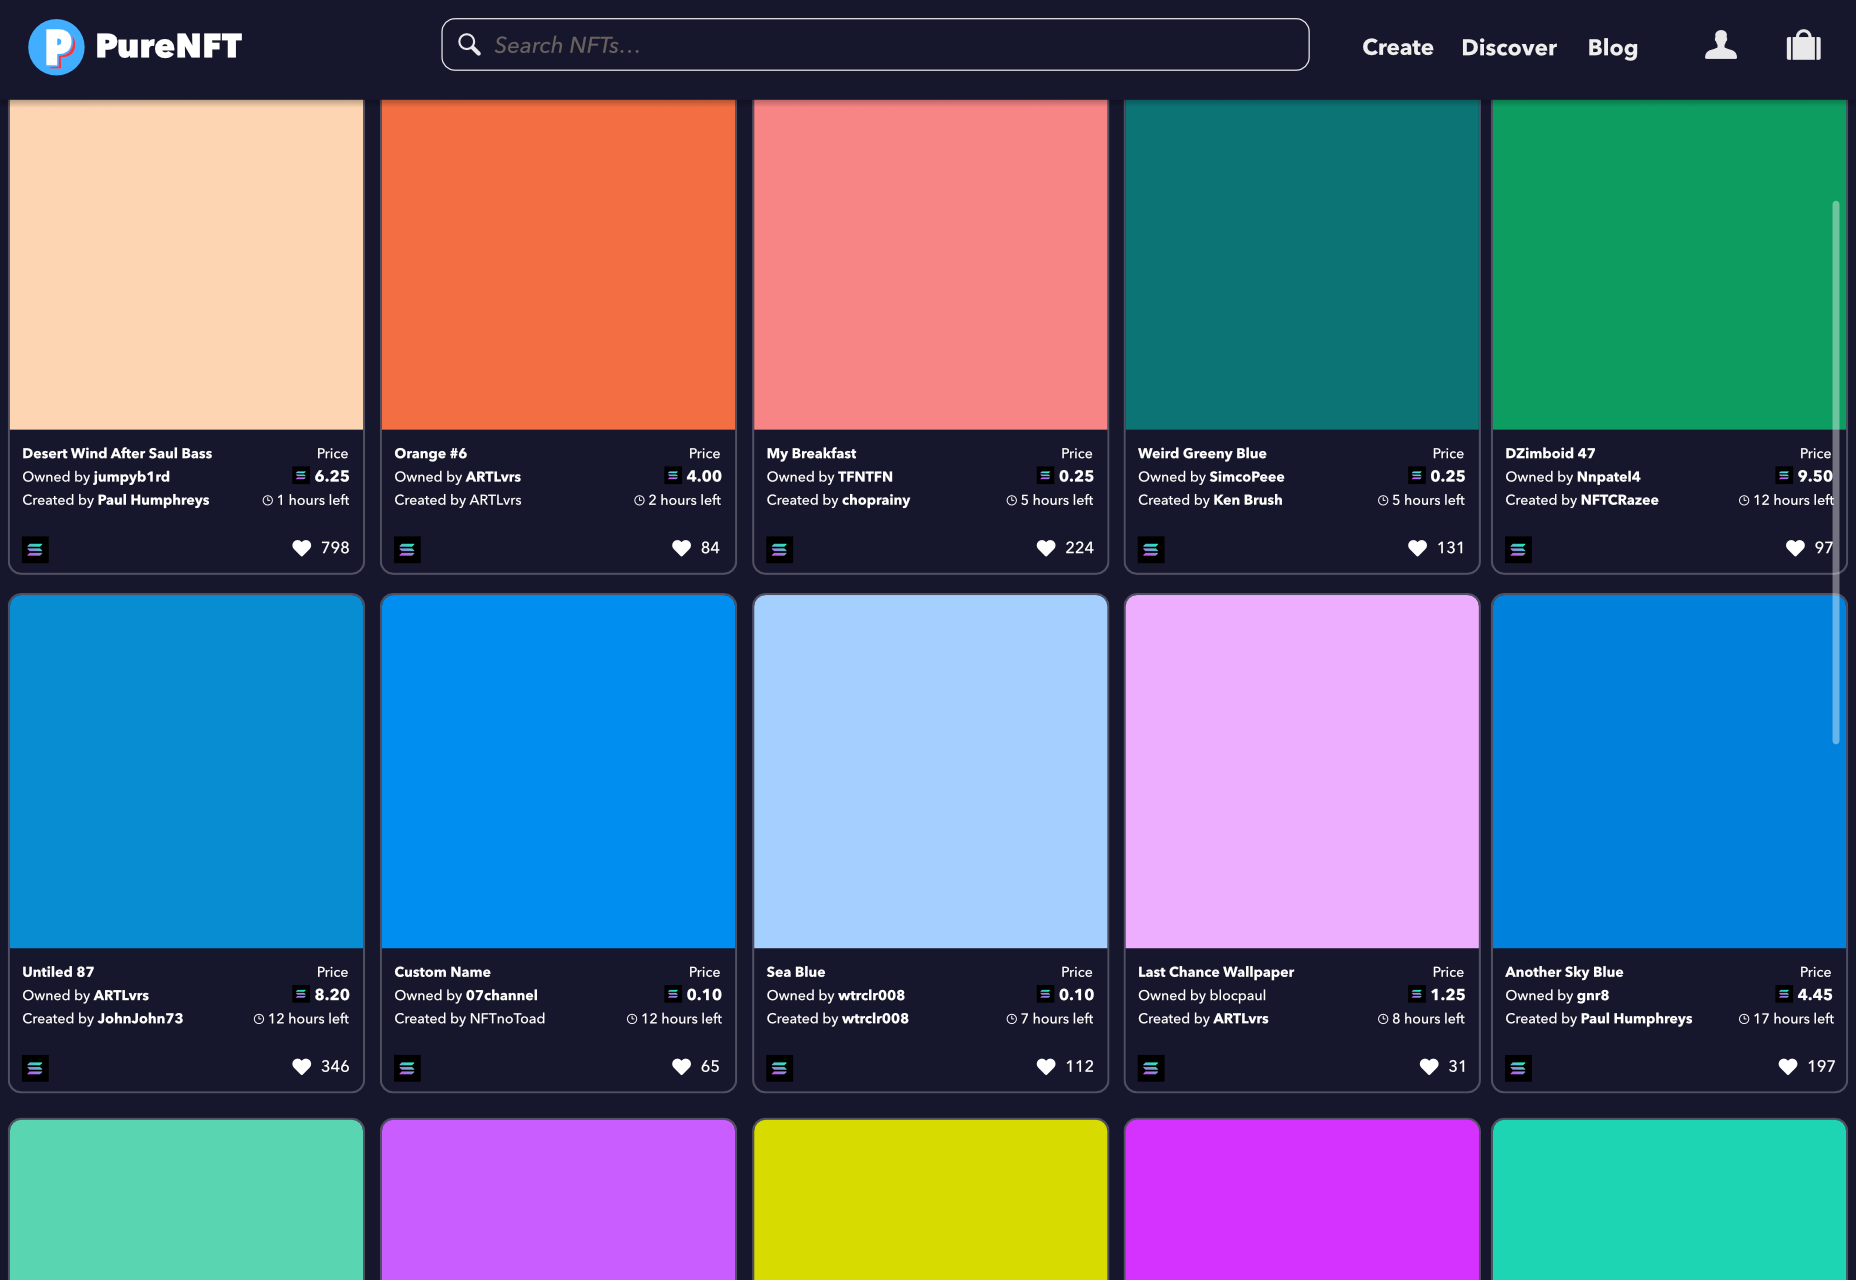
Combining minimalist aesthetics with the ongoing trend for digital art, PureNFT is an awesome new app that lets anyone break into the lucrative NFT market.
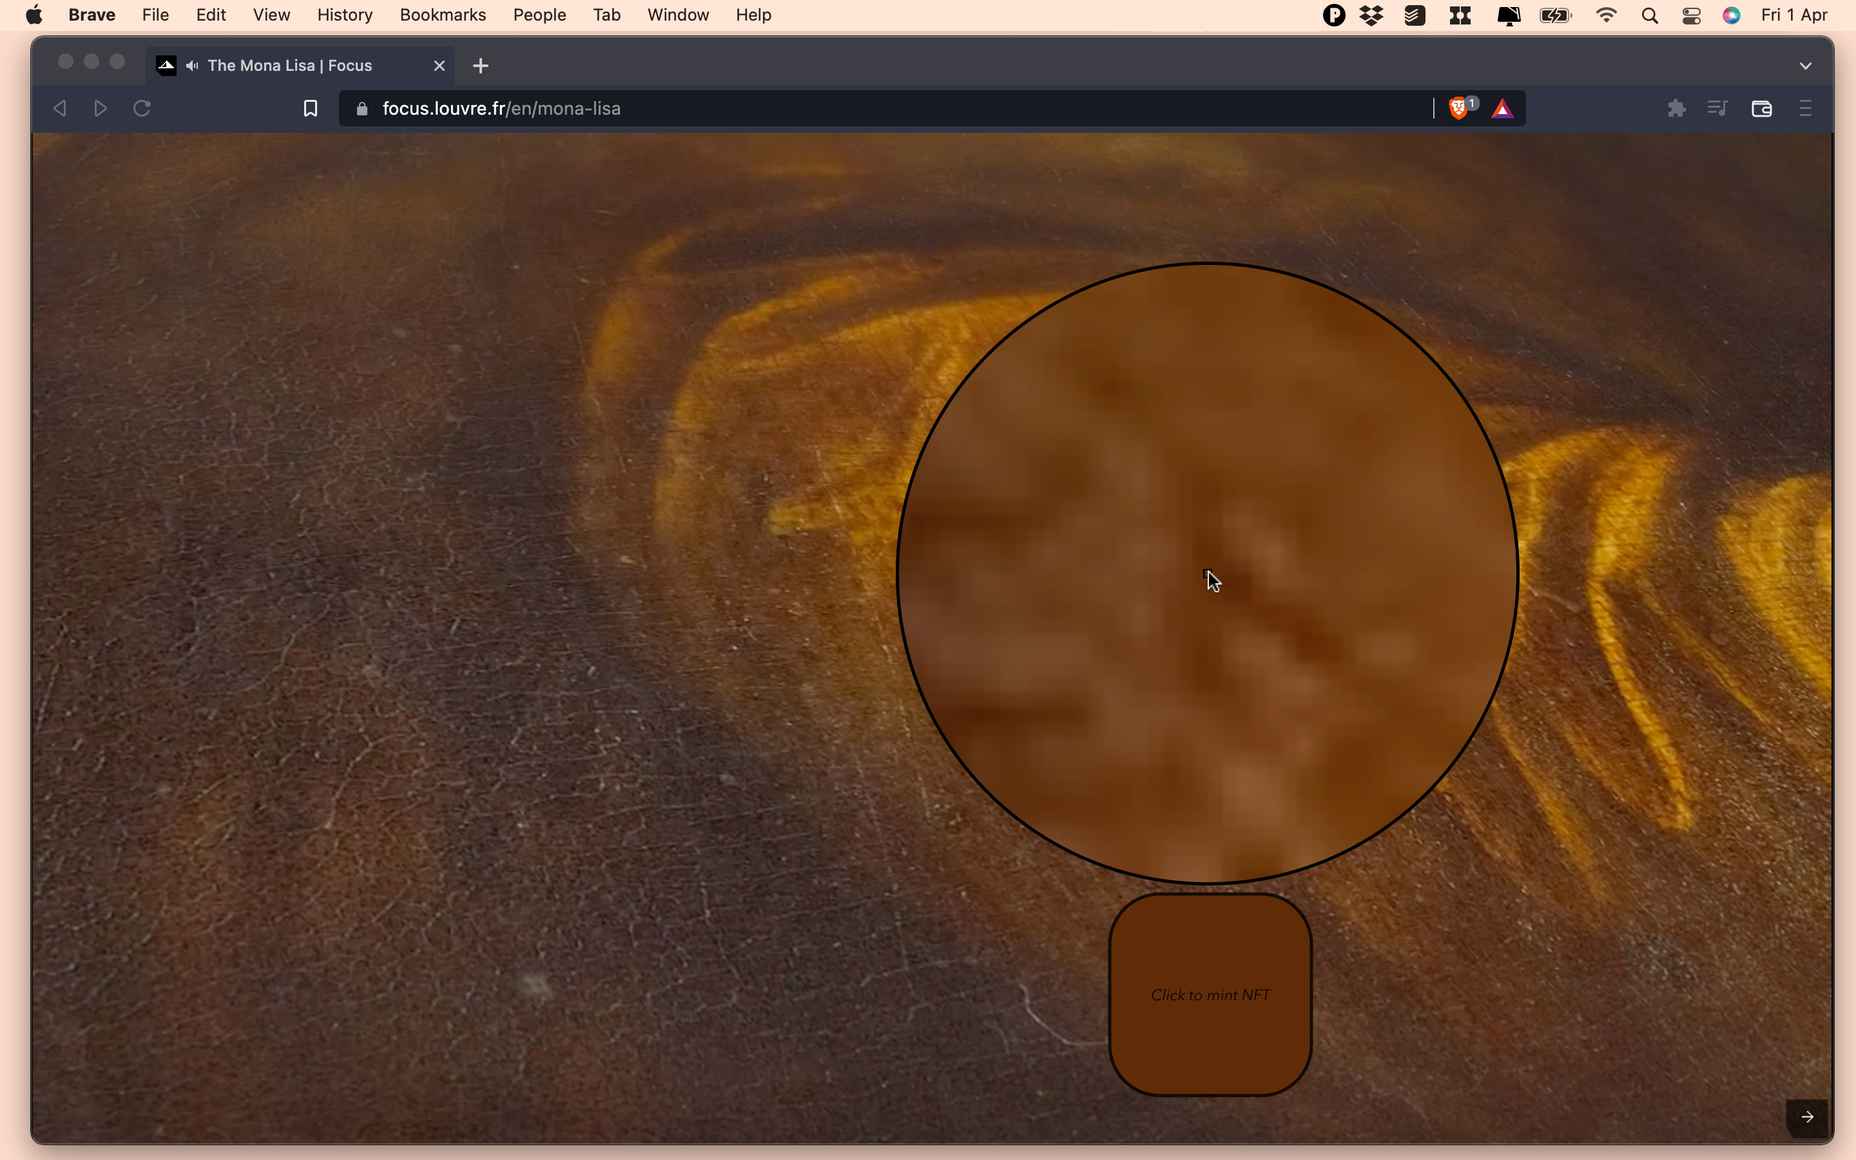
The app aims to lower the bar for prospective NFT creators by creating a minimal artwork from a single-pixel captured anywhere on your viewport. You can mint your NFT directly in the app — the process of recording your artwork on the blockchain — and list it for free on PureNFT’s dedicated marketplace.

Using PureNFT’s ArtPicker tool, hover the tool over any part of your screen, click a pixel to generate your NFT, and then click the “Mint Now” button to mint it. The app will upscale the pixel to a solid-color artwork with an ultra-high resolution of 5,000 x 5,000px. On the pro plan, PureNFT will automatically generate a 250 x 250px thumbnail to ensure your artwork isn’t pirated.

One of the best features of PureNFT is that you don’t need any drawing ability to break into the exciting NFT trend. Just point your mouse at a pixel and click, and the app will generate a pure high-resolution version of the pixel for you.

Unlike most marketplaces that favor Ethereum, PureNFT is powered by the Solana blockchain, which is far more energy-efficient, and, consequently, environmentally friendly. Despite this, PureNFT’s tokens are platform-agnostic, which means you can mint them on the native platform and then transfer them to popular marketplaces like OpenSea and Rarible.

The potential for NFTs created with PureNFT is limitless. You can literally click any pixel, mint it as an NFT, and wait for the money to start rolling in.

NFTs are a hugely popular way of monetizing artwork, but they are limited in scope; you can only sell one unique NFT of the Mona Lisa, and even then, you have to be the Louvre to do it. But with PureNFT, anyone can visit Wikipedia and open an image of the Mona Lisa that is 7,479 x 11,146px. That translates to 83.3 million potential NFTs; if each pixel sells for an average of $1,000, you might make enough to buy the actual Mona Lisa!

Minting an NFT on PureNFT currently costs 1 SOL (approximately $125 at the time of writing). The first NFT minted by PureNFT — an azure pixel from an unknown screen grab — has an asking price of 375 SOL (approximately $46,875 at the time of writing), but not all PureNFT users have been so lucky, with some early beta users complaining of returns as low as 300%. Nonetheless, the potential for substantial financial gains is evident.

According to Brendan Lewes, co-founder and CTO of PureNFT, the team is interested in introducing AI-powered automation in the near future: Imagine an automated tool searching for popular images, breaking them down into pixels, minting them, and selling them for you, while you live your life. NFT mining could be the next big area of crypto.

However, automation isn’t likely to come anytime soon, according to Lewes:

For now, we’re focussed on maintaining a stable platform. But…we’re super excited about the journey we’re on, and [co-founder Max Schriebport ] and I can’t wait to see where it take us.

PureNFT is currently in beta on macOS, Windows, and iOS, with an Android version on the way. There’s a free plan that allows you to preview up to 5 NFTs, and pro plans start at $399/month.

Source

The post PureNFT Disrupts the NFT Market first appeared on Webdesigner Depot.

Source de l’article sur Webdesignerdepot

It’s something every design team dreams about – a better design process and handoff procedure. Your design team is not alone if you are looking for a better solution.

Imagine what your workflow would look like if you could forgo the struggles of image-based technology, design and handoff with accurate components that have interactive features. Projects in the design phase will look more like final products and, most importantly, interact like final products. 

Let’s imagine a new design process together.

Challenges of an Image-Based Design Process

Here’s what we all know – image-based design tools provide pictures of components in the visual form but lack the interactivity and conditions that exist in the end-product. There’s not a high level of functional fidelity there, and it can cause confusion among design teams and rework.

These tools require you to redraw the fundamental components and design with boxes and rectangles, which takes too much time and can create a disconnect between the design and development teams. 

Further, you don’t fully maximize the potential of a design system because of inconsistencies between code-powered systems that developers use and these image-based systems for designers. There’s an innate gap between maintaining the environments and creating consistency in components. 

The final and maybe most difficult challenge with an image-based design process is in usability testing. You just can’t test an image the way you can working components. If the prototype is not interactive enough, you lose valuable feedback in the testing process. Functional fidelity is a must-have design and development tool in 2022. 

Iress, market-leading financial software, had many of these same problems in its design system process. You can probably relate to its story, which includes a designer and engineer who aren’t entirely on the same page, hit the deadline and have to deliver, and then get customer feedback. The result was a lot of extra headaches and work. 

But there is a better way: Import all user interface components into a code-powered design system in sync with a design tool so that your team can work in harmony to build, scale, and handoff projects with ease. 

Scale Design With Accurate Components

Here’s what most design and development teams want en route to building products: Accurate components with built-in interactivity, states, and conditions. No redrawing boxes and rectangles; no trying to figure out what states and interaction should be.

And if you can do it with ten times the speed and agility? Now you’re really in business. 

“It used to take us two to three months just to do the design. Now, with UXPin Merge, teams can design, test, and deliver products in the same timeframe,” said Erica Rider, Senior Manager for UX at PayPal. “Faster time to market is one of the most significant changes we’ve experienced using Merge.”

The time and workflow savings come from the ability to maintain only one environment as a product team. Rather than image-based tools, a code-powered design system that will push updates to components as the design evolves is the modern way to work. This workflow can also eliminate duplicate documentation so that your team has a single source of truth for whole product teams. 

Now you can be more agile in the design process and scale. And as Rider hinted at, there is a solution already available in UXPin Merge. 

Scalability with accurate design components has other benefits as well. 

Teams can onboard people faster because the design system is in the design tool. There’s less searching for answers with drag and drop-ready building blocks. New team members will find more success and be more valuable to the team quicker due to fewer inconsistencies and errors. 

Testing also gets a boost as you scale with a single source of truth. You can actually create better usability tests with a high-fidelity, functional version of the prototype, allowing users to leave more valuable and detailed feedback that can improve your product in the early stages. 

Better Handoffs Start Here

As you imagine a better design process, take it one step further. Better handoffs are a goal for most teams. 

An interactive component-based design tool can eliminate the need for multiple iterations of the same meeting to explain how a prototype works. Everyone can see and interact with it for themselves with accurate, true components that ensure the prototype works the same as the product. 

Designers will feel more like their vision is making it into the final product, and developers have a better idea of how to work. Everyone has the exact same components written in code. Thanks to the single source of truth, devs can speed up as they build the product because they start with components that include production-ready code.

A typical design to developer handoff might have multiple steps: Create vector design elements, create a model for interactions, and then send the prototype with documentation. Not to mention the meetings that are required to make sure everyone is on the same page.

In a model with interactive component elements, the developer handoff is fast and easy; they create a prototype with true components and all the built-in properties. The developer copies the JSX code and pastes it into his tool to build the final product. All the component properties and their coded interactions already exist in the source code. This is possible because the source of truth is the code itself, the source code.

Quick Tool Solution and Technical Use

This solution to this common challenge is not somewhere in the future; it’s already here.

UXPin, a code-based design tool, has Merge technology, which allows you to bring all interactive components into UXPin. Then you can use your own, or the open-source library with the ready-made building blocks to get products ready faster.

Here are just a few of the things you can do with Merge by UXPin:

  • Integrate your developer’s storybook to use it as a single source of truth (works for all frameworks)
  • Import design system components from a dev’s Git repository, such as GitHub, Bitbucket, GitLab, or others (works with React)
  • Work with the built-in MUI library
  • Add the npm component package to UXPin on your own (no developer required)
  • Design with the confidence that your work can be ideally reflected by developers
  • Create and share a library of interactive components

Summary 

Say bye-bye to redrawing rectangles – build more accurate prototypes easier and end-products faster with Merge by UXPin.

Now is the time to solve one of your biggest design challenges while upgrading and scaling the design process and improving handoffs. 

Merge by UXPin is user-friendly and made for scalable projects of almost any size. The line between design and development blurs with quicker product release and a fully-interactive solution. Request access today.


[– This is a sponsored post on behalf of UXPin –]

Source

The post How to Scale Your Design Process and Improve Handoff first appeared on Webdesigner Depot.

Source de l’article sur Webdesignerdepot

We’re going to have some fun this month. There are so many new tools and resources out there for designers that make life easier, and others are simply enjoyable.
Here’s what is new for designers this month …

Polka Dot Generator

Polka Dot Generator is exactly what you think. Adjust colors, dot size, shadow, and fuzziness, and then export the CSS for use in your projects. This could make for fun effects or backgrounds.

Design Memes

Design Memes is just a lot of fun. It’s a collection of memes based on design culture updated daily. It’s a little silly and a little reflective. Yes, it’s completely ok to laugh at yourself.

Pppointed

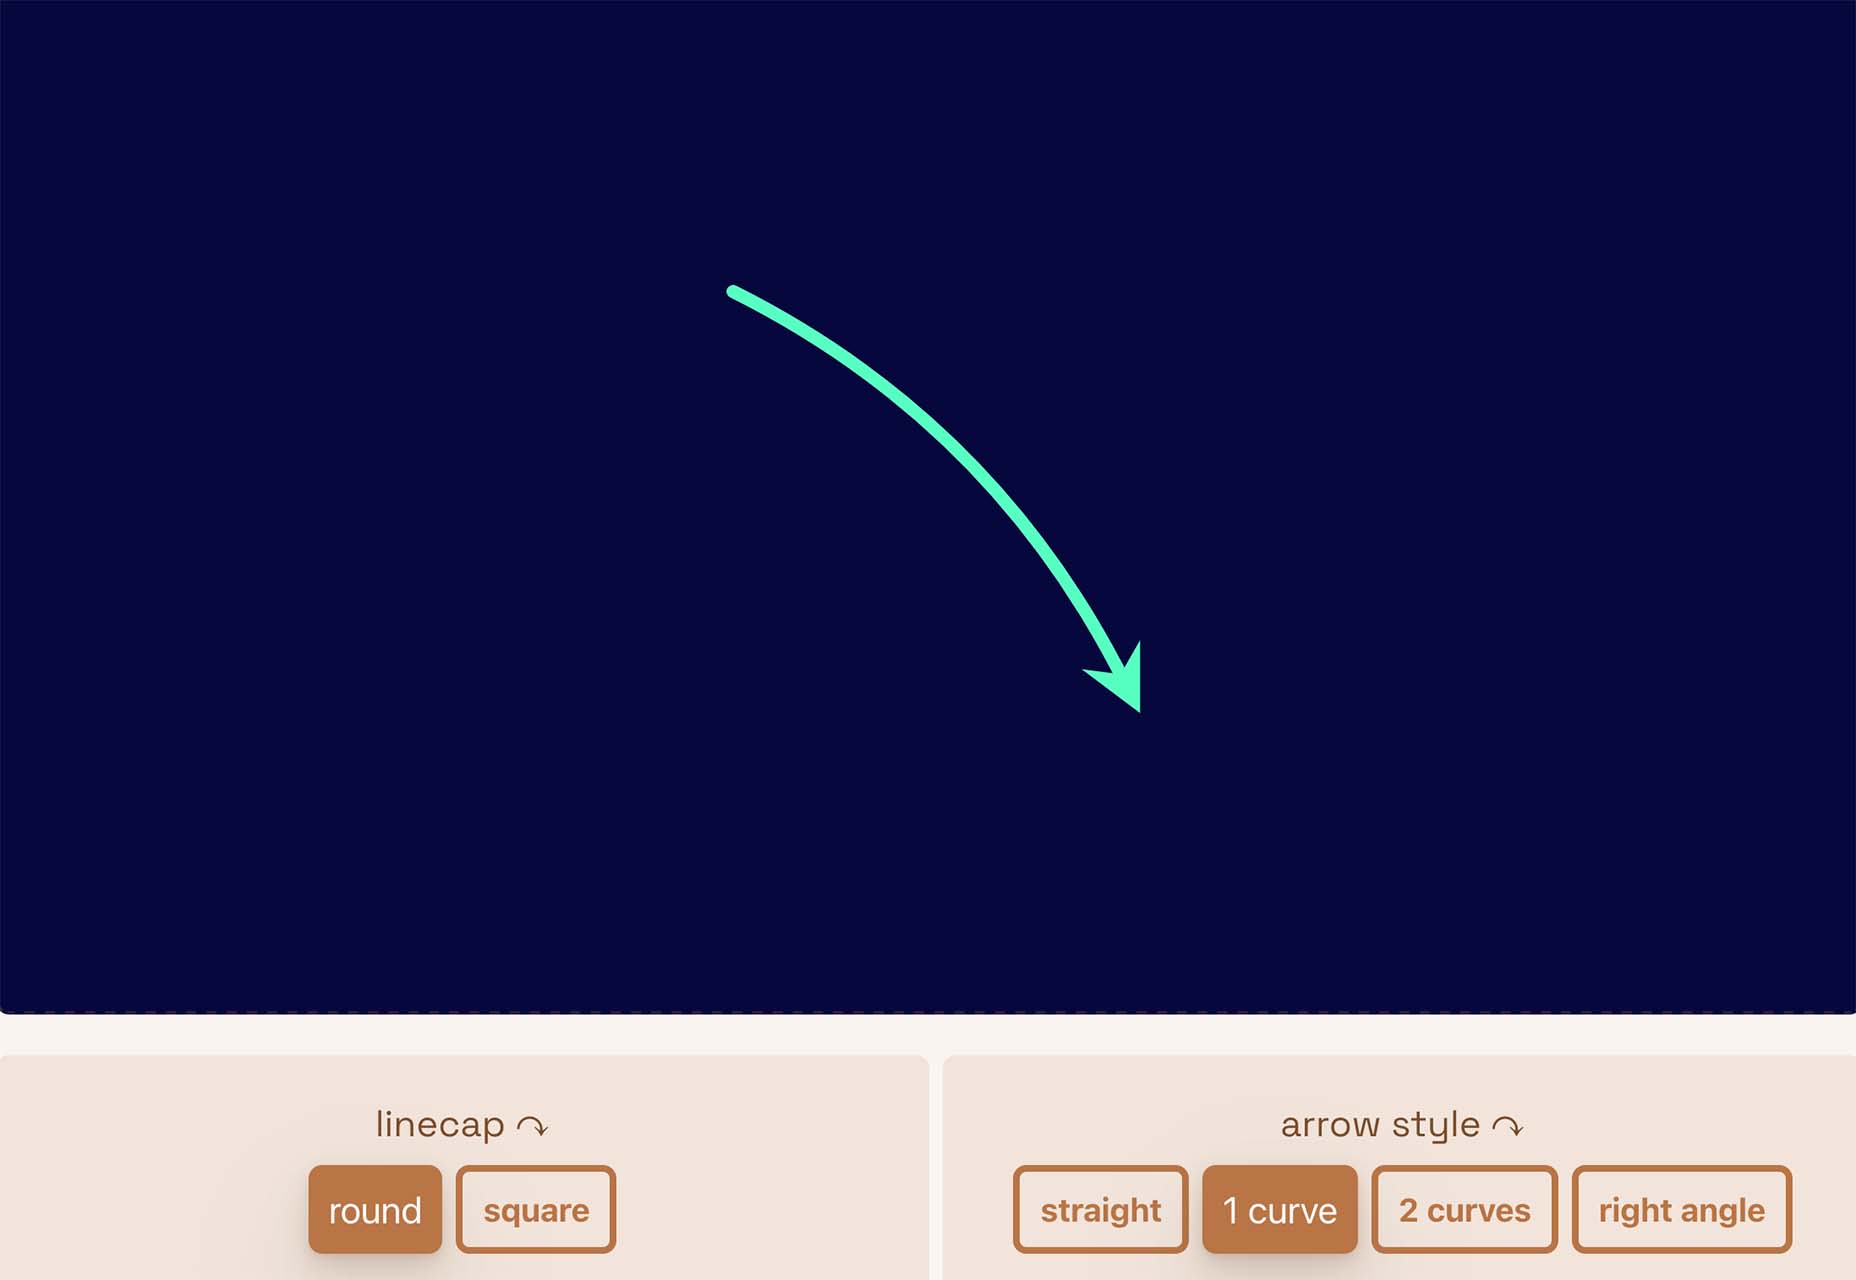
Pppointed is an SVG arrow-making tool that helps you create cool pointers without a lot of effort. Just pick a color, shape, and style, and you are ready to go. Save your custom arrows as SVG files or copy the code and use them on the web whenever you want to point at things visually.

Open Source Color System

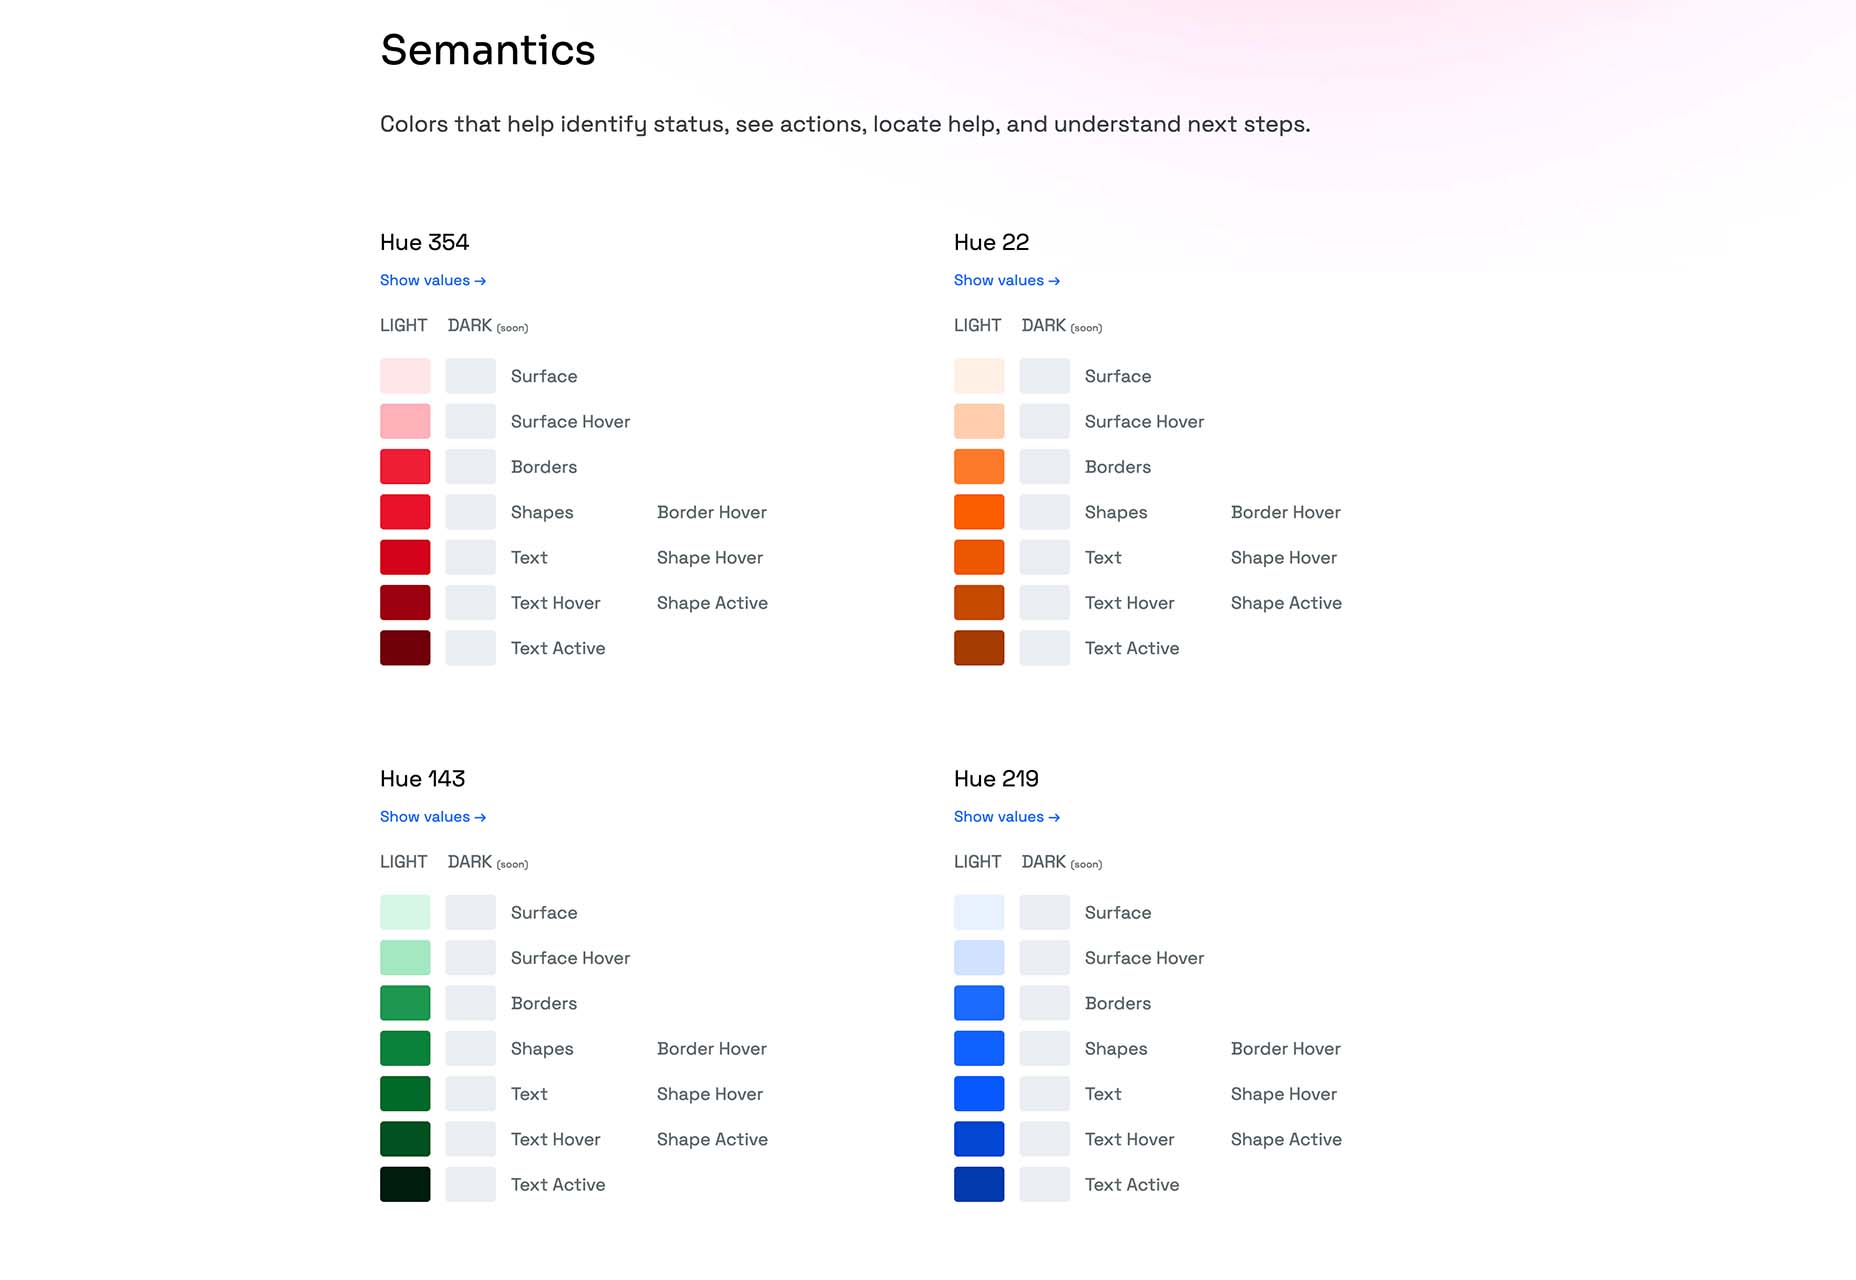
Open Source Color System is a set of palettes that include carefully picked colors to help you overcome interface challenges. For example, it is one of the only color tools out there that includes palettes for light and dark modes. It’s also designed with accessibility in mind to help you create a complete and usable system.

Cowsay

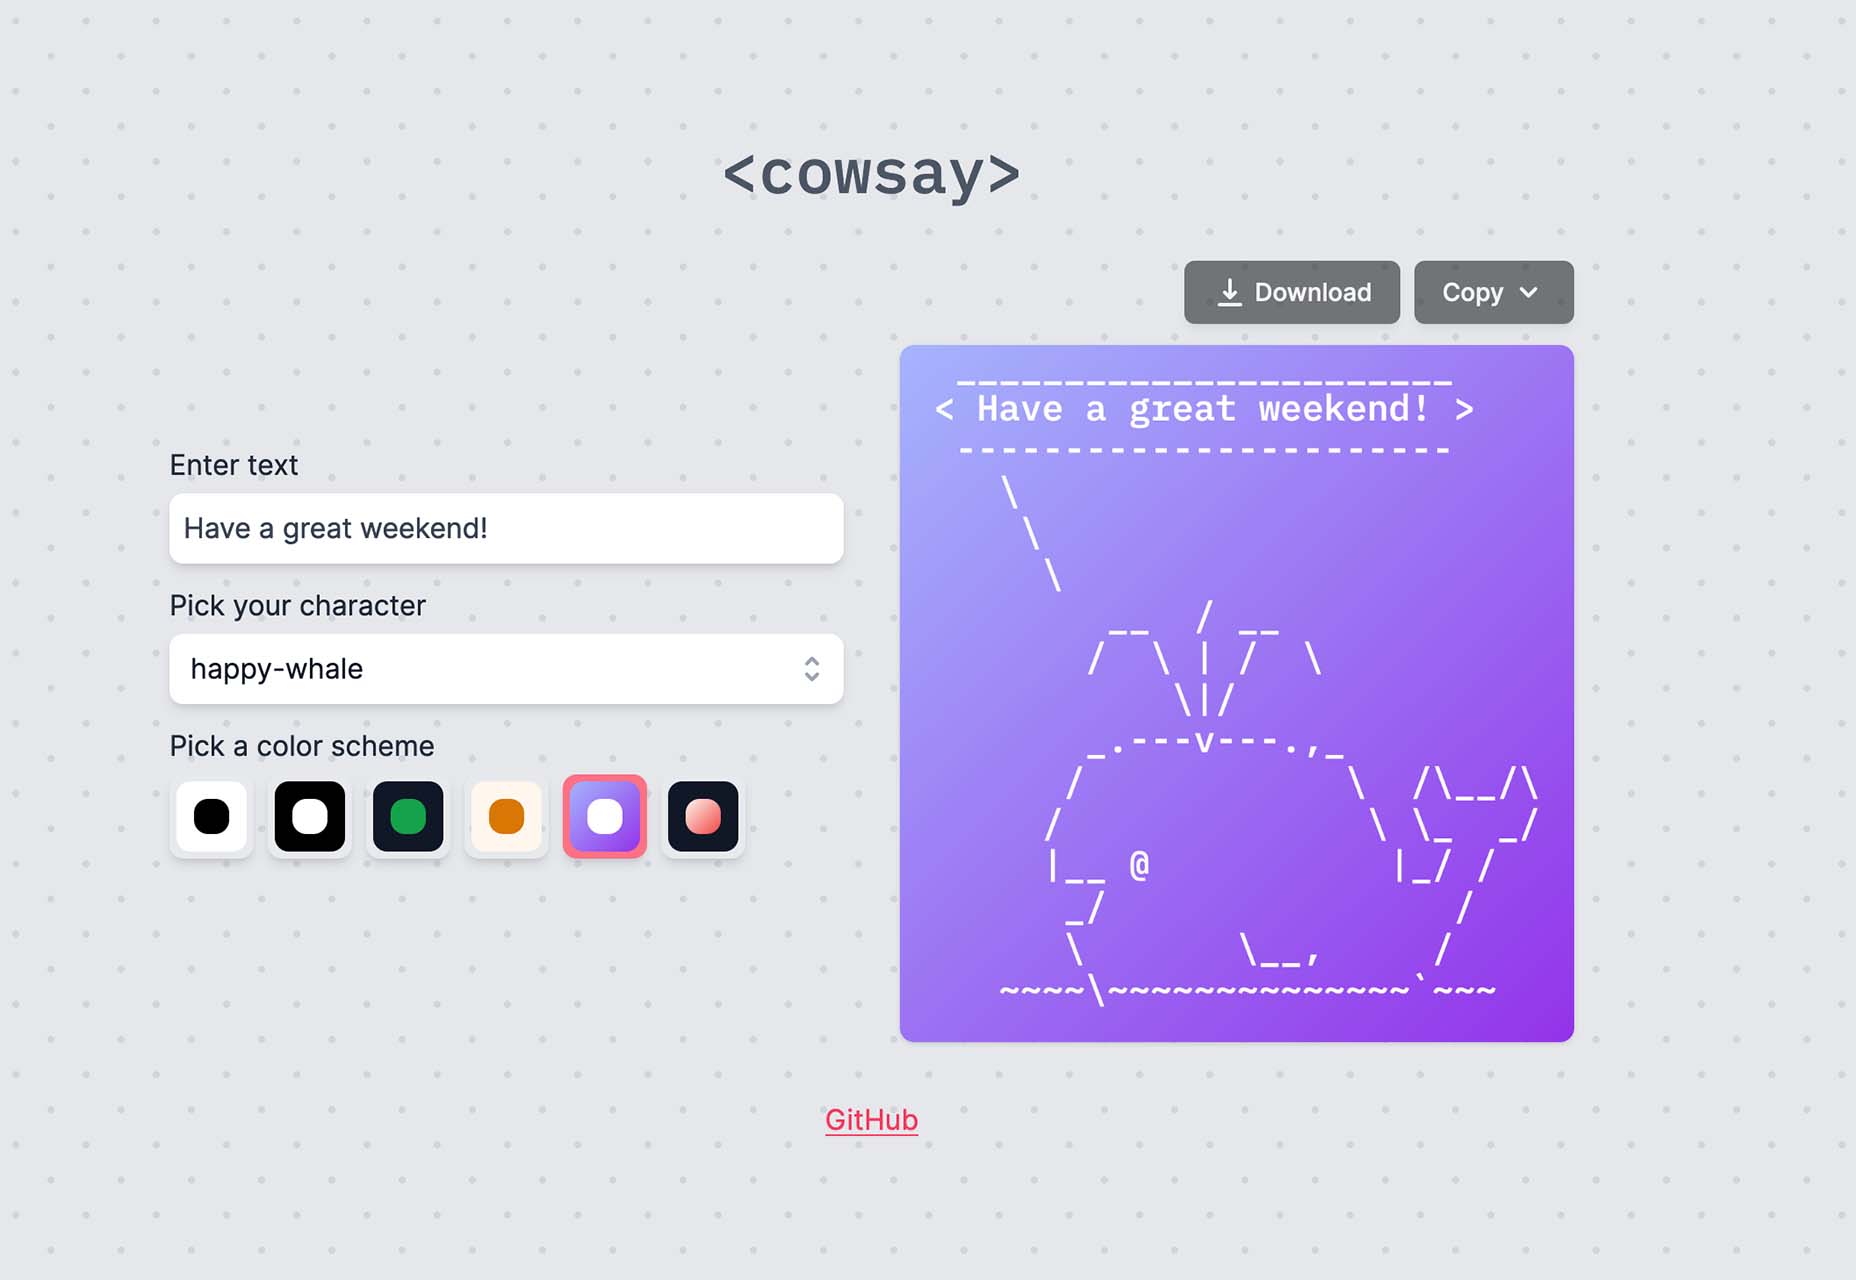
Cowsay is a nifty little web interface of the same name made with Svelte and HTML Canvas. Play with it and then copy your art as ASCII or an image.

Minze

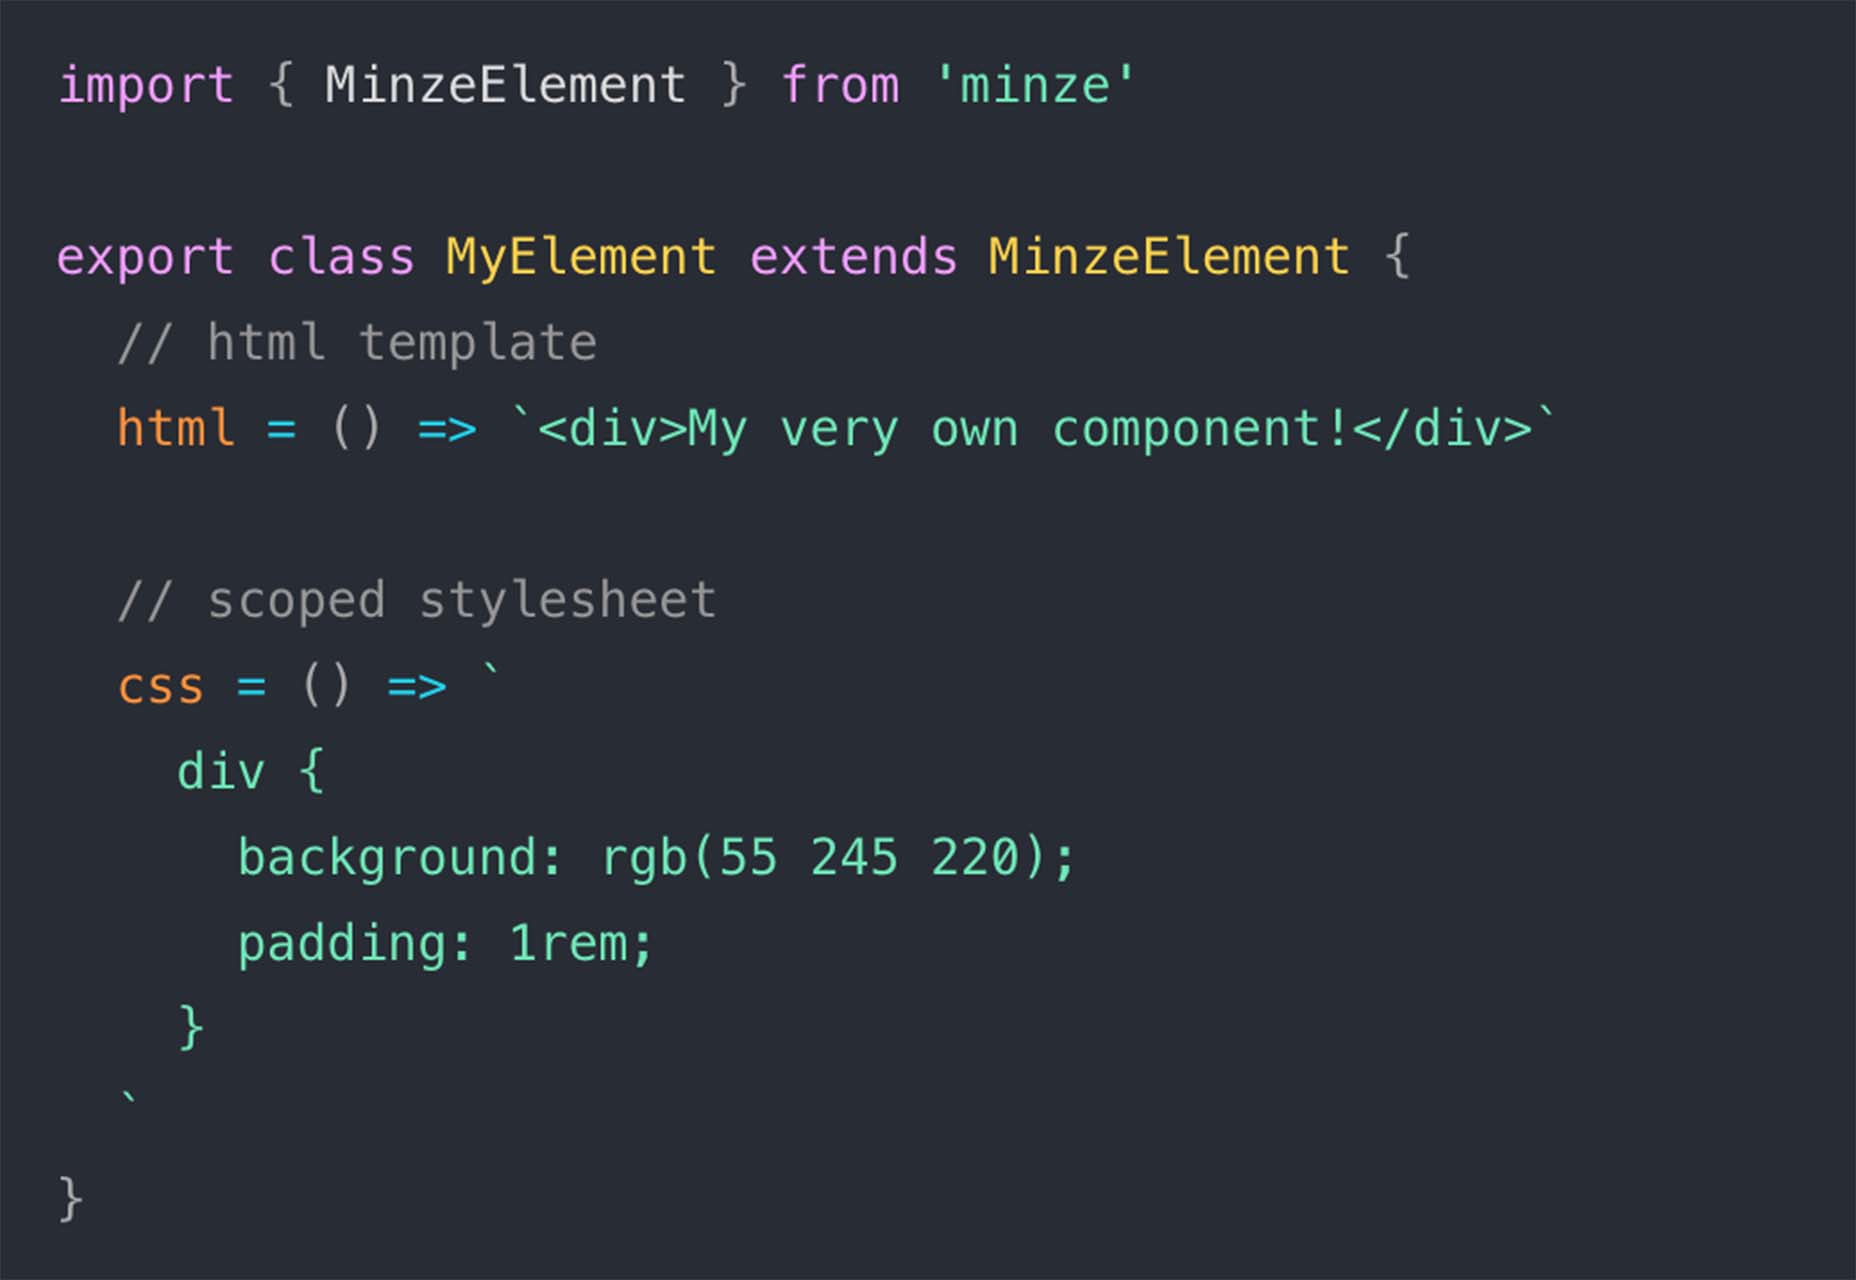
Minze is a simple JavaScript framework for native web components. It’s tiny and fast, modern, shareable, framework agnostic, and uses TypeScript to scale your component library. Plus, you can get started with it right away.

Tally

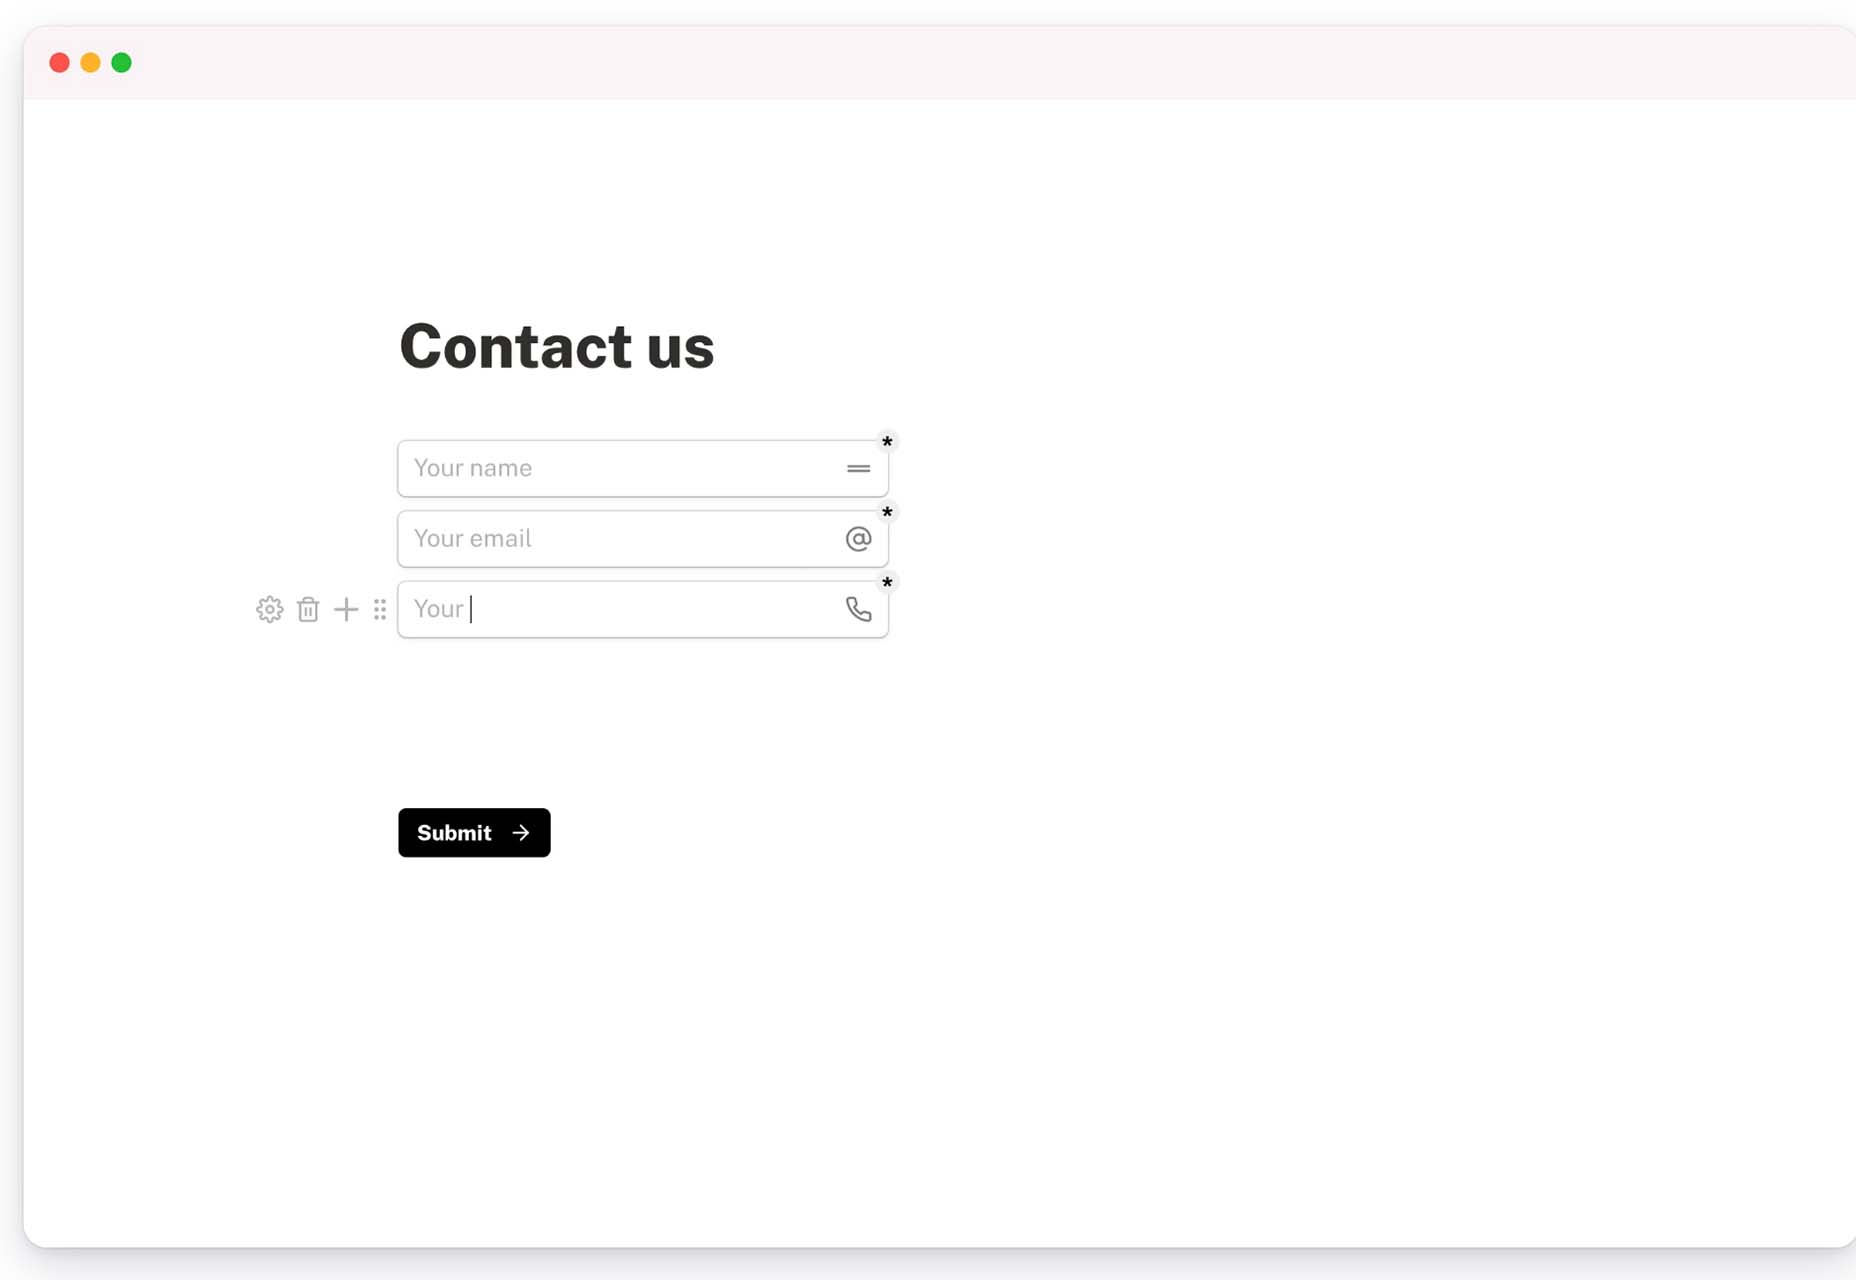
Tally is a simple – and free – online form builder. You can use it without coding, and it works like a document file, so there’s no learning curve. You can create unlimited forms, integrate with other tools, set logic, collect payments, and more. There’s a pro version as well if you need even more features.

Hue.Tools

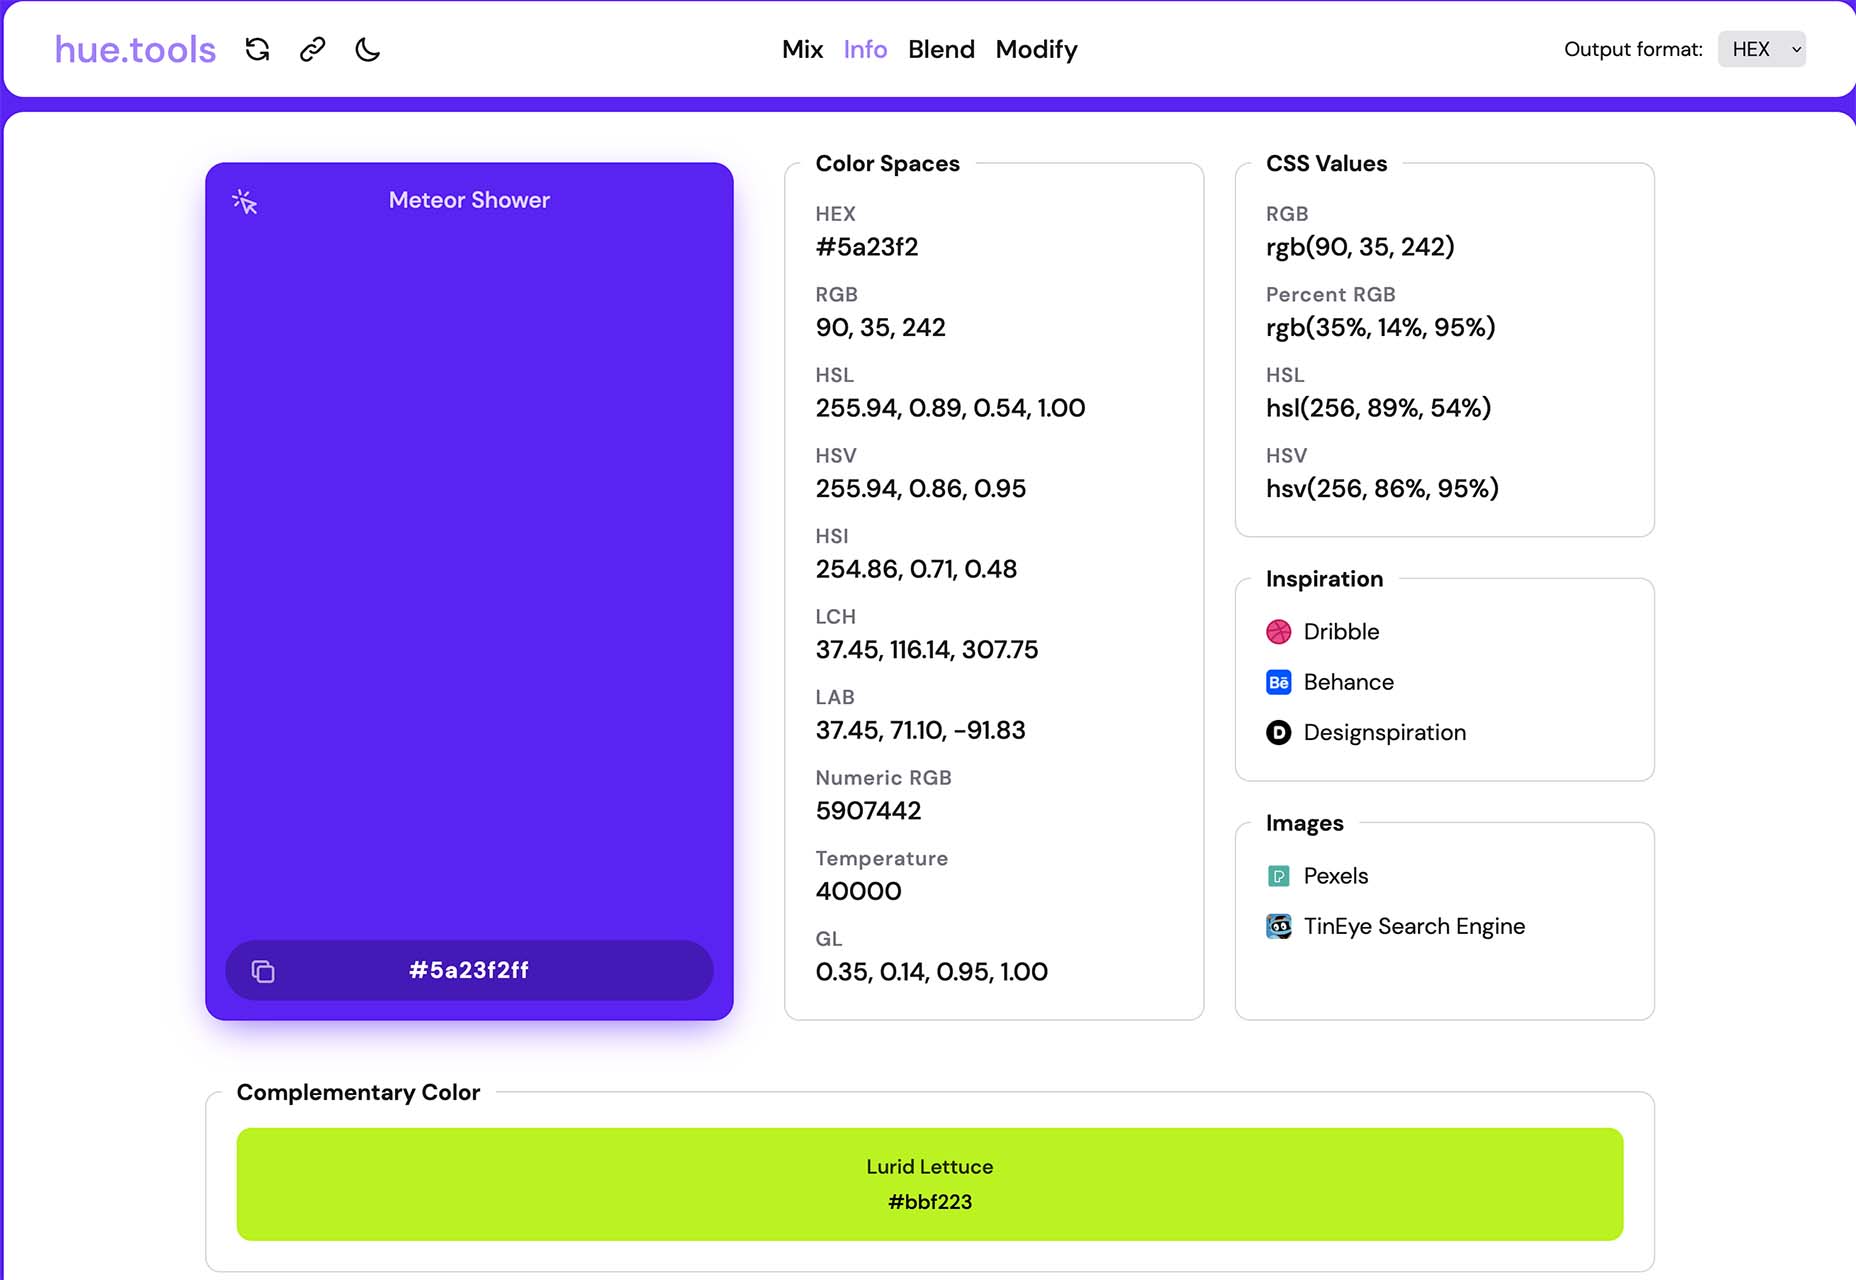
Hue.Tools is another color tool to help you maximize effort when creating palettes. Generate a color you like, see specs and values in all the different color spaces, inspiration from design sites, and colors that work with it. It’s fun and functional.

Sturdy

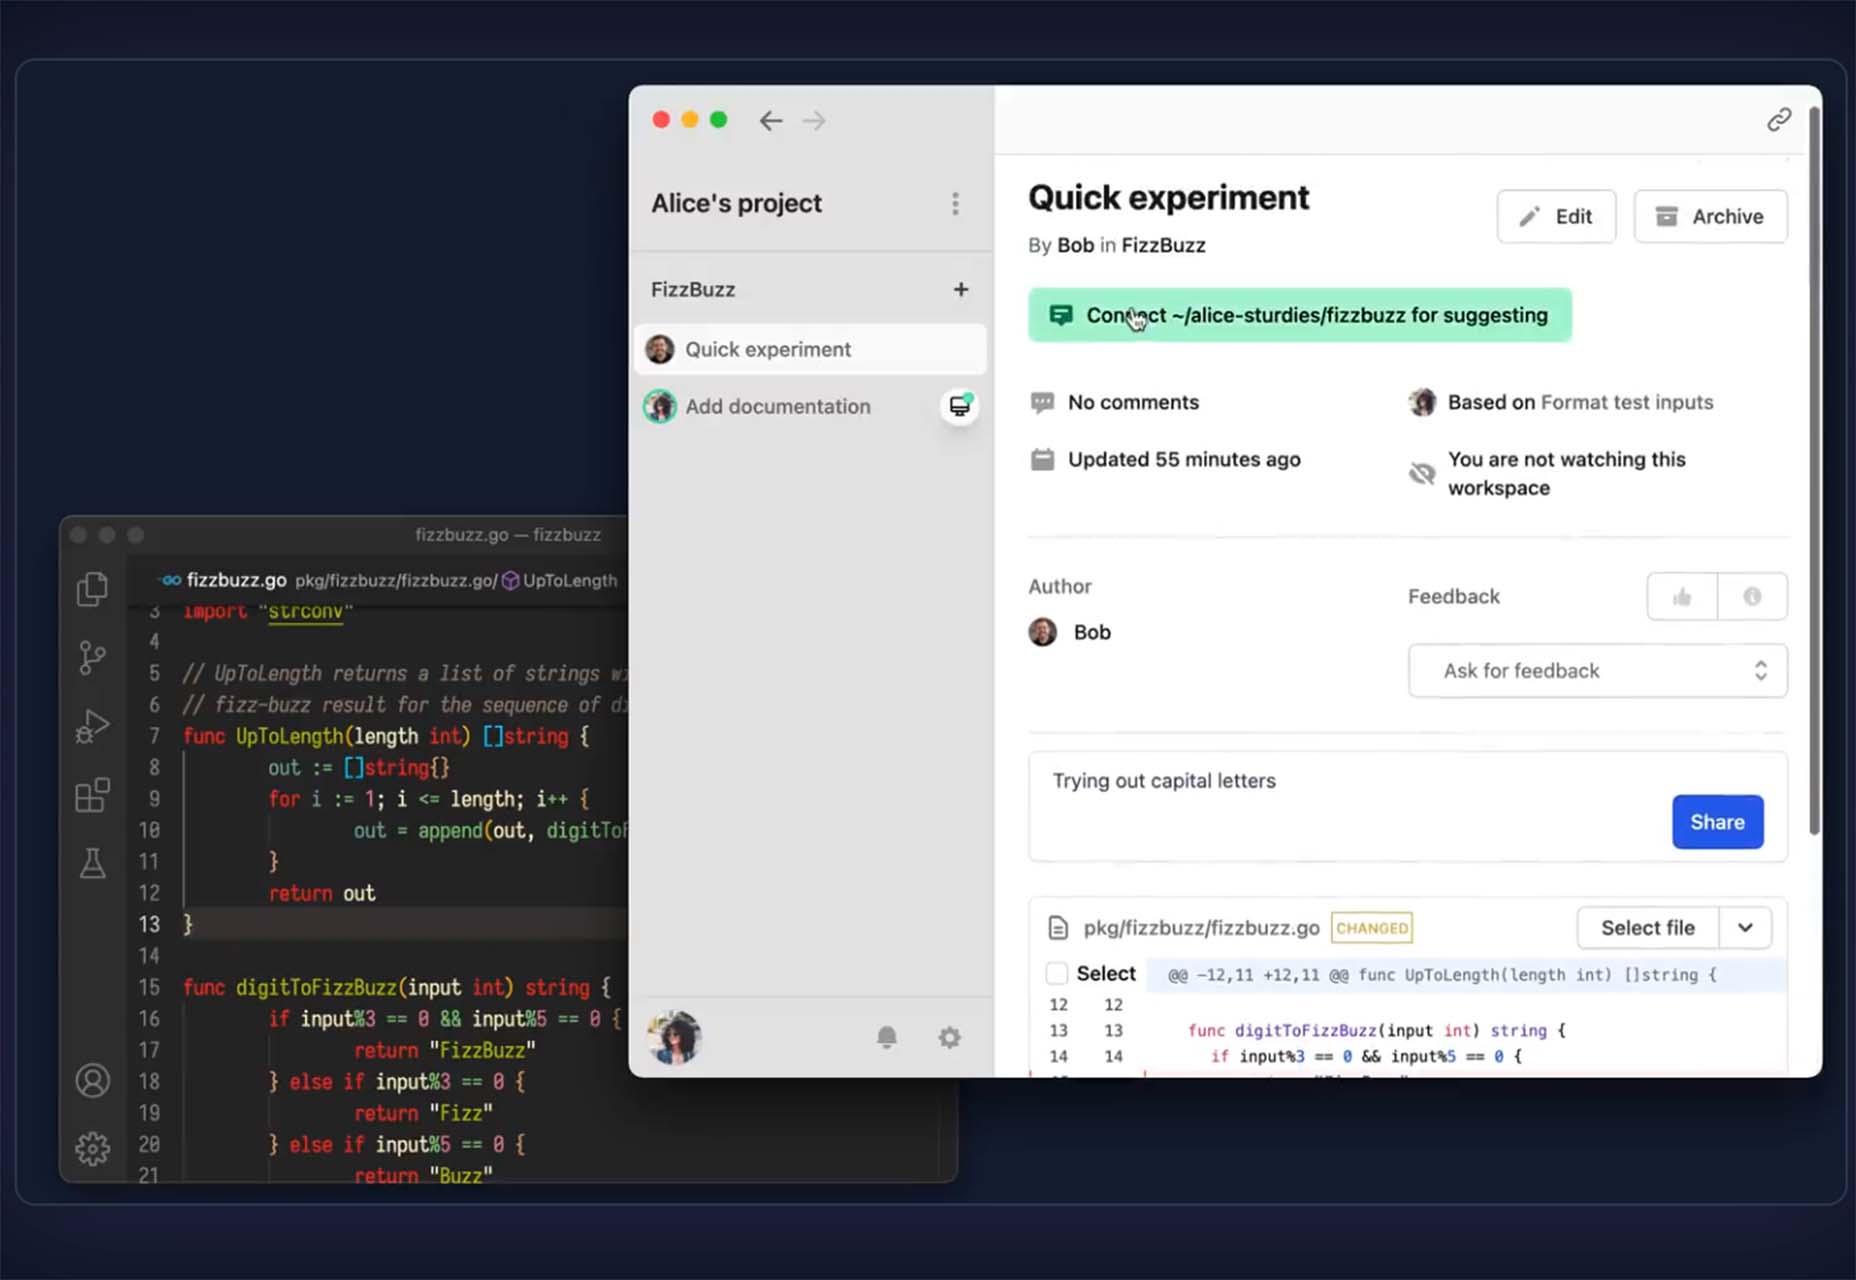
Sturdy is a low overhead code collaboration platform for fast-moving teams. With Sturdy, you work in the open with your team. Discover and interact with draft code as it is written. Those team drafts are like live pull requests (Figma or Google Docs) but using your local editor.

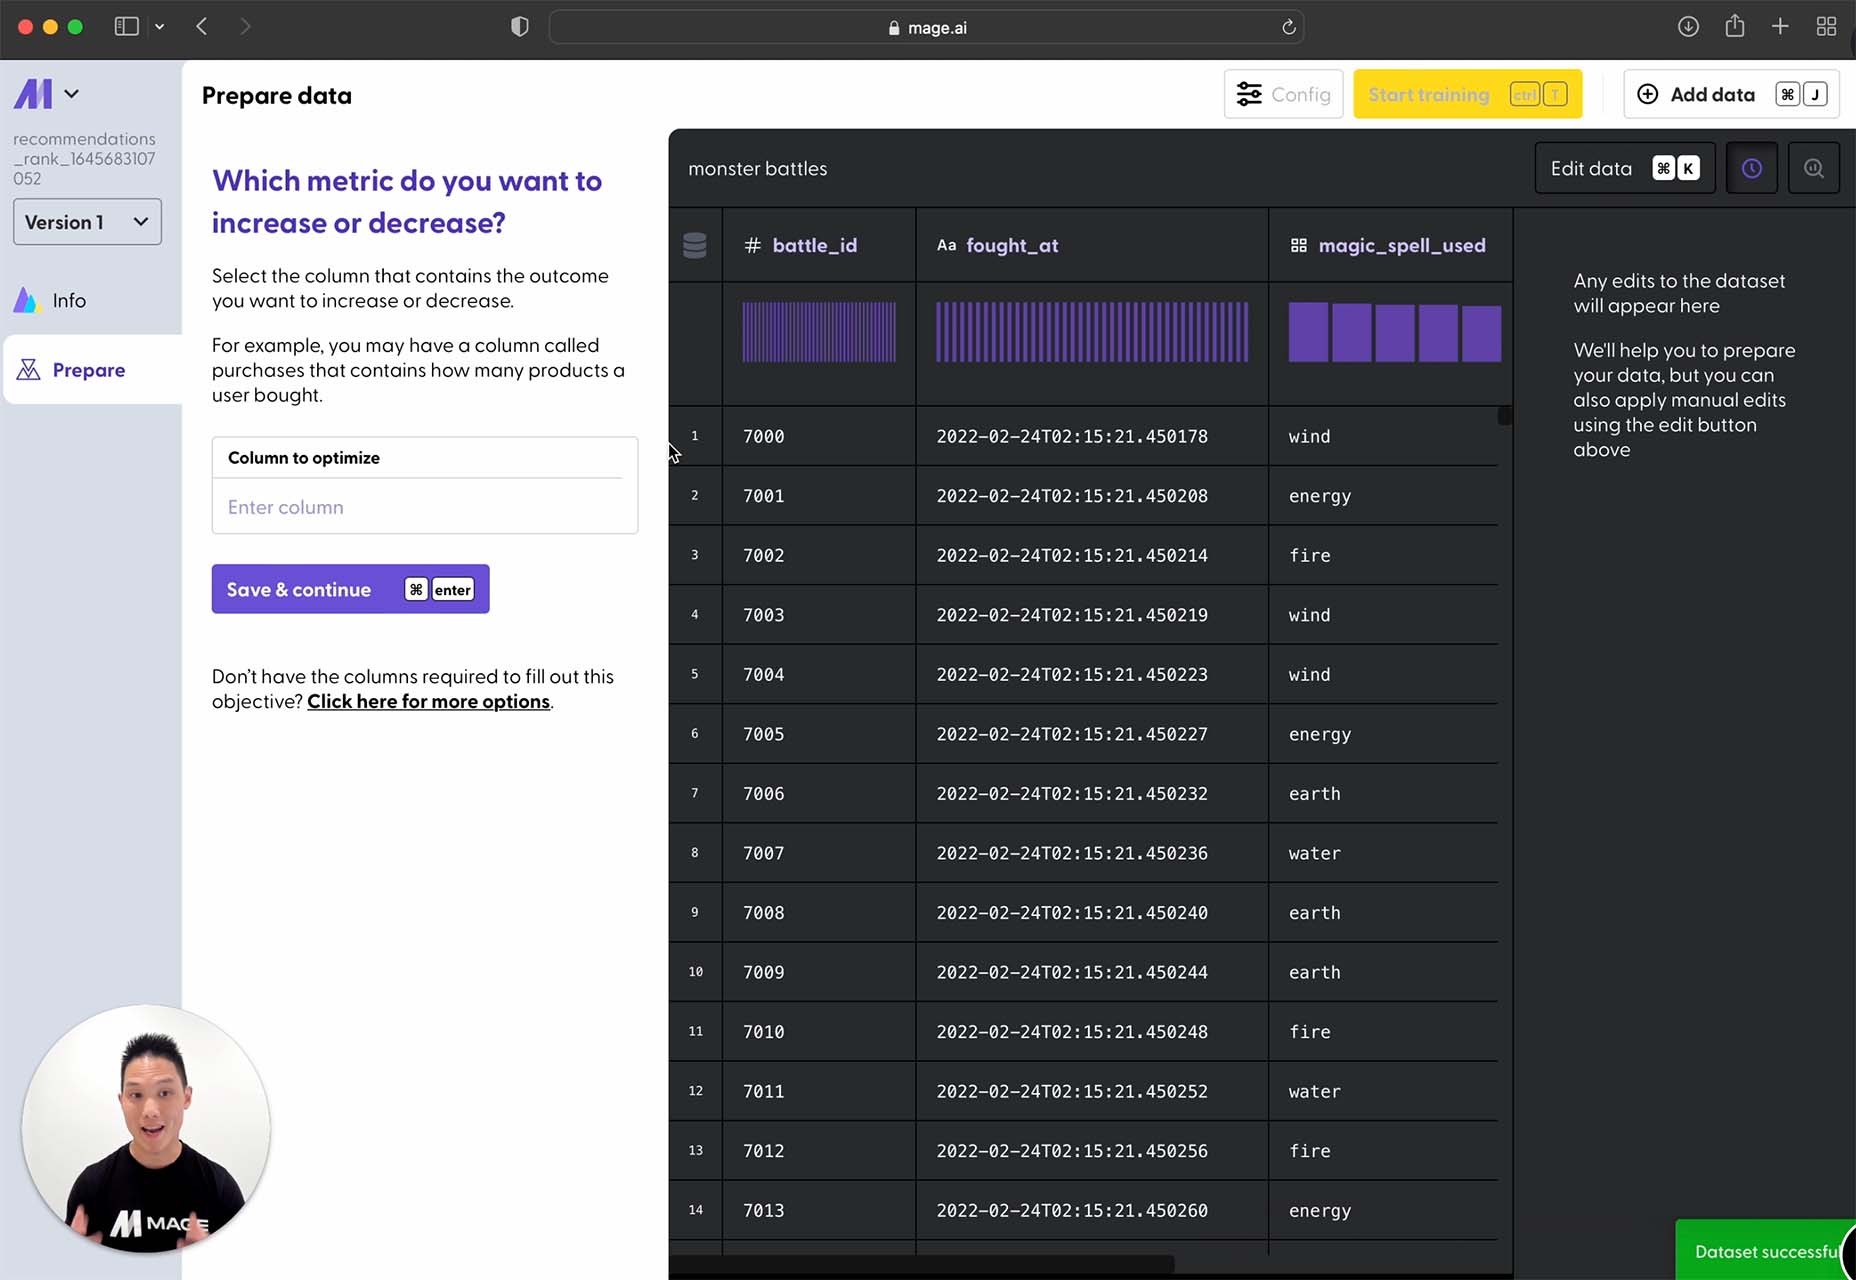
Mage

Mage is a tool that transforms your data into predictions. Build, train, and deploy predictive models in minutes with no AI experience required. This is a premium tool, but you can try it for free.

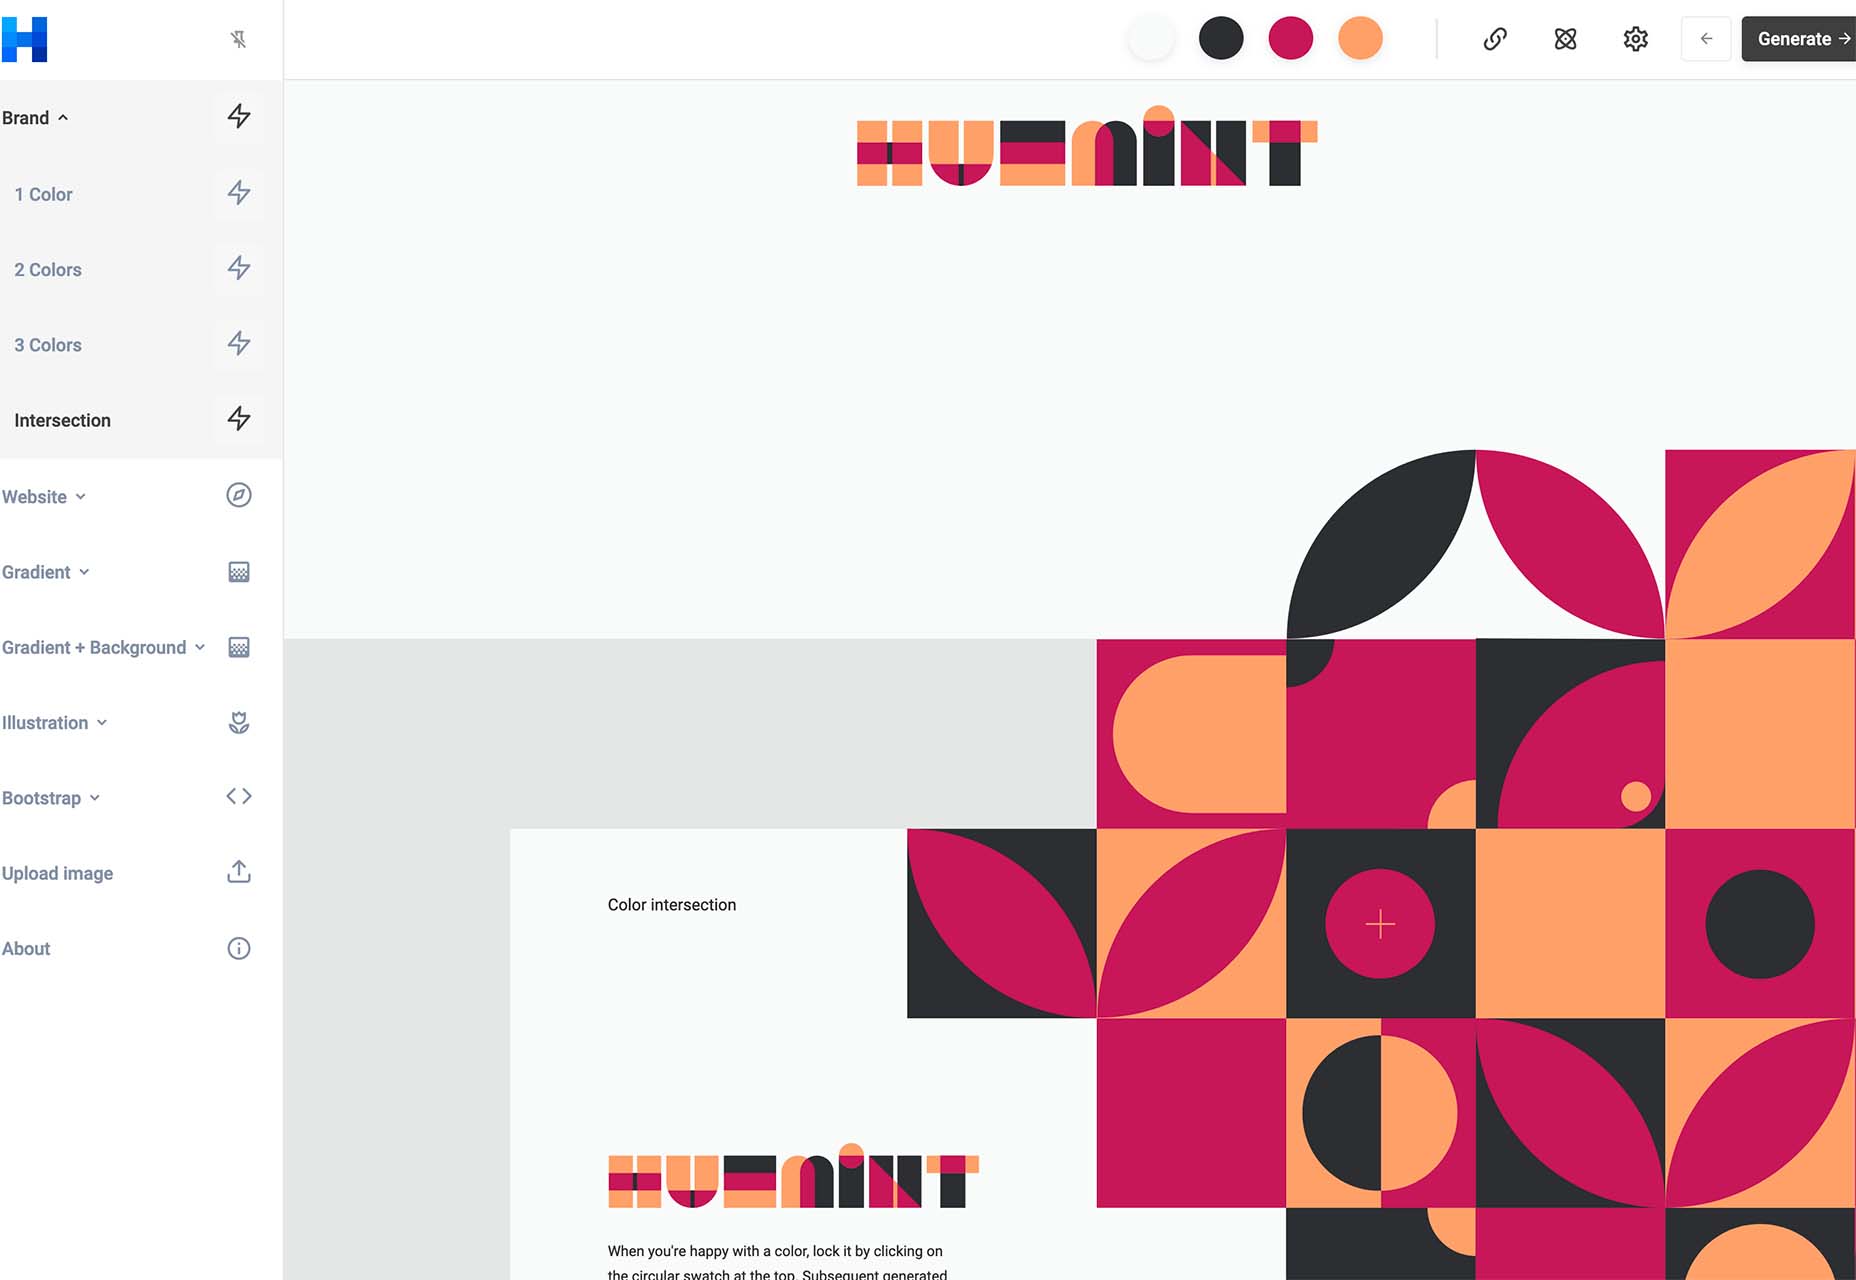
Huemint

Huemint is a machine-learning-based color scheme generator for websites, graphics, and branding. There are many options to play with, and you can generate some pretty interesting combinations that ordinarily you might not think of.

CSSUI

CSSUI is another tool you’ll love because it includes pure CSS interactive components without any JavaScript. It’s easy to customize, uses standard HTML, is easy for all levels to use, is tiny and fast, and supports pretty much all modern browsers. It’s an open-source tool that you can download and use immediately.

UI Icons Line – Free

UI Icons Line – Free is a set of 1,000 free vectors for use in your projects. Who doesn’t need a robust set of icons?

Skill Icons

Skill Icons is a set of icons to help you showcase your design and development skills on your resume or GitHub. They all look great and match.

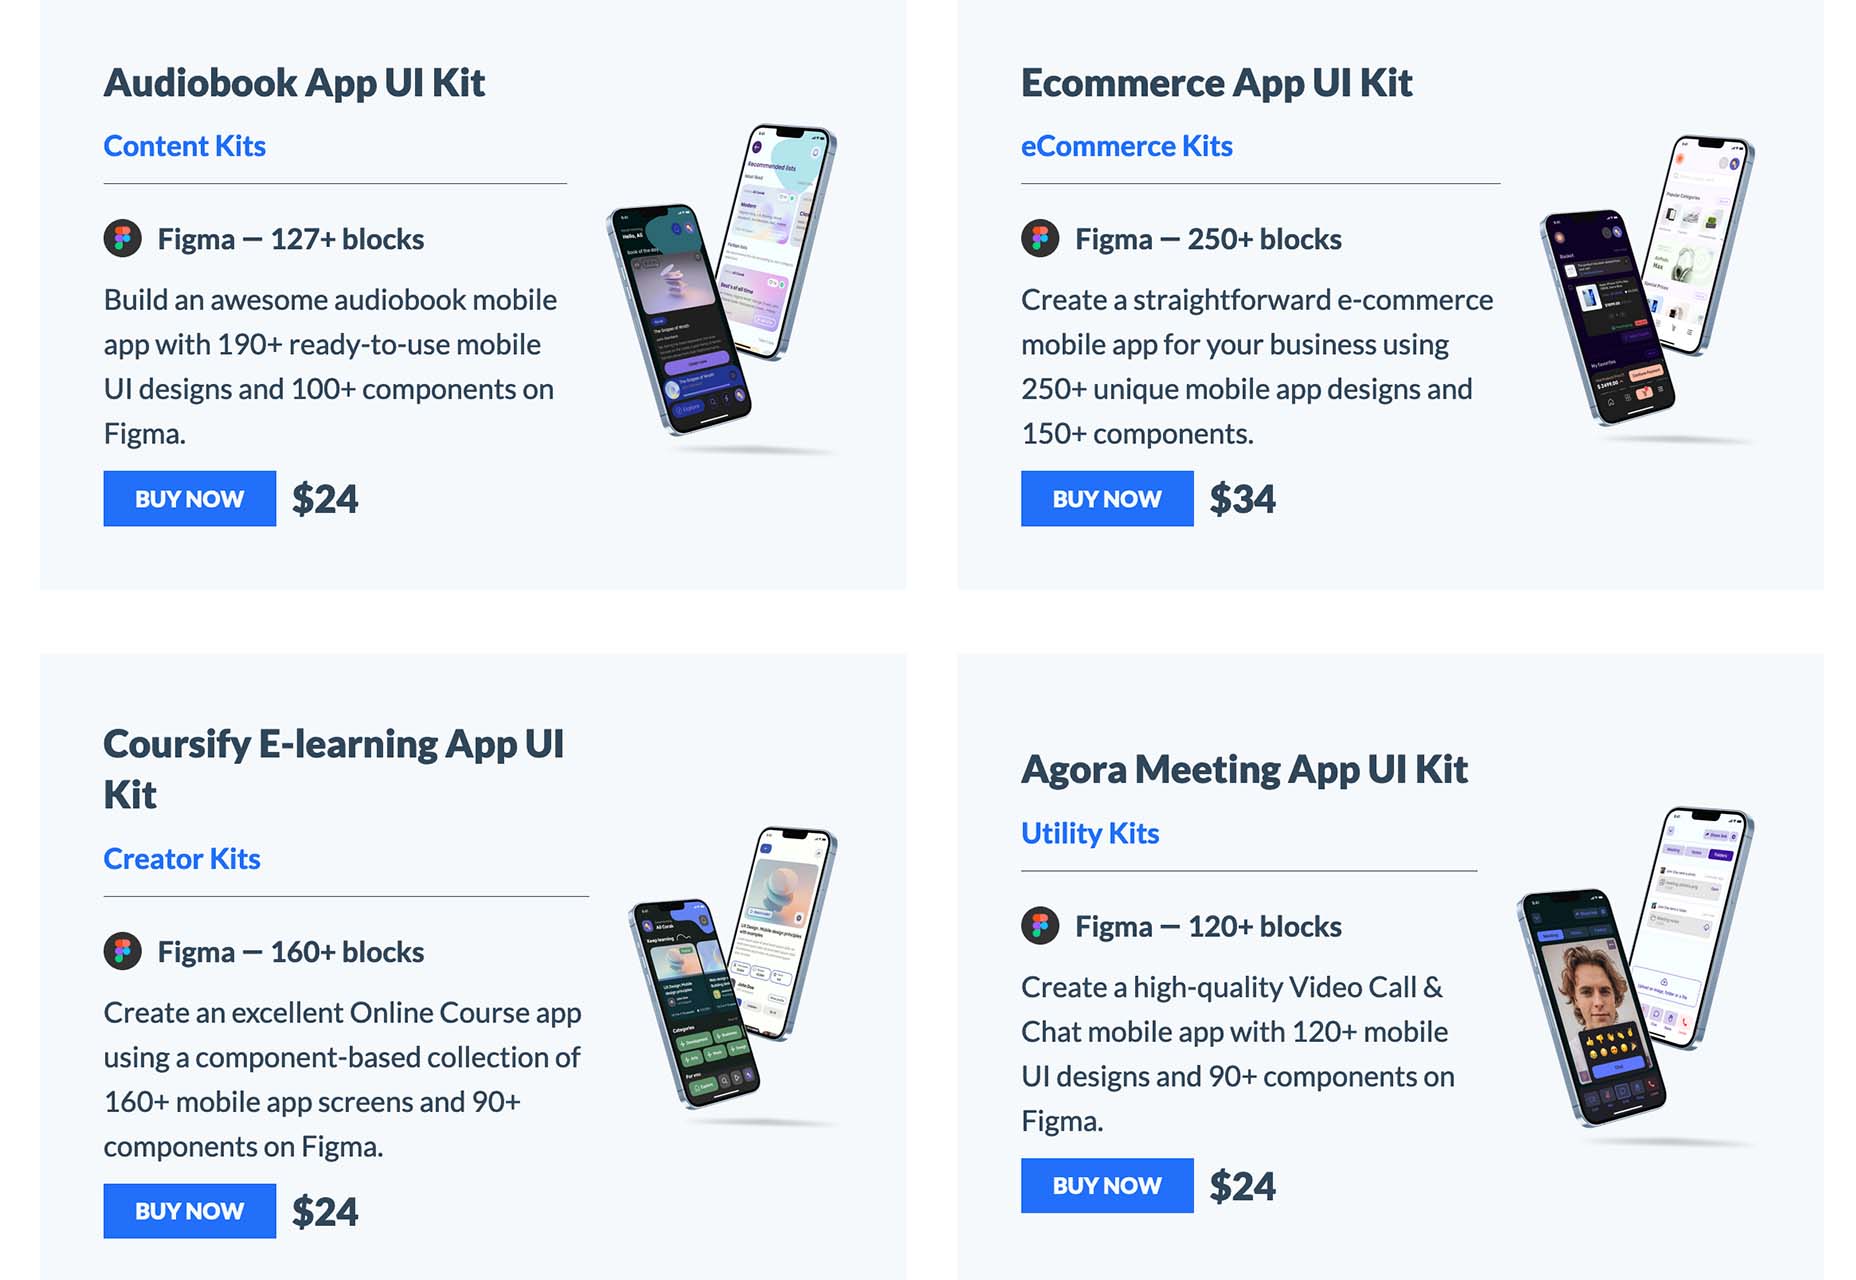
Ambient Design

Ambient Design is a mobile app design market where you can get mobile UI kits for Figma. Purchase kits separately, or buy quarterly or yearly plans to access all current and future UI kits.

TextFrame

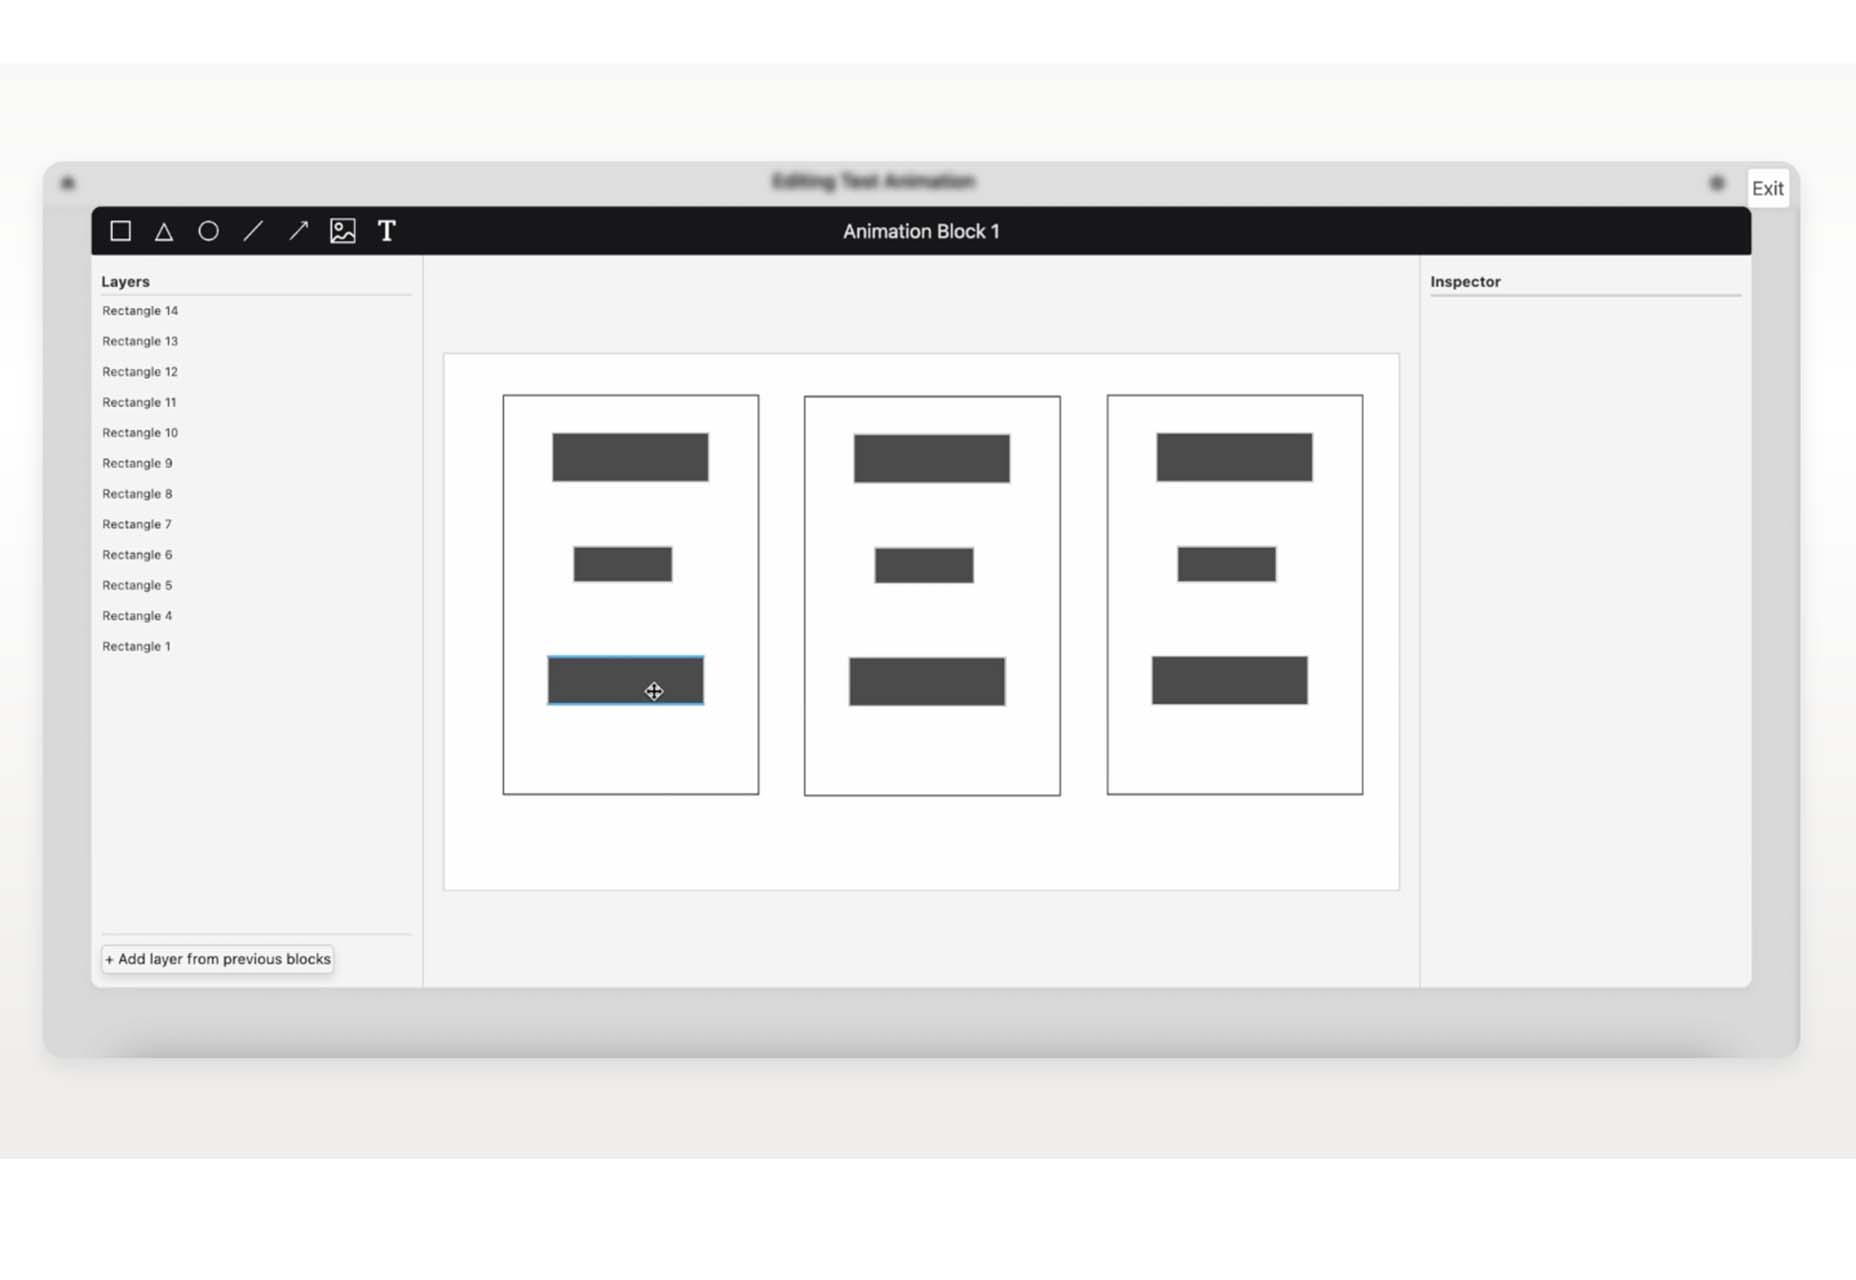
TextFrame lets you create animated tutorials for your users to get the help they need. It integrates directly with WordPress or any other website with just a couple of lines of code and includes plenty of customizable options to make it easy for you to help others understand how to use the website. The tool is free for one site and just a few bucks per month for additional sites.

Booqsi

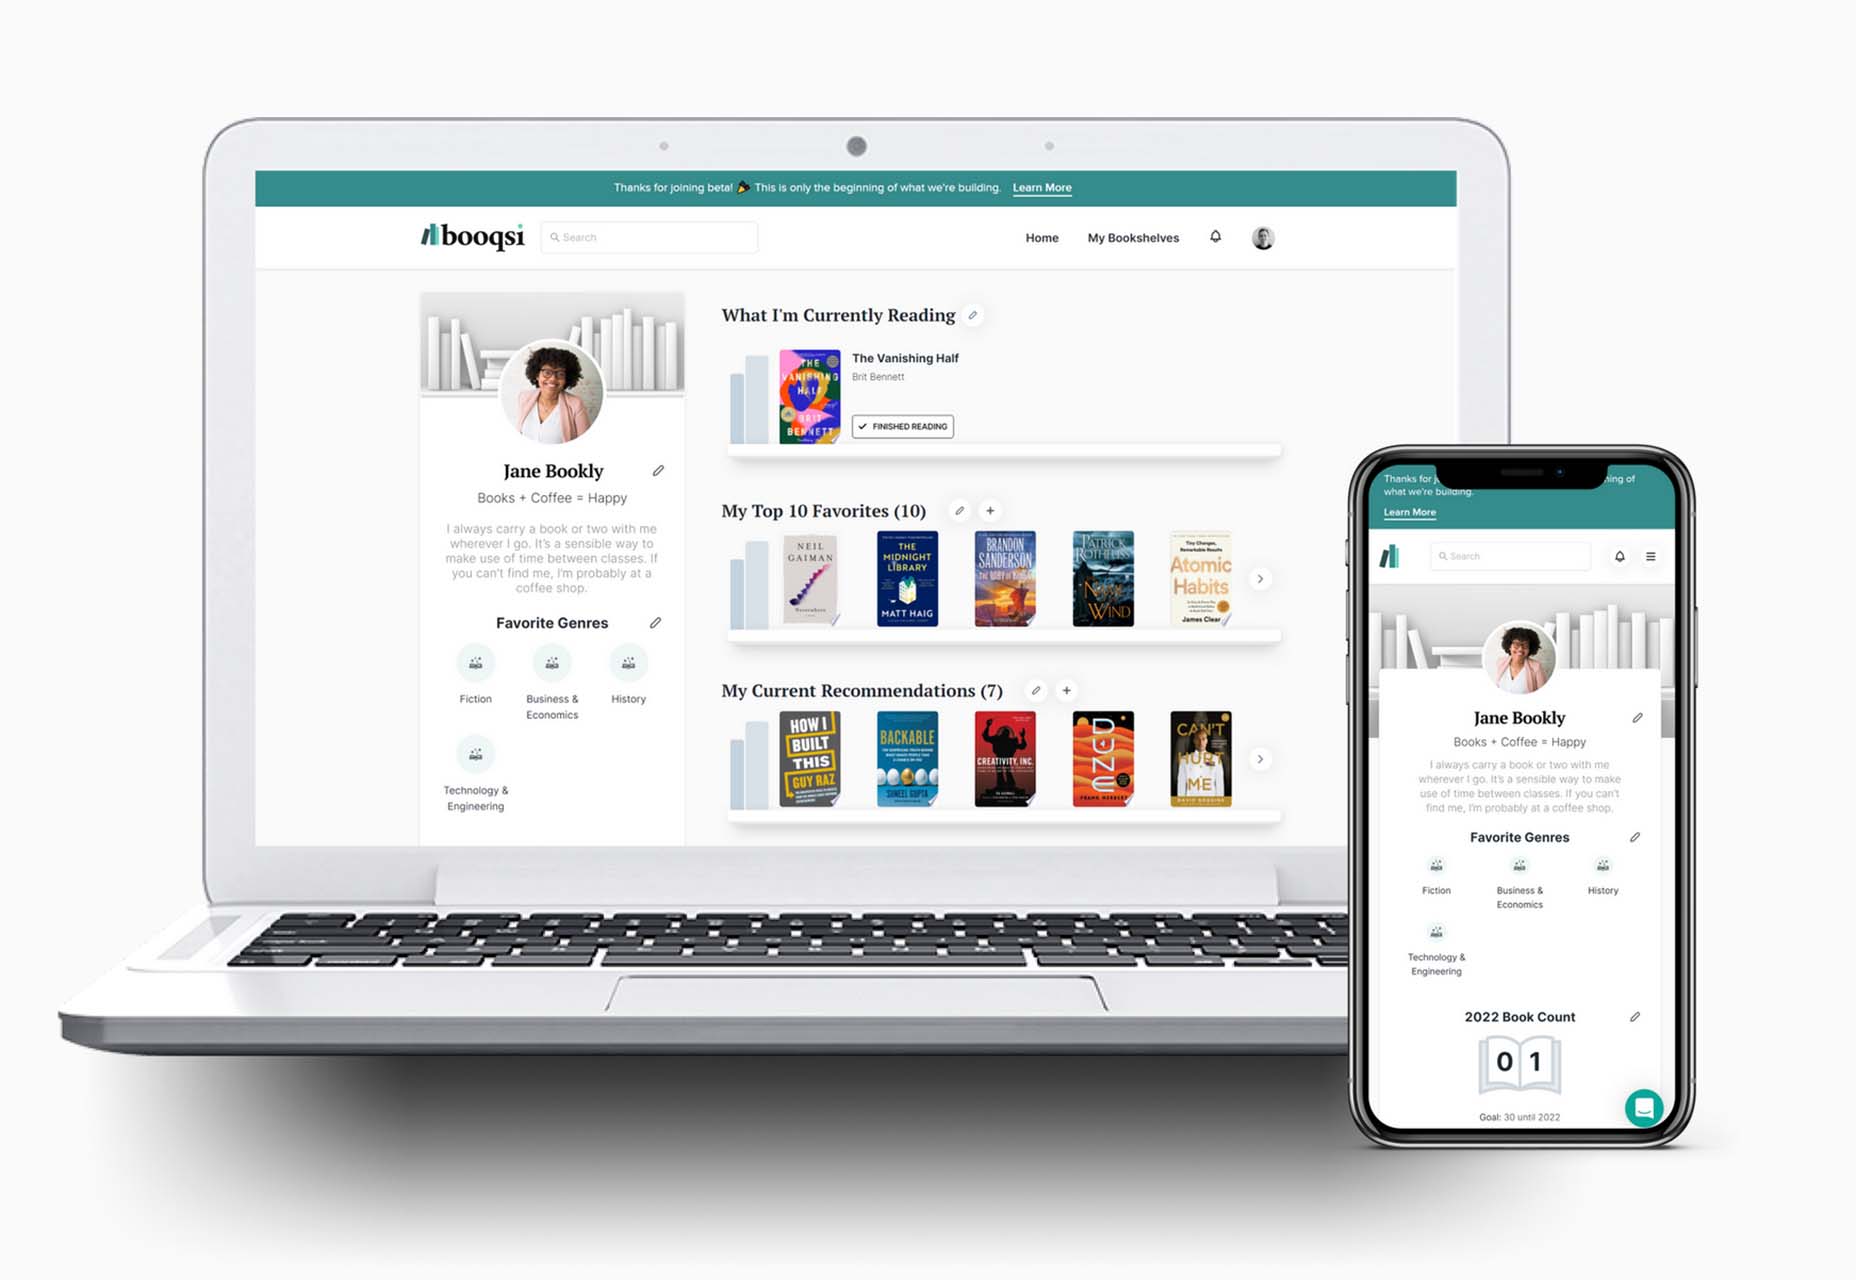
Booqsi is a fun new social media network for book lovers. The platform is still in beta and lets you save and share books, create shelves for reading, and doesn’t force a connection to Amazon. It’s just all about the books. And there’s a bonus: every link from the site goes back to bookshop.org to help you find and support local bookstores.

Stylo

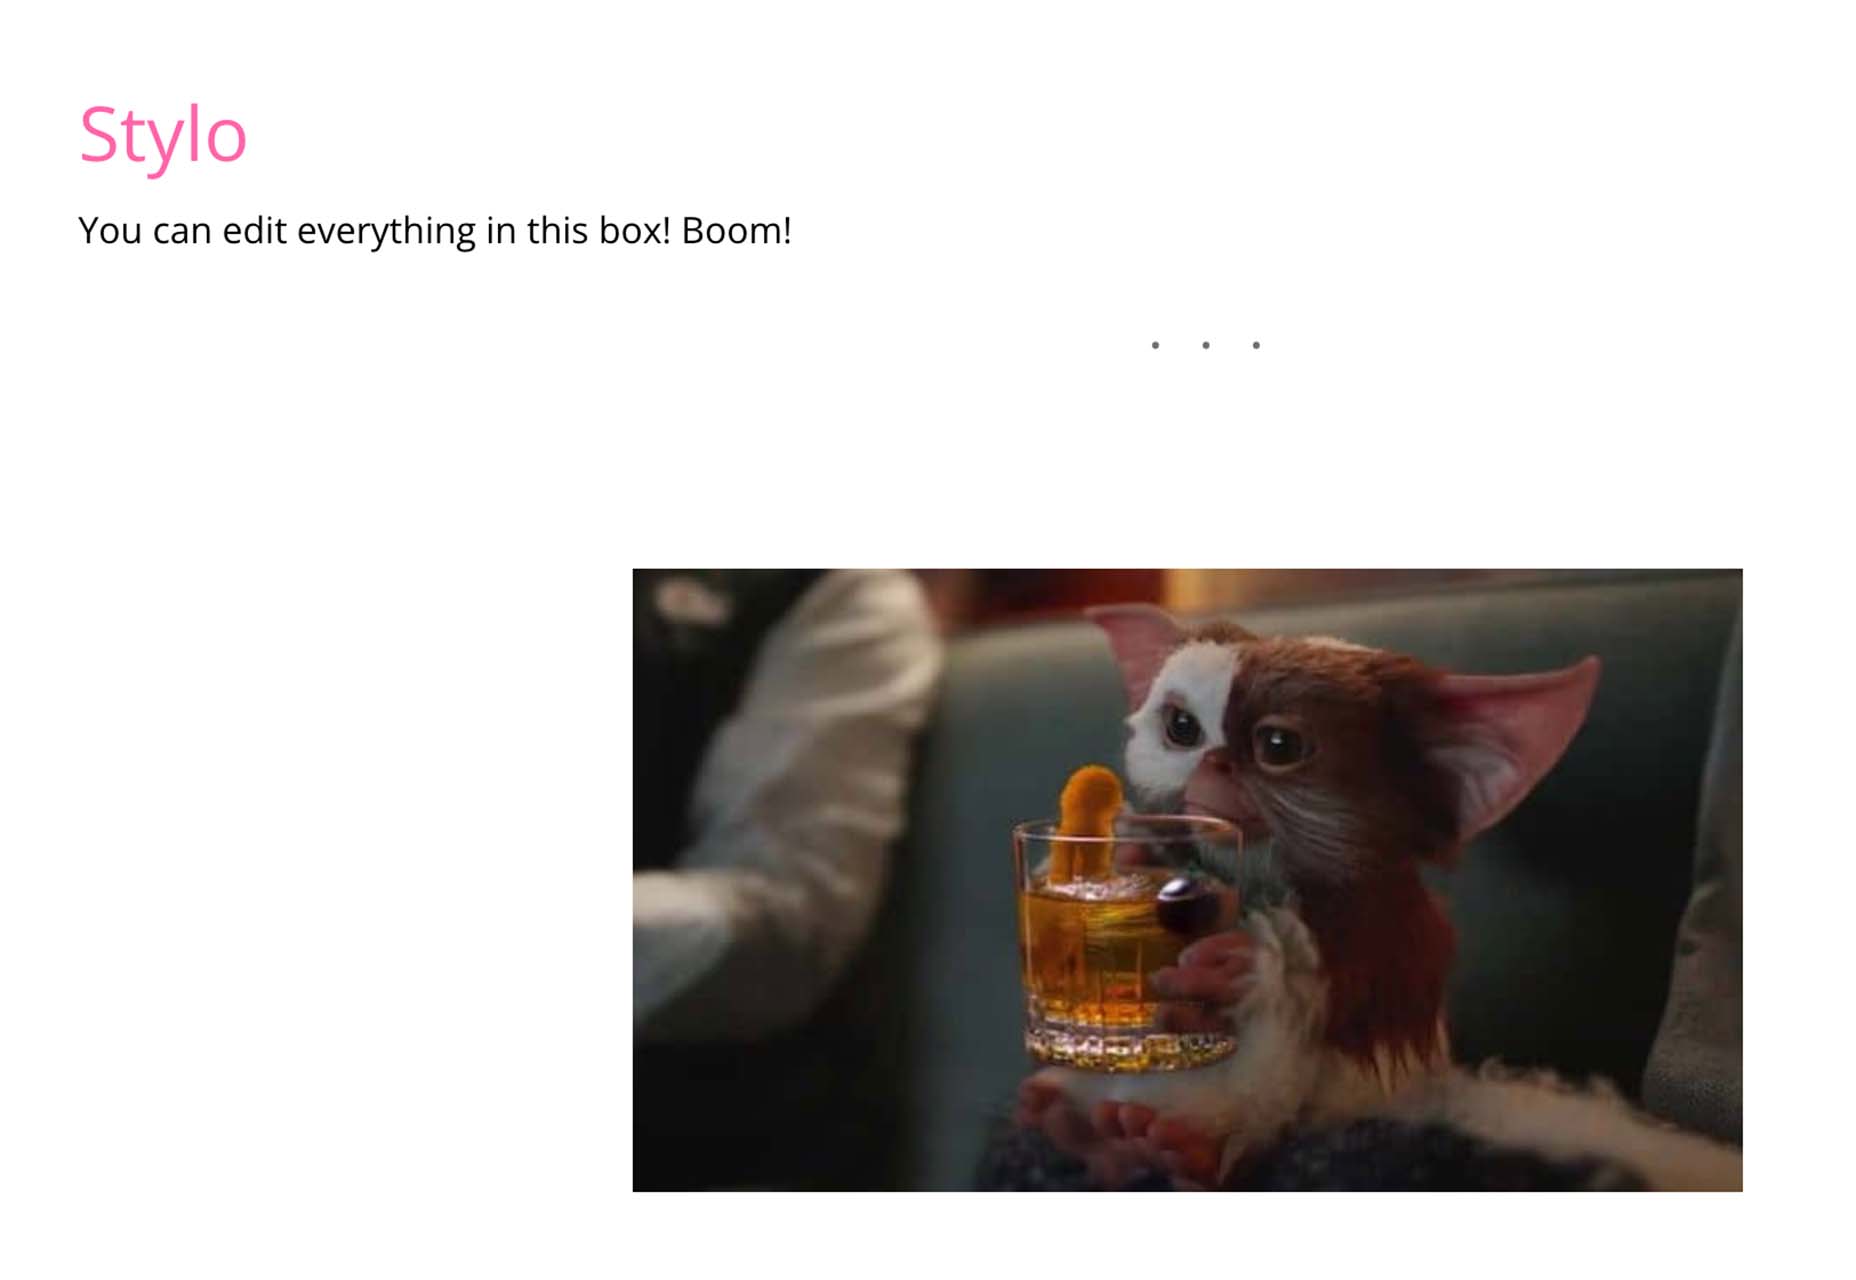
Stylo is an open-source WYSIWYG interactive editor for JavaScript. It is made to bring great user experience and interactivity to the web, for everyone, with no dependencies. It has an interactive design, is customizable, and is future-proof.

Tutorial: How to Favicon in 2022

How to Favicon in 2022 is an excellent lesson on the five icon files every website needs (plus one JSON file). If you are creating more than that, this is a must-read.

Tutorial: Creating Generative SVG Grids

Creating Generative SVG Grids is an in-depth, step-by-step tutorial for anyone who wants to create a more artistic SVG. It uses a handful of tools, including SVG.js, Generative Utils, TinyColor, and GSAP.

Fromage

Fromage is a new and beautiful premium typeface family from Adam Ladd. It includes 14 styles with an interesting serif and alternative sans option. The high-contrast design is great for a variety of projects.

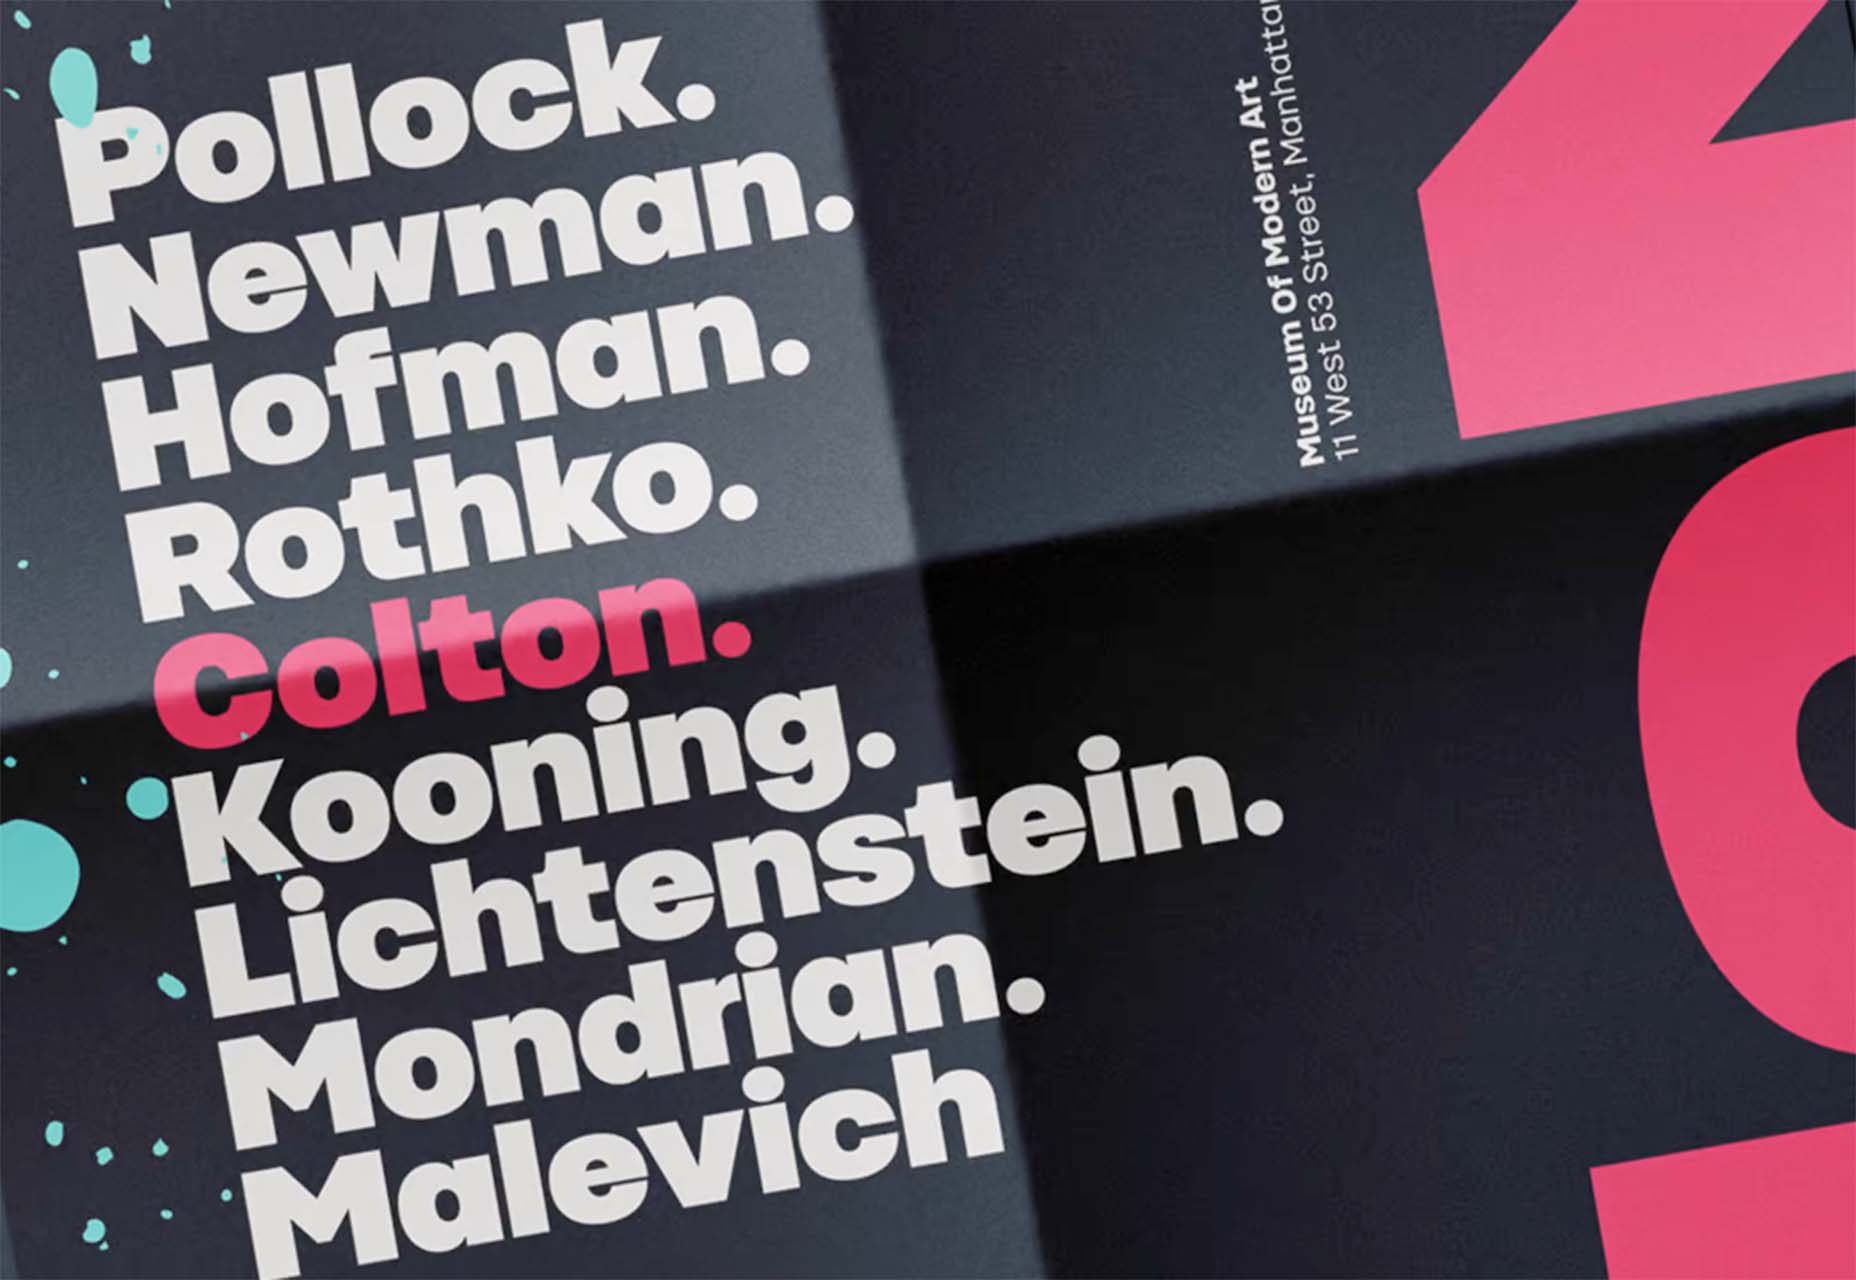
HD Colton

HD Colton is a premium super sans serif typeface with a whopping 91 styles and family package options. It would make a bold statement as a display option.

Source

The post Exciting New Tools For Designers, March 2022 first appeared on Webdesigner Depot.

Source de l’article sur Webdesignerdepot

The fourth edition of MUXL (Mobile UX London) conference kicks off on the 21st of March, and you could win one of four free passes to the five-day digital event.

Running from the 21st of March to 25th, MUXL is a digital festival of UX and design, entirely online, meaning you can attend remotely from anywhere in the world.

The digital festival is themed around design systems, human-centered design, service designing the future, and UX psychology. MUXL features talks and live panels Q&A Monday – Wednesday, interactive workshops taking place on Thursday and Friday, with global networking opportunities throughout.

Speakers include senior UX researchers, managers, design strategists, and designers at companies including Google, IBM, Microsoft, Disney, and more…

MUXL is an excellent opportunity for UX designers of all levels to improve their skillset, make connections, and find inspiration.

Tickets are available now, but we have four Festival Passes to give away, and all you have to do to be in with a chance of winning is make sure you’re signed up for our weekly newsletter before the 14th of March. And don’t worry if you’re already a subscriber, you’ll be automatically entered into the draw.

We’ll select four winners at random on the 14th of March. Good luck!


Featured image via Pexels.

Source

The post Competition: Win One of Four Free Online Passes to MUXL first appeared on Webdesigner Depot.

Source de l’article sur Webdesignerdepot

Creating and sending business proposals can be a lot of work. However, if you have the right tools and knowledge, you can quickly create and send high-converting proposals that your clients will love. 

This article will explain how to create a fantastic business proposal that looks great and gets signed quickly. Although we’re focussed on design, our tips apply to every industry and type of business.

1. Know When to Talk About Yourself

One of the most common mistakes people make is starting the proposal by talking about themselves. 

You might be surprised to know that clients spend the most time on the introduction chapter, so it’s essential to use it right. You need to set the right tone by explaining to your clients how your solution will help them achieve their goals. 

They want to hear the benefits and feel assured that you’re the best choice for them. If you start the proposal by talking about your company and the values you believe in, you’ll lose the attention of your clients. 

In most cases, the clients have already researched you and know the points you make in your PR releases.

Once you explain your process and the time scales, you can introduce your team and talk about the company. Just make sure it’s short and sweet. 

2. Divide Your Proposal into 6 Sections

Sending a one-page proposal will only confuse your clients and won’t incentivize them to reach out. The best way to format your proposal is to create six sections. 

This should include:

  • Introduction
  • Process
  • Timescales
  • Pricing
  • Next steps
  • Terms and Conditions

You need to showcase what their future could look like if they work with you, listing all the benefits as well as explaining the next steps. You need to write down what happens if they don’t agree with some parts of the proposal, what will happen when you reach an agreement, how much they have to pay, and more. 

Be clear on your follow-up process to speed things up. 

3. Use a Dedicated Proposal App

If you’re someone who fires up MS Word and hopes for the best, your proposals probably don’t get a lot of traction. That’s because you’re spending too much time reinventing the wheel. The best jumping-off point for your proposal strategy is choosing the right app. It will help you automate and speed up the whole process. 

Different solutions suit different people, but some of the features you might want include: 

Digital Signatures

The digital signature option helps you get your proposals signed faster and turns your proposals into legally binding documents. This significantly reduces the agreement time since your clients no longer have to print out your documents, scan them and send them back.

Integrated Payment Methods

Speed up your payment process by choosing the proposal software that has a payment option that allows clients to pay as soon as they agree to your terms and conditions. It can significantly decrease the time it takes to get paid. 

Sales Tool Integration

For an even more straightforward sales process, select a proposal tool that has native integrations with your sales CRM and other sales tools. 

Proposal Analytics

Proposal analytics can help you in the follow-up process. They show when your proposal was opened, on which device, and how much time the client spent on each of the sections. 

Content Library

The content library lets you save any part of the content (text, pictures, videos, terms and conditions, pricing table) for easier access in the future—no more copy and pasting huge chunks of text. 

An Easy-To-Use Editor

In order to be able to create any documents with your proposals software, their editor needs to be very easy to use. If the editor requires design experience, look for a better one.

4. Let’s Talk About Price

When it comes to the price section, there are two significant things you need to look out for: the name of the section and the format of your price.

Naming your pricing section pricing, expenses, or something along those lines cheapens your proposals and makes it seem like a regular invoice. Try naming the section ROI or Investment. It will evoke positive feelings with your clients because if they think of working with you as an investment, they will know that a return on investment is a part of the deal. 

The way you format your prices won’t make or break your deal but can help you speed up the proposal process. Firstly, you need to figure out if you’re going to charge by the hour, based on the value of the project, based on the commission, or something else. 

Once you reach a decision, you have to format the prices in an easy-to-understand and short way. Many companies try to upsell their clients at the very start of their business relationship and create proposals with three different packages. 

We believe that the way you present your prices should be the same as the way doctors prescribe medicine. You need to be the authority on your prices and tell the client what type of package fits their needs. If you leave it up to your client to pick the right package, it will just lead to confusion, and you’ll have to do the extra work to explain the difference to them.

Bonus Tips

Web-based business proposals speed up the signing process. If you make your proposals printable, it will lengthen the time your clients take to agree to your terms and sign them. Make sure your proposals are web-based and have a digital signature option. 

Another tip is to send your proposal as quickly as possible. As soon as you meet with your client and hear them out, start working on your proposal. 

Our last tip is to send your proposal at the beginning of the week. If you send it on a Friday, it will negatively impact the time it takes to get your proposal signed.


Featured image via Pexels.

Source

The post 4 Tips For Getting Design Proposals Signed Faster first appeared on Webdesigner Depot.

Source de l’article sur Webdesignerdepot

GSSAPI authentication is becoming increasingly popular as CockroachDB starting to make inroads in Fortune 2000 customer bases and financial services segment. That said, ecosystem coverage for GSS needs to improve for parity with other authN methods. Today, we are providing a workaround and a look at the future. By the way, do you realize this is my 15th article on Kerberos and CockroachDB?

Articles Covering CockroachDB and Kerberos

I find the topic of Kerberos very interesting and my colleagues commonly refer to me for help with this complex topic. I am by no means an expert at Kerberos, I am however familiar enough with it to be dangerous. That said, I’ve written multiple articles on the topic which you may find below:

Source de l’article sur DZONE

The central principle of cloud engineering is adopting software engineering practices. Refactoring is a technique for making changes to code that improve maintainability, enhance performance, scalability, and security without changing its external behavior. In DevOps, refactoring often occurs with modern applications; however, we can apply those same techniques to cloud infrastructure with infrastructure as code.

Refactoring results in many advantages. First and foremost, the code is more readable and easier to understand for other team members –this aids in maintainability and well-organized code, providing a solid foundation for future releases. Overall, if done well, refactoring reduces complexity which makes future changes more efficient.

Source de l’article sur DZONE