Articles

Learning how to design an MVP webpage or website could be one of the best things you can do as a site creator in today’s digital world.

In a fast-paced landscape, where customer preferences and technology are constantly changing, most companies don’t have time to dedicate months or years to each web project. The longer you take to complete your website, the more likely your creation will be outdated by the time you hit “publish.” That’s why countless creators are beginning to take a different approach.

To avoid wasting time, money, and effort on something that doesn’t deliver a significant return on investment, designers are now building “Minimum Viable Products,” or “MVPs.”

Here’s what you need to know about creating your MVP webpage.

What is MVP Web Design?

Typically, the “MVP” development process is most common in the app or software creation world. It refers to when a developer builds the simplest version of a technology capable of achieving specific goals. For instance, if a company wanted to create an ecommerce app, they would design a simple tool capable of listing products, enabling payments, and tracking orders.

After launching the MVP product, the company or developer would check to ensure it had the right impact on the target market and generated positive results. Using feedback and analytics, the developer would then begin to add new features one at a time.

MVP design aims to ensure you’re developing the best, most valuable product for your audience while getting your solution to market as quickly as possible.

The same strategy in MVP app and software design can also apply to website creation. Rather than building a highly complicated website with multiple features straightaway, the designer would focus on creating a single page equipped with the essential elements.

For instance, instead of building an entire site for your online course, you may develop a single-page website where customers can learn about the system, sign up, and pay for their membership. The great thing about an MVP web page is it allows companies to start advertising their solution, product, or service quickly, with the minimum initial investment.

How to Create an MVP Web Page

Creating an MVP web page is similar to designing any Minimum Viable Product. Throughout the project, the focus will be on keeping the development process simple while collecting as much feedback as possible.

Here’s how you’d get started with an MVP web page.

Step 1: Planning

Planning is an important stage in any web design project. It’s particularly crucial in the MVP landscape, where you need to define the most critical features of your webpage or website to ensure it’s “viable” for your needs. The initial planning stage can sometimes be the lengthiest part of the process, depending on the amount of research you need to do.

For the most part, web designers and companies will begin by conducting market research. This means examining crucial concepts intended to drive your strategy, such as:

  • Your target audience: Who are you trying to target with this web page, and what will they need from your site? A user persona can be helpful if you don’t already have one.
  • Competitors: Who are your main competitors in this space, and what do their web pages offer? Which features do you need to replicate or avoid?
  • Goal setting: What is the main objective of this web page? What do you need it to do, and what might it need to accomplish in the future?

The key to MVP web page planning is ensuring you look holistically at your project without thinking too far ahead. The site you create should be capable of scaling and expanding in the future, but it shouldn’t have too many features from day one.

Step 2: Creating Your Feature List

Once you’ve done your research and formed the foundations of your plan, it’s time to list all the features your MVP web page needs to have. Unfortunately, this is where the process can get a little complicated. It’s easy to start adding capabilities and components that aren’t necessary to make your site more exciting or competitive.

As worrying as it can feel to release a very basic web page, remember your focus is on rapid growth and development. With this in mind, concentrate on narrowing your feature lists down into:

  • Initial must-have capabilities: First, decide what your web page can’t thrive without. If the primary goal of your page is to sell software subscriptions, then you’ll need to implement tools for collecting member information and payments.
  • Next stage functionality: Consider the features you might add once you’ve confirmed your webpage is effective. This will allow you to ensure you’re creating a platform that can expand to suit future needs.
  • Possible future requirements: You can also list features that might be helpful in the future but don’t necessarily need to be implemented immediately. For instance, if you’re selling an online course, you might create a separate page where people can sign up to learn about future lessons.

Step 3: Finding the Right Software

Next, you’ll need to decide how to build your web page. There are several options available to today’s designers. An open-source solution is usually the best route for designers who need to create something specific from scratch. However, if the factor that makes your solution “viable” is unique, you may need access to code to bring your idea to life.

Alternatively, if you’re building a basic webpage capable of something like collecting customer email addresses or facilitating transactions, you might be able to use an off-the-shelf tool. CMS services for web designers can reduce the work and expense involved in creating a minimum viable product.

For instance, you might use a tool like Wix or Squarespace to edit a pre-existing template and simply drag-and-drop the features you need into the right places. On the other hand, if you’re planning on adding more functionality to your site down the line, it’s worth checking if any builder you will use has the right level of flexibility. Many tools will allow you access to code, advanced features, and essential module-based building functions.

Step 4: Implement Your Analytics

One of the essential parts of an MVP workflow is feedback. When you roll out your MVP, you’ll be looking for insights, guidance, and analytics to help you decide what your next steps are going to be. As a result, MVP workflows are based heavily on experimentation.

This means you’re going to need the right analytical tools in place to track crucial information. You can implement tools for collecting customer feedback directly. It’s also worth having a system in place for tracking metrics like:

  • Conversion rate;
  • Traffic numbers;
  • User behavior;
  • Most used/least used features;
  • Technical site performance;
  • Bounce rate;
  • Average time spent on the page.

While Google Analytics is one of the most popular tools for collecting insights in the MVP website design world, various other options are available. You can even find tools with in-built heatmaps to see how people navigate your site more effectively.

It’s also worth having A/B testing components in place. This will allow you to test the different “new” features you add to your web pages over time and examine how they influence your conversions and support your goals. For example, you can use A/B testing to explore the impact of everything from CTA button colors to webpage copy and offers.

Creating Your MVP Web Page

In the fast-paced web development and design world, the old-fashioned and slow approach to designing web pages is growing increasingly less common. Instead, an MVP strategy may be the best bet for companies looking to go to market faster, collect insights from their target audience, and accelerate growth.

Though getting used to this design strategy initially can be challenging, it can save you significant time, resources, and money in the long term.


HTML vector created by vectorjuice – www.freepik.com

Source

The post How to Design an MVP Web Page first appeared on Webdesigner Depot.

Source de l’article sur Webdesignerdepot

It can be so frustrating to lose track of a workout because the fitness app has stopped running in the background. It happens when you turn off the screen or have another app in the front to listen to music or watch a video during the workout. Talk about all of your sweat and effort going to waste!

Fitness apps work by recognizing and displaying the user’s workout status in real time, using the sensor on the phone or wearable device. They can obtain and display complete workout records to users only if they can keep running in the background. Since most users will turn off the screen, or use other apps during a workout, it has been a must-have feature for fitness apps to keep alive in the background. However, to save battery power, most phones will restrict or even forcibly close apps once they are running in the background, causing the workout data to be incomplete. When building your own fitness app, it’s important to keep this limitation in mind.

Source de l’article sur DZONE

Do you find yourself stuck when finding new web design clients? Whether you own a web design company or work as a freelancer, expanding your audience and attracting clients can be challenging.

Talking from experience: there are times when I can not find people interested in my work. If that’s the case for you right now, let me tell you not to worry.

This guide will analyze the best practices I use to attract new web design clients and how you can easily customize them to fit your needs and preferences. First, we will explore why it’s essential to use more than one way to acquire clients in 2022.

Why Should You Seek Innovative Ways to Attract Clients?

Let’s start with a personal conviction: There are enough customers to cover our niche’s supply. A common mistake most web designers make is looking in the wrong place.

Do not get me wrong, the quality of your work is always the most important thing. The better your services are, the more clients you will eventually get. But if you want to prove your talent online, you need to expand your audience.

Remember that the market is highly competitive. And so you need to follow certain steps and choose the best platforms. 

7 Best Ways To Attract Web Design Clients in 2022

Although there are many ways to attract web design clients online, some prove to be more effective than others. Let us explore them one by one:

1. Use Marketplaces for Freelancers Such as Upwork, Indeed

Whether you own your web studio or are just getting acquainted with being a freelance web designer, marketplaces for freelancers are a great way to attract new clients. The same goes for well-known web design job boards like Dribbble, Twine, and WordPress Jobs

But in general, marketplaces for freelancers are more effective as these platforms attract thousands of buyers/clients every day. The best way to attract clients is to create and polish your profile and respond to relevant job offers.

However, it is equally important to choose a platform that is not exploitative but also has numerous clients in the web design niche. Although Upwork and Indeed are the two most popular, several other platforms meet these requirements, including Freelancer, 99 Designs, Guru, Upstack, TopTal, and PeoplePerHour.

2. Search on LinkedIn

Many would argue that social media platforms are the best way to attract web design clients these days. While this is true to a certain extent, not all social networks have the same impact on professionals. I have found that LinkedIn is the number one platform that a web designer should invest time and effort into.

The reason is simple; the platform’s goal is to bring professionals together. So, if you create a top-notch LinkedIn profile, you can quickly expand your audience and find people interested in buying services. The process is quite simple because all you need to do is:

  1. Create a professional bio: Mention what you do and who are the people you can help via your services.
  2. Optimize your profile’s About (personal info, website and portfolio info, etc.) and Experience (previous projects) sections.
  3. Use the LinkedIn filters to connect with individuals and companies. 
  4. Personalize your invitations and respond via DMs to people inviting you.

This may sound like a lot of work, and believe me, it is. Still, if you want to attract more clients via social media platforms, LinkedIn is the best way to go. 

3. Pay Attention to your Portfolio and Website

Regardless of how many connections you have on LinkedIn, clients need to trust that you are the best person for a project before hiring you. And there’s no better way to do that than to have a comprehensive portfolio and website.

Websites like Dribble and WordPress allow you to create portfolio websites quickly and efficiently. As a web designer, you can treat your website like a personal project and use your UI and UX knowledge to outshine your competitors.

4. Create Social Proof

In a few words, social proof is a way to prove to new clients that they should mimic the behavior of your existing clients by hiring you for their project.

To do this, you can create a page with Google reviews, collect testimonials/references, take screenshots of your conversations with clients and capture their feedback. Then all you need to do is present them on your portfolio website, in your social media posts/stories, etc.

5. Use Word of Mouth

Apart from asking your existing clients for referrals, you should try to build a deep professional relationship with them. This will automatically help them to recommend your services through word of mouth.

In many cases, word of mouth has proven to be much more reliable than traditional advertising methods (email marketing, SEO tactics).

6. Speak at Events and Podcasts

Say you are an experienced web designer, and all you need is to expand your target audience. In this case, speaking at events is a fantastic way to build authority. Of course, becoming a public speaker is not easy, especially if you’re a beginner.

This is where podcasts come in handy. By appearing as a guest on podcasts (or webinars), you can easily get your name out there, connect with people interested in web design, and eventually attract new clients.

Start by finding communities (e.g., Facebook groups for web design) and communicate with active (or just interested) people in the web design niche.

7. Offer Free Advice to your Audience

Don’t get me wrong, I know that offering something for free is not the best thing. Still, by creating free content and offering free advice, you can make people take notice of your talent.

Likewise, answering questions on social media platforms and creating valuable content is a great way to convert your website/social media visitors into customers.

Wrap Up

Remember that the most important thing in attracting new clients is the quality of your work. This may sound obvious, but believe me, it’s more than just a rookie mistake.

Let’s close with this; the tips listed above will allow you to work harder but smarter. After all, that’s all you need to build authority as a web designer and attract new clients.


Featured image via Pexels.

Source

The post How to Find Web Design Clients in 2022 first appeared on Webdesigner Depot.

Source de l’article sur Webdesignerdepot

Afin de mieux piloter sa production et répondre à la demande client, Lidea a mis en place un processus S&OP à l’aide de la solution SAP IBP. Un projet, mais aussi un challenge pour ce nouveau semencier issu de la fusion de deux entités.

Lidea est un semencier français issu du rapprochement entre Euralis Semences et Caussade Semences Group. Il se classe dans le top 10 mondial des semenciers grandes cultures. La société propose une offre étendue, allant des céréales aux légumes secs en passant par les plantes fouragères. Elle référence plus de 500 variétés de semences.

Lidea dispose de 8 sites de production situés en France, en Roumanie, en Ukraine, en Espagne et en Russie, avec une surface cultivée totale de 45.000 hectares. La société réalise un chiffre d’affaires annuels de 360 millions d’euros, pour 2100 collaborateurs. 73% de son activité sont réalisés à l’export.

Le rapprochement d’Euralis Semence et de Caussade Semences Group a doublé la taille de l’organisation, ce qui se traduit par un important effort d’intégration et de transformation. “C’est un choc des cultures, avec des processus, des méthodes et des stratégies différentes, explique Sébastien Monaco, CIO et CDO de Lidea. Notre challenge est de faire de cette fusion un succès, d’aligner les équipes, la culture et les processus, puis de préparer la croissance sur de nouveaux territoires. Nous voulons également poursuivre notre effort d’innovation continue, sur les produits, mais également sur les technologies numériques à destination des agriculteurs.”

Lidea souhaite ainsi se tourner plus largement vers ses clients, les distributeurs et fermiers, en adoptant un modèle consistant à ajuster ses plans de production en fonction de la demande.

Le besoin de se structurer… autour de solutions SAP

Si Euralis Semences disposait d’un ERP SAP ECC, l’outillage au niveau de la supply chain restait réduit à sa plus simple expression, avec de nombreuses tâches réalisées manuellement. Du point de vue IT, Caussade Semences Group partait d’encore plus loin. “Avec le doublement de l’organisation, nous ne pouvions plus laisser la situation en l’état”, constate Sébastien Monaco. De multiples projets ont donc été lancés, dont l’extension du périmètre de l’ERP d’Euralis Semences, ainsi que la mise en place d’un CRM et de SAP IBP.

L’utilisation de SAP Integrated Business Planning a comme objectif premier la mise en place d’un processus S&OPau sein de Lidea. “Un quick win était nécessaire sur ce projet, afin de montrer aux actionnaires que nous étions capables de concrétiser la fusion en menant à bien un projet d’envergure portant sur un processus clé de Lidea.” Ce projet est donc doublé d’un challenge stratégique.

“Notre objectif est de créer un core model qui puisse être déployé à l’échelle de Lidea (32 pays couverts) et qui puisse se connecter très facilement aux master data de nos briques financières et industrielles. Le choix de SAP IBP est assumé: nous voulions prendre une brique de la cartographie S/4 HANA de SAP, afin d’anticiper le futur, dont notre migration de l’ERP SAP ECC vers SAP S/4HANA. L’une des raisons du choix de TeamWork est qu’il dispose déjà de références clients dans notre industrie. C’est essentiel pour nous, car nous travaillons dans un secteur particulier et nous avions fixé un délai très court – 6 mois – pour mener à bien ce projet.”

SAP IBP adopté pour le processus S&OP

Le projet a démarré en avril 2021, avec comme impératif un démarrage de la solution en septembre de la même année, lors du lancement de grosses campagnes annuelles. Un délai très court, compte tenu des autres travaux réalisés en parallèle sur le système d’information du groupe (ERP, CRM, datawarehouse…). Afin de tenir ces délais, Lidea a choisi de rester au plus près des standards proposés par SAP IBP. Le projet a également été découpé en deux vagues, la première se concentrant sur la mise en place d’un processus S&OP élargi, la seconde abordant les aspects financiers.

“Notre processus S&OP réconcilie demande et offre, détaille Sébastien Monaco. Les données des commerciaux sont remontées, avec la prise en compte de particularités, comme la gestion des campagnes. Les marchandises disponibles sont réparties, par BU, puis à des niveaux plus fins allant jusqu’au client. Le demand shaping permet de pousser des offres ou de contraindre la demande suivant la capacité de production. Enfin, les données sont remontées dans l’ERP SAP ECC, afin de planifier la production.”

Un démarrage effectif en septembre 2021

La livraison du premier lot et la formation des utilisateurs ont été réalisés dans les temps permettant ainsi de mener les campagnes de rentrée avec SAP IBP.

“Ce projet ambitieux a été réalisé pour un coût très modéré. Sur le terrain du ROI, l’OTIF (on time, in full) est monté de 90% à 98%, améliorant ainsi la satisfaction client. Les gains de productivité internes sont également importants. J’estime que la solution SAP IBP devrait être rentabilisée d’ici 12 à 15 mois.” Le second lot se concentrera sur la finance : scénarios PIC, forecast P&L. Il devrait être livré en fin d’année.

Mais plus que tout, ce projet a permis de fédérer les équipes des deux coopératives autour d’un objectif commun, créant ainsi une dynamique d’appartenance au nouveau groupe. En quelques mois, un des processus clés de l’entreprise a été déployé sur plusieurs pays. “Nos différents sites sont les premiers bénéficiaires de SAP IBP, qui leur donne une vision globale des productions démarrées et de comment est servie la demande client. Le flux S&OP proposé par SAP IBP est le maître des ordres de fabrication de nos sites de production,” conclut Sébastien Monaco.

En savoir plus


The post SAP IBP permet au semencier Lidea de se recentrer sur la demande client appeared first on SAP France News.

Source de l’article sur sap.com

No one likes talking about money. Most of us got into web design because we loved it. But the fact is, we’ve all got bills to pay.

If you’re a half-decent designer or a relatively competent developer, then there’s no reason you can’t make a living as a web designer. Here are six simple steps towards earning a living using the skills you already have.

Step 1. Freelance Work

Many individual bloggers and small company owners require websites to reach a larger audience. You might exploit this opportunity to begin a side business as a freelancer.

One of the most efficient ways to start is to look through employment networks and online classifieds. Eventually though, you’re going to need a portfolio. Building your freelancing company website could be your first opportunity to demonstrate your web development talents. As you embark on new projects, this website can display client testimonials that demonstrate your expertise. Ensure that it’s up to date, relevant, and follows current design trends. Also, make sure your website is linked to your social media profiles. 

Even though you are responsible for finding clients, you have a great deal of flexibility: you can choose your working hours and exercise more freedom and creativity. However, you’d still be accountable for your work and have to execute assignments on time to keep your clients satisfied.

It’s also important to remember that you’ll have to keep track of your taxes and other financial paperwork. Furthermore, you would not have a standard employer who will provide you with health insurance and other perks.

Step 2. Specialize

Today’s market offers a wide choice of web design services most suited to our needs. From designing and building custom websites to creating social media websites to managing SEO and PPCs, web design services offer various services. And while it is beneficial to have a general understanding of what all these services entail, it is always good to identify and refine your expertise. Becoming proficient in one aspect of web design will give you more confidence and direction regarding the kind of work you would like to do.

Allowing yourself to land repeat clients specializing in one type of service will make it easier for you to create processes in your business to complete work accurately and quickly. These processes will also help you build a team should you need one.  

Step 3. Networking Effectively

You should leverage social networking sites such as LinkedIn, practical tools for engaging with colleagues and potential customers. Ensure your profile is updated with all the services offered and all talents you deliver. Make sure you include links to any past projects you’ve worked on. There’s also a career board on LinkedIn that can help you avail yourself of many freelance projects. Registering and engaging with relevant organizations can allow you to acquire more visibility.

Freelancers are generally matched with modest design/development assignments through these websites. Although some developers heavily vouch for them, getting work from these websites when you’re just starting may be exceedingly challenging, considering most of your time will be exhausted in securing billable employment. 

Step 4. Start Your Own Blog or Podcast

Blogs and podcasts are an excellent way to organically acquire fresh customers and other relevant parties. A well-written blog is a terrific source of amusement and knowledge for potential clients. Aside from showcasing your services, a blog may be used to earn money in various ways. Once the blog grows large enough, you can incorporate backlinks, ads, or author-sponsored content. Many popular blogs eventually grow into fully-fledged businesses.

When you start a blog from scratch, it can take a long time to see a return on investment. Consider producing freelance articles for a blog with a constant stream of traffic to help you get started. This will enable you to demonstrate your skills while also getting compensated for them. 

Step 5. Work at a Design Agency

Working at a design agency or in-house could be an ideal option if you desire a more traditional job title. It also helps you build your portfolio with larger and more recognizable clients than those you can secure as a freelancer.

Instead of stressing about the management side of things, you can focus on serving clients and constructing websites with this approach. You wouldn’t have to look for new clients, and you’ll get all of the paid benefits that regular employees get. However, you’d have to work under strict supervision and have less creative control over your projects. There will also be harsh deadlines looming over your shoulder. And this procedure will also set a wage ceiling for you. On the other hand, obtaining employee insurance and securing a source of income can be very reassuring.

Step 6. Start Your Own Agency

Once you feel you have enough relevant experience and are confident in your abilities to perform and manage things well, you can start your own agency. It’s like freelance work, but on a much larger scale. The flexibility to employ others to do your work is the fundamental advantage of having your own agency. You can recruit additional designers and eventually recruiters to help you secure clients.

Having your own agency allows you to do the work you want and how you desire. As a general rule, start as a freelancer and gradually create the foundations for your agency as you gain expertise. You can eventually automate the entire process with hard effort and an innovative business plan.

You must actively network with other people in your business and reach out to new clients in addition to working on your skills. If you can create a solid customer base and take measured chances with your chosen projects, you can procure meatier projects and become prominent in the corporate sector.


Featured image via Unsplash.

Source

The post 6 Simple Steps to a Career in Web Design first appeared on Webdesigner Depot.

Source de l’article sur Webdesignerdepot

We’re going to have some fun this month. There are so many new tools and resources out there for designers that make life easier, and others are simply enjoyable.

Here’s what is new for designers this month …

Polka Dot Generator

Polka Dot Generator is exactly what you think. Adjust colors, dot size, shadow, and fuzziness, and then export the CSS for use in your projects. This could make for fun effects or backgrounds.

Design Memes

Design Memes is just a lot of fun. It’s a collection of memes based on design culture updated daily. It’s a little silly and a little reflective. Yes, it’s completely ok to laugh at yourself.

Pppointed

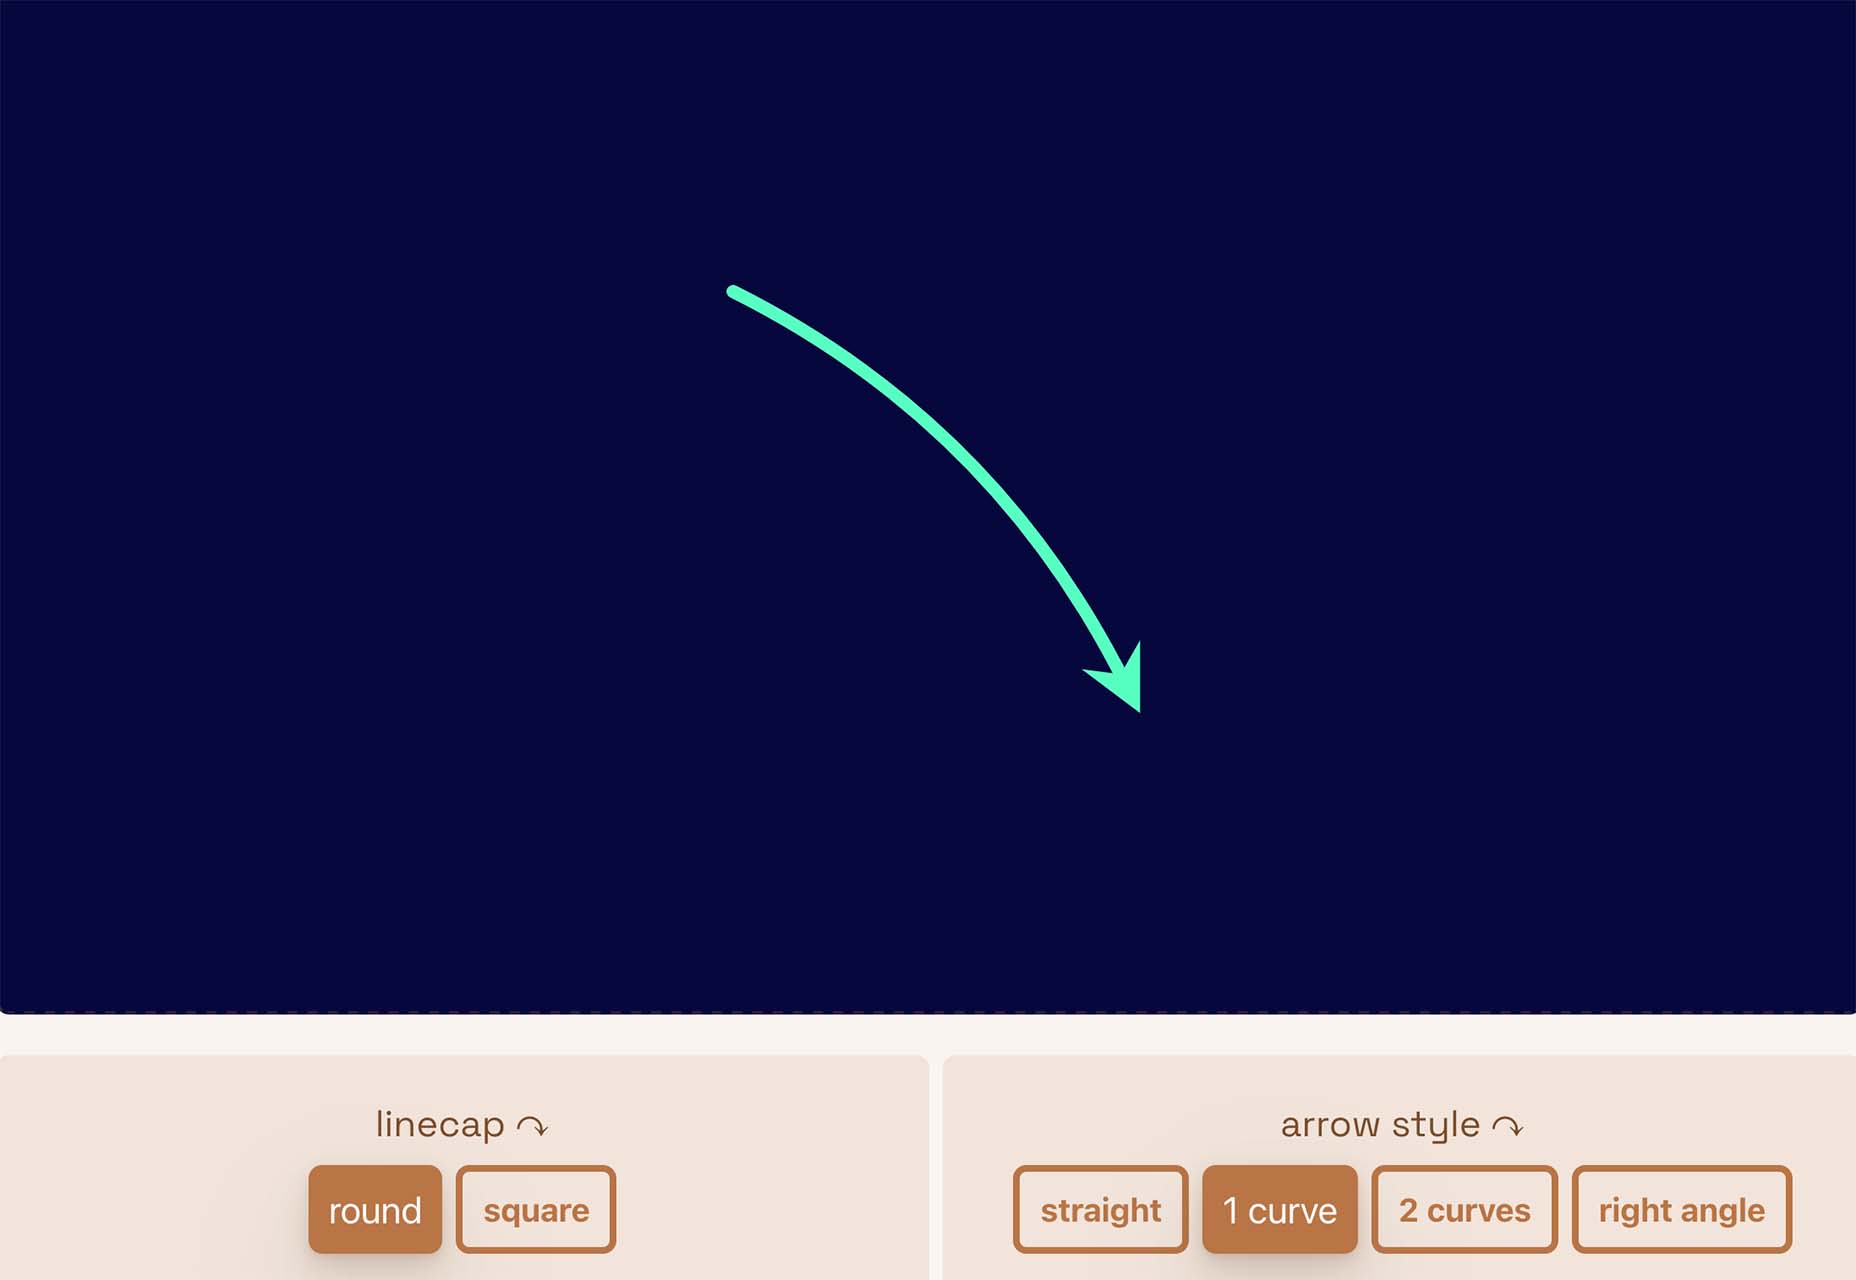
Pppointed is an SVG arrow-making tool that helps you create cool pointers without a lot of effort. Just pick a color, shape, and style, and you are ready to go. Save your custom arrows as SVG files or copy the code and use them on the web whenever you want to point at things visually.

Open Source Color System

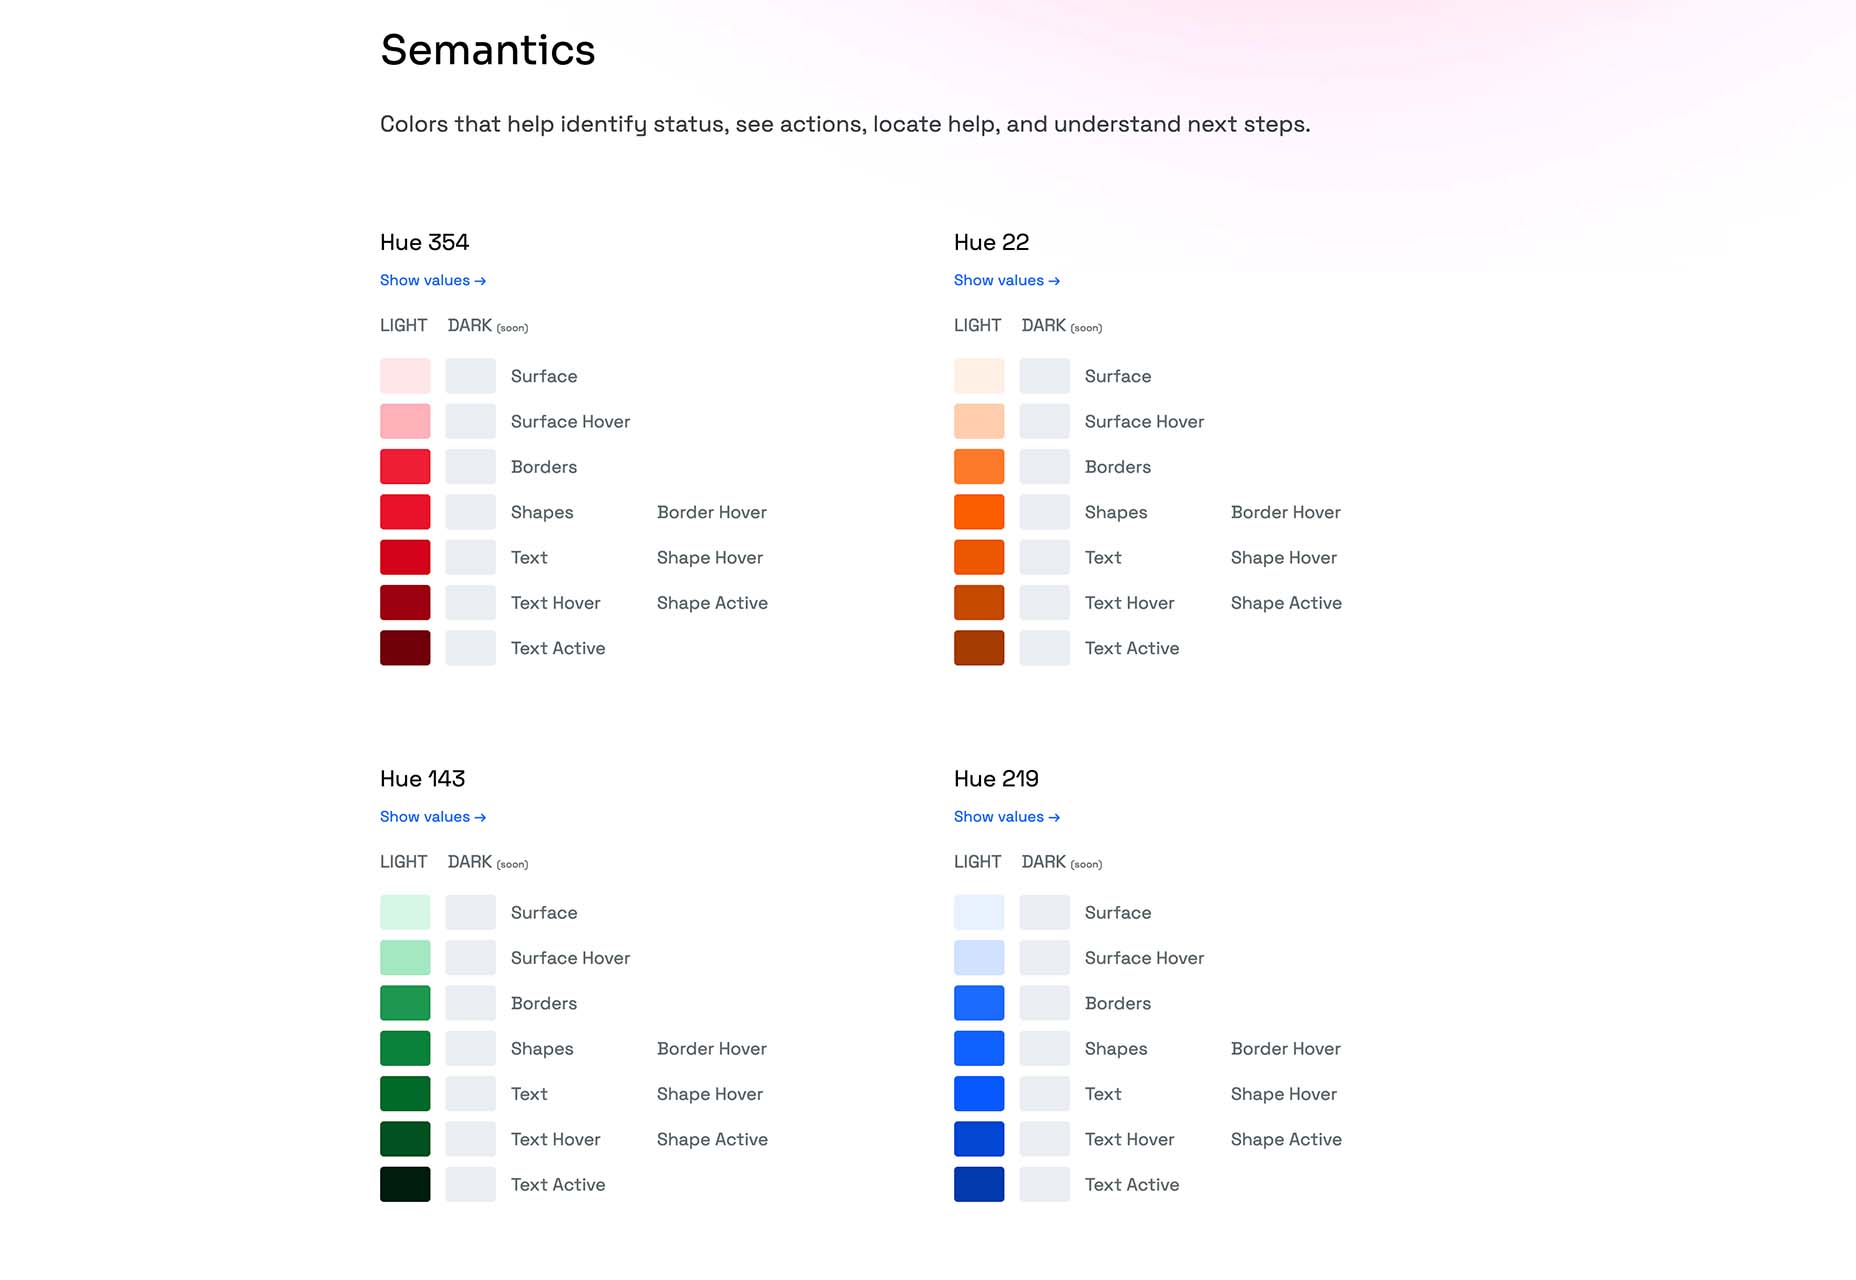
Open Source Color System is a set of palettes that include carefully picked colors to help you overcome interface challenges. For example, it is one of the only color tools out there that includes palettes for light and dark modes. It’s also designed with accessibility in mind to help you create a complete and usable system.

Cowsay

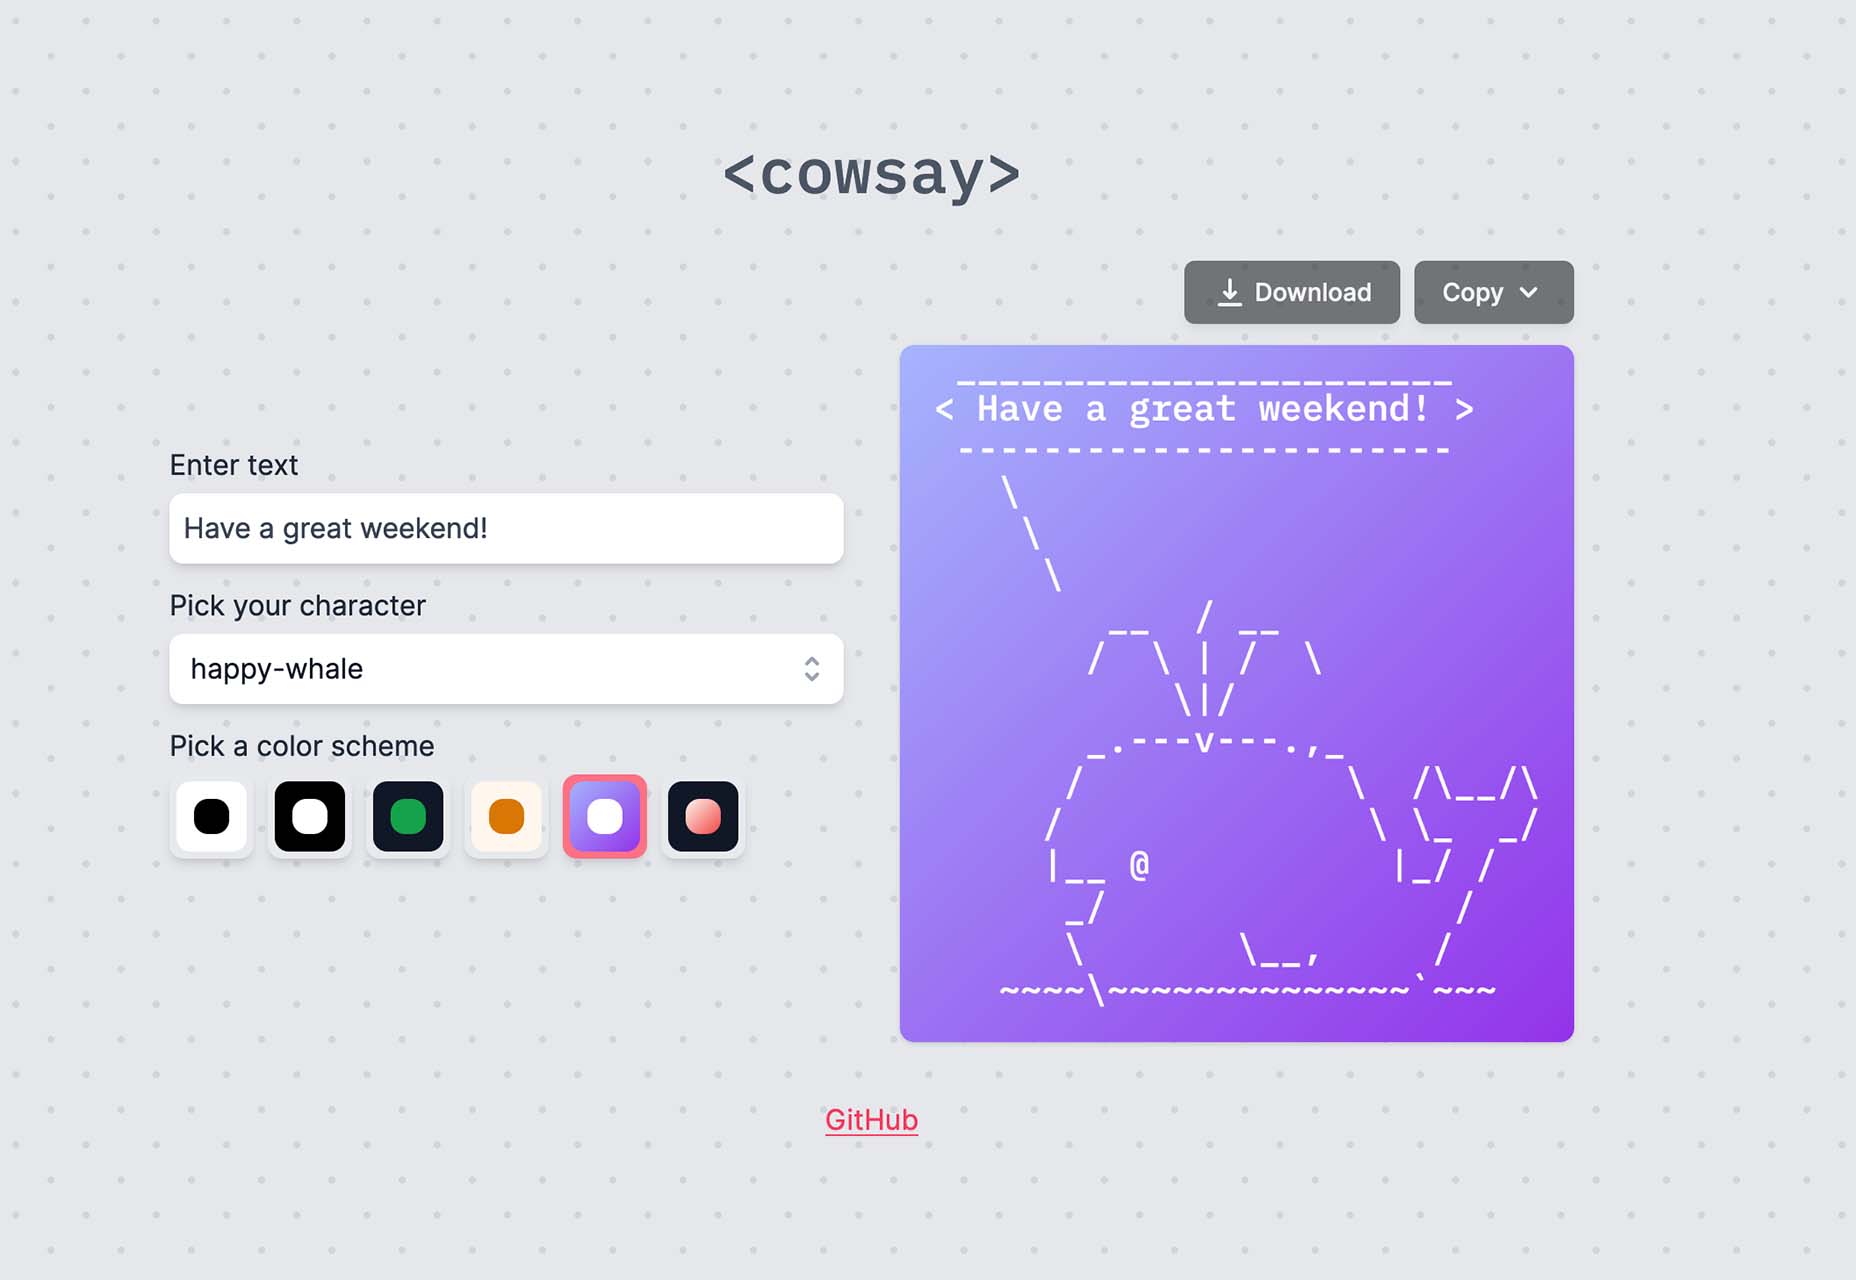
Cowsay is a nifty little web interface of the same name made with Svelte and HTML Canvas. Play with it and then copy your art as ASCII or an image.

Minze

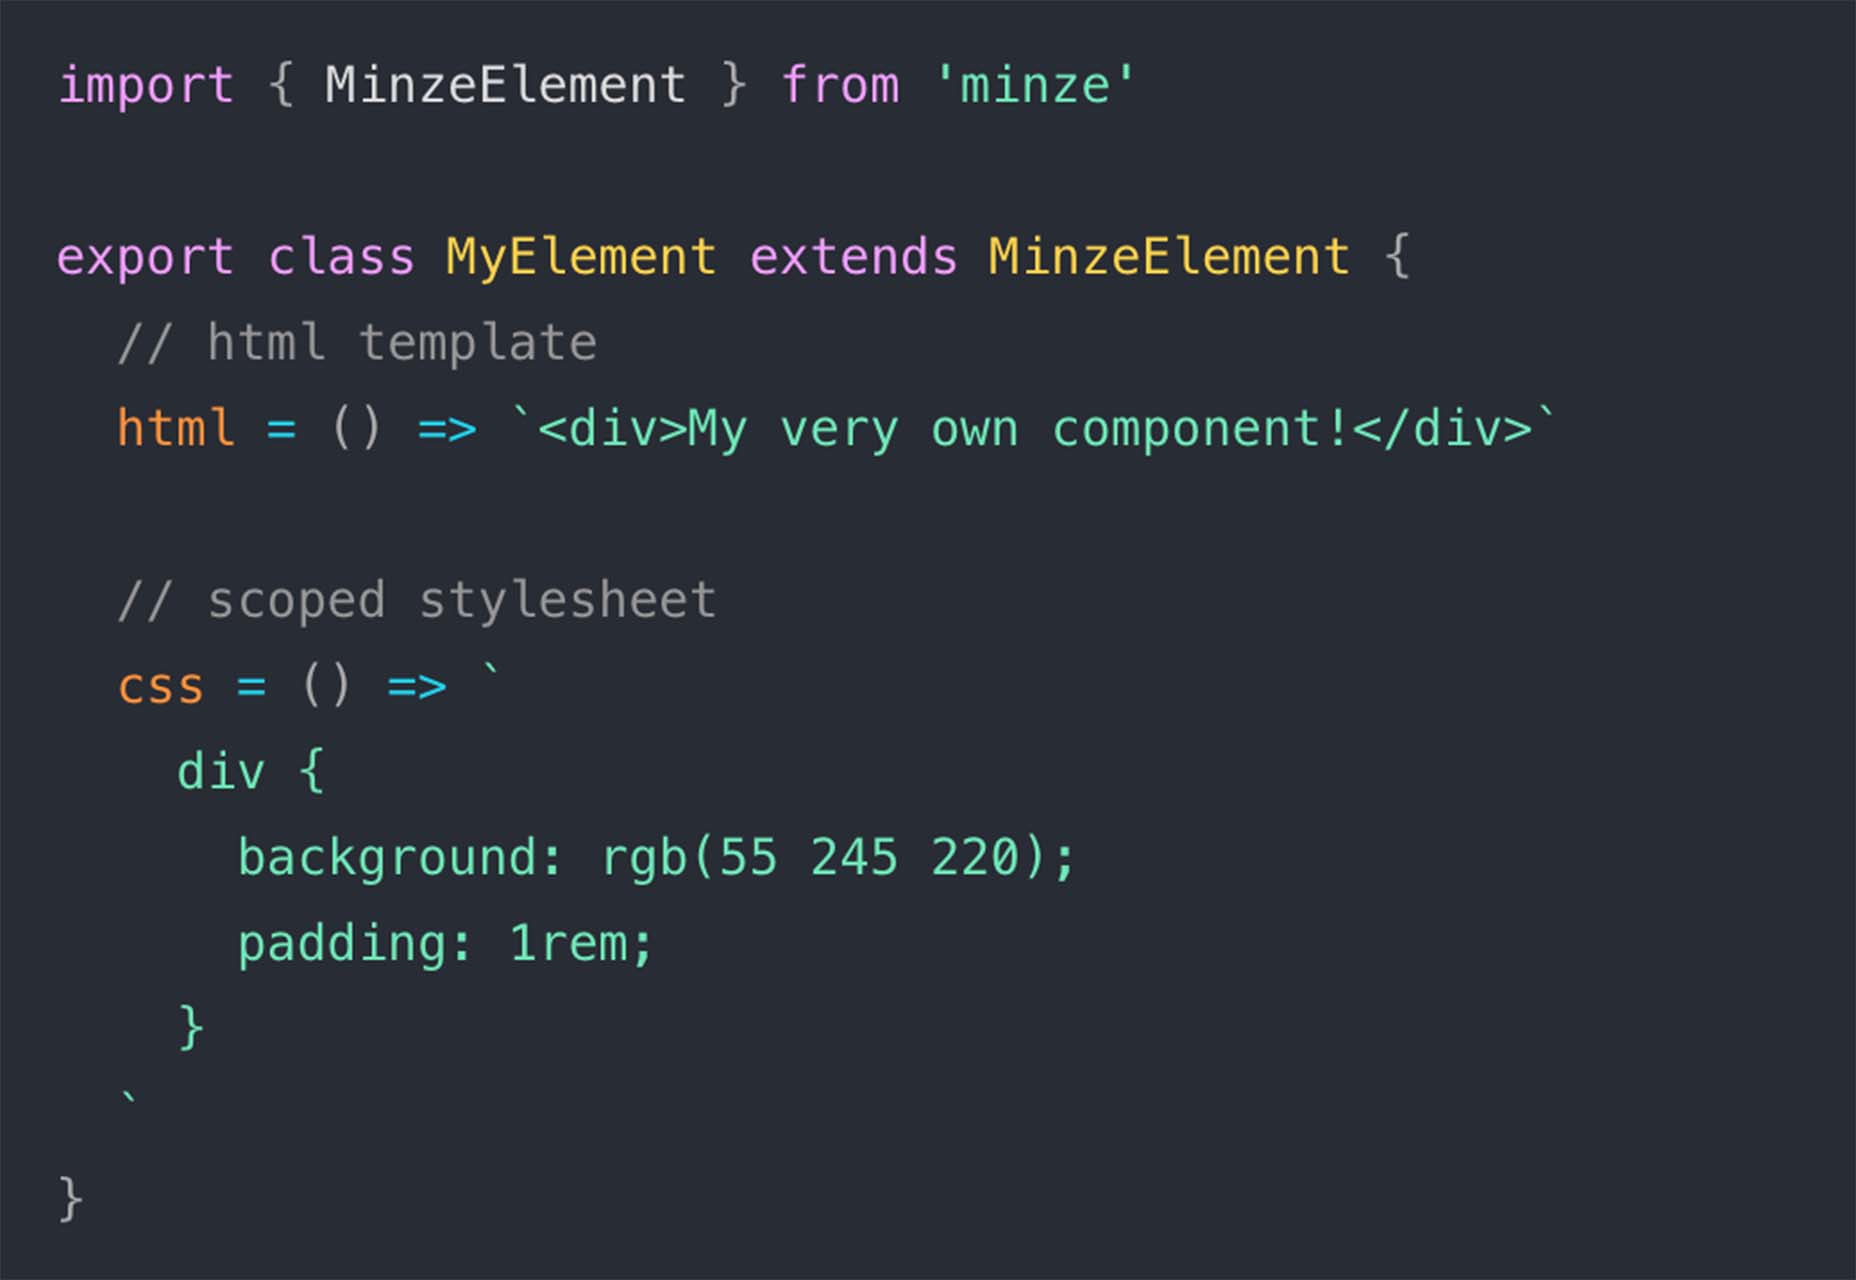
Minze is a simple JavaScript framework for native web components. It’s tiny and fast, modern, shareable, framework agnostic, and uses TypeScript to scale your component library. Plus, you can get started with it right away.

Tally

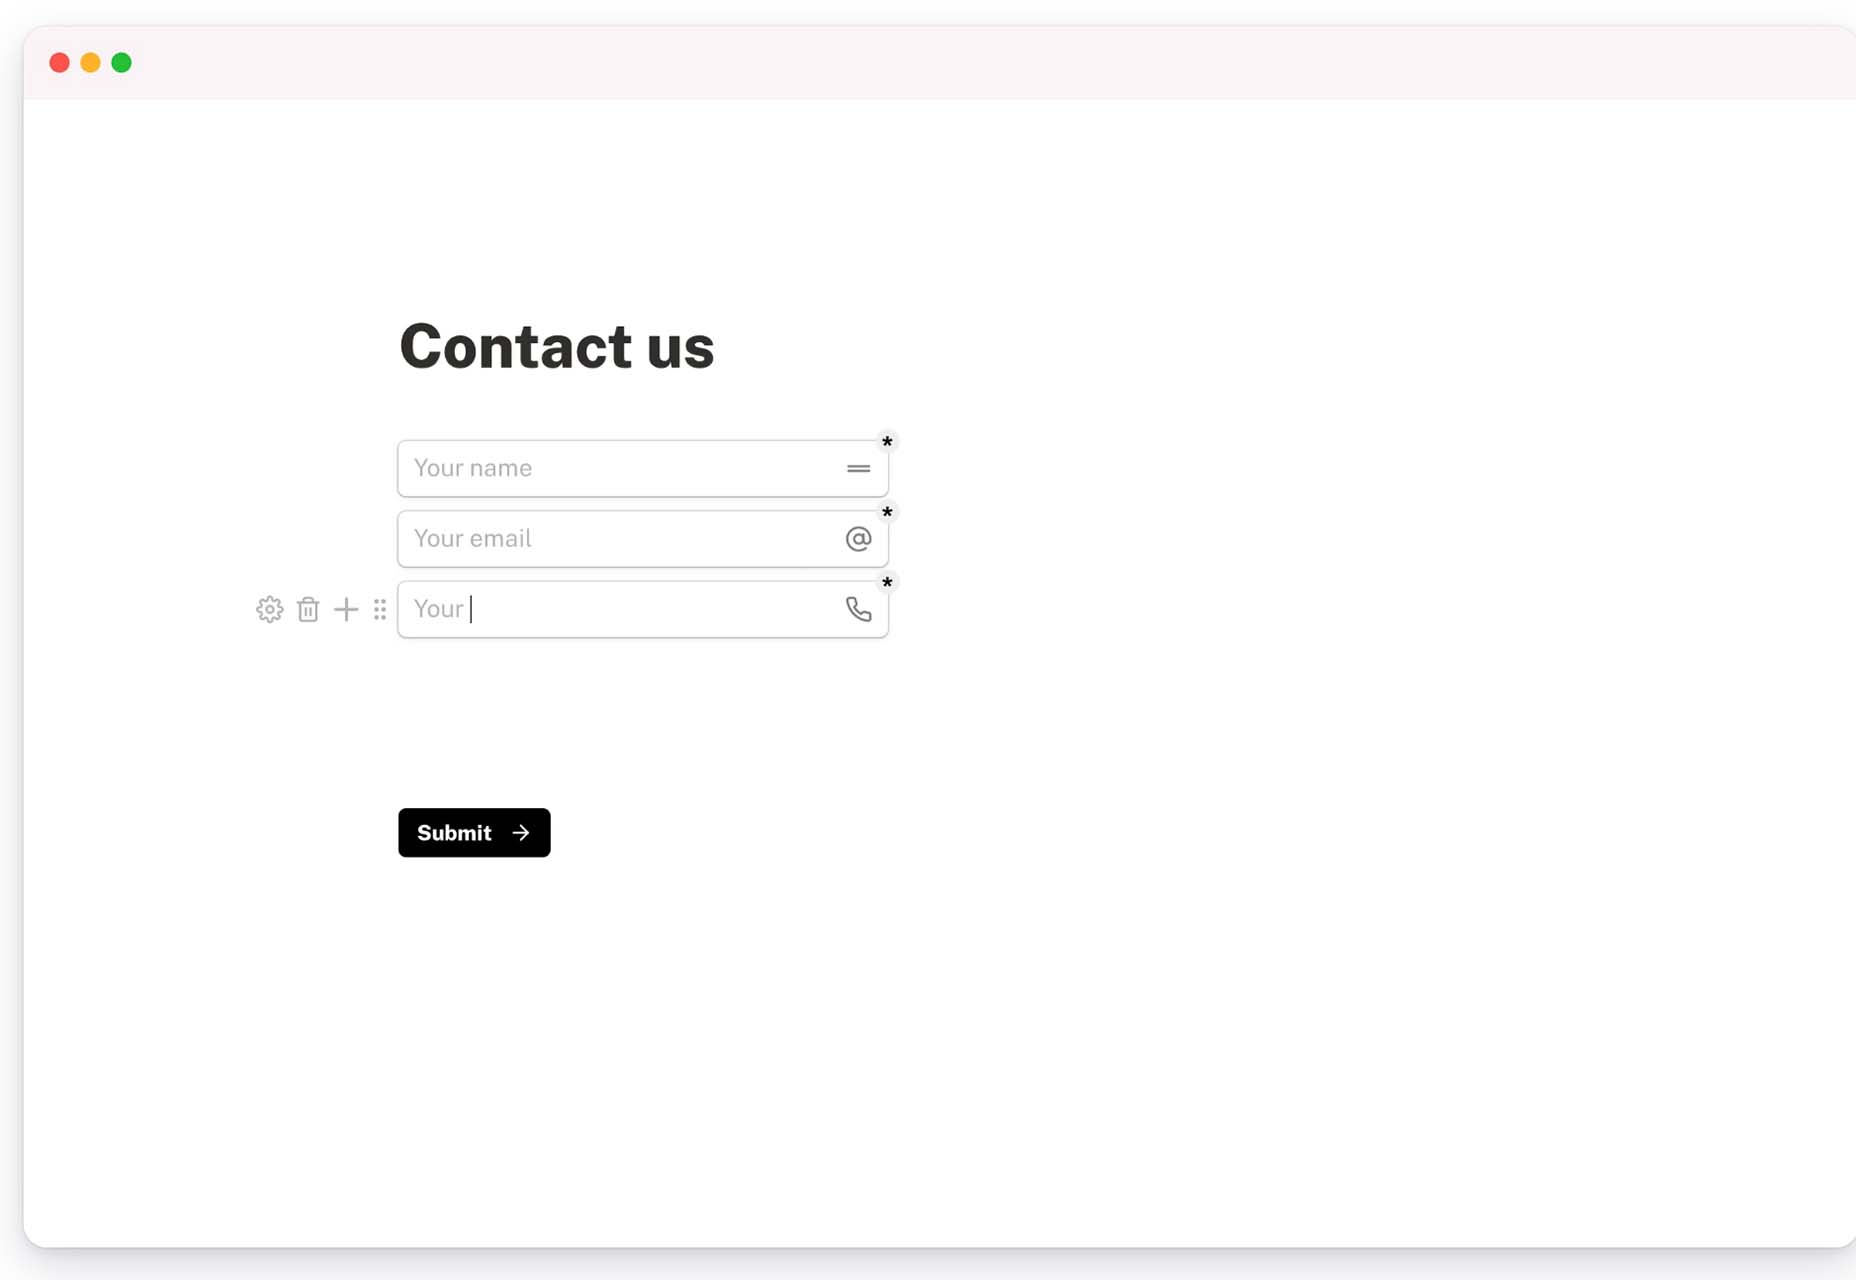
Tally is a simple – and free – online form builder. You can use it without coding, and it works like a document file, so there’s no learning curve. You can create unlimited forms, integrate with other tools, set logic, collect payments, and more. There’s a pro version as well if you need even more features.

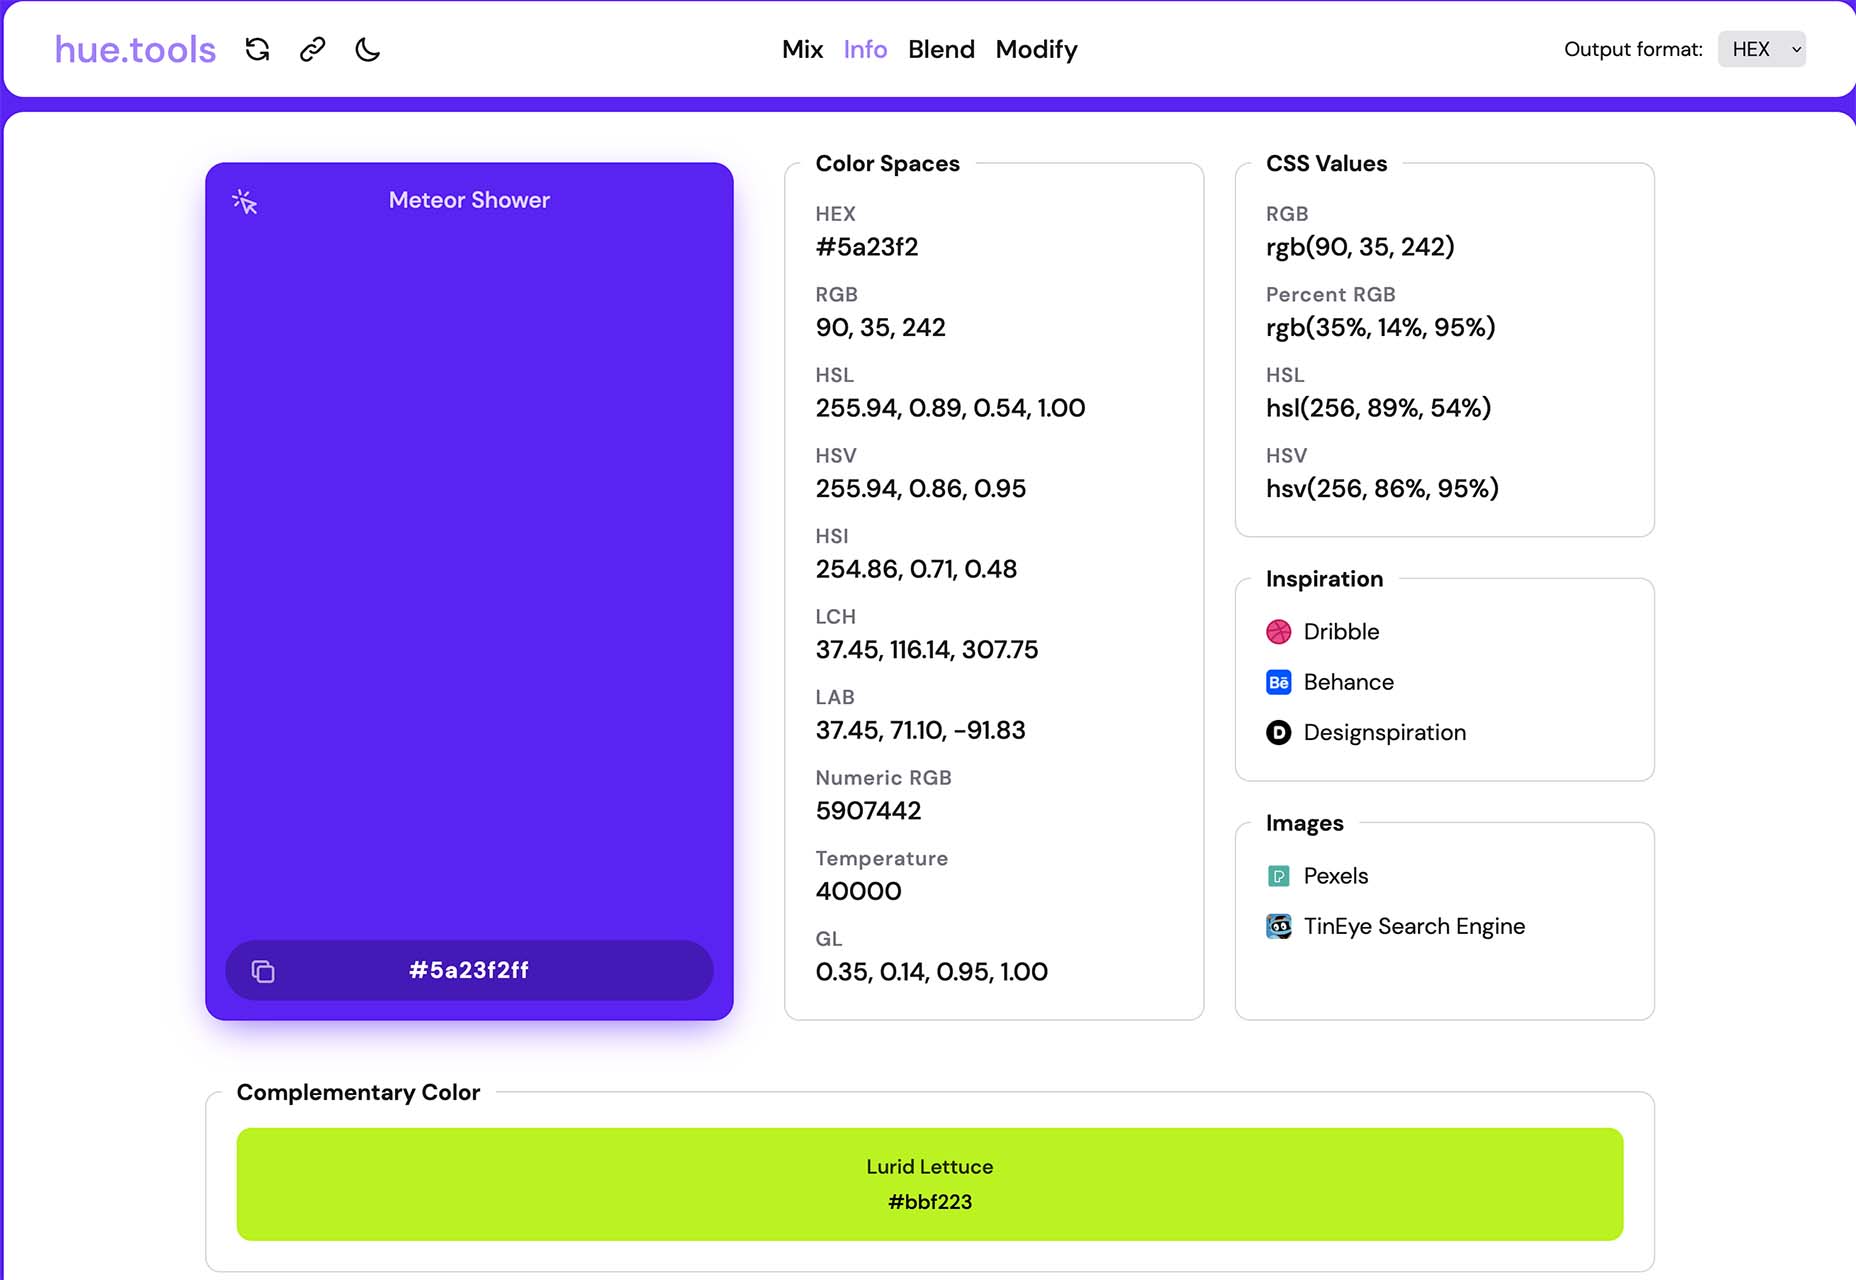
Hue.Tools

Hue.Tools is another color tool to help you maximize effort when creating palettes. Generate a color you like, see specs and values in all the different color spaces, inspiration from design sites, and colors that work with it. It’s fun and functional.

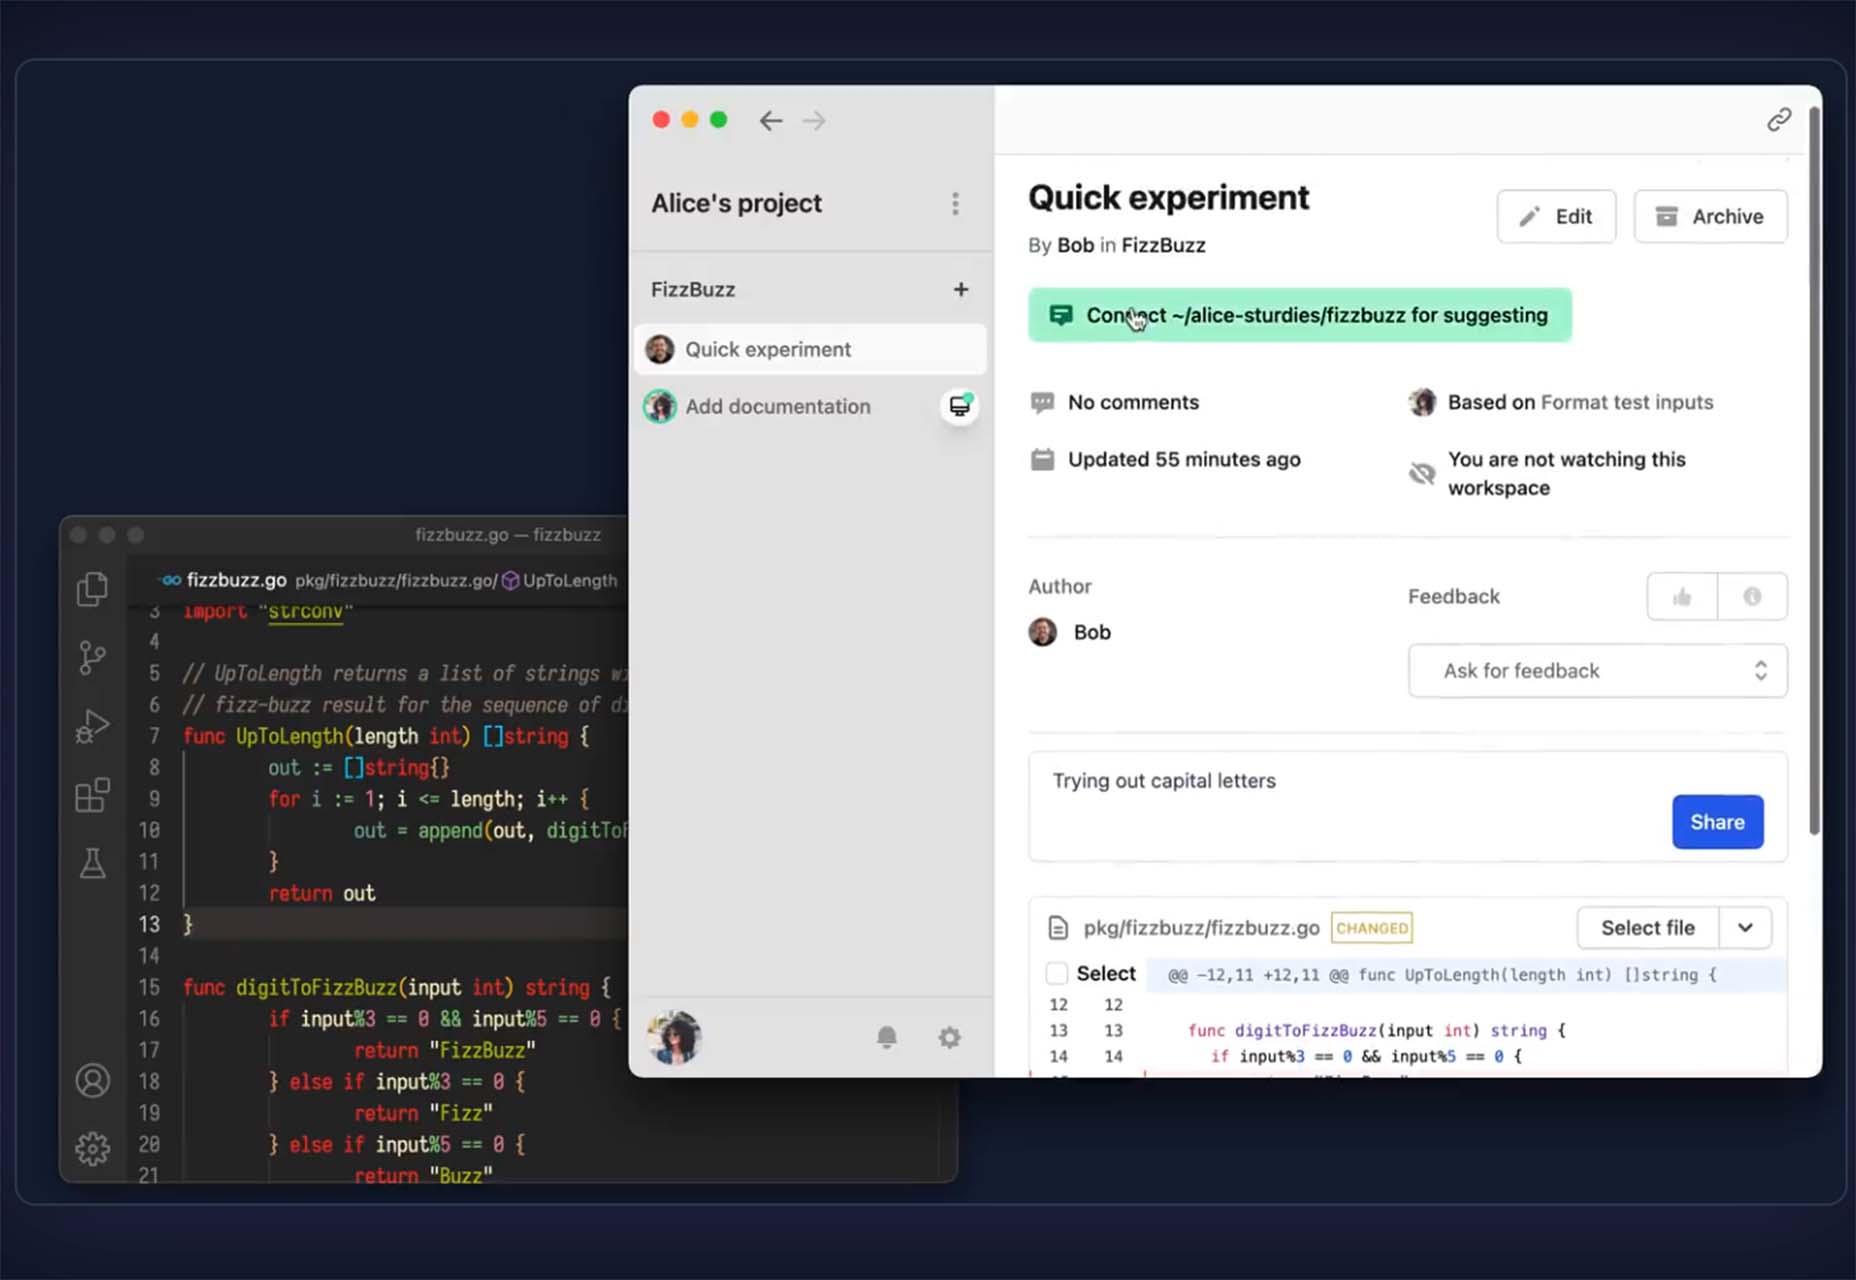
Sturdy

Sturdy is a low overhead code collaboration platform for fast-moving teams. With Sturdy, you work in the open with your team. Discover and interact with draft code as it is written. Those team drafts are like live pull requests (Figma or Google Docs) but using your local editor.

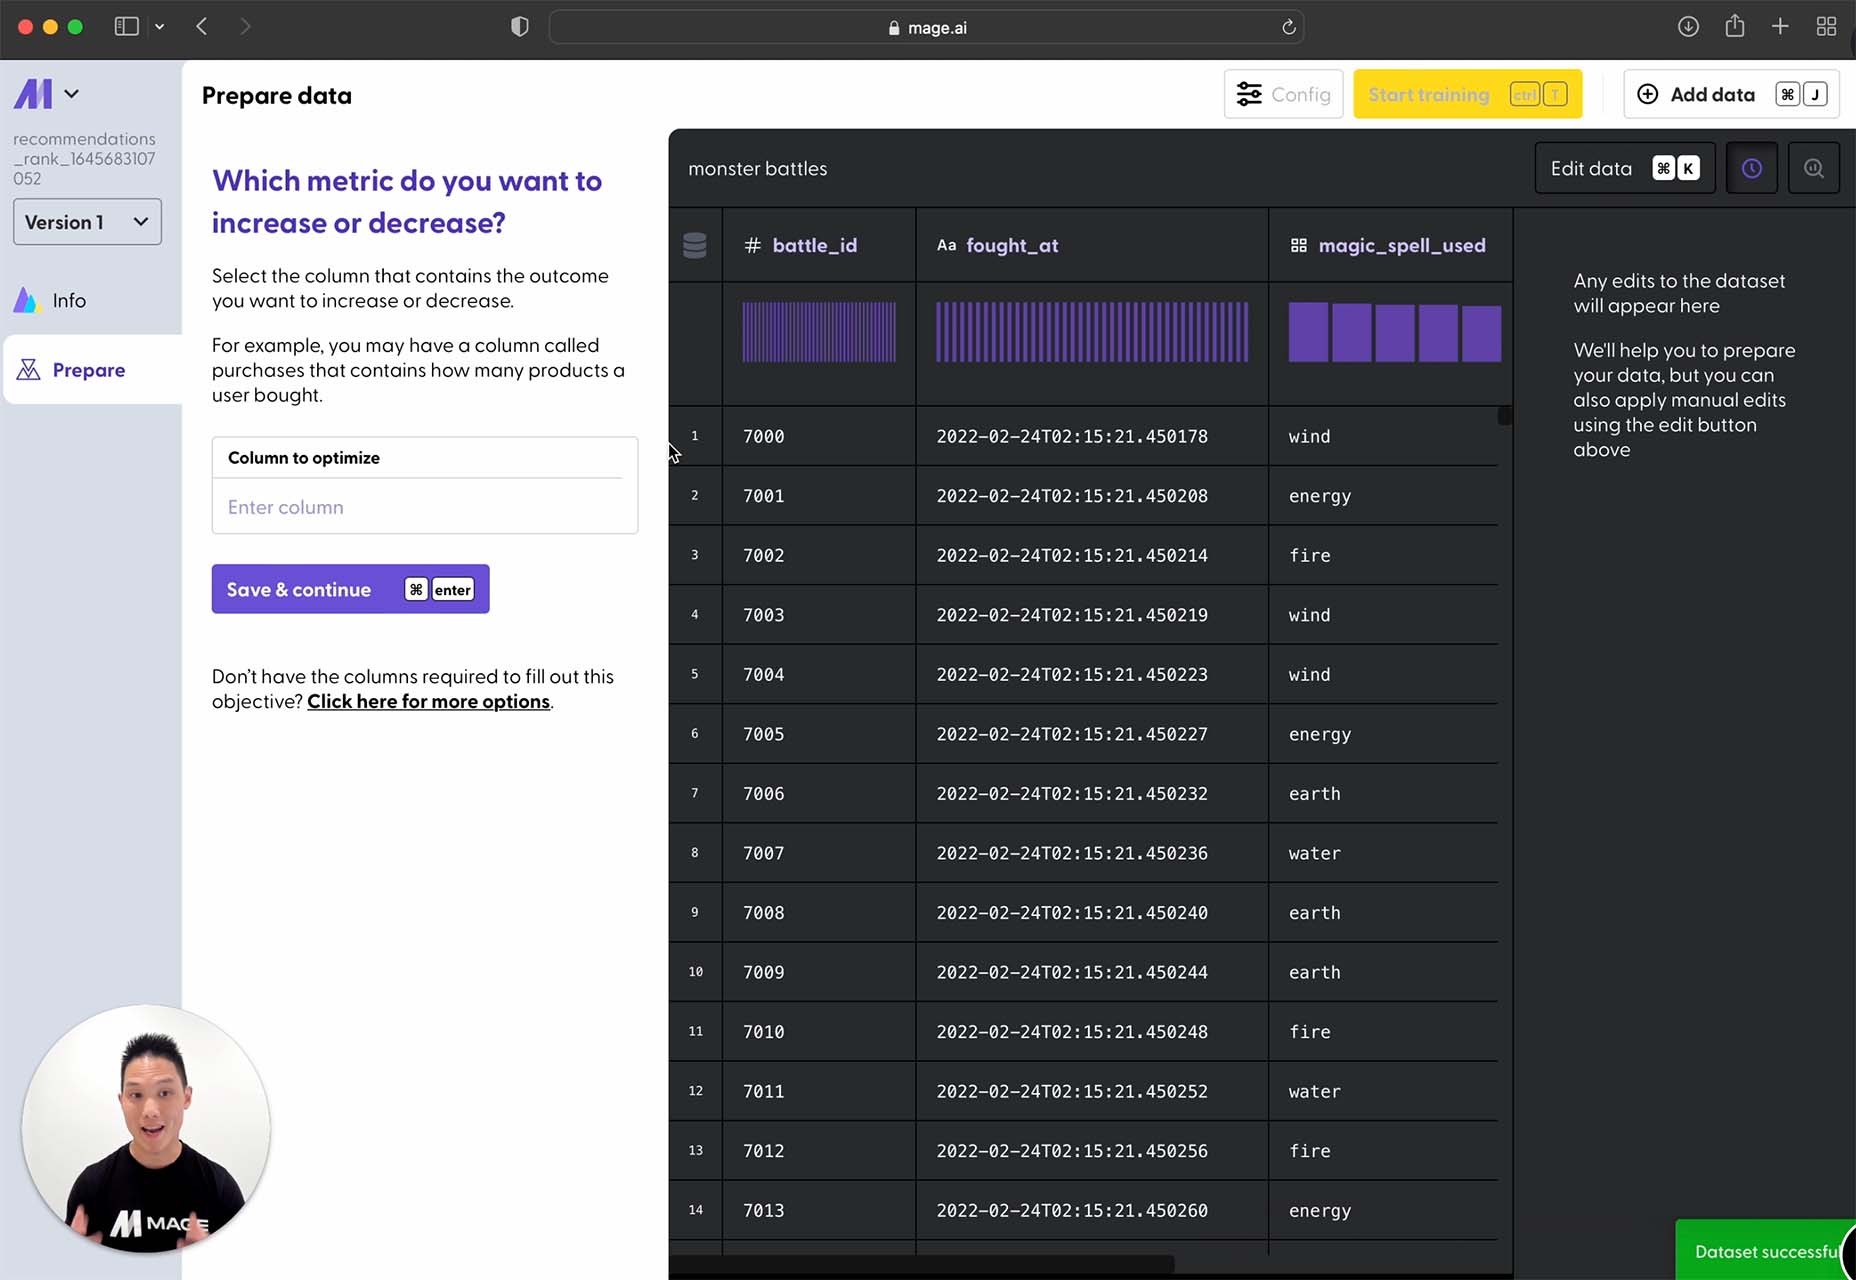
Mage

Mage is a tool that transforms your data into predictions. Build, train, and deploy predictive models in minutes with no AI experience required. This is a premium tool, but you can try it for free.

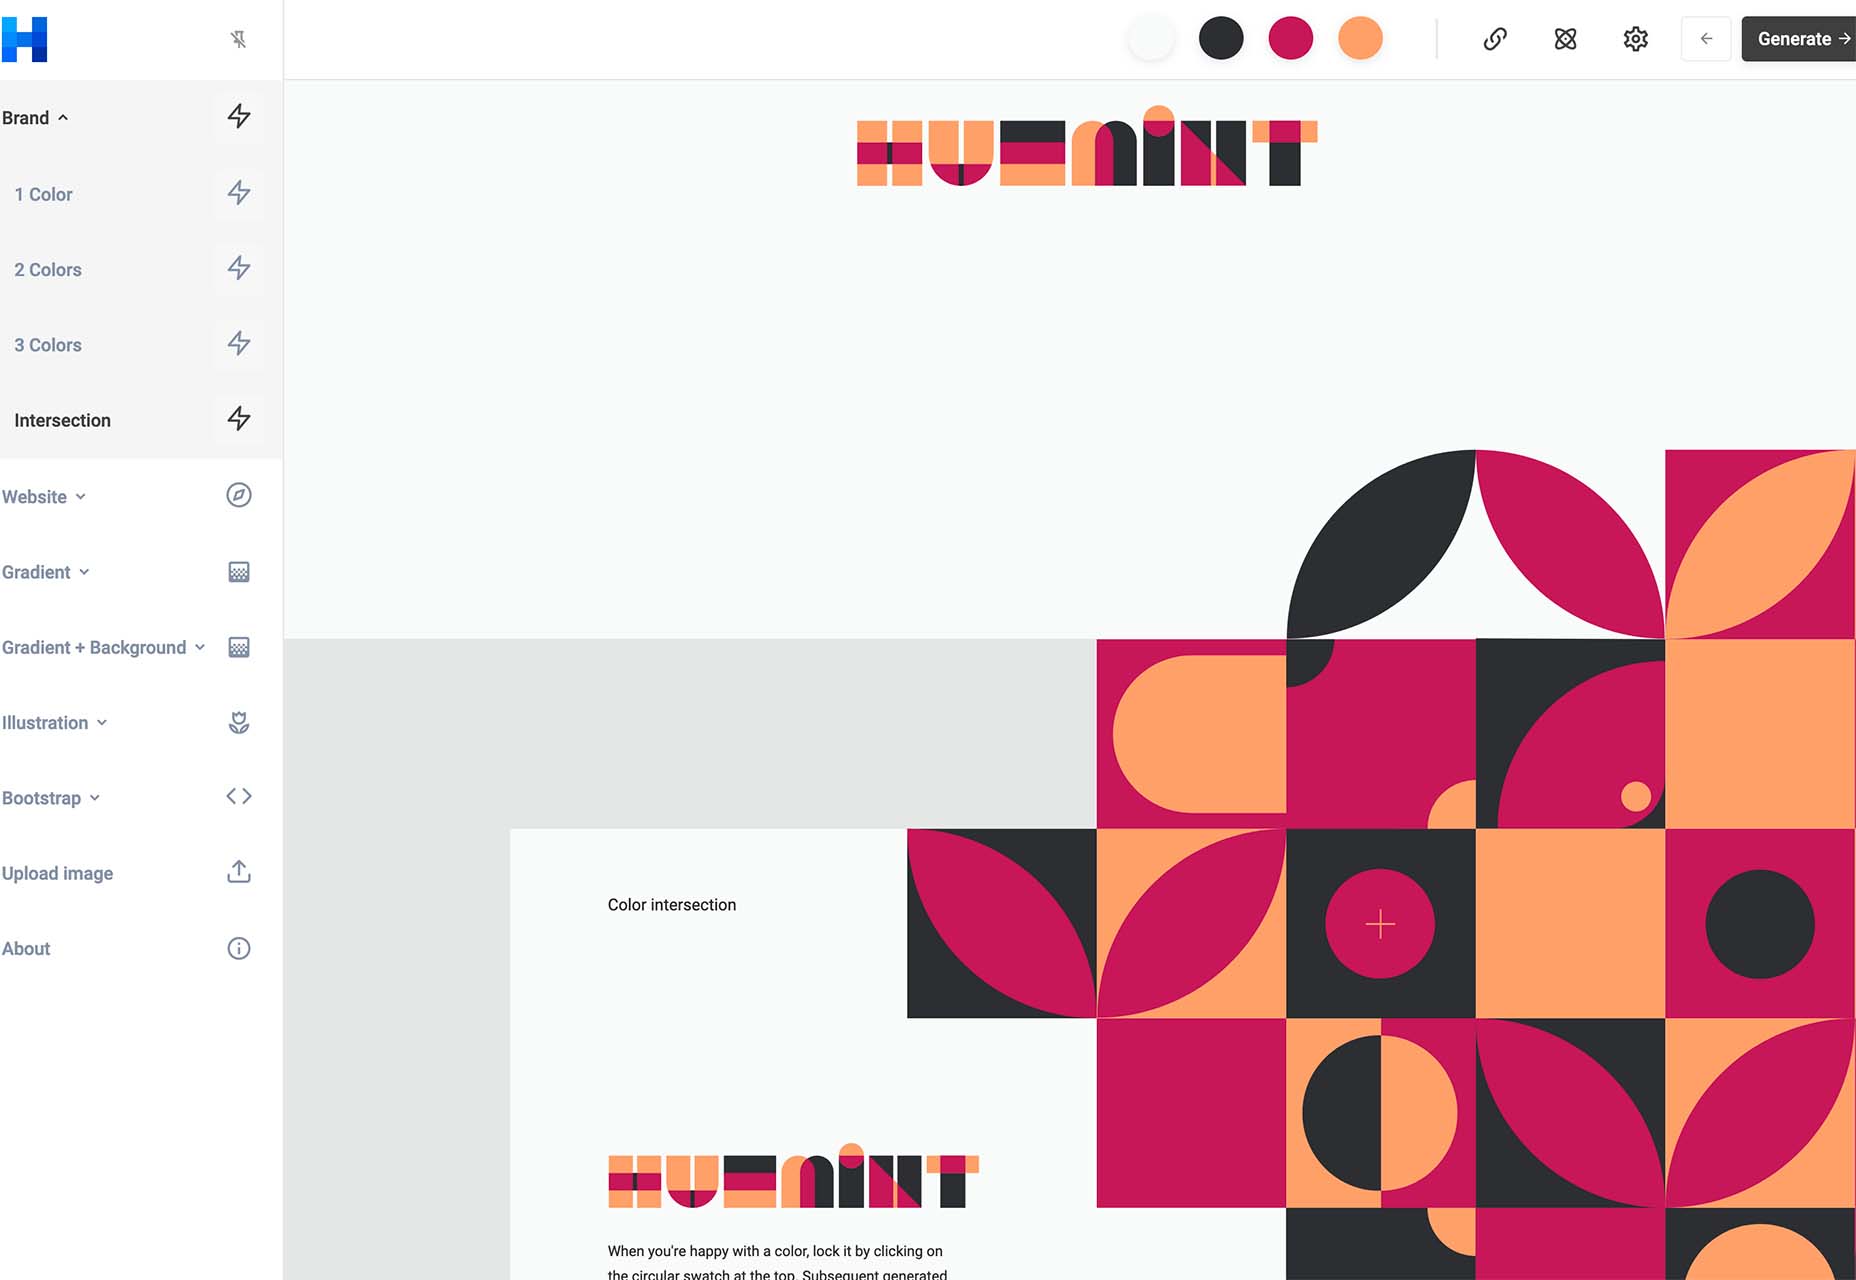
Huemint

Huemint is a machine-learning-based color scheme generator for websites, graphics, and branding. There are many options to play with, and you can generate some pretty interesting combinations that ordinarily you might not think of.

CSSUI

CSSUI is another tool you’ll love because it includes pure CSS interactive components without any JavaScript. It’s easy to customize, uses standard HTML, is easy for all levels to use, is tiny and fast, and supports pretty much all modern browsers. It’s an open-source tool that you can download and use immediately.

UI Icons Line – Free

UI Icons Line – Free is a set of 1,000 free vectors for use in your projects. Who doesn’t need a robust set of icons?

Skill Icons

Skill Icons is a set of icons to help you showcase your design and development skills on your resume or GitHub. They all look great and match.

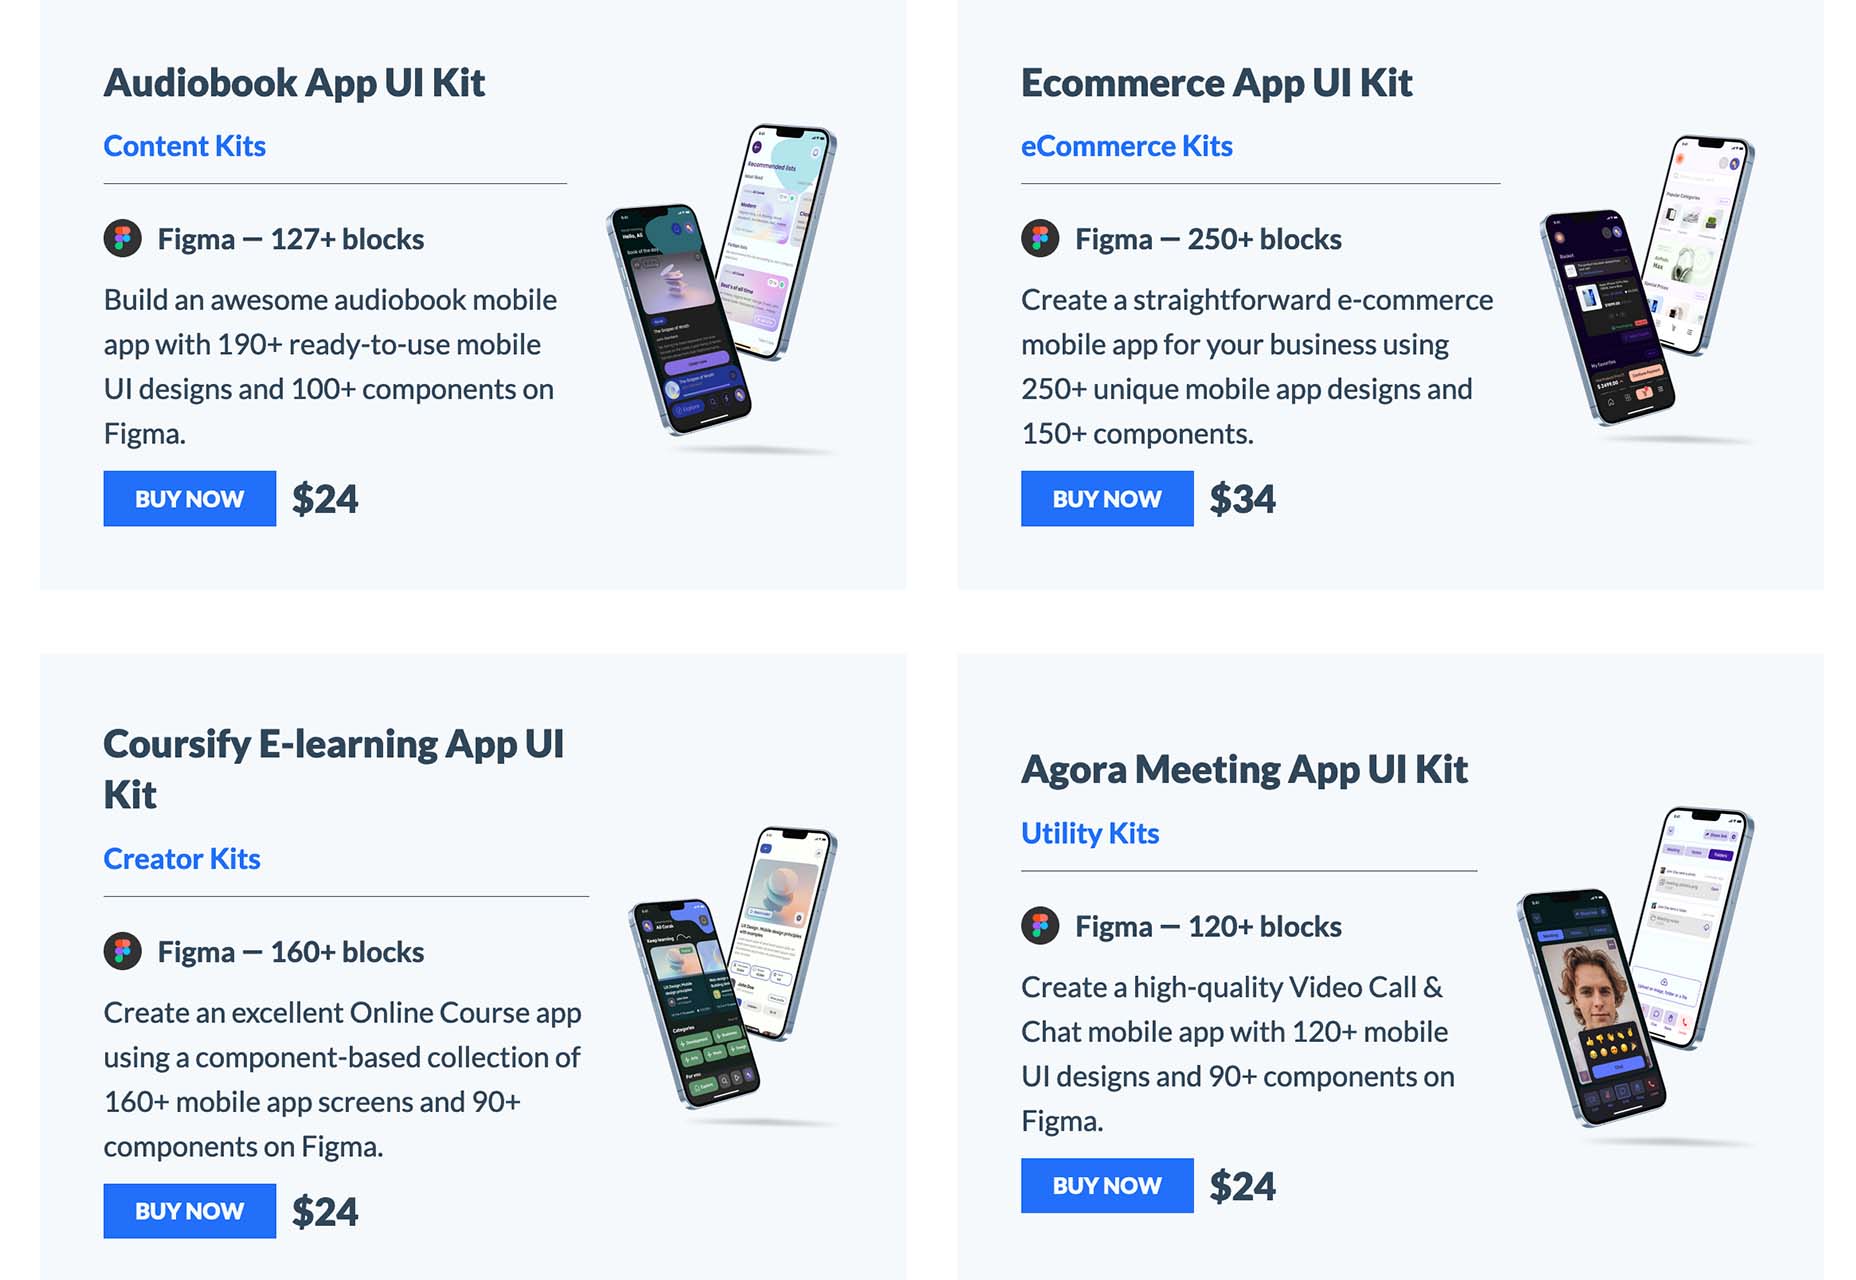
Ambient Design

Ambient Design is a mobile app design market where you can get mobile UI kits for Figma. Purchase kits separately, or buy quarterly or yearly plans to access all current and future UI kits.

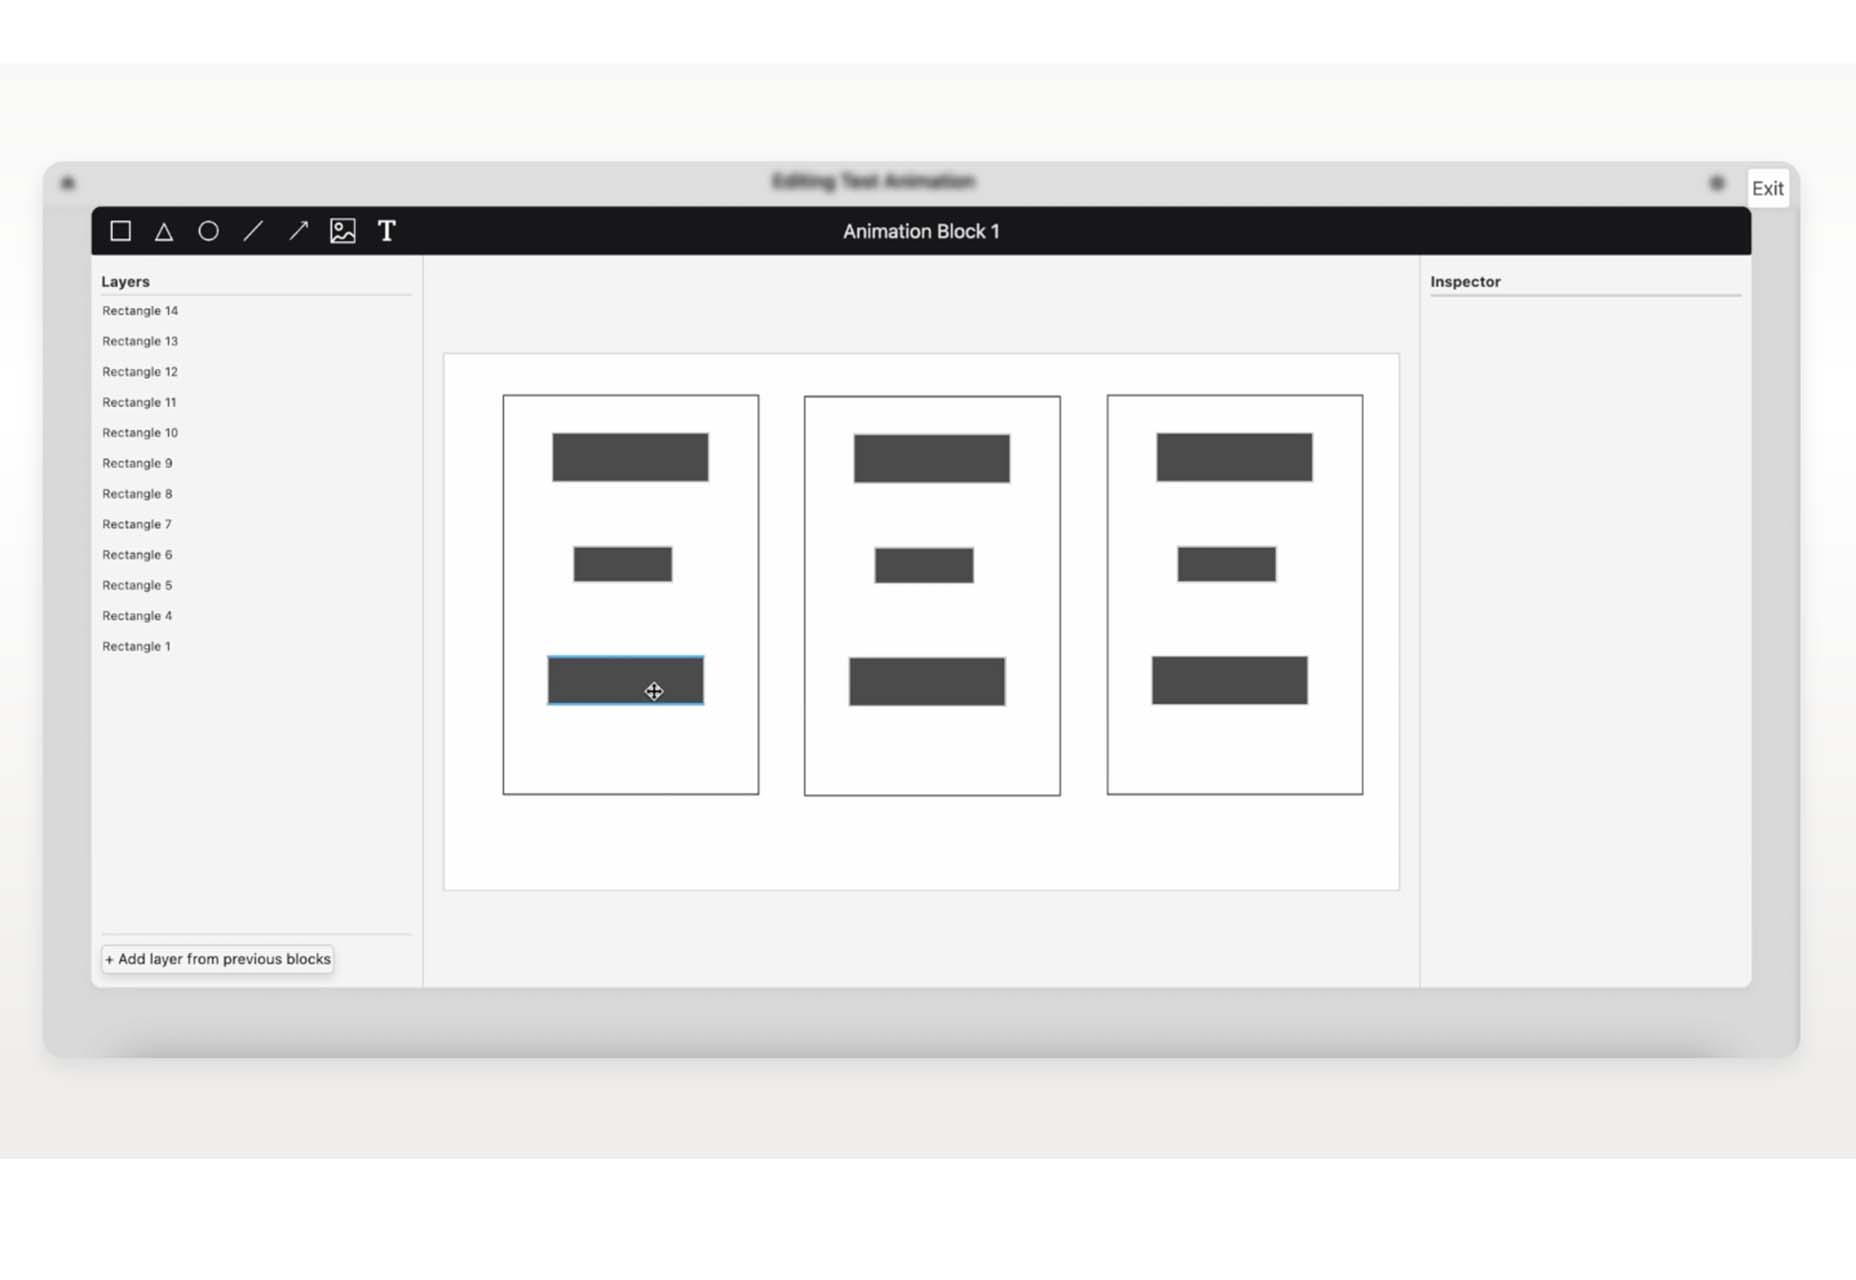
TextFrame

TextFrame lets you create animated tutorials for your users to get the help they need. It integrates directly with WordPress or any other website with just a couple of lines of code and includes plenty of customizable options to make it easy for you to help others understand how to use the website. The tool is free for one site and just a few bucks per month for additional sites.

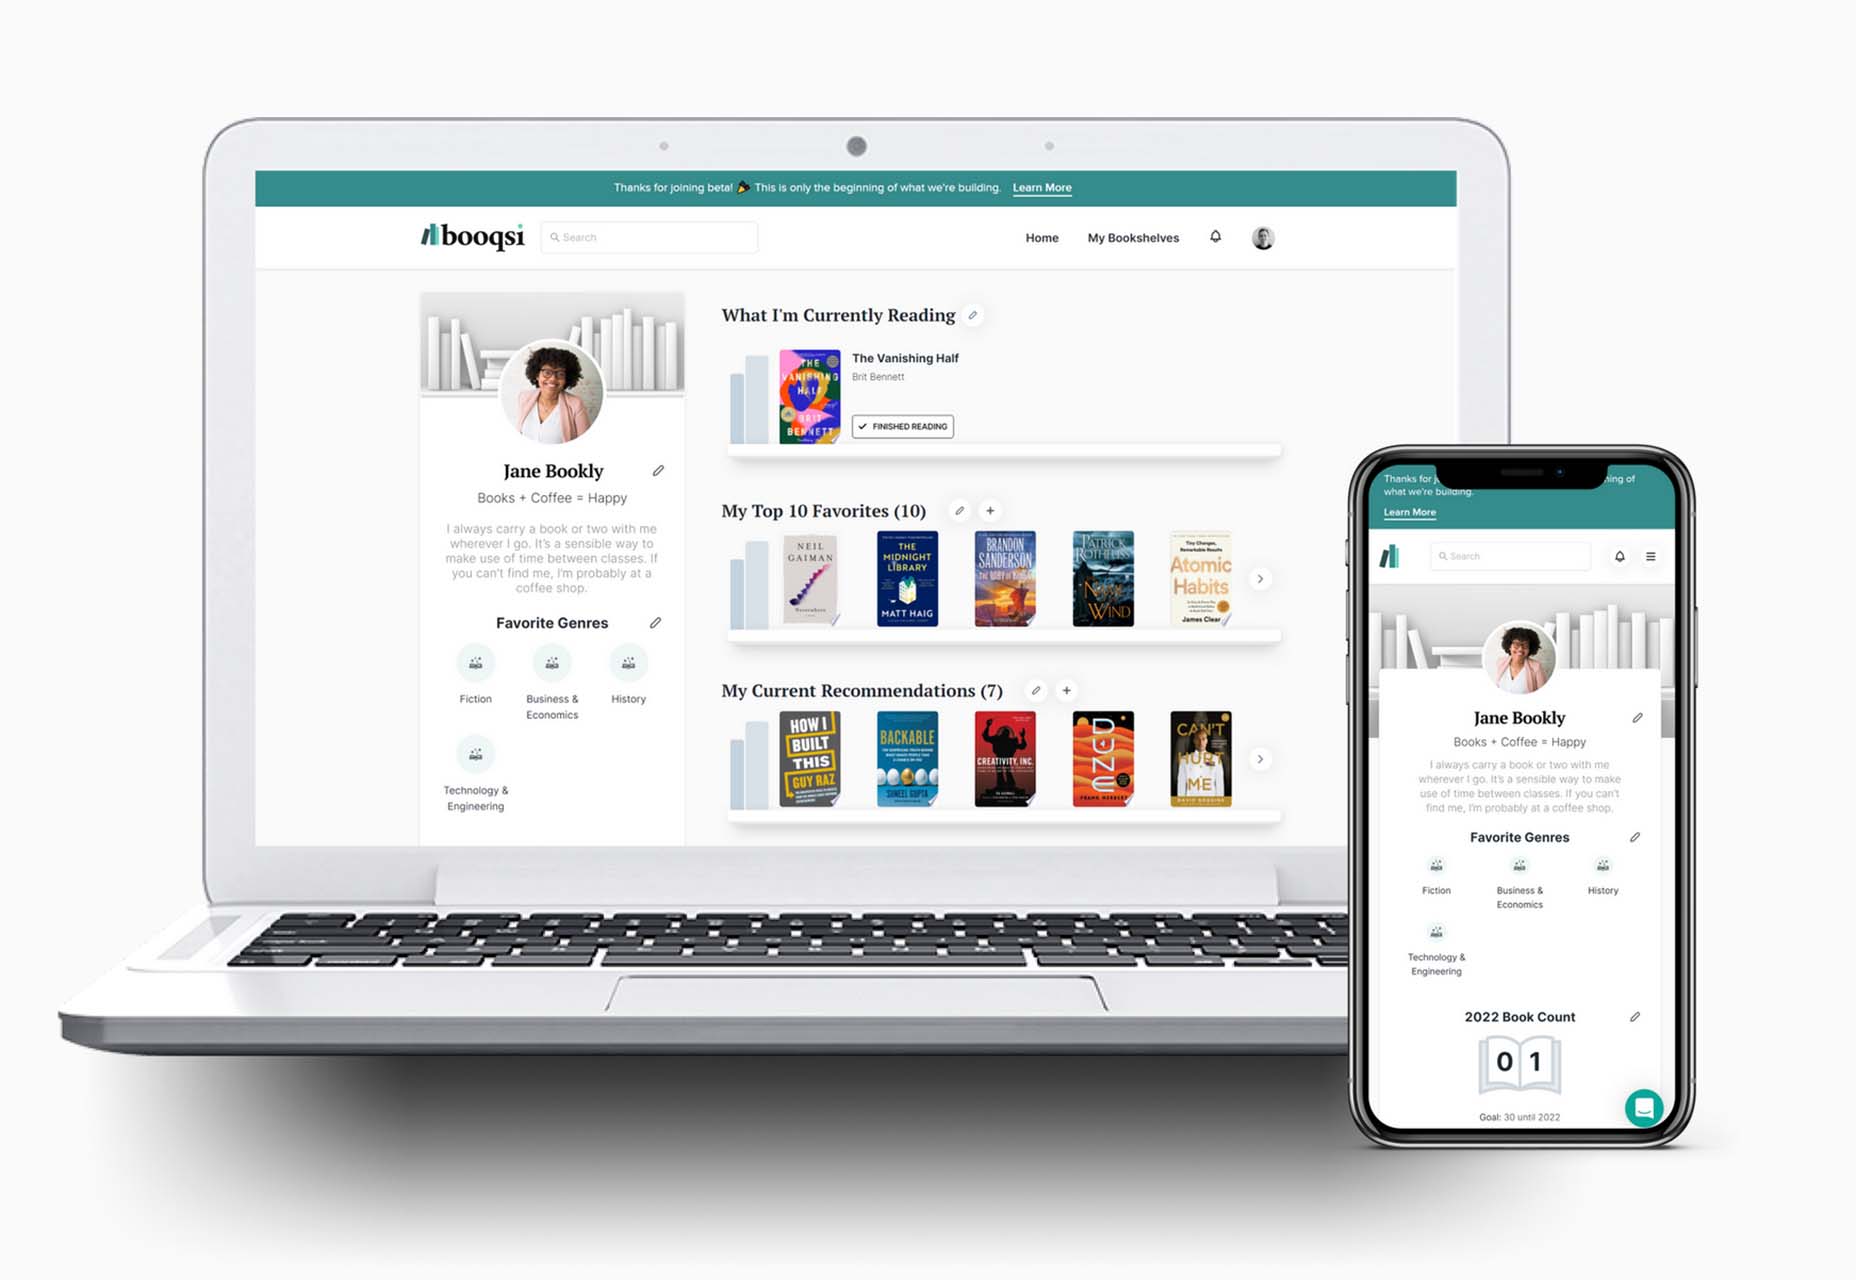
Booqsi

Booqsi is a fun new social media network for book lovers. The platform is still in beta and lets you save and share books, create shelves for reading, and doesn’t force a connection to Amazon. It’s just all about the books. And there’s a bonus: every link from the site goes back to bookshop.org to help you find and support local bookstores.

Stylo

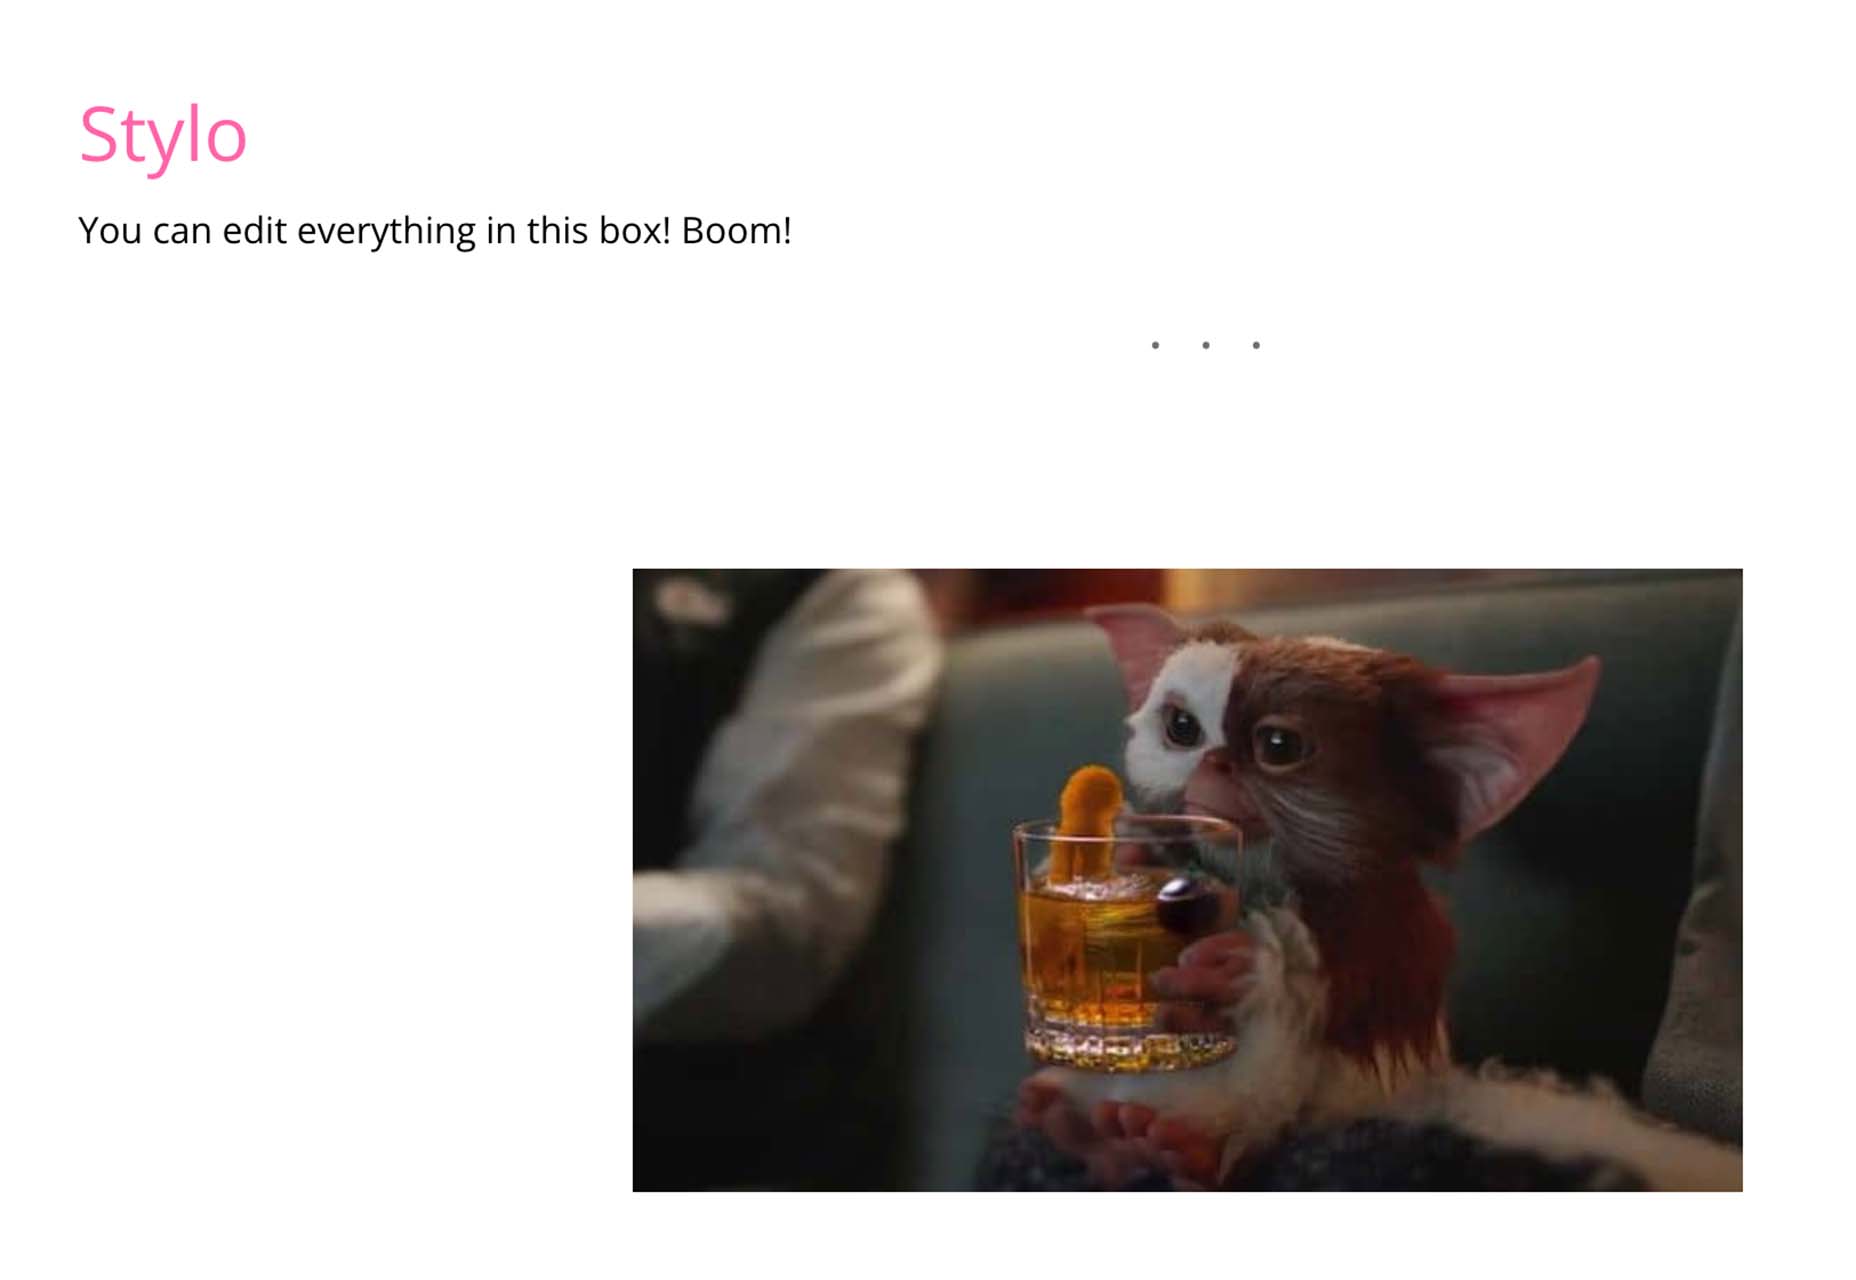
Stylo is an open-source WYSIWYG interactive editor for JavaScript. It is made to bring great user experience and interactivity to the web, for everyone, with no dependencies. It has an interactive design, is customizable, and is future-proof.

Tutorial: How to Favicon in 2022

How to Favicon in 2022 is an excellent lesson on the five icon files every website needs (plus one JSON file). If you are creating more than that, this is a must-read.

Tutorial: Creating Generative SVG Grids

Creating Generative SVG Grids is an in-depth, step-by-step tutorial for anyone who wants to create a more artistic SVG. It uses a handful of tools, including SVG.js, Generative Utils, TinyColor, and GSAP.

Fromage

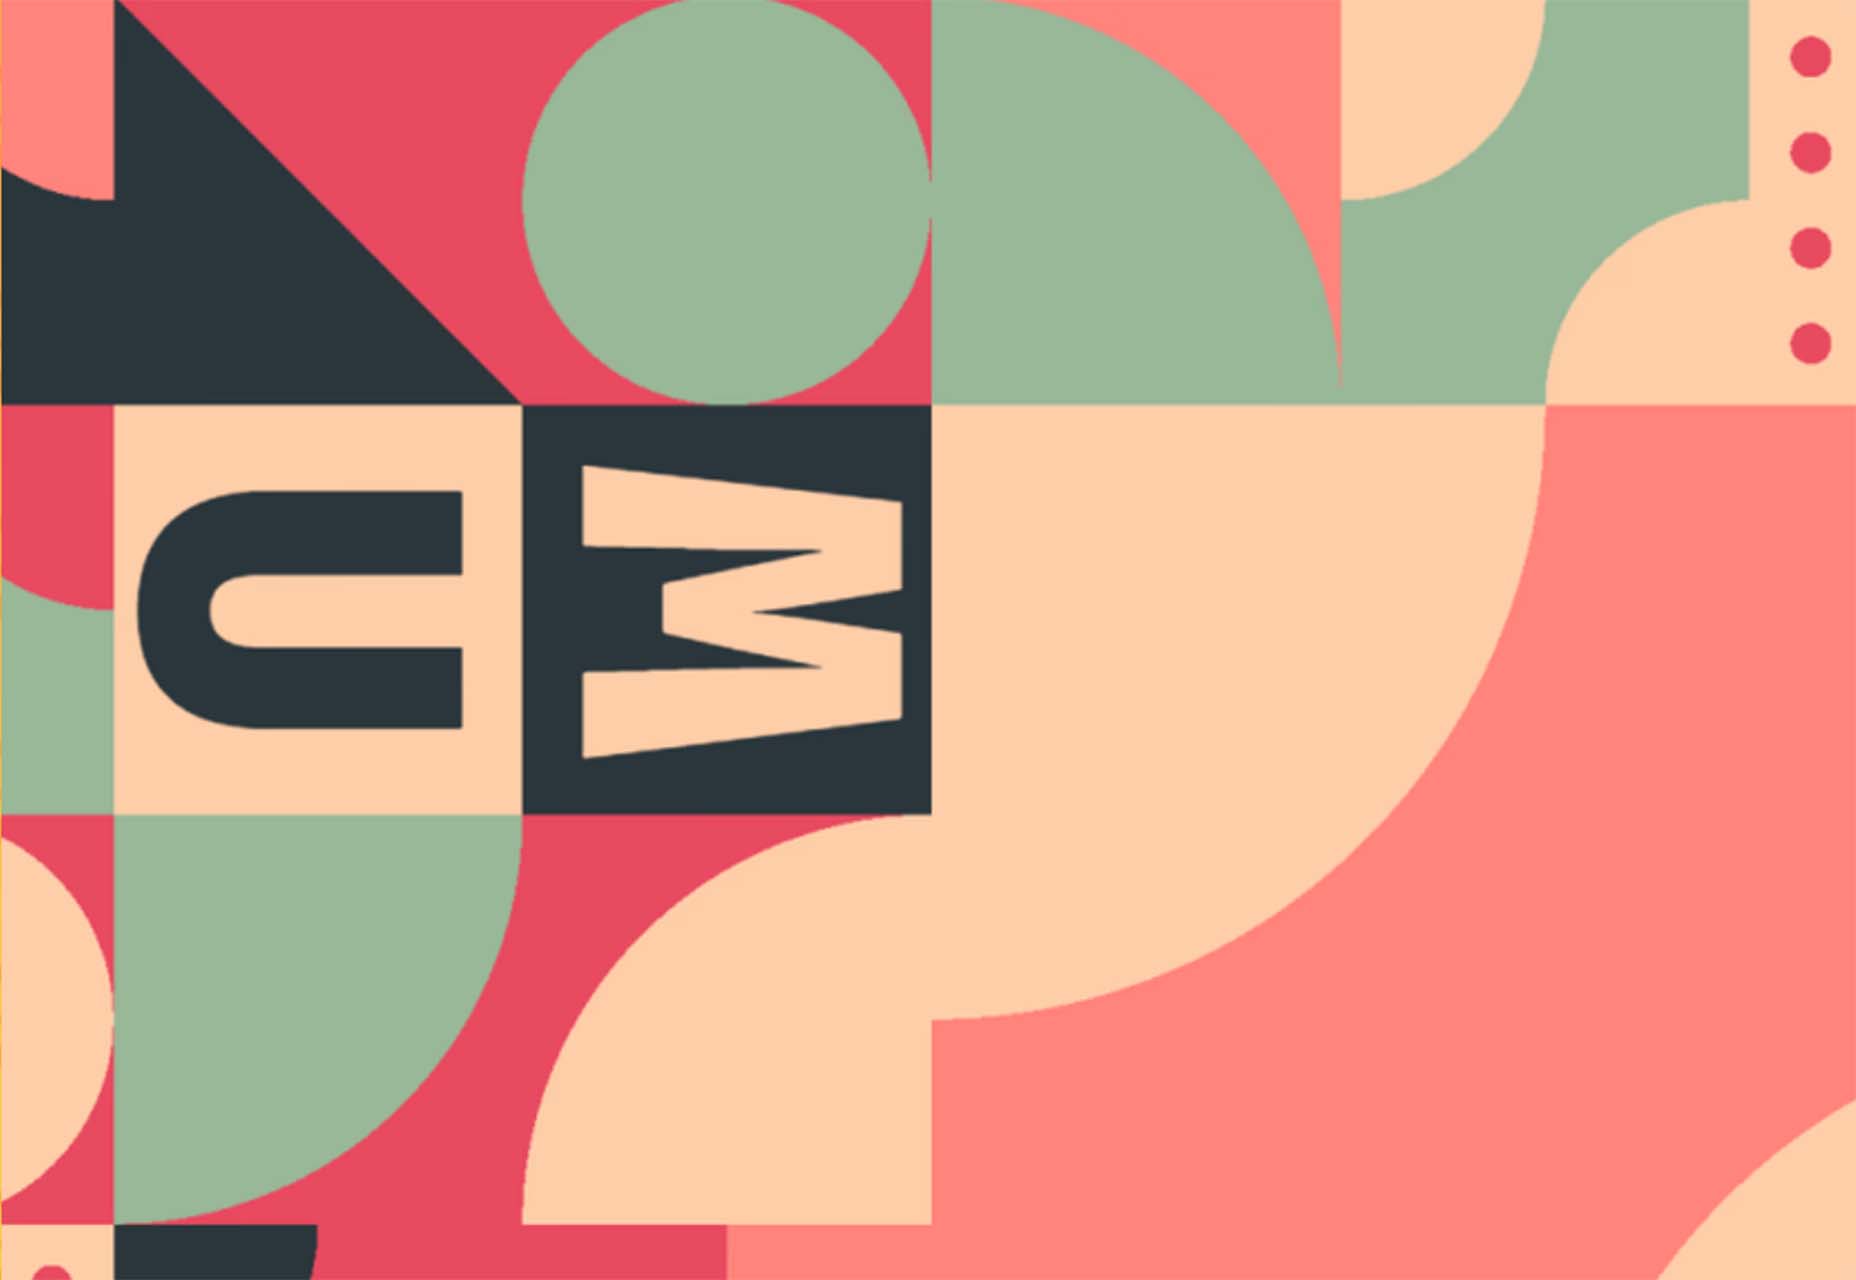
Fromage is a new and beautiful premium typeface family from Adam Ladd. It includes 14 styles with an interesting serif and alternative sans option. The high-contrast design is great for a variety of projects.

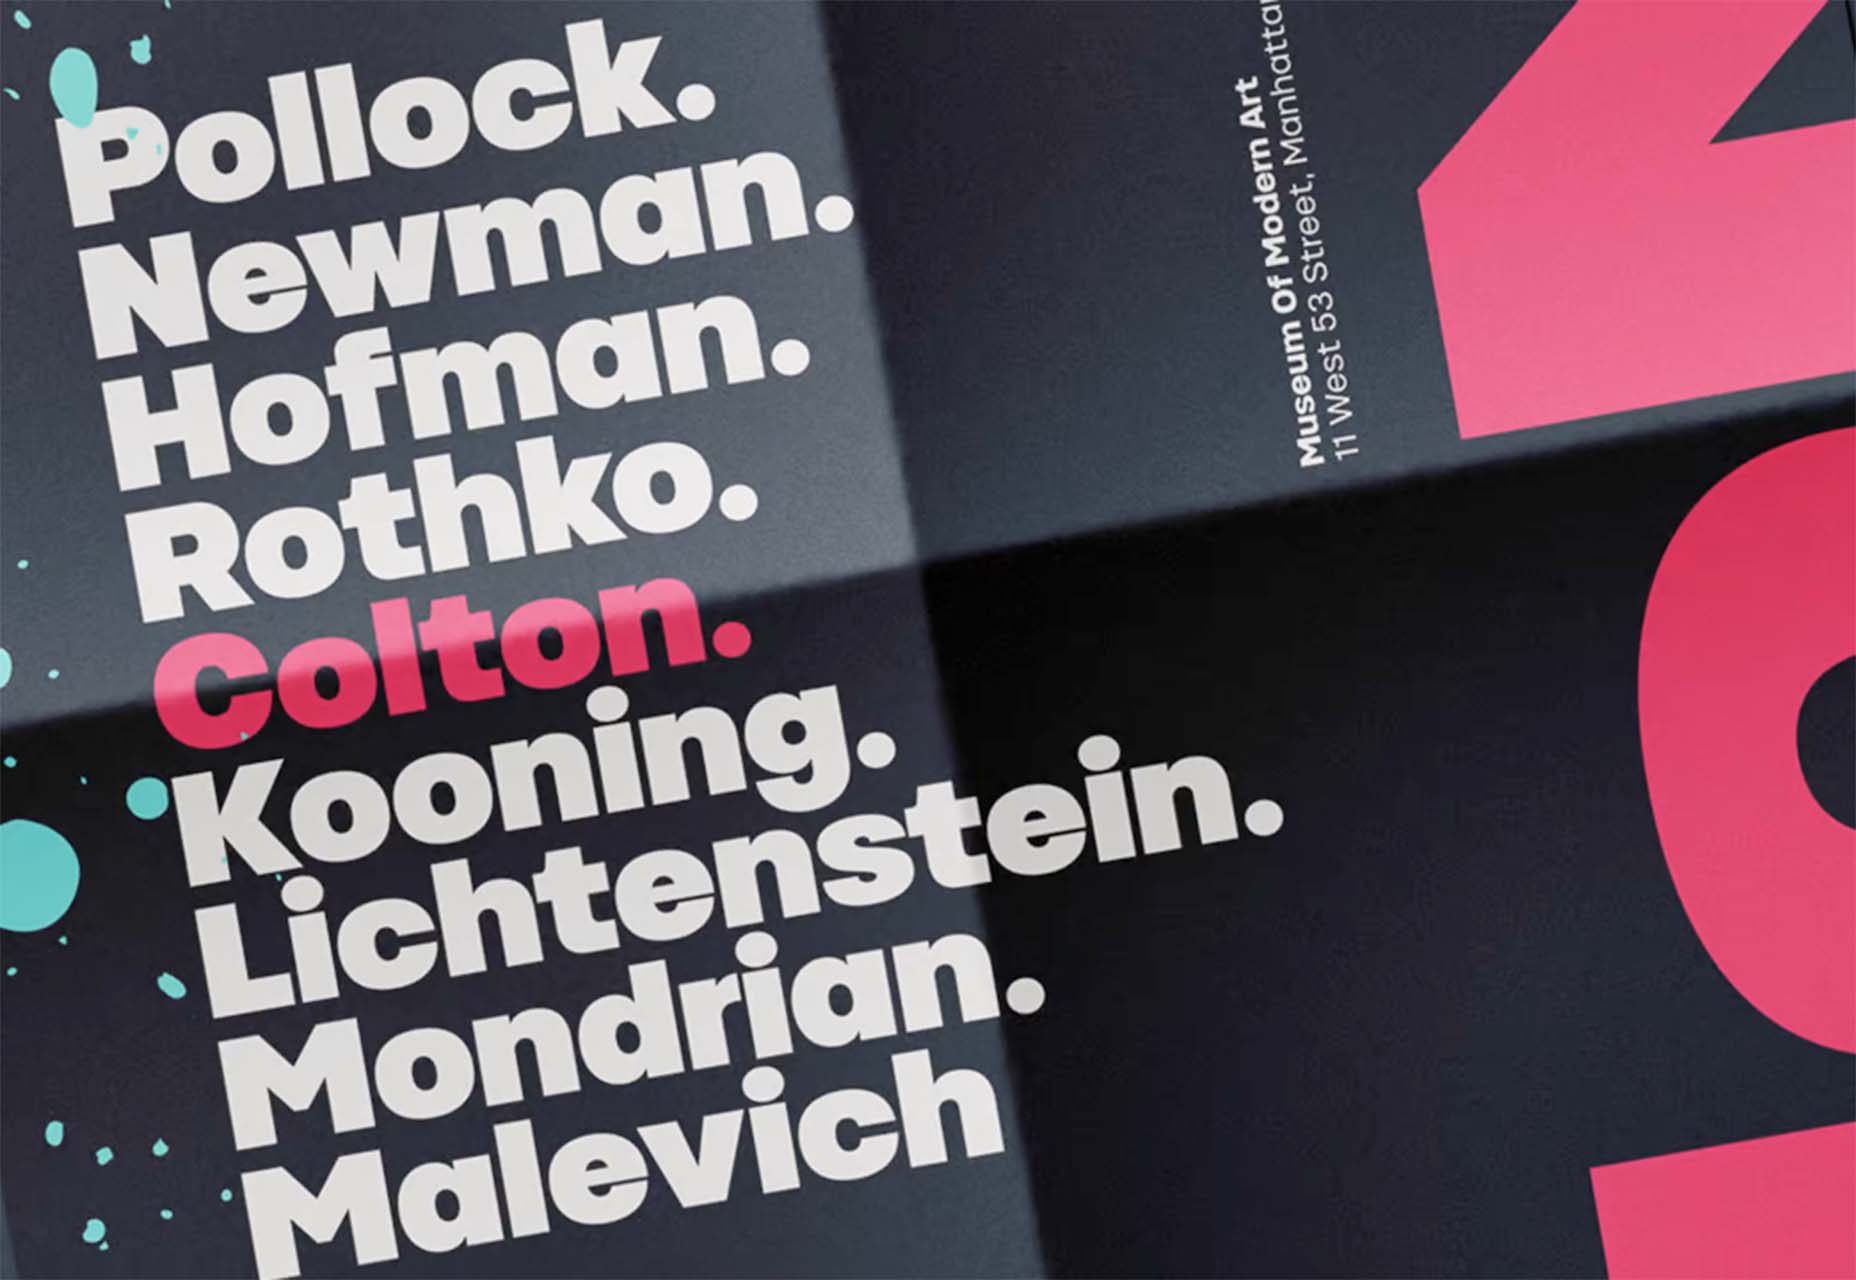
HD Colton

HD Colton is a premium super sans serif typeface with a whopping 91 styles and family package options. It would make a bold statement as a display option.

Source

The post Exciting New Tools For Designers, March 2022 first appeared on Webdesigner Depot.

Source de l’article sur Webdesignerdepot

In a previous article, I described a way to organize low-latency products as multiple code bases which are bound together with a Maven Bill of Materials (BOM). Understandably, this requires setting up continuous integration and deployment for a large number of similar projects. Maintaining such a setup manually in the face of change while ensuring its consistency will take a lot of effort.  In this article, I will describe how the team at Chronicle Software has tackled these issues in different projects by writing code that does this for us, in the form of Kotlin DSL for TeamCity.

This guide will show how to configure the same set of CI/CD builds for multiple Maven project repositories of similar layouts programmatically, following the DRY (don’t repeat yourself) principle. Following it will require a base knowledge of git, Maven, and TeamCity but would not require knowledge of the Kotlin language, since all of the displayed code is self-explanatory.

Source de l’article sur DZONE

The demand for automation has skyrocketed across industries and global markets in the past few years, and the need for workflows along with it. Why? Because they make communication easier, reduce time and effort, enhance functionality, and improve control, leading to increased organizational efficiency. They allow businesses to identify and respond to new opportunities.

More and more organizations are embracing digital transformation and changing the way they operate. But for digital technology to be integrated into all areas of a business, solutions must be built. Systems, processes, workflows must change. This transformation puts a lot of pressure on IT, a department that’s already overwhelmed. Digital transformation can no longer be solely driven by IT, and that’s where citizen development comes in. With citizen development, companies can pursue their digital transformation initiatives without worrying about IT’s backlog.

Source de l’article sur DZONE