 Need inspiration for an upcoming web design project? Want to learn how to add live chat functionality to your site, or which trends you should be aware of as you pursue new projects? Leading web design blogs could be the solution to your problems.
Just as marketers follow posts on websites like Search Engine Land and Mashable, and tech enthusiasts read up on Hacker Noon and TechCrunch, designers have plenty of blogs worth following too. The top web design blogs are incredible sources of inspiration, information, and guidance for today’s budding professionals. You can find insights into recent web design news stories or learn how to use new components in your website content.
As one of the best resources for any designer, a good web design publication can expand your education, act as an instant muse, or give you some much-needed entertainment.
Here are our top choices for the ultimate must-follow web design blogs.
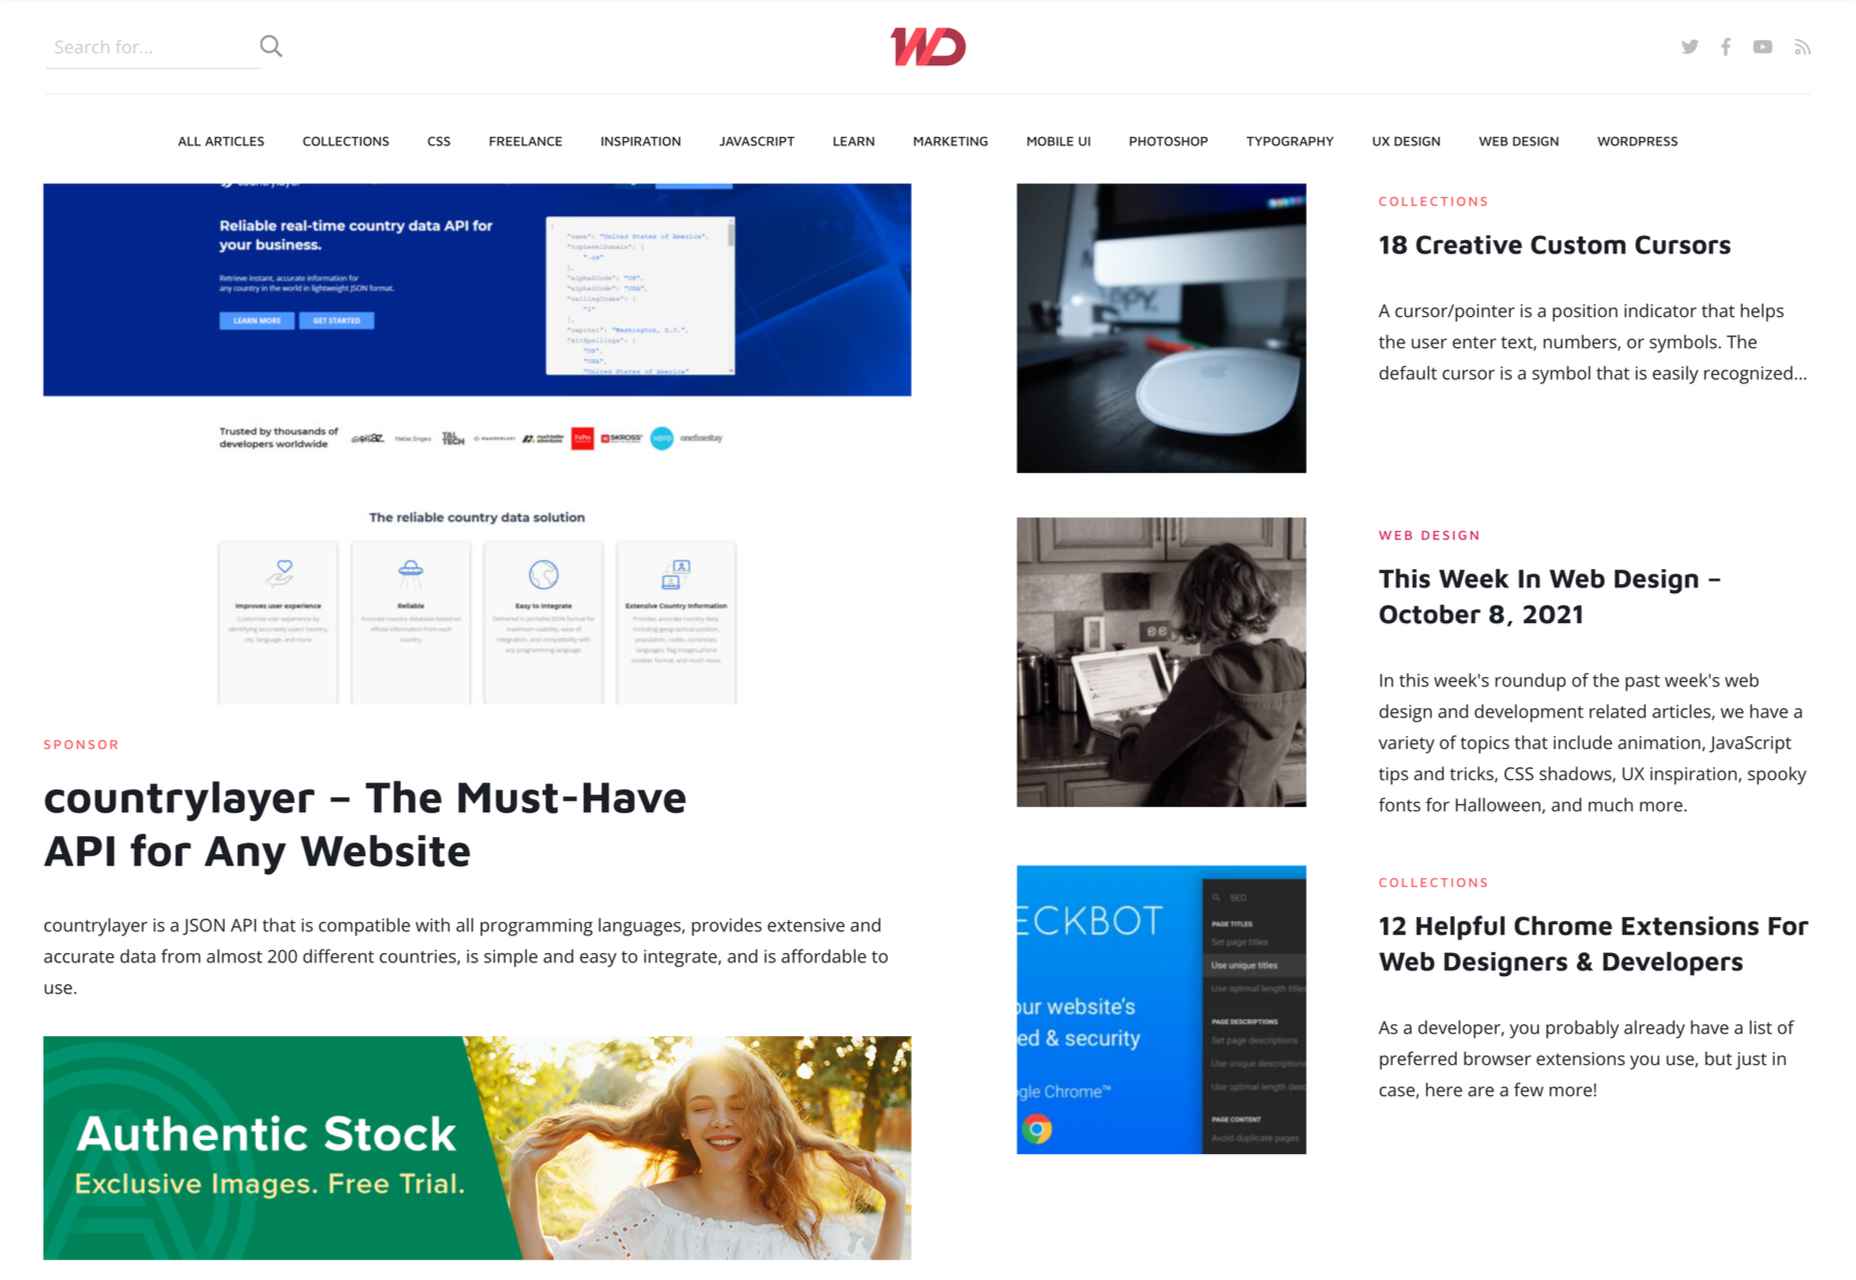
1. Webdesigner Depot
You’re already here, so obviously, you already know that Webdesigner Depot’s a comprehensive hub of tech tips, news, thought leadership posts, and inspiration. Webdesigner Depot stands out among the most popular design blogs in the world. Frequently updated with content from a series of experienced authors, Webdesigner Depot is the go-to place for designers. Here, you’ll find the latest design news, explore the pros and cons of different coding systems, and discover some of the best design resources around.
We have many categories to choose from, including coding, news, resources, SEO, inspiration, content marketing, and user experience. You can even find the occasional “funny” post or poll to take part in too.
Many of the articles produced by Webdesigner Depot also go above and beyond the competition in terms of detail and depth. If you’re learning about freelance project management apps on this site, you can expect a complete overview of each of the available apps covered, along with notes on how to choose and use these tools correctly.
Webdesigner Depot also has a newsletter you can subscribe to in order to stay informed about recent posts.
2. Smashing Magazine
Another excellent publication popular among web design professionals, Smashing Magazine, covers all kinds of helpful content. To make finding the right posts a little easier, the company organizes content by category, covering topics like user experience, web design, React, JavaScript, CSS, and accessibility. You can also search through articles with the search bar at the top of the page.
Alongside standard blogs, Smashing Magazine also produces eBooks and guides for those who need more extensive information about a specific topic. All of the content shared on this website is designed to be easy-to-read and informative. You’ll find plenty of sketches, screenshots, and images to guide you through learning experiences too.
Notably, the blog has been around since 2006, so although it has a lot of material to explore, some of the content might be a little outdated. If you want to stay up-to-date with Smashing Magazine’s latest posts, you can also subscribe to their email newsletter for once-a-week messages.
3. The Design Blog
While many of the top design blogs on the market today focus on sharing a combination of inspirational and informative content, The Design Blog is explicitly intended for inspiration. The site shares a “designer of the week” every Monday, and that person’s content is featured on the web and social networks of TDB. There’s also a quote of the week, featured video, and free resources every week.
Most of the design blog’s content is split into sections according to the days of the week. Web design Wednesday is a great section to check out if you’re looking for inspiration. The segment covers a range of well-designed websites from different niches to help guide your next project.
On Thursdays, the design blog covers UI and UX designs from around the web, as well as well-designed apps from budding creatives. Every Friday, there’s a “freebie” offered on the site in the form of an available download or digital resource.
The design blog also covers recommended books and websites you should visit, leading Dribble profiles, and more. The biggest downside is navigating through all the available content can be quite a complicated process.
4. Web Design Ledger
Beautifully organized and packed with helpful information, the Web Design Ledger is an excellent site for designers to visit. The website splits into various segments depending on the kind of design you’re interested in. For web designers, there are content categories for portfolio work, mobile design, business development, ecommerce, and even wearable devices.
You’ll also find several sub-categories for sections like User Interface design, graphics, and web development. For those looking to learn from thought leaders in the industry, Web Design Ledger has a range of fantastic interviews to explore. There’s also a review section, where you can check out some of the latest tools available for design professionals.
The “Inspiration” section of the site also includes many great ideas for people who need a little creative boost for their next project. You can check out some top-rated WordPress themes, explore tips about branding and design for specific industries, and even get advice on logo creation.
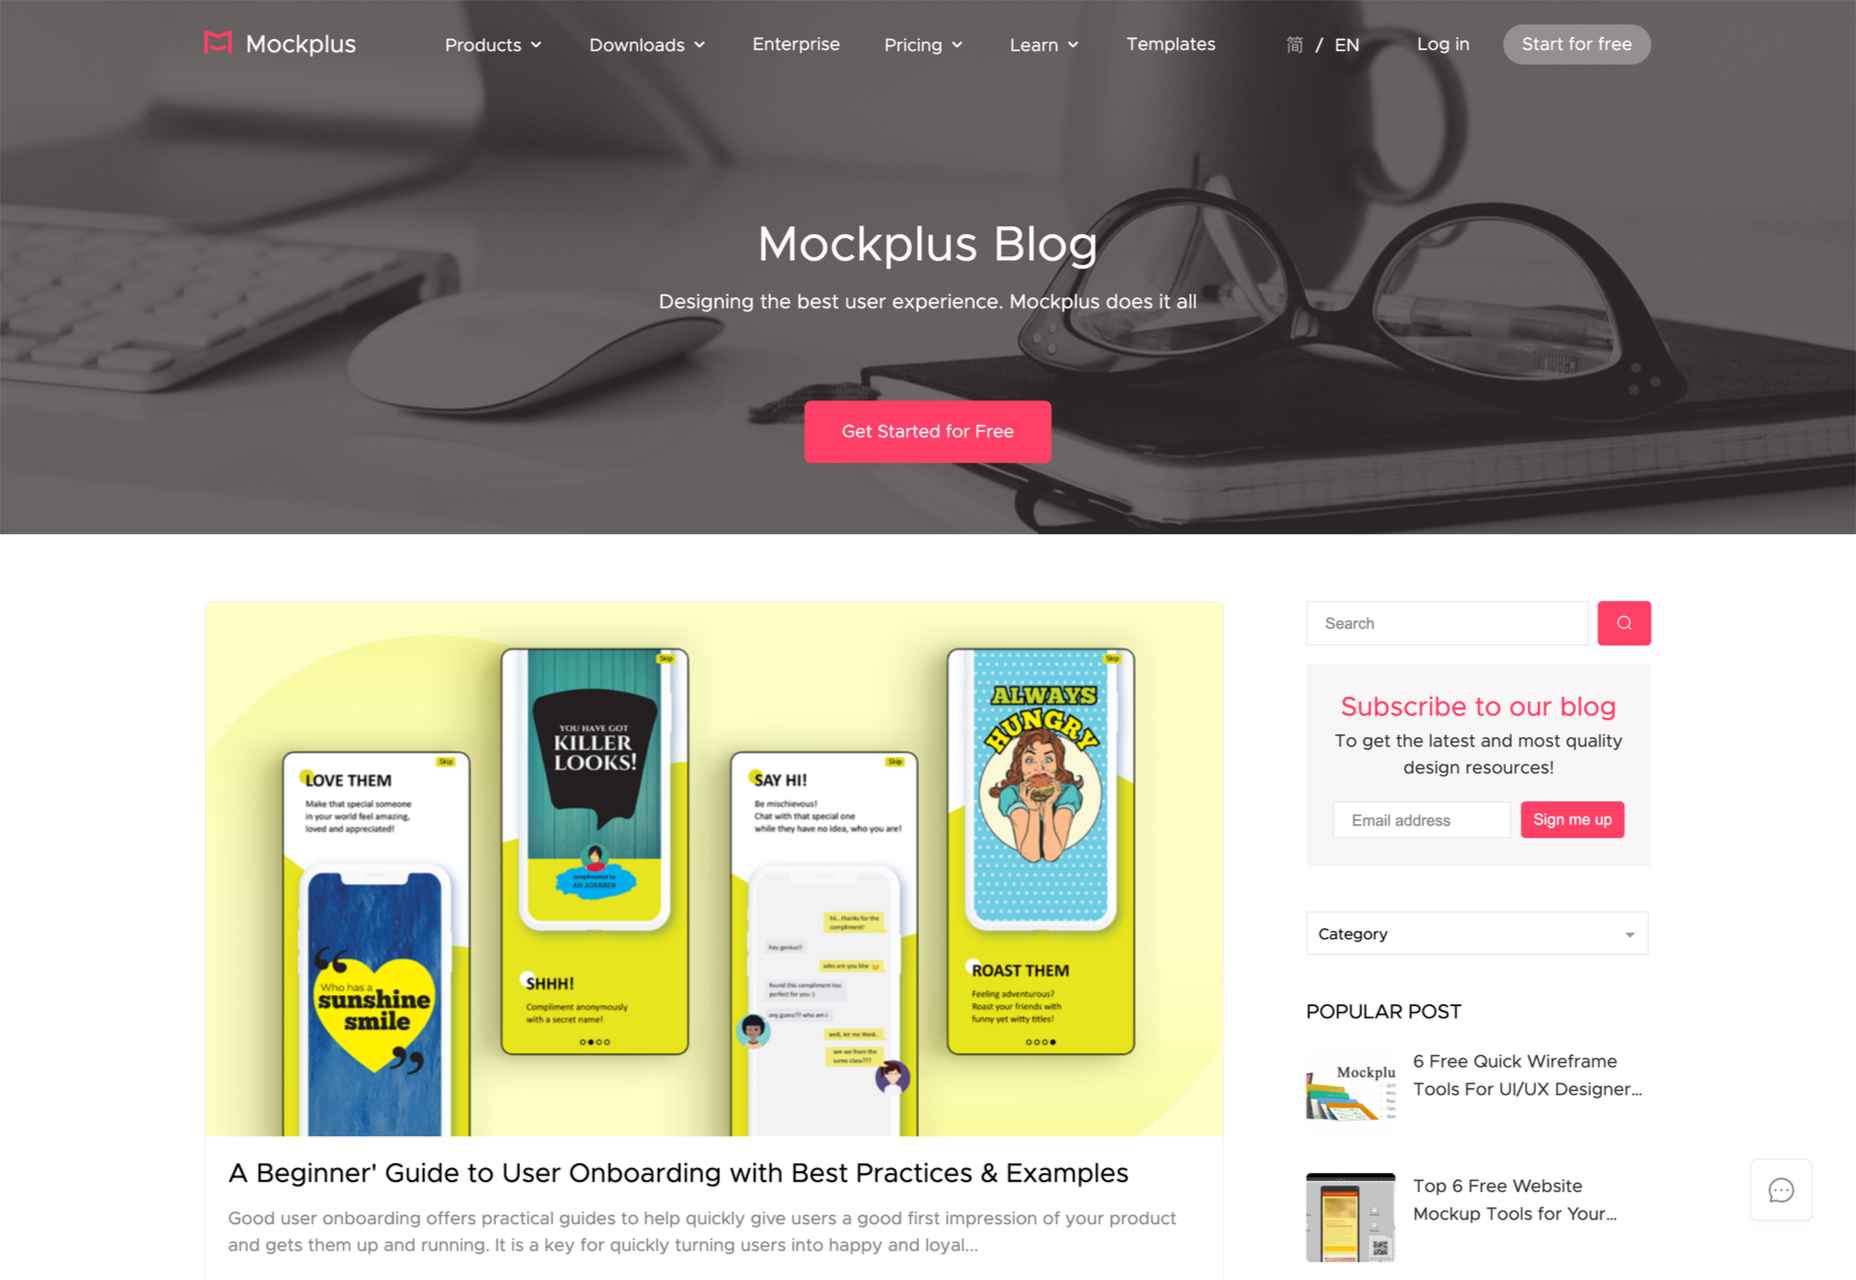
5. Mockplus Blog
Mockplus is more than just a blog producer. The company offers tools to make design teams faster and more productive through unified collaboration, interactive prototyping, and scalable design systems. If you’re using Mockplus’ cloud technology for your design projects, there are plenty of tutorials and articles on the website tailored specifically to you.
The Mockplus blog, alternatively, delivers easy-to-consume content to designers from all environments, using various kinds of tools and software. You can find guides on how to experiment with new web design strategies and tips on how to master things like navigation menu design.
Many of the most popular posts on Mockplus are lists of useful resources, websites, and downloads you can use in your design tasks. For instance, you can use this site as inspiration when finding Android UI systems or wireframing tools. The site has a subscription form available for people who want to sign up for regular blog updates.
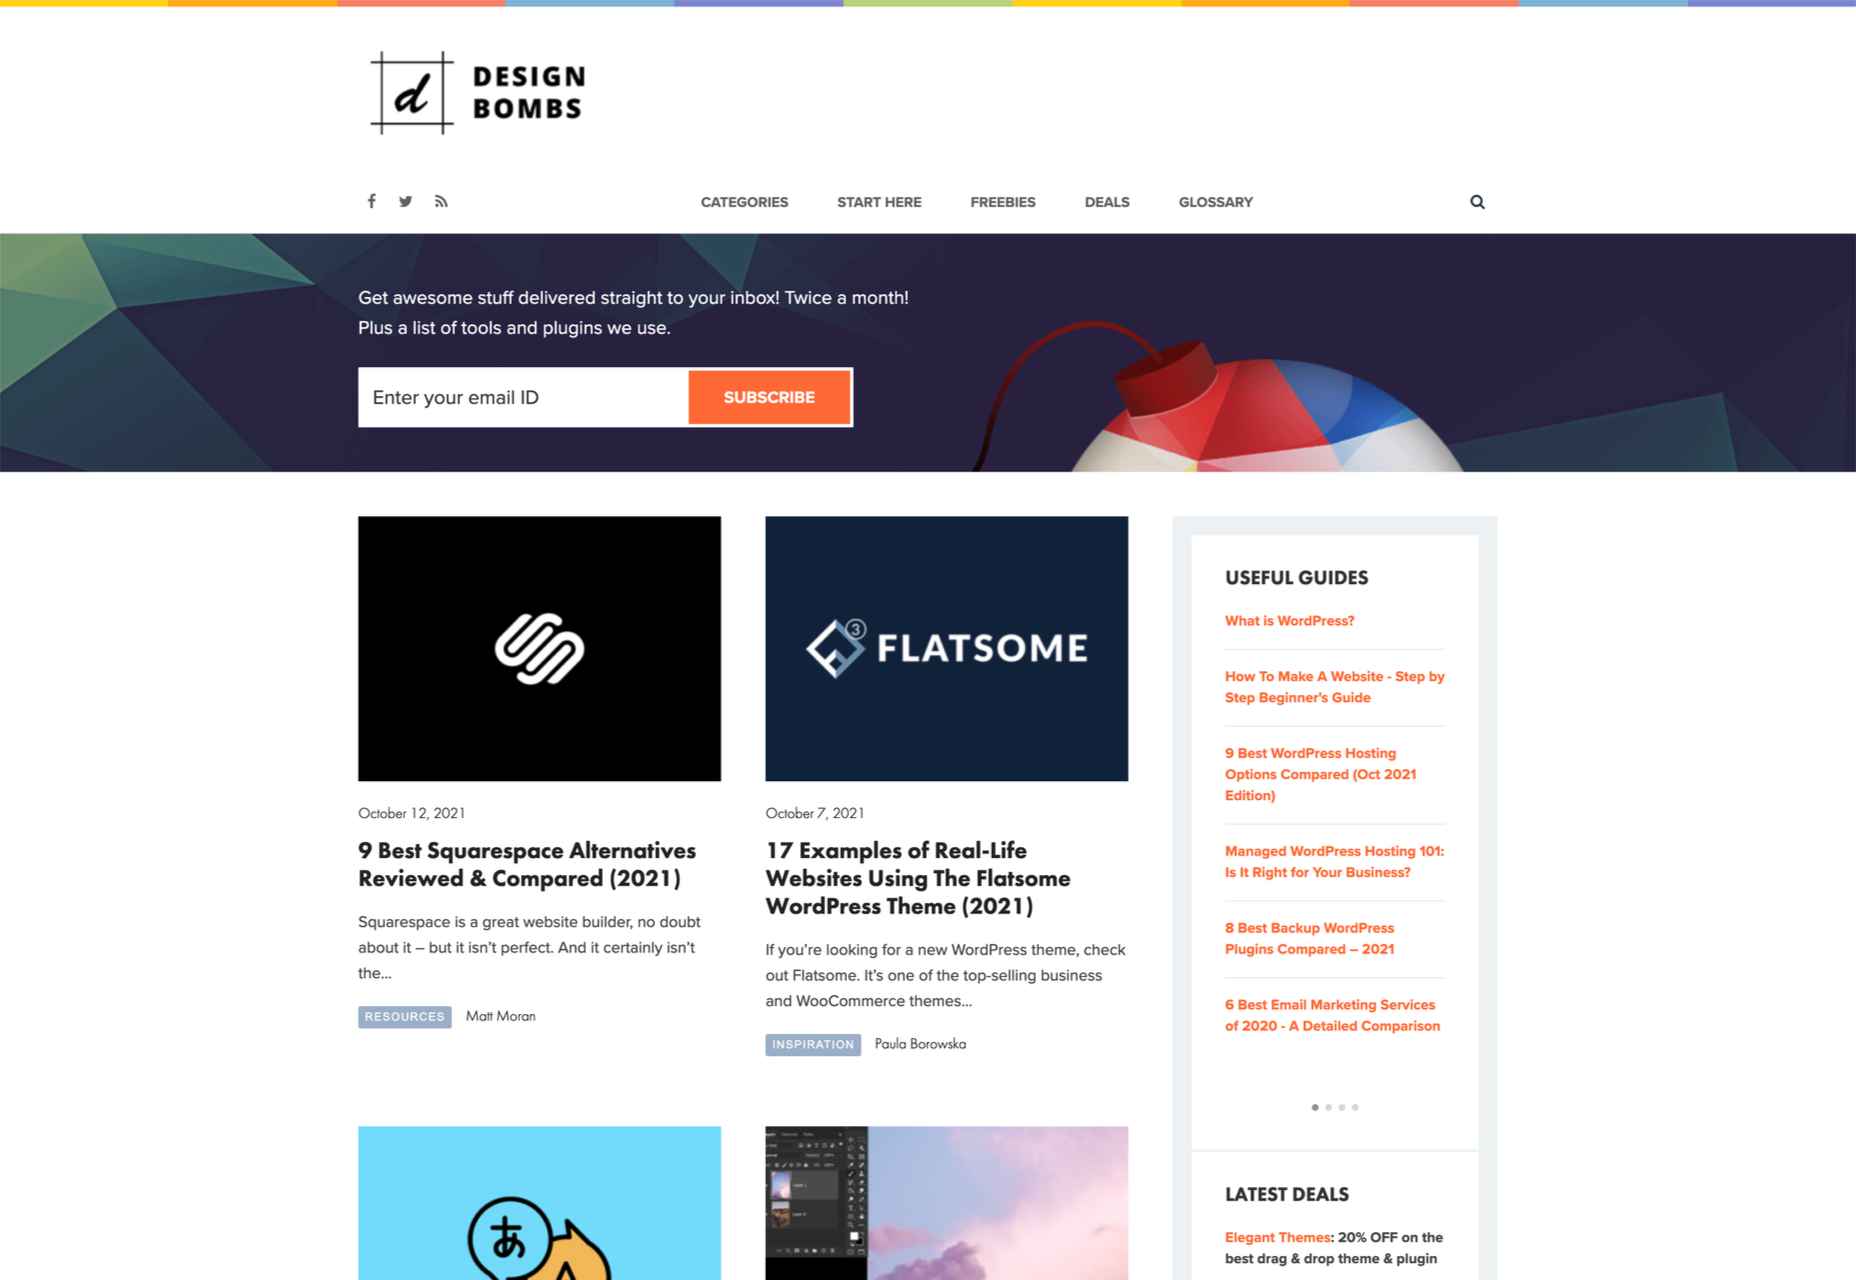
6. Design Bombs
Design Bombs is an attractive and reliable source of blog content for the design world. Easy to explore for beginners, Design Bombs even has a helpful “Start Here” section, where you can find beginner articles on how to start a blog, make a website, or use WordPress hosting. If you already know what you want to learn about, there are plenty of categories to choose from.
Content covered on Design Bombs ranges from the top WordPress plugins and themes on the market to news stories about recent design events and guides on coding or design. The “inspiration” section of the website is excellent for those who need a little creative refresh before working on the next part of their project, and Design Bomb also offers freebies and deals to readers too.
You can check the website regularly to see what kind of offers are available for popular design software and tools, as well as what sort of resources you can access for free. For beginners, the “glossary” section covering common design language is fantastic for your bookmarks.
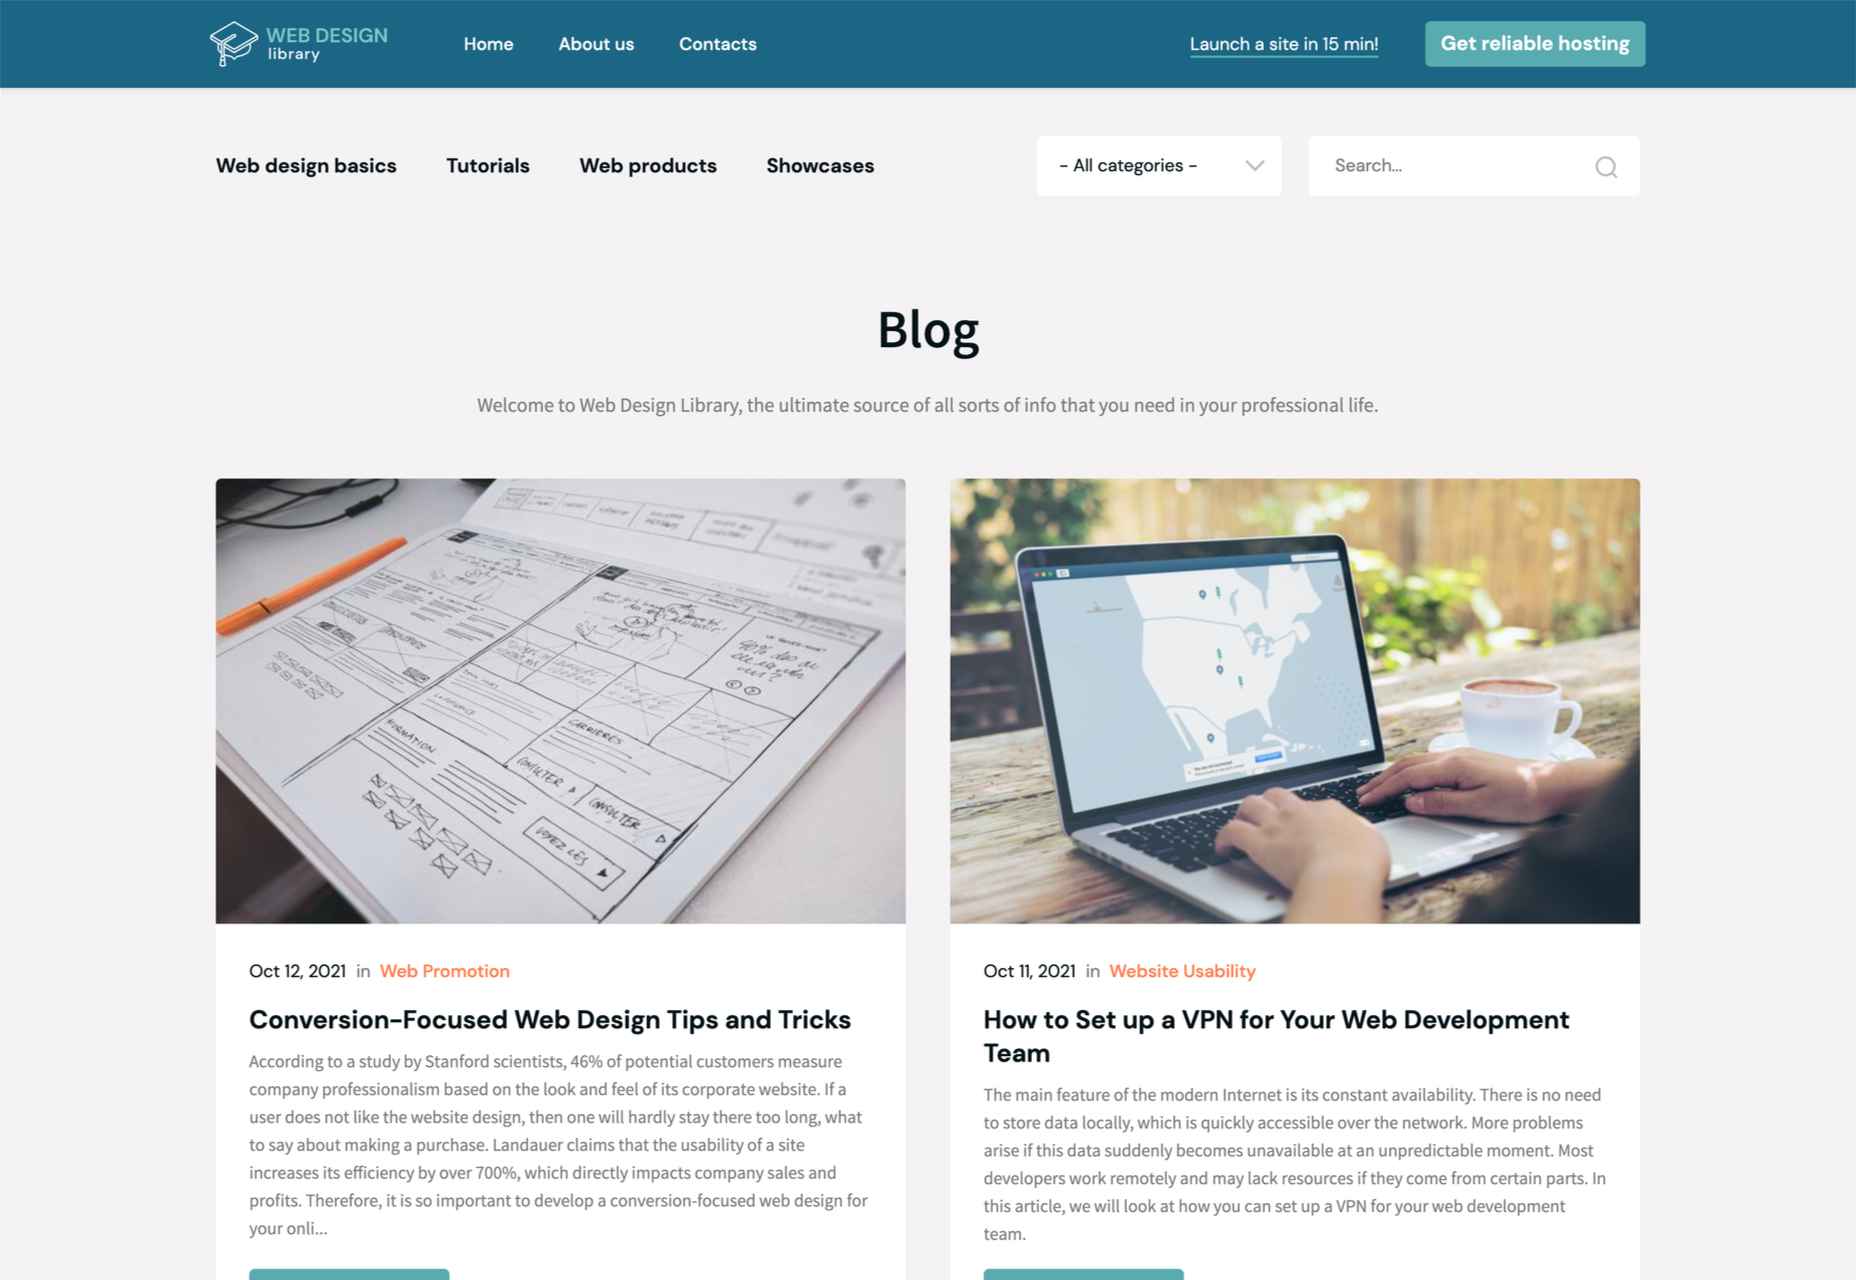
7. Web Design Library
Otherwise known as Webdesign.org, Web Design Library is a simple but attractive blog environment for design professionals. The site includes a lot of valuable information for beginners and professionals looking to hone their skills. There’s a search bar to help you sort through content quickly at the top of the page, or you can choose your content focus through the “categories” section.
The Web Design Library has various categories to choose from, including web design basics, design principles, website usability, typography, Photoshop tutorials, web layout guidance, and HTML or CSS tips. You can also find plenty of inspiration in the “Showcase” section of the site.
Like many of the top web design blogs available today, Web Design Library offers access to extensive tutorials and guides for pros and beginners. You can learn everything from creating your first web page to how to shave someone’s head in Photoshop. The “Freebies” section on the site is a great place to visit for budget-friendly resources too.
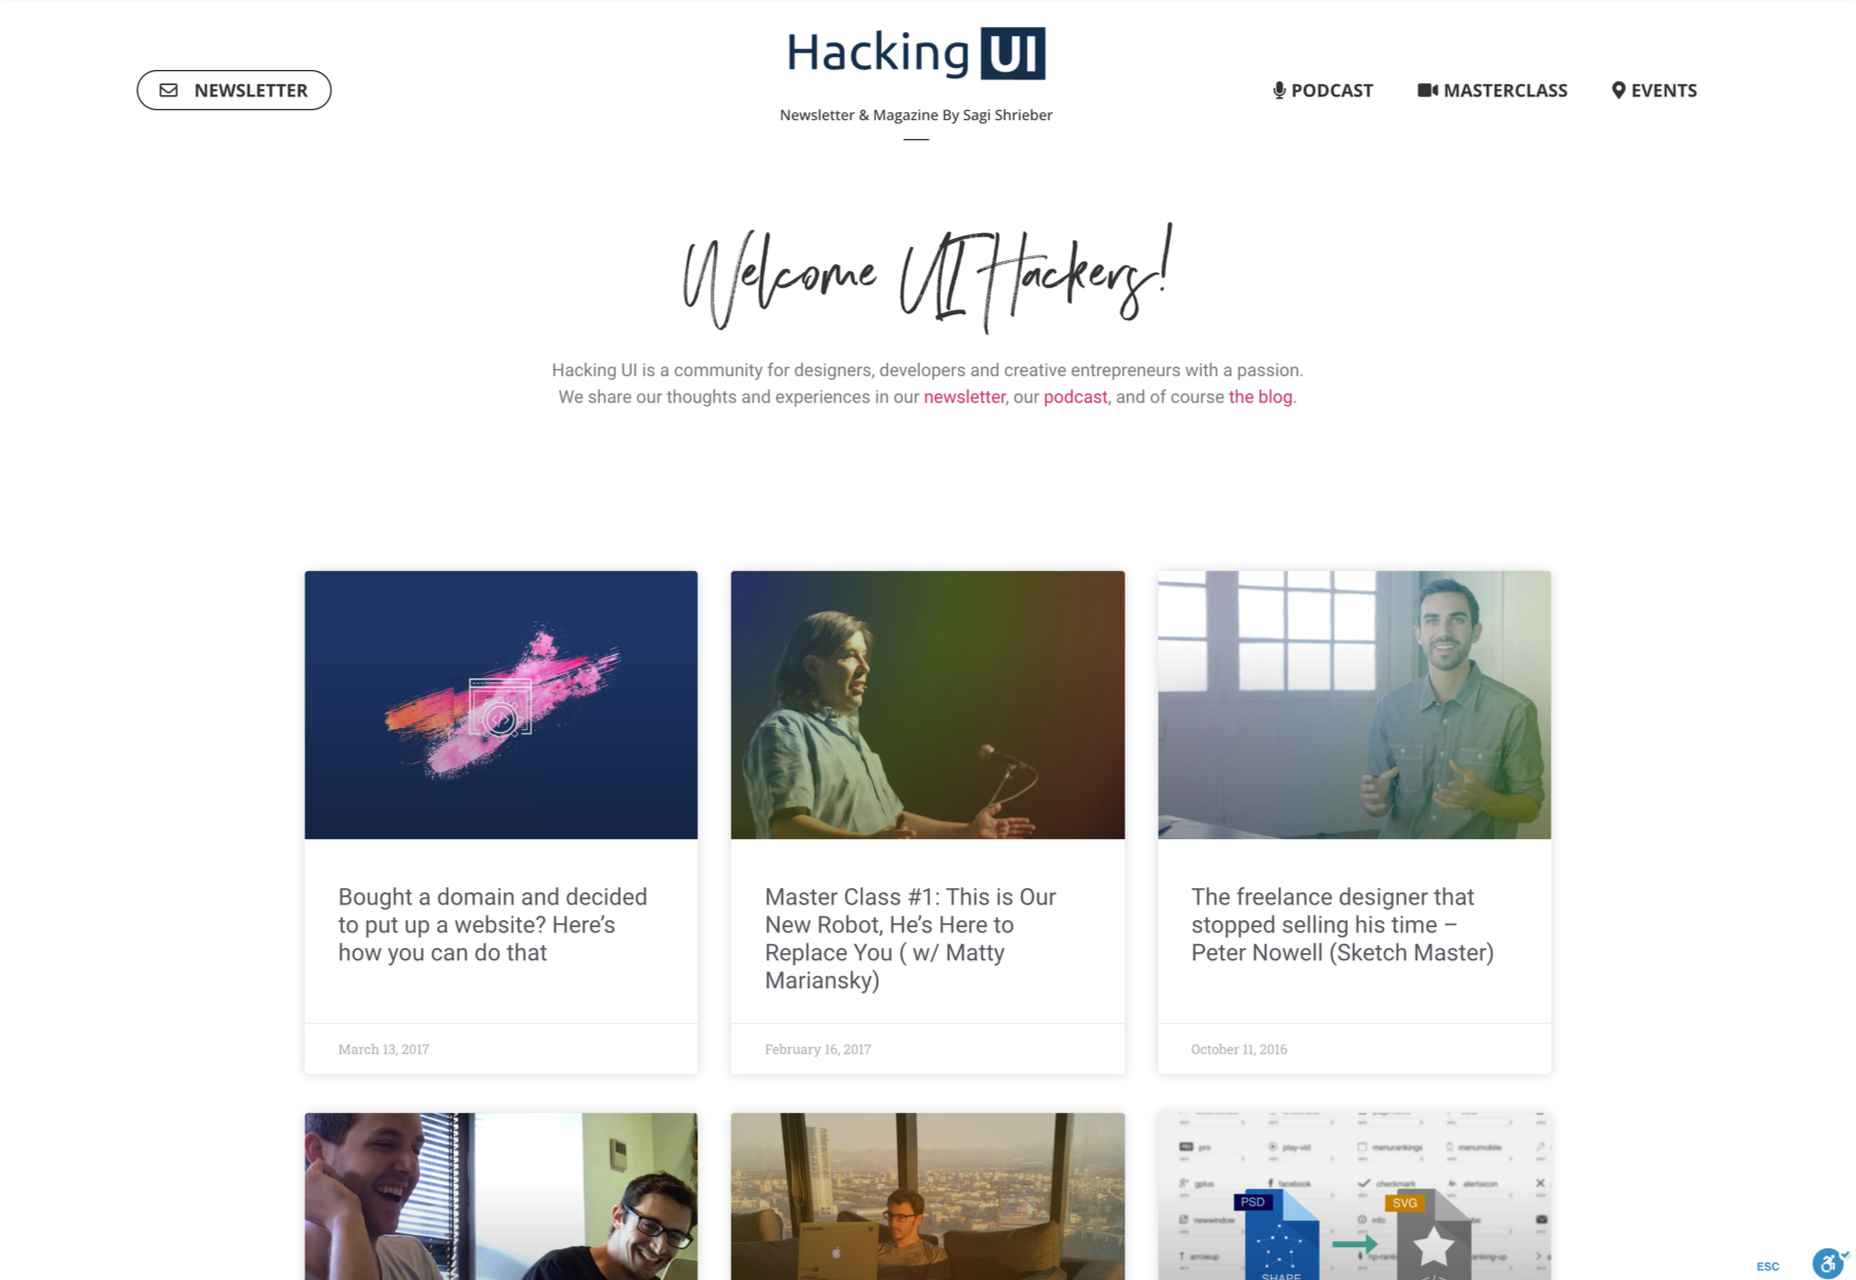
8. Hacking UI
A community-focused website built for people who want to master the user interface, Hacking UI is a brilliant blog for all kinds of creative professionals. This laid-back website contains all sorts of different content for designers, including thought leadership articles, opinion posts, and even a regular podcast, where David Tintner and Sagi Shrieber discuss all kinds of design questions.
Hacking UI covers simple and complex topics alike. You can learn how to accelerate the performance of your web-design side project and how to make the transition from freelancer to a business owner. There are also topics like how to improve your workflows. Hacking UI covers a lot of content from worldwide events like the Global Innovation Forum too.
You can find information about upcoming events, conferences, and classes on the “Event” page, ideal for developers and designers who want to improve their skills. There’s also the Hacking UI “Master Class,” which constitutes a series of live conversations and lectures with experts in development and design.
9. 1stWebDesigner
One of the most attractive things about 1stWebDesigner, is its commitment to sharing ideas from a range of different designers and experienced creatives. Though still relatively new, 1stWebDesigner is a growing platform for sharing all kinds of design insights, including news, guides for learning, and lists for design inspiration.
The 1stWebDesigner site is wonderfully easy to navigate, with a search bar for those who want to find content on specific topics and keywords and a range of categories to choose from. You can check out collections of content on things like WordPress design, CSS, JavaScript, UX, Mobile UI, and Typography. There are also sections dedicated to things like Photoshop and how to succeed as a freelance designer.
1st Web Designer is a valuable source of inspiration for beginners and a great way to top up your knowledge as the design industry evolves. The “Learn” section is home to a host of guides and tutorials perfect for design enthusiasts from different backgrounds. Make sure you check out the site’s YouTube, Twitter, and Facebook pages too.
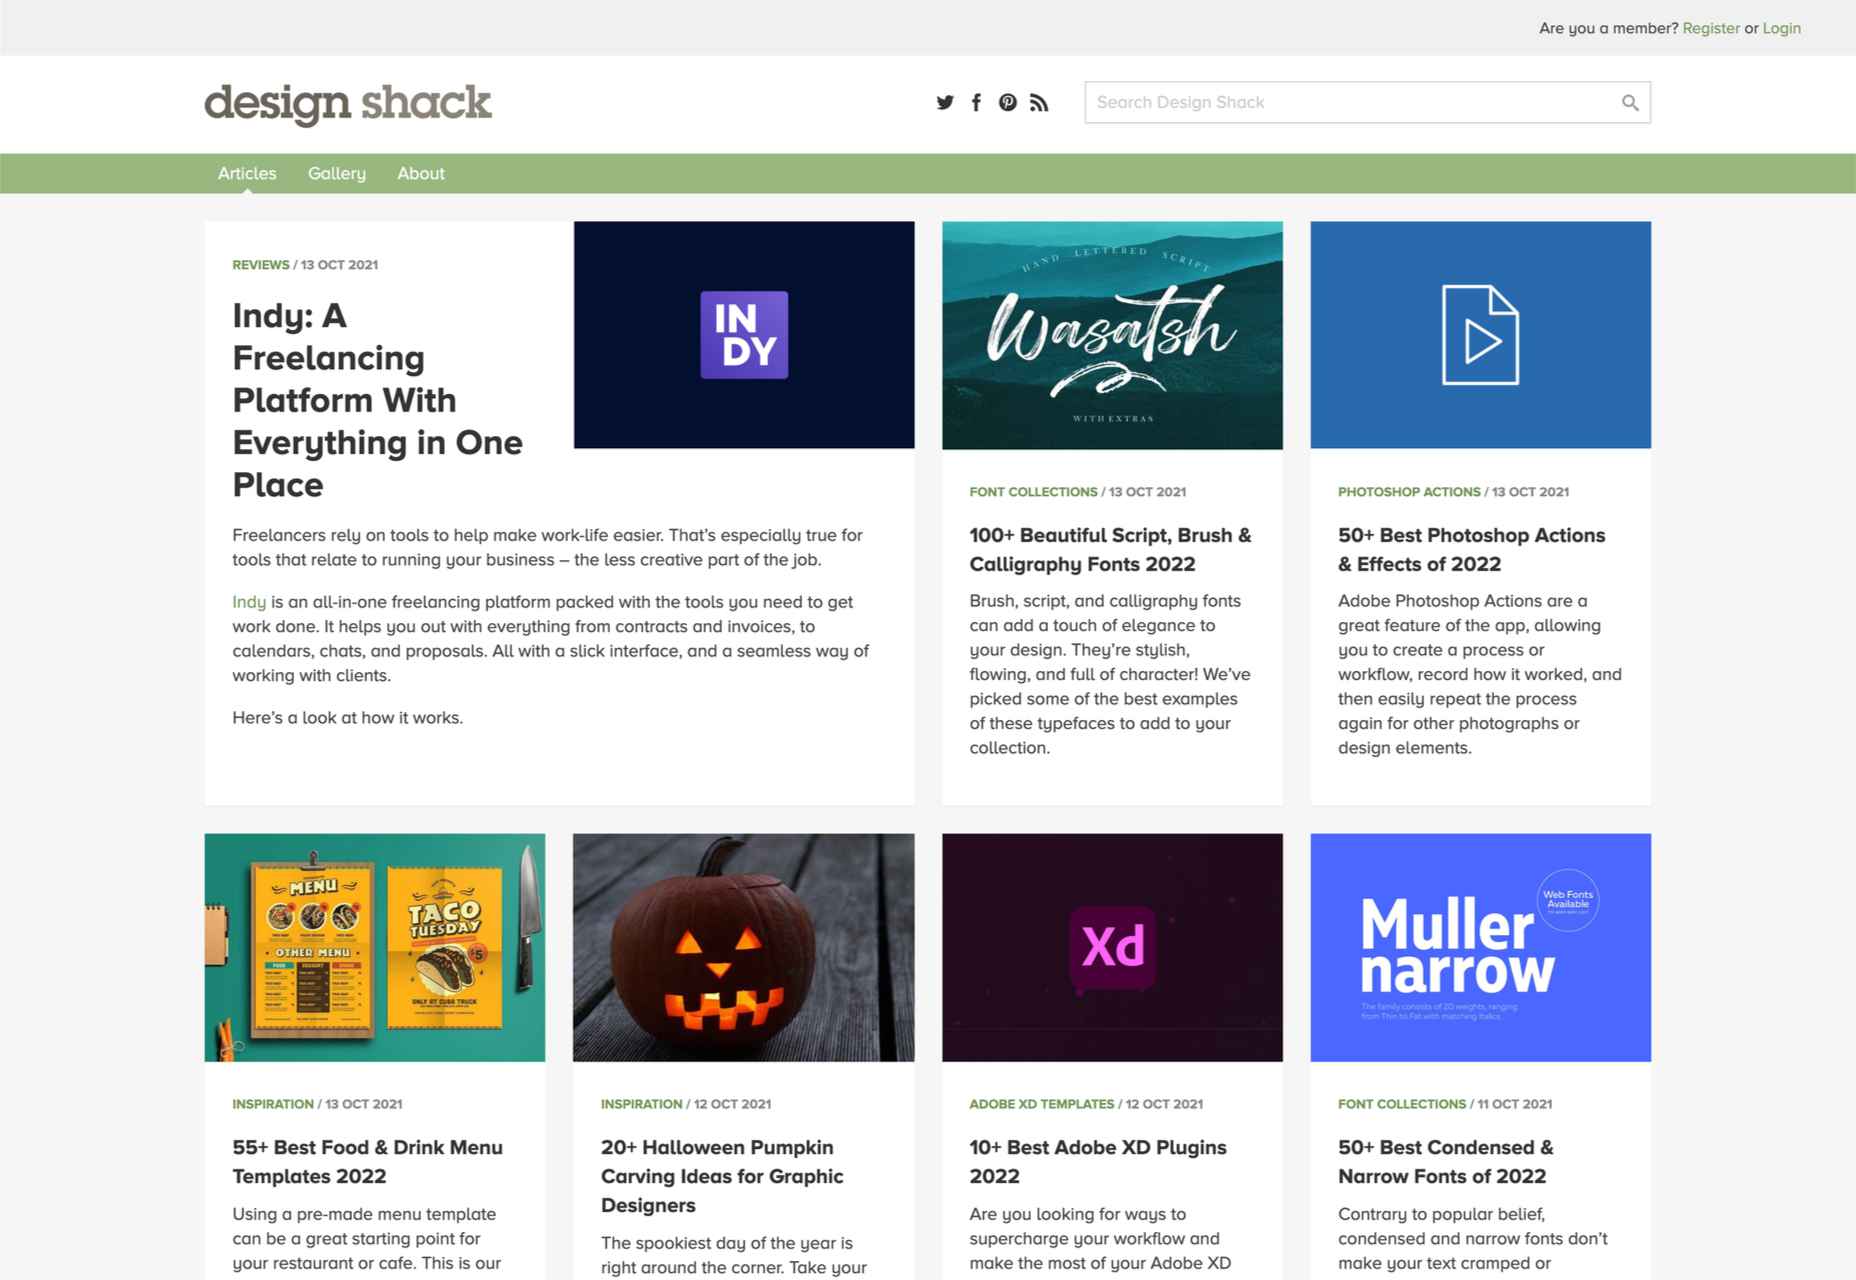
10. Design Shack
Design Shack is a simple blog for beginners in the design landscape. Here, you’ll find many in-depth guides and tutorials to walk you through the basics of design. There are thousands of articles to explore, listed under several categories, including User Experience, app creation, and Photoshop. You can also search for specific content with the search bar.
Design Shack is particularly good at producing long-form content for designers in search of inspiration. Their lists of things like mock-up templates, photo collages, and premier pro templates are excellent. It’s also worth checking out the “Trends” section on the website, where you can find content written about some of the most appealing trends for design leaders.
Design Shack has a subscription available for those who want to stay up-to-date on the latest blog posts with regular emails. You can also interact with the community on sites like Pinterest, Facebook, and Twitter.
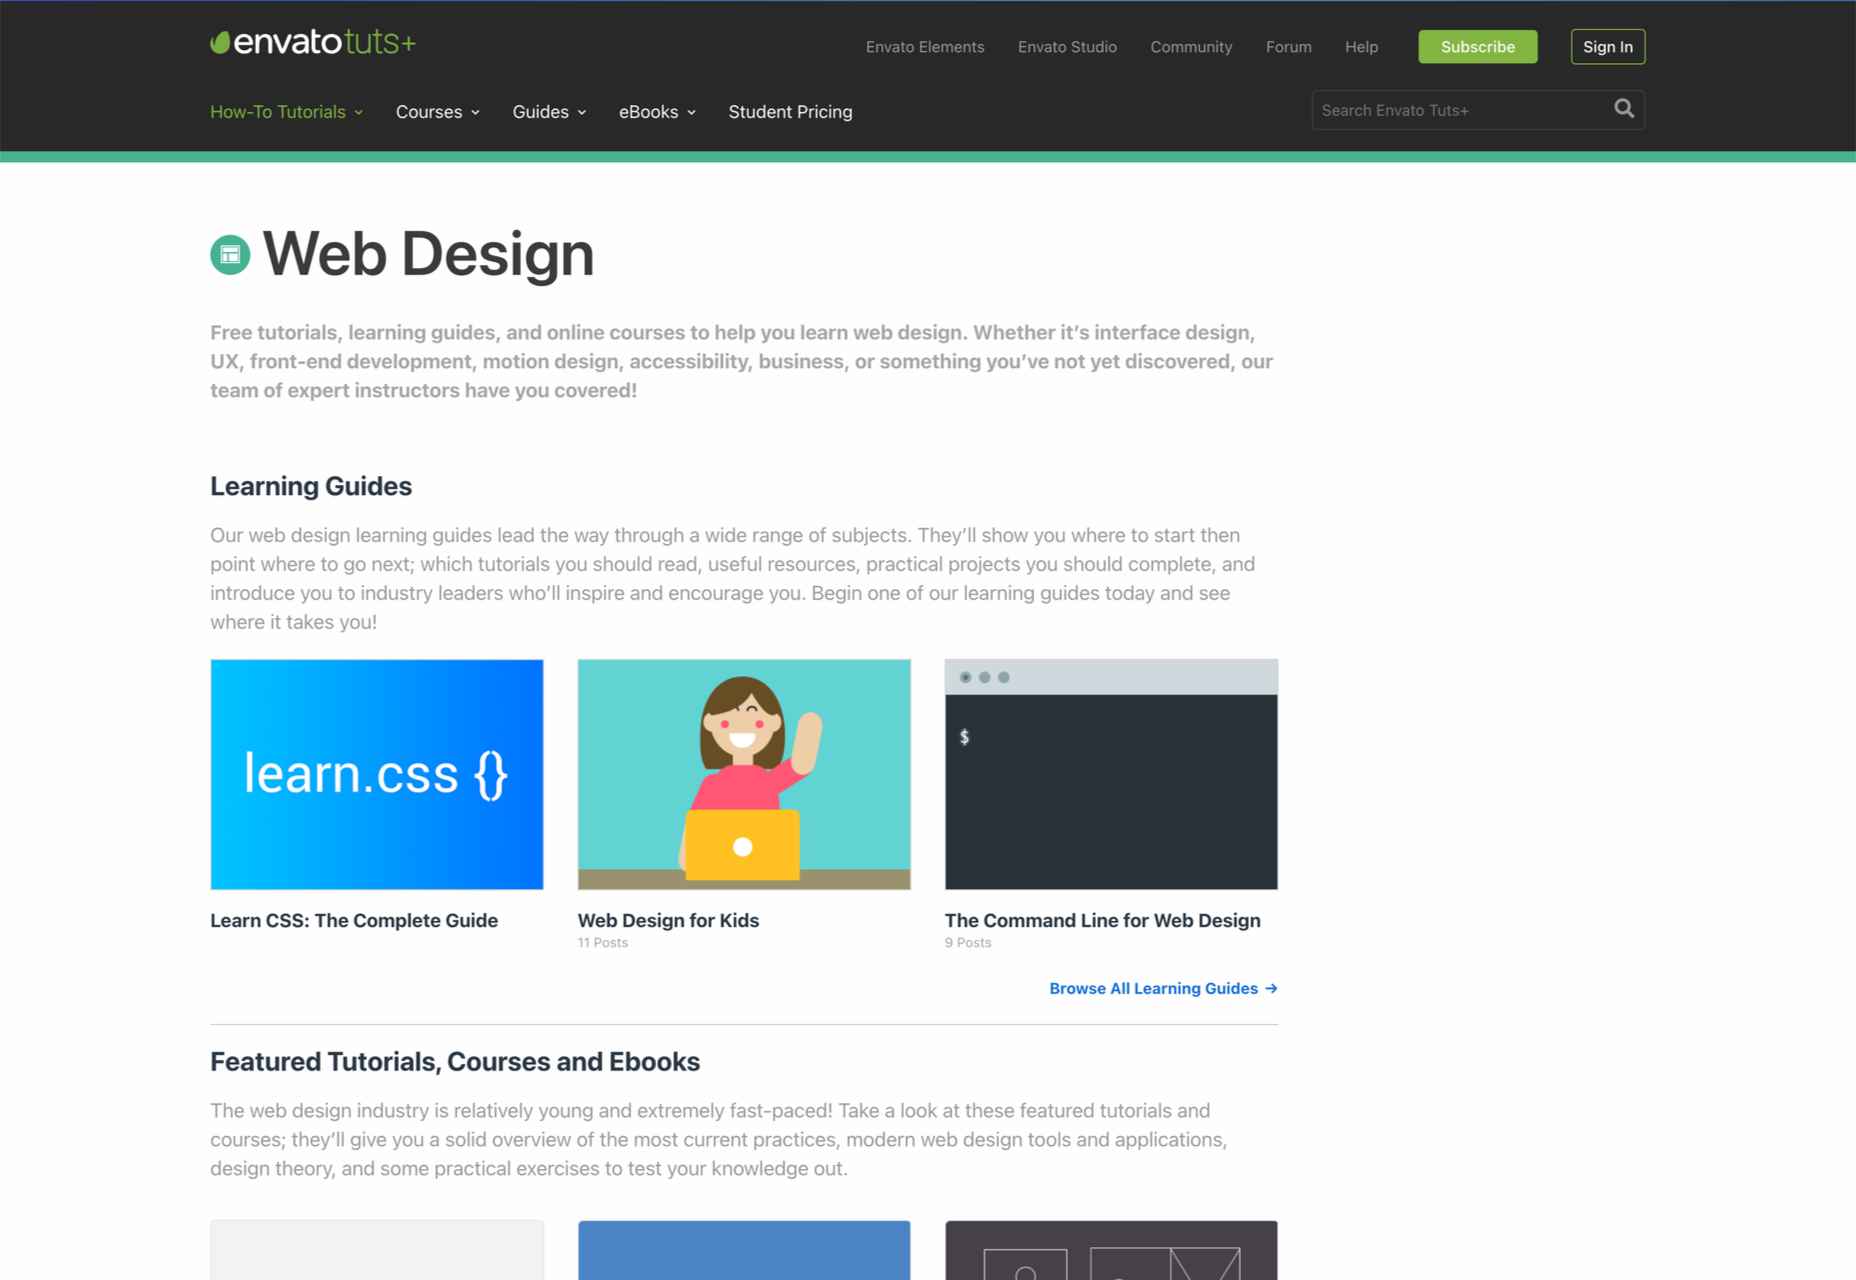
11. Web Design Tuts+
Created by the Envato+ company, Web Design Tuts+ is a website offering learners in the design world all the information they need to excel in their projects. The website is packed full of free tutorials and learning guides, as well as online courses you can follow in your own time, to help you learn more about various aspects of web design. Tutorials and courses cover everything from interface design strategies to front-end development, UX (User Experience), and accessibility.
To help you figure out where to get started, Envato sorts all of its available guides and resources into sections based on the kind of design information they cover. You can also check out a list of the most popular and featured eBooks, courses, and tutorials on the homepage.
One thing Web Design Tuts+ does exceptionally well is translating complex ideas into simple guides. You don’t have to have a lot of coding knowledge or understand design-focused language to benefit from this site. Everything is written in an easy-to-digest format, with plenty of pictures and examples to guide you.
Choosing the Best Web Design Blog
As web design and development continue to thrive as a crucial skill in the digital world, there’s no shortage of blogs out there to help inspire and educate professionals. Whether you’re a beginner learning about the techniques required to start your first WordPress site, or you’re keen to know more about specific aspects of CSS code, there’s plenty of content to help you.
With a wide range of fantastic websites to choose from, there’s no one-size-fits-all when it comes to picking the best web design blog. Many designers devote an entire folder in their bookmarks to blog pages, news sites, and other resources they can visit when they need information or inspiration. You may find yourself using various blogs throughout your career.
Our advice? Start with a website capable of covering many different topics in the web design world, to begin with. Resources like Web Designer Depot are packed full of content to sink your teeth into. Then, as you develop your knowledge in the industry, you’ll begin to find other more focused sites offering specific guidance into your chosen niche or specialty.
Featured image via Unsplash.
Source
The post 11 Must-Follow Web Design Blogs first appeared on Webdesigner Depot.

Source de l’article sur Webdesignerdepot

 Is sketching essential to UX and UI designers? Well, if you think of sketching as a way to explore problems and record potential solutions, then yes, it absolutely is.

 It’s almost Halloween, so we were all expecting the odd scare, but little could have prepared us for the blood-chilling horror of Facebook CEO Mark Zuckerberg ‘acting’ amazed in front of a green-screened mockup of The Metaverse, during


 There are some spook-tacular finds in this month’s October collection of resources and tools for designers and developers. From interesting tools that can help in the design process to boo-tiful typefaces, there’s something for everyone here.


 User experience is one of the most important principles of web design. There’s no doubt that you focus on UX with every page you design on the web, whether it’s