Articles

Learning how to design an MVP webpage or website could be one of the best things you can do as a site creator in today’s digital world.

In a fast-paced landscape, where customer preferences and technology are constantly changing, most companies don’t have time to dedicate months or years to each web project. The longer you take to complete your website, the more likely your creation will be outdated by the time you hit “publish.” That’s why countless creators are beginning to take a different approach.

To avoid wasting time, money, and effort on something that doesn’t deliver a significant return on investment, designers are now building “Minimum Viable Products,” or “MVPs.”

Here’s what you need to know about creating your MVP webpage.

What is MVP Web Design?

Typically, the “MVP” development process is most common in the app or software creation world. It refers to when a developer builds the simplest version of a technology capable of achieving specific goals. For instance, if a company wanted to create an ecommerce app, they would design a simple tool capable of listing products, enabling payments, and tracking orders.

After launching the MVP product, the company or developer would check to ensure it had the right impact on the target market and generated positive results. Using feedback and analytics, the developer would then begin to add new features one at a time.

MVP design aims to ensure you’re developing the best, most valuable product for your audience while getting your solution to market as quickly as possible.

The same strategy in MVP app and software design can also apply to website creation. Rather than building a highly complicated website with multiple features straightaway, the designer would focus on creating a single page equipped with the essential elements.

For instance, instead of building an entire site for your online course, you may develop a single-page website where customers can learn about the system, sign up, and pay for their membership. The great thing about an MVP web page is it allows companies to start advertising their solution, product, or service quickly, with the minimum initial investment.

How to Create an MVP Web Page

Creating an MVP web page is similar to designing any Minimum Viable Product. Throughout the project, the focus will be on keeping the development process simple while collecting as much feedback as possible.

Here’s how you’d get started with an MVP web page.

Step 1: Planning

Planning is an important stage in any web design project. It’s particularly crucial in the MVP landscape, where you need to define the most critical features of your webpage or website to ensure it’s “viable” for your needs. The initial planning stage can sometimes be the lengthiest part of the process, depending on the amount of research you need to do.

For the most part, web designers and companies will begin by conducting market research. This means examining crucial concepts intended to drive your strategy, such as:

  • Your target audience: Who are you trying to target with this web page, and what will they need from your site? A user persona can be helpful if you don’t already have one.
  • Competitors: Who are your main competitors in this space, and what do their web pages offer? Which features do you need to replicate or avoid?
  • Goal setting: What is the main objective of this web page? What do you need it to do, and what might it need to accomplish in the future?

The key to MVP web page planning is ensuring you look holistically at your project without thinking too far ahead. The site you create should be capable of scaling and expanding in the future, but it shouldn’t have too many features from day one.

Step 2: Creating Your Feature List

Once you’ve done your research and formed the foundations of your plan, it’s time to list all the features your MVP web page needs to have. Unfortunately, this is where the process can get a little complicated. It’s easy to start adding capabilities and components that aren’t necessary to make your site more exciting or competitive.

As worrying as it can feel to release a very basic web page, remember your focus is on rapid growth and development. With this in mind, concentrate on narrowing your feature lists down into:

  • Initial must-have capabilities: First, decide what your web page can’t thrive without. If the primary goal of your page is to sell software subscriptions, then you’ll need to implement tools for collecting member information and payments.
  • Next stage functionality: Consider the features you might add once you’ve confirmed your webpage is effective. This will allow you to ensure you’re creating a platform that can expand to suit future needs.
  • Possible future requirements: You can also list features that might be helpful in the future but don’t necessarily need to be implemented immediately. For instance, if you’re selling an online course, you might create a separate page where people can sign up to learn about future lessons.

Step 3: Finding the Right Software

Next, you’ll need to decide how to build your web page. There are several options available to today’s designers. An open-source solution is usually the best route for designers who need to create something specific from scratch. However, if the factor that makes your solution “viable” is unique, you may need access to code to bring your idea to life.

Alternatively, if you’re building a basic webpage capable of something like collecting customer email addresses or facilitating transactions, you might be able to use an off-the-shelf tool. CMS services for web designers can reduce the work and expense involved in creating a minimum viable product.

For instance, you might use a tool like Wix or Squarespace to edit a pre-existing template and simply drag-and-drop the features you need into the right places. On the other hand, if you’re planning on adding more functionality to your site down the line, it’s worth checking if any builder you will use has the right level of flexibility. Many tools will allow you access to code, advanced features, and essential module-based building functions.

Step 4: Implement Your Analytics

One of the essential parts of an MVP workflow is feedback. When you roll out your MVP, you’ll be looking for insights, guidance, and analytics to help you decide what your next steps are going to be. As a result, MVP workflows are based heavily on experimentation.

This means you’re going to need the right analytical tools in place to track crucial information. You can implement tools for collecting customer feedback directly. It’s also worth having a system in place for tracking metrics like:

  • Conversion rate;
  • Traffic numbers;
  • User behavior;
  • Most used/least used features;
  • Technical site performance;
  • Bounce rate;
  • Average time spent on the page.

While Google Analytics is one of the most popular tools for collecting insights in the MVP website design world, various other options are available. You can even find tools with in-built heatmaps to see how people navigate your site more effectively.

It’s also worth having A/B testing components in place. This will allow you to test the different “new” features you add to your web pages over time and examine how they influence your conversions and support your goals. For example, you can use A/B testing to explore the impact of everything from CTA button colors to webpage copy and offers.

Creating Your MVP Web Page

In the fast-paced web development and design world, the old-fashioned and slow approach to designing web pages is growing increasingly less common. Instead, an MVP strategy may be the best bet for companies looking to go to market faster, collect insights from their target audience, and accelerate growth.

Though getting used to this design strategy initially can be challenging, it can save you significant time, resources, and money in the long term.


HTML vector created by vectorjuice – www.freepik.com

Source

The post How to Design an MVP Web Page first appeared on Webdesigner Depot.

Source de l’article sur Webdesignerdepot

Le Mayennais Diricks souhaite booster son activité services. Mais il lui faut pour cela s’équiper d’un outil de gestion des interventions. Pourvu d’un ERP SAP, l’industriel a opté pour la solution SAP Field Service Management.

Dirickx est le premier fabricant français de clôtures, portails et contrôles d’accès, à destination des particuliers comme des professionnels. Tissé, soudé, rigide, barreaudé ou sur mesure, Dirickx peaufine son savoir-faire depuis 100 ans déjà. La société emploie plus de 300 salariés et réalise 50% de son chiffre d’affaires au travers de la grande distribution : BigMat, Castorama, Leroy Merlin, Point.P…

En 2017, la société est reprise par des investisseurs belges, avant de devenir la filiale d’un nouveau groupe, PICOT, toujours implanté à Congrier, en Mayenne. En plus de son activité industrielle, le groupe assure des tâches d’installation et de maintenance, au travers de Dirickx Espace Clôture et de Dirickx Services.

Dirickx Services est une entité en pleine croissance. Fin 2021, elle faisait déjà travailler une dizaine de techniciens, mais avec un processus de gestion des interventions encore très basique. « Les fiches d’intervention étaient transmises sous forme papier à nos bureaux, qui se chargeaient de facturer le client, ce qui pouvait faire prendre jusqu’à une dizaine de jours, témoigne Laurent Dargelosse, Manager de Dirickx Services. Pour développer cette activité, il était impératif que nous options pour un outil capable d’accélérer la remontée et le traitement des informations de terrain. »

Un projet couronné de succès

Comme toutes les autres sociétés du groupe, Dirickx Services réalisait déjà sa comptabilité sur un ERP SAP. Il était donc logique d’y intégrer la facturation client, puis d’y rattacher un outil de gestion des interventions. La solution SAP Field Service Management (SAP FSM) est apparue assez rapidement comme un bon candidat pour gérer les opérations de maintenance réalisées sur le terrain.

« SAP FSM répondait à tous nos besoins, confirme Benjamin Subile, Responsable informatique chez Dirickx : gestion du planning des techniciens, enregistrement des temps, remplissage et signature de la fiche d’intervention, remontée de photos et notes, automatisation de la facturation dans l’ERP. Le tout à l’aide de tablettes qui accompagnent les techniciens sur le terrain. »

Dirickx cherchait un intégrateur SAP FSM capable de travailler en français. Une relation tripartite s’est mise en place, avec d’un côté Codilog, se chargeant des licences et de l’interaction avec SAP, et de l’autre l’entreprise Canguru, pour son expertise sur la solution SAP FSM.

Le projet a démarré en février 2021, avec une mise en production début décembre 2021. Le temps nécessaire pour permettre aux équipes de réaliser toutes les tâches requises : achever la bascule de Dirickx Services vers l’ERP SAP, activer le module de gestion des ventes, mettre en place SAP FSM, puis former les utilisateurs et les équiper en tablettes.

« L’un des points sensibles était la connexion de SAP FSM, qui est une solution cloud, à notre ERP SAP ECC, qui est déployé on premise, signale Benjamin Subile. Nous avons pour cela utilisé le connecteur standard proposé par SAP, qui permet aux deux solutions de communiquer de façon fluide. Cette intégration facilitée est un des avantages d’avoir opté pour une solution qui fait partie de l’écosystème SAP. »

Un outil rapidement adopté par les techniciens

Après une courte phase d’adaptation, les techniciens se sont approprié la solution. « S’ils ont pu être un peu sceptiques au départ, dès les premières utilisations, ils ont adopté l’outil, explique Laurent Dargelosse. Il leur permet de travailler plus efficacement et d’avoir une vision plus claire sur leur planning et leur stock. SAP FSM a apporté beaucoup d’améliorations pour les intervenants travaillant sur le terrain. »

Et il était temps, car l’entité Dirickx Services s’est fortement développée depuis début 2021, en passant de 13 à 18 techniciens, assurant chacun 2,5 à 3 interventions par jour. « Une telle charge n’aurait pas pu être gérée efficacement avec un processus papier », confirme le manager de Dirickx Services.

Cette croissance devrait se poursuivre, avec une vingtaine de techniciens d’ici la fin de l’année et un redécoupage du territoire français en trois régions, contre deux actuellement. Le groupe étant également très présent en Belgique, il envisage de développer l’activité Dirickx Services au Benelux, ce qui devrait – là encore – se traduire par de nouvelles embauches de techniciens de maintenance… lesquels seront équipés de tablettes connectées à SAP FSM.

The post Dirickx modernise et accélère son activité services avec SAP FSM appeared first on SAP France News.

Source de l’article sur sap.com

Welcome back! This is the second part of a two-part article series. With this article, my goal is to build a blueprint to show a way how to model, organize and structure our Infrastructure-as-Code Projects using the AWS-CDK framework. Check here to access the first part of this article.

Now, in this second part, as promised, comes the fun part, we get into the hands-on. Let’s run our AWS CDK IaC Project, deploying all the services and resources, and then see the AngularJS Application up and running. Let’s get started.

Source de l’article sur DZONE

In application development, microservices is an architectural style where larger applications are structured as a collection of smaller, independent, yet interconnected services. While this allows for highly maintainable and testable applications (as each service can be maintained independent of the larger application), the problem with this method is the inherent complexity of interactions between microservices. It can be difficult for developers and team members to visualize how these microservices are connected to each other. We have been looking for ways to produce architectural diagrams that illustrate these interactions. We found that GraphViz helped us to solve part of this problem, as it can take the microservices structure of an application in the DOT language and convert it into a PNG format. However, we wanted this process to be even more user-friendly and more automatic, so that the user would not have to manually generate a DOT file of their microservices architecture. 

In-Browser Tool

As we could not find such a tool, we decided to create one ourselves. We decided that the most user-friendly interface would be to create an in-browser tool that allows the user to upload a jar  file containing a packaged service, and to have an image automatically rendered. This article discusses how we went about creating this tool and includes an example of what happens « behind the scenes » of this interface. 

Source de l’article sur DZONE

You might have heard about the K8ssandra project and want to start contributing, or maybe you want to start using all of its features. If you aren’t familiar with K8ssandra (pronounced like “Kate Sandra”), you can read this overview before digging into the developer activities in this post.

In a nutshell, K8ssandra is an open-source distribution of Apache Cassandra™ for Kubernetes, which includes a rich set of trusted open-source services and tooling. K8ssandra comes with handy features that are baked-in and pluggable, which allows for flexible deployment and configuration.

Source de l’article sur DZONE

In the early days of the internet, security was little but an afterthought. Then as hackers started to exploit businesses’ lax security postures, things gradually started to change. At first, nonprofits like the Electronic Frontier Foundation started pushing web users to embrace HTTPS Everywhere. In response, certification authorities began offering free SSL certificate variations to any site admin that wanted one. As a result, at least 79.6% of all active websites now use SSL.

That was only the beginning. In the ensuing years, developers and web application administrators gradually started to harden their apps against all manner of attacks. They rolled out more complex password requirements. They started to add two-factor authentication as a default measure. They even started putting public-facing services behind high-performance web application firewalls.

Source de l’article sur DZONE

Imagine a microservice application consisting of dozens of continuously-deployed autonomous services. Each of the application’s constellation of services has its own repository, with a different versioning scheme and a different team continually shipping new versions.

Riddle me this: How can I tell the (whole) application’s version? Being that the change history is scattered among dozens of repositories, what’s the most efficient approach to keeping track of changes? And how do we manage application releases?

Source de l’article sur DZONE

Le passage au Cloud est devenu une évidence pour bon nombre d’entreprises, mais il serait erroné de l’appréhender sous le prisme d’une marche technologique forcée. Si cette transition s’opère, c’est avant tout parce que les entreprises perçoivent aujourd’hui un moyen de renforcer leurs positions et de réaliser leurs potentiels pour demain.

SAP France a récemment réorganisé ses équipes au service de son nouveau positionnement stratégique centré sur le Cloud. Une transformation qui n’a qu’un objectif : répondre aux besoins de ses clients. Au cœur de ces changements, Fiamma Ferrero, Directrice Cloud Success Services, explique ce virage stratégique décisif pour l’avenir de toutes les entreprises, quels que soient leur taille ou leur secteur d’activité.

Les entreprises constatent que cette nouvelle façon d’aborder leur business s’adapte à leurs propres enjeux. De la gestion comptable du stock, à la prévision de vente et à l’analyse de données, le Cloud garantit une transition technologique sans rupture d’activité, en utilisant des outils en phase avec les enjeux et besoins, ceci afin de continuer leur cœur de métier avec facilité.

Ce socle, bien que nécessaire, ne représente en réalité qu’une partie de l’intérêt du Cloud. Par sa connexion constante avec des solutions complémentaires et des modules parfaitement imbriquables, le Cloud délivre un nombre infini de possibilités en matière de transformation business. Exit la gestion du stock en temps réel pour ouvrir la porte à une technologie en constante performance qui prédit vos besoins futurs grâce au Machine Learning.

Cette modularité représente un enjeu majeur dans le développement du potentiel business de chaque acteur. L’intégration de technologies innovantes comme de l’intelligence artificielle, permet d’accompagner les entreprises dans leur voyage transitionnel vers le Cloud. C’est en soulignant l’intérêt pour le client que nous pouvons créer chez lui l’envie de passer au Cloud.

En outre, ces entreprises voient un intérêt pour leurs clients et consommateurs, de la même manière que nous, qui accompagnons nos clients de A à Z dans leur transition. En 2021, le National Business Research Institute a constaté que les entreprises en mesure d’offrir un excellent service à la clientèle et de se positionner comme partenaires de confiance, pouvaient viser une augmentation de 20 % ou plus de leur chiffre d’affaires.

Par leur agilité, et grâce à la formation et l’accompagnement de professionnels, les entreprises peuvent exploiter les innovations technologiques, faciliter l’engagement des consommateurs, et être en mesure de générer de grandes quantités de données pour les aider à repérer des problèmes, identifier de nouvelles lignes de produits et des opportunités de marché.

La fidélisation du client passe d’abord par une empathie business, une compréhension de ses envies. La captation comme la rétention du client passe notamment par une cohérence technologique de grande échelle. Nous accompagnons nos clients dans la création et la mise en place de solutions qui sont bénéfiques à l’intégralité de leurs business unit, où qu’ils soient dans le monde. Cette omnicanalité et cette cohérence globale, d’outils comme d’interface, permettent d’assurer un voyage client stable, sans accroche ni obstacle, pour inciter à rester sur la plateforme visitée. Selon une étude de Bain & Company, une augmentation de 5 % du taux de fidélisation des clients accroît les bénéfices de 25 à 95 %.

En phase avec leurs besoins, répondant aux attentes de leurs clients, les entreprises transitent aujourd’hui vers le Cloud non par nécessité mais par ambition. Notre rôle est de leur permettre d’accéder à cette nouvelle étape de leur évolution en garantissant une transition souple, fluide et fructueuse.

The post D’un besoin business à l’envie d’agilité : la réponse évidente du Cloud appeared first on SAP France News.

Source de l’article sur sap.com

An unreliable, semi-broken and unresponsive website is an excellent way to lose leads and visitors — regardless of how aesthetically pleasing or well-designed, the visual elements are.

Over the past decade, we’ve seen more initiative to deliver faster internet to regions of the world that were previously devoid of it. With online communities expanding and more people becoming receptive to online shopping, ensuring your site’s dependability is now more important than ever. 

One way to achieve this is by employing uptime and downtime monitoring tools. This guide will examine the best ways to get alerts when something goes wrong and your website falters.

Why Is Website Uptime Monitoring Important?

Downtime is bound to occur occasionally. Nonetheless, the goal is to minimize it. The longer the downtime occurs, the more traffic and potential clients you lose. A dysfunctional website is also detrimental to your credibility and reputation. People may associate your website’s unreliability with your real-world products or services.

With web developers charging an average of $200 per hour, high-quality websites can be expensive to build and maintain. Nevertheless, it’s often worth the investment. However, an unreliable website can backfire on you. Instead of attracting more customers, it could potentially repel them. This can result in lost revenue.

An uptime monitoring solution can help you prevent or reduce these losses. It verifies if your website is up and functional and notifies you if it’s not. This allows you to troubleshoot the issue and get your website back up and running as soon as you’re alerted. The most common issues behind your website’s downtime include: 

  • Server faults;
  • Network outages;
  • Power outage;
  • Traffic spikes;
  • Cyberattacks;
  • Domain name issues;
  • An erroneous web application deployment;
  • Increased server loads;
  • DNS Resolve issues;
  • Human error.

Thus, you must employ a dependable tool that detects downtime or any interruptions related to your website as soon as they occur. They are must-have tools for web designers, developers, and network administrators. However, not all of them are built the same. So how do you identify the best uptime monitoring tools?

Essential Features of Uptime Monitoring Tools

Uptime monitoring tools typically detect interruptions by running network tests such as pings and trace routes. You could practically monitor your website’s uptime by constantly running these tests yourself. 

However, this isn’t an efficient way to monitor your website’s uptime. A comprehensive uptime monitoring tool will automatically monitor your website’s uptime in the background. It will then alert you through various channels as soon as it senses that your website may be down. 

Furthermore, high-quality uptime monitoring solutions tend to offer additional information regarding your website’s uptime/downtime and its performance. These tools commonly feature dashboards, status pages, badges, exportable records, etc., to help you keep track of your site’s overall health.

9 Best Features of an Uptime Monitoring Solution

The ideal uptime monitoring tool or service should feature: 

  1. Website security features that notify of and repel potential cyber attacks;
  2. 24/7 uninterrupted background website monitoring;
  3. Multi-channel alerts (email, SMS, push notifications, instant messages, social media, etc.);
  4. Report generation;
  5. 24/7 customer support available through different channels (email, phone, chat, etc.);
  6. Be capable of monitoring multiple websites and proxies at the same time;
  7. Offer insights and suggestions to improve your website’s performance;
  8. Be affordable;
  9. High customizability should allow you to choose which features to enable and disable.

Another optional feature to look out for is public status pages that your clients can access to determine if all your services are up and running. GetWeave is an excellent example of this. The website features a well-organized systems status page where customers can check if all of Weave’s services are functional. 

Nevertheless, you can use the above information as a buying guide when assessing potential uptime monitoring tools. The rest of this guide will supply a few suggestions as to which tools you should use for your website.

3 Best Website Uptime Monitoring Tools 

Some of the best uptime monitoring tools for website downtime alerts include:

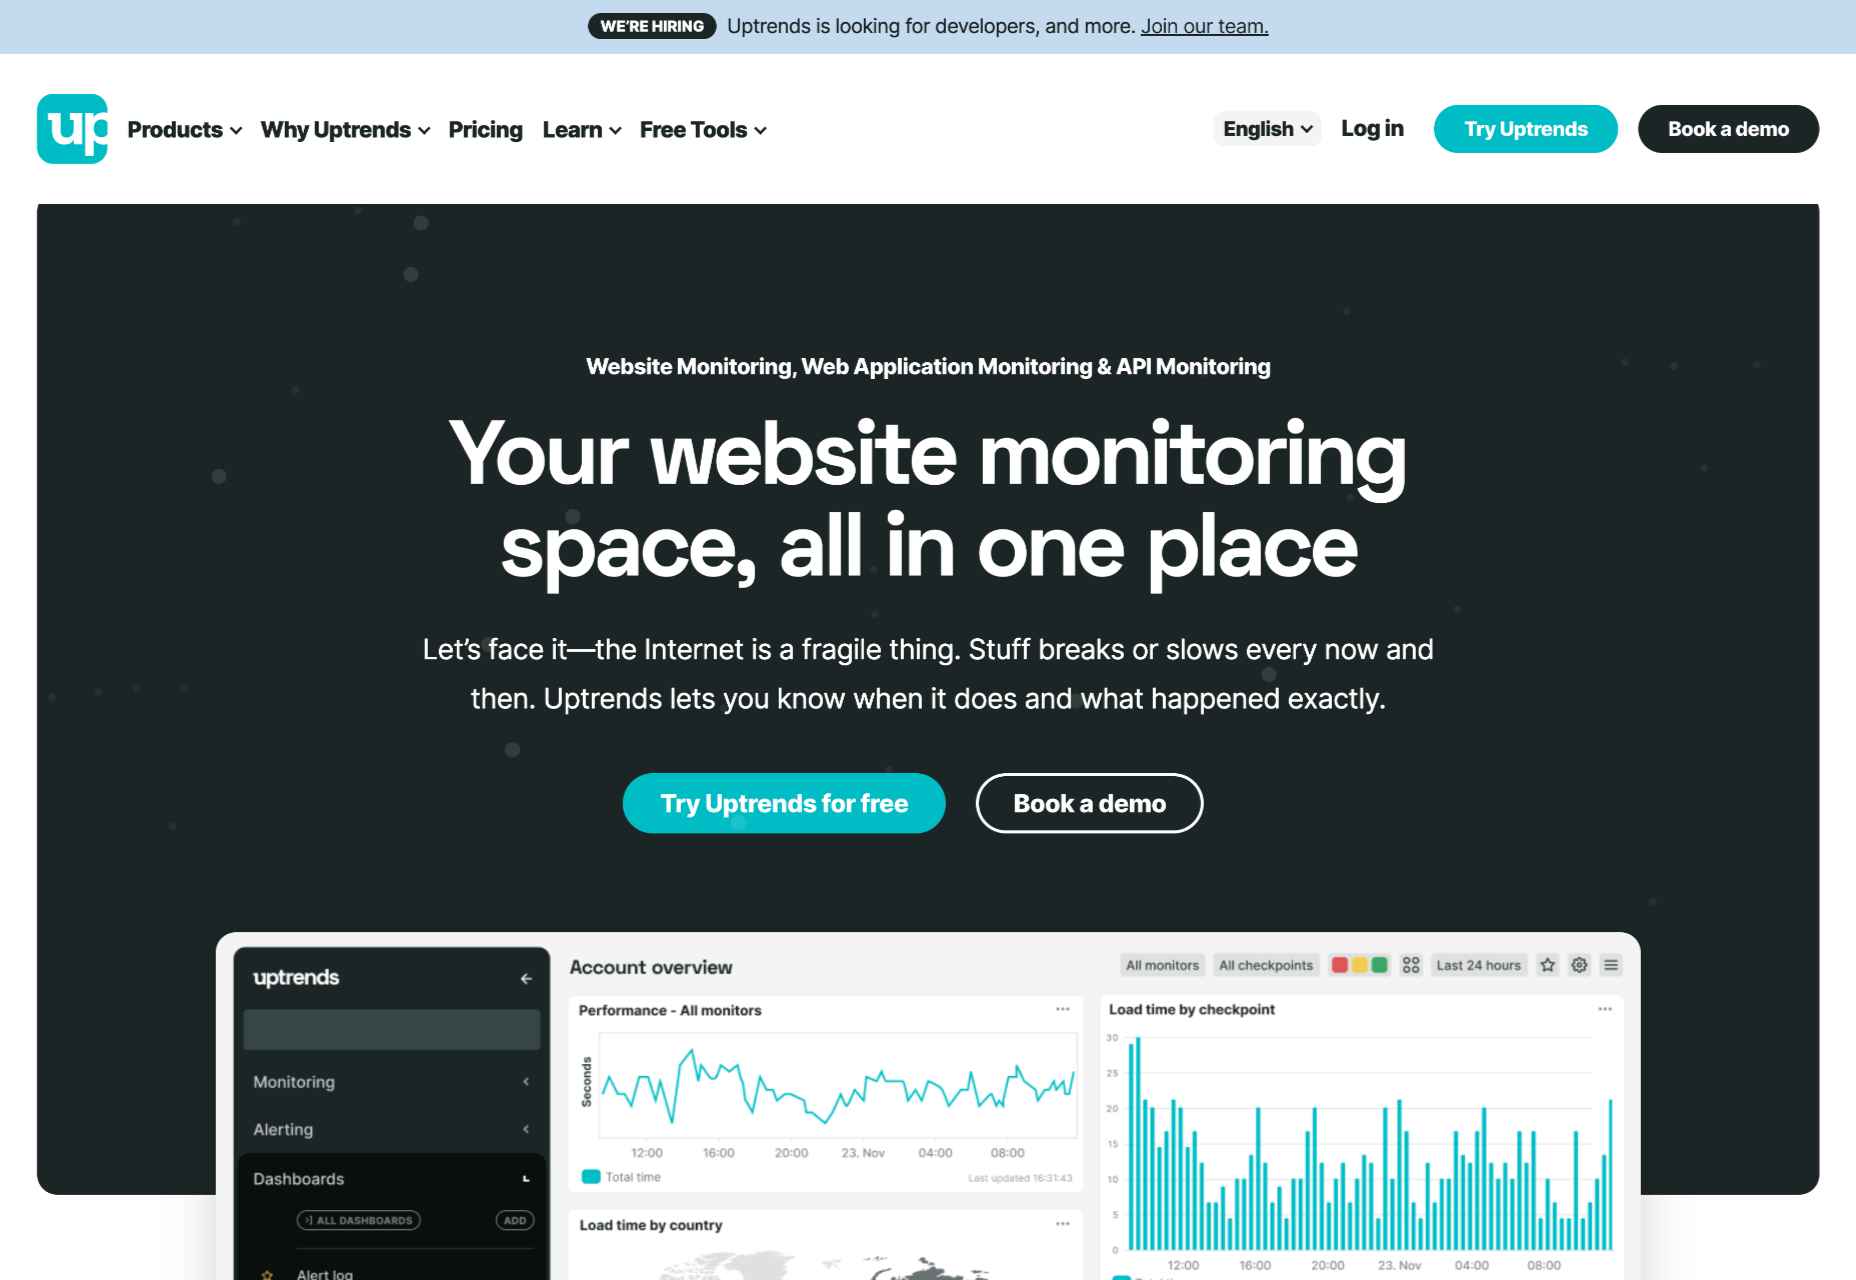
1. Uptrends

Uptrends isn’t just a downtime detection tool; it’s a complete web performance monitoring solution. It will notify you as soon as it detects any disturbance in your website’s performance. It features highly customizable checks. For instance, you can set performance check limits for load times. Uptrends will notify you instantly if your website takes too long to load.

You can also configure from which locations you want it to monitor your website. Uptrends will then point you to where your website usually suffers performance dips in the real world. 

The service uses multiple communication channels to send users notifications: email, phone calls, and SMS. Alternatively, you can download one of Uptrend’s mobile applications and receive push notifications. Additionally, you can integrate Uptrends with messaging and communication applications such as PagerDuty, Slack, and Microsoft Teams.   

Another impressive Uptrend feature is its ability to emulate your website’s performance on different browsers. It runs Google Chrome, Mozilla Firefox, and Microsoft Edge on its servers. Thus, you can compare how your website runs on these web browsers without installing them on your servers or computer. 

Uptrends supplies users with various charts, reports, and graphs to help identify sudden spikes or dips. Waterfall reports display the complete page-load from the initial request to the last download. This allows you to compare the history of your website’s performance element by element. It comes with three price plans whose costs depend on the number of monitors you would like. Starting at $16.21 (at the time of writing) the Starter Plan is the most affordable.

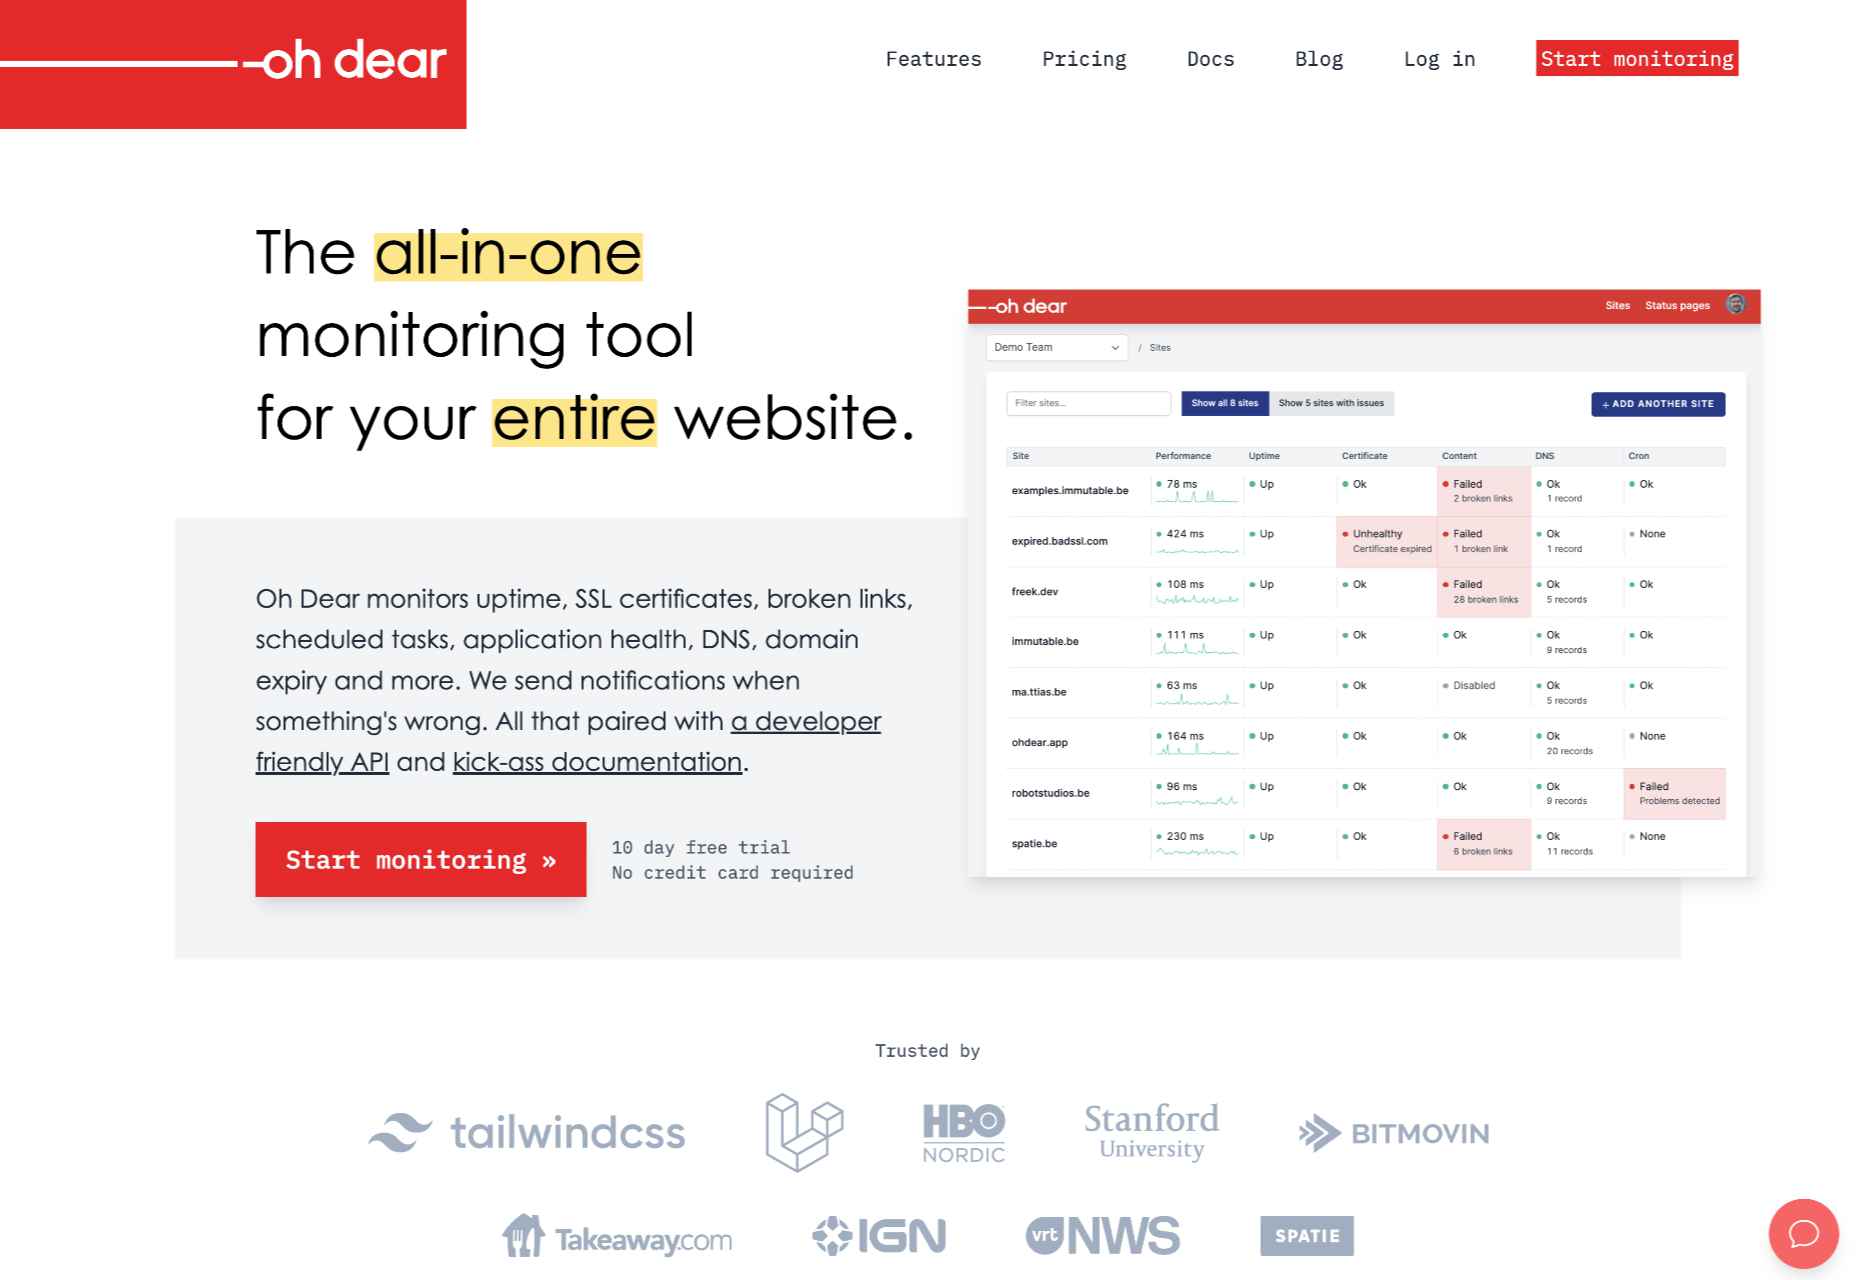
2. Oh Dear

Oh Dear is a slightly cheaper option than Uptrends, with the most affordable plan starting at $12 per month (at the time of writing). However, while Uptrends offers a 30-day free trial, Oh Dear only provides a 12-day trial period. Nevertheless, Oh Dear’s interface is a lot cleaner and more minimal. 

Since Oh Dear runs servers in different locations across the globe, it can track how your website performs in various regions. Oh Dear will scan through your website and index all the pages. If it detects any issues, it will alert you immediately. 

Oh Dear also features a continuous certificate monitoring function. Site owners who are concerned with their website’s security may find this feature to be especially useful. It will verify your SSL certificate expiration dates and alert you of any changes.  

Oh Dear’s public status page enables your clients to keep track of your website’s availability.

Oh Dear uses email and SMS text messages to alert site owners of any issues. It also features integrations with communications and social media applications such as Telegram, Discord, Slack, Microsoft Teams, etc. Oh Dear ensures that messages are as detailed and user-friendly. This makes it easier to troubleshoot and find the origin of your problem. Oh Dear is more than a worthy alternative to Uptrends. 

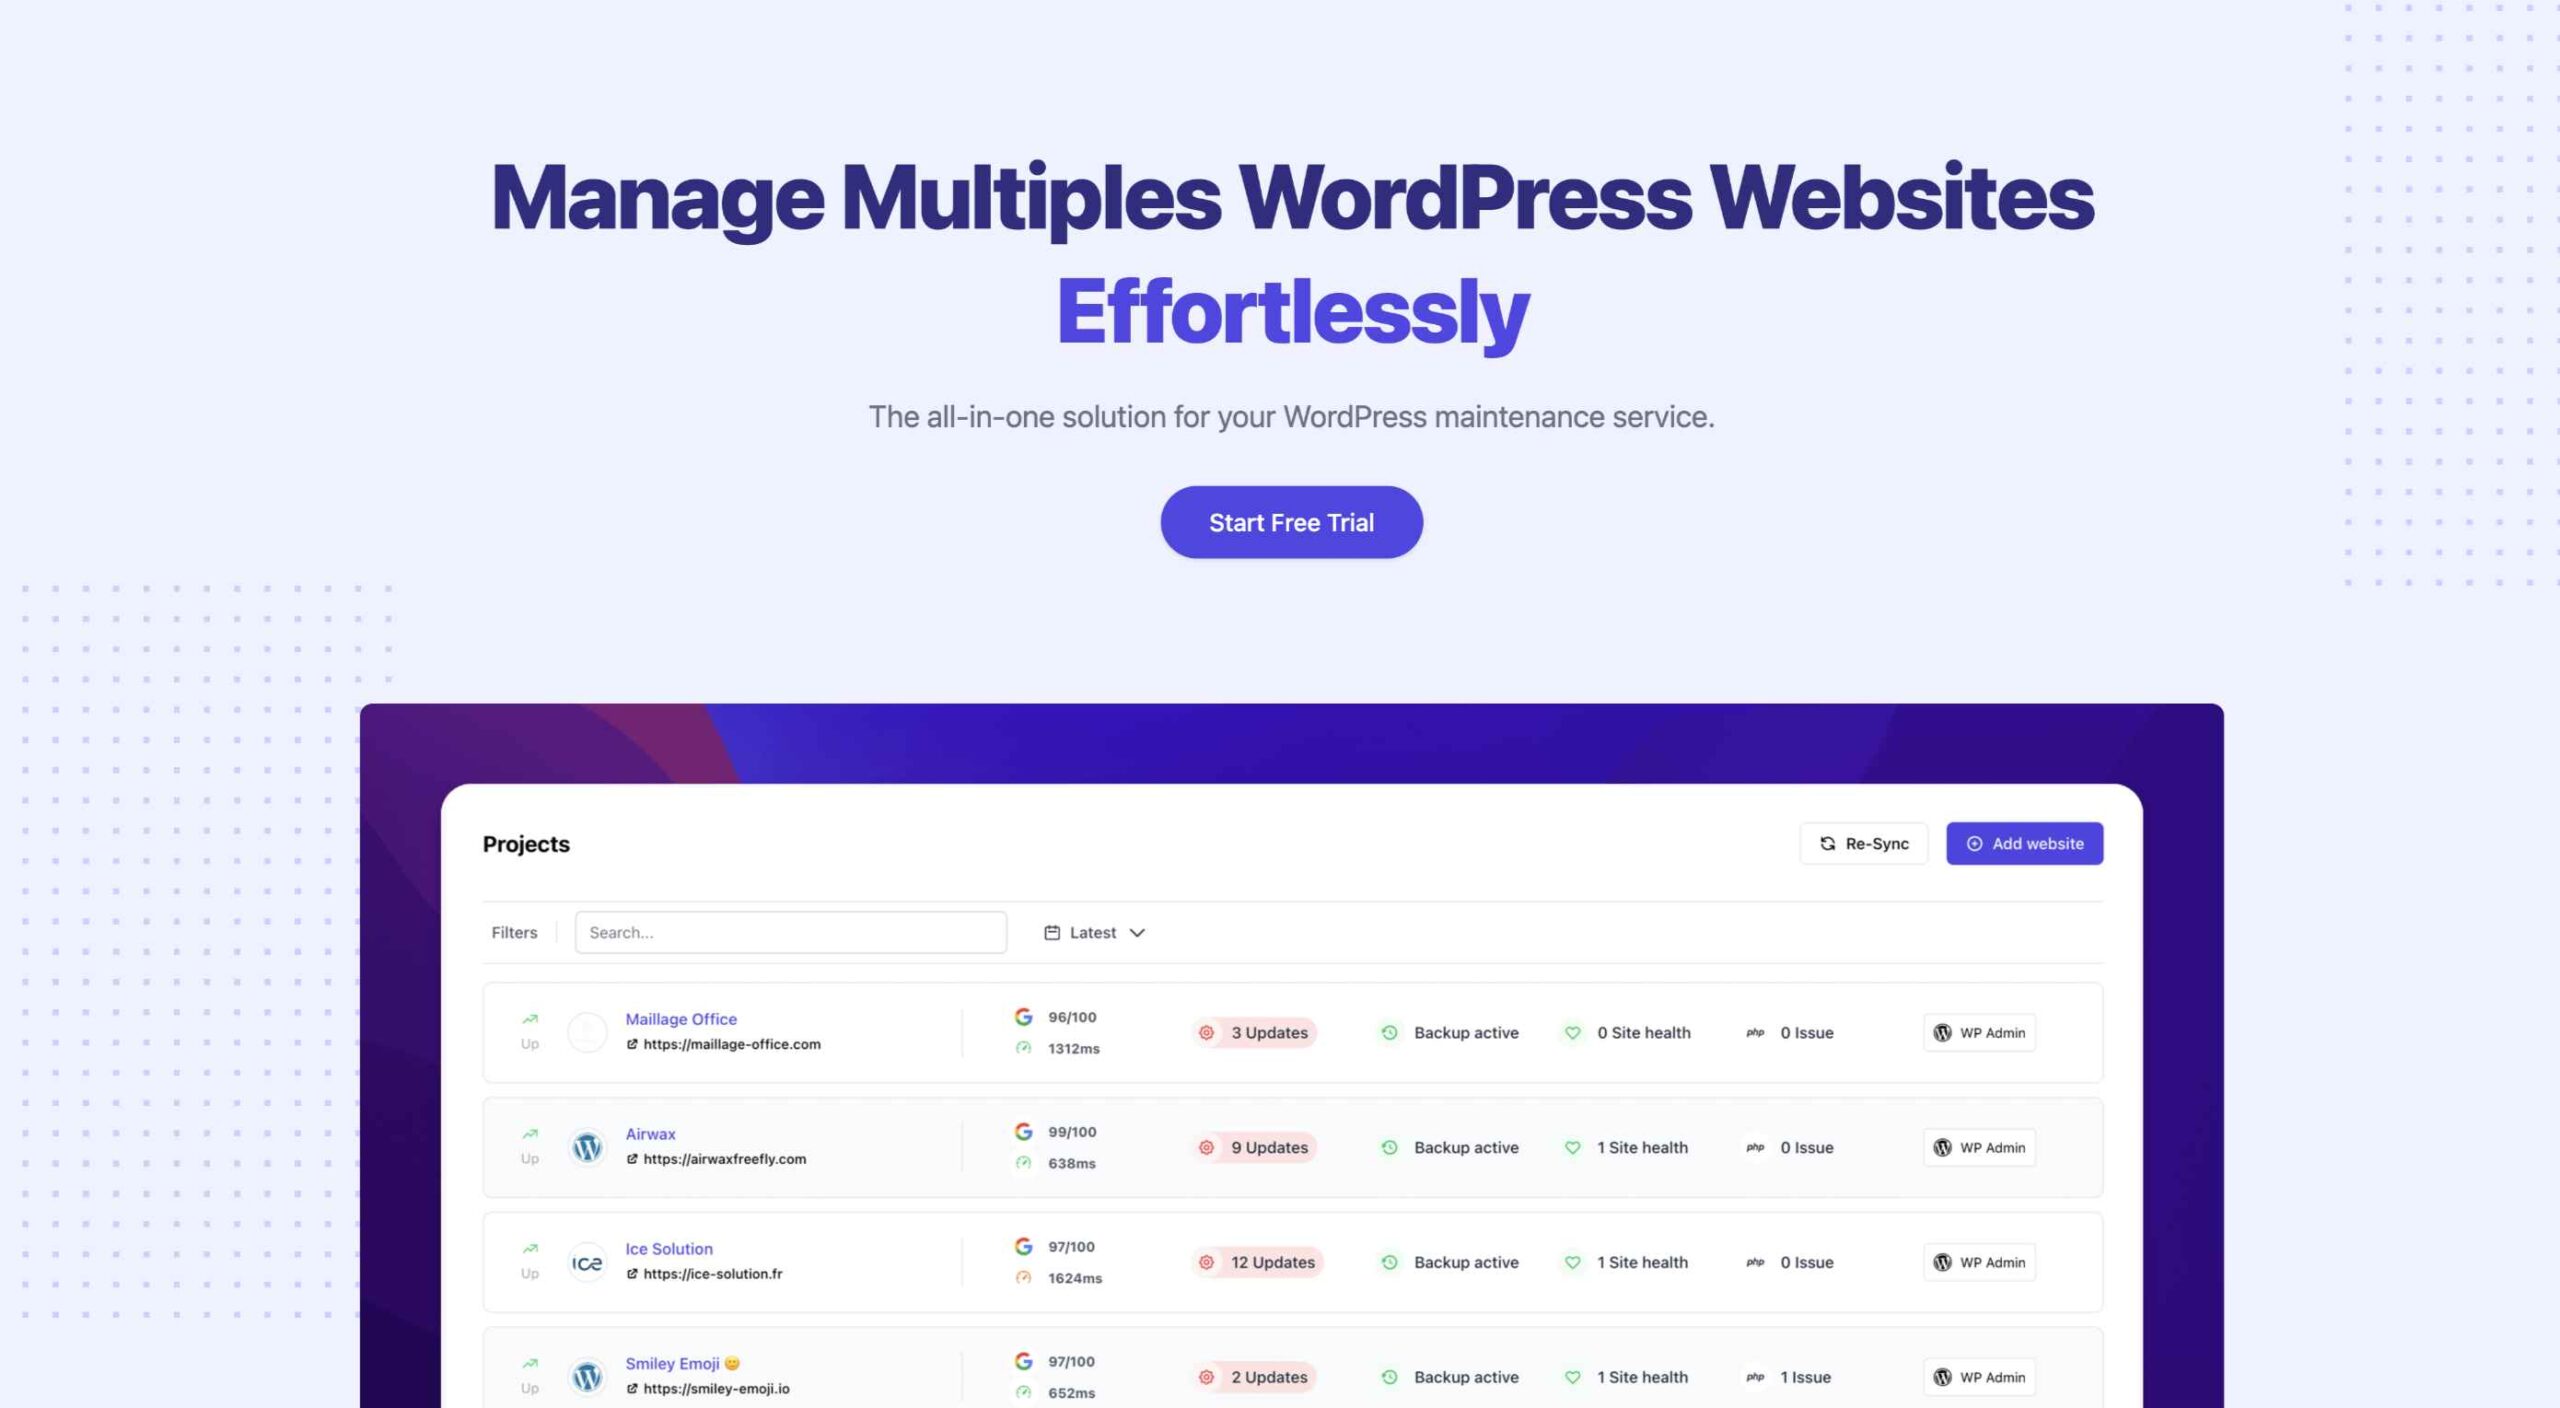
3. WP Umbrella

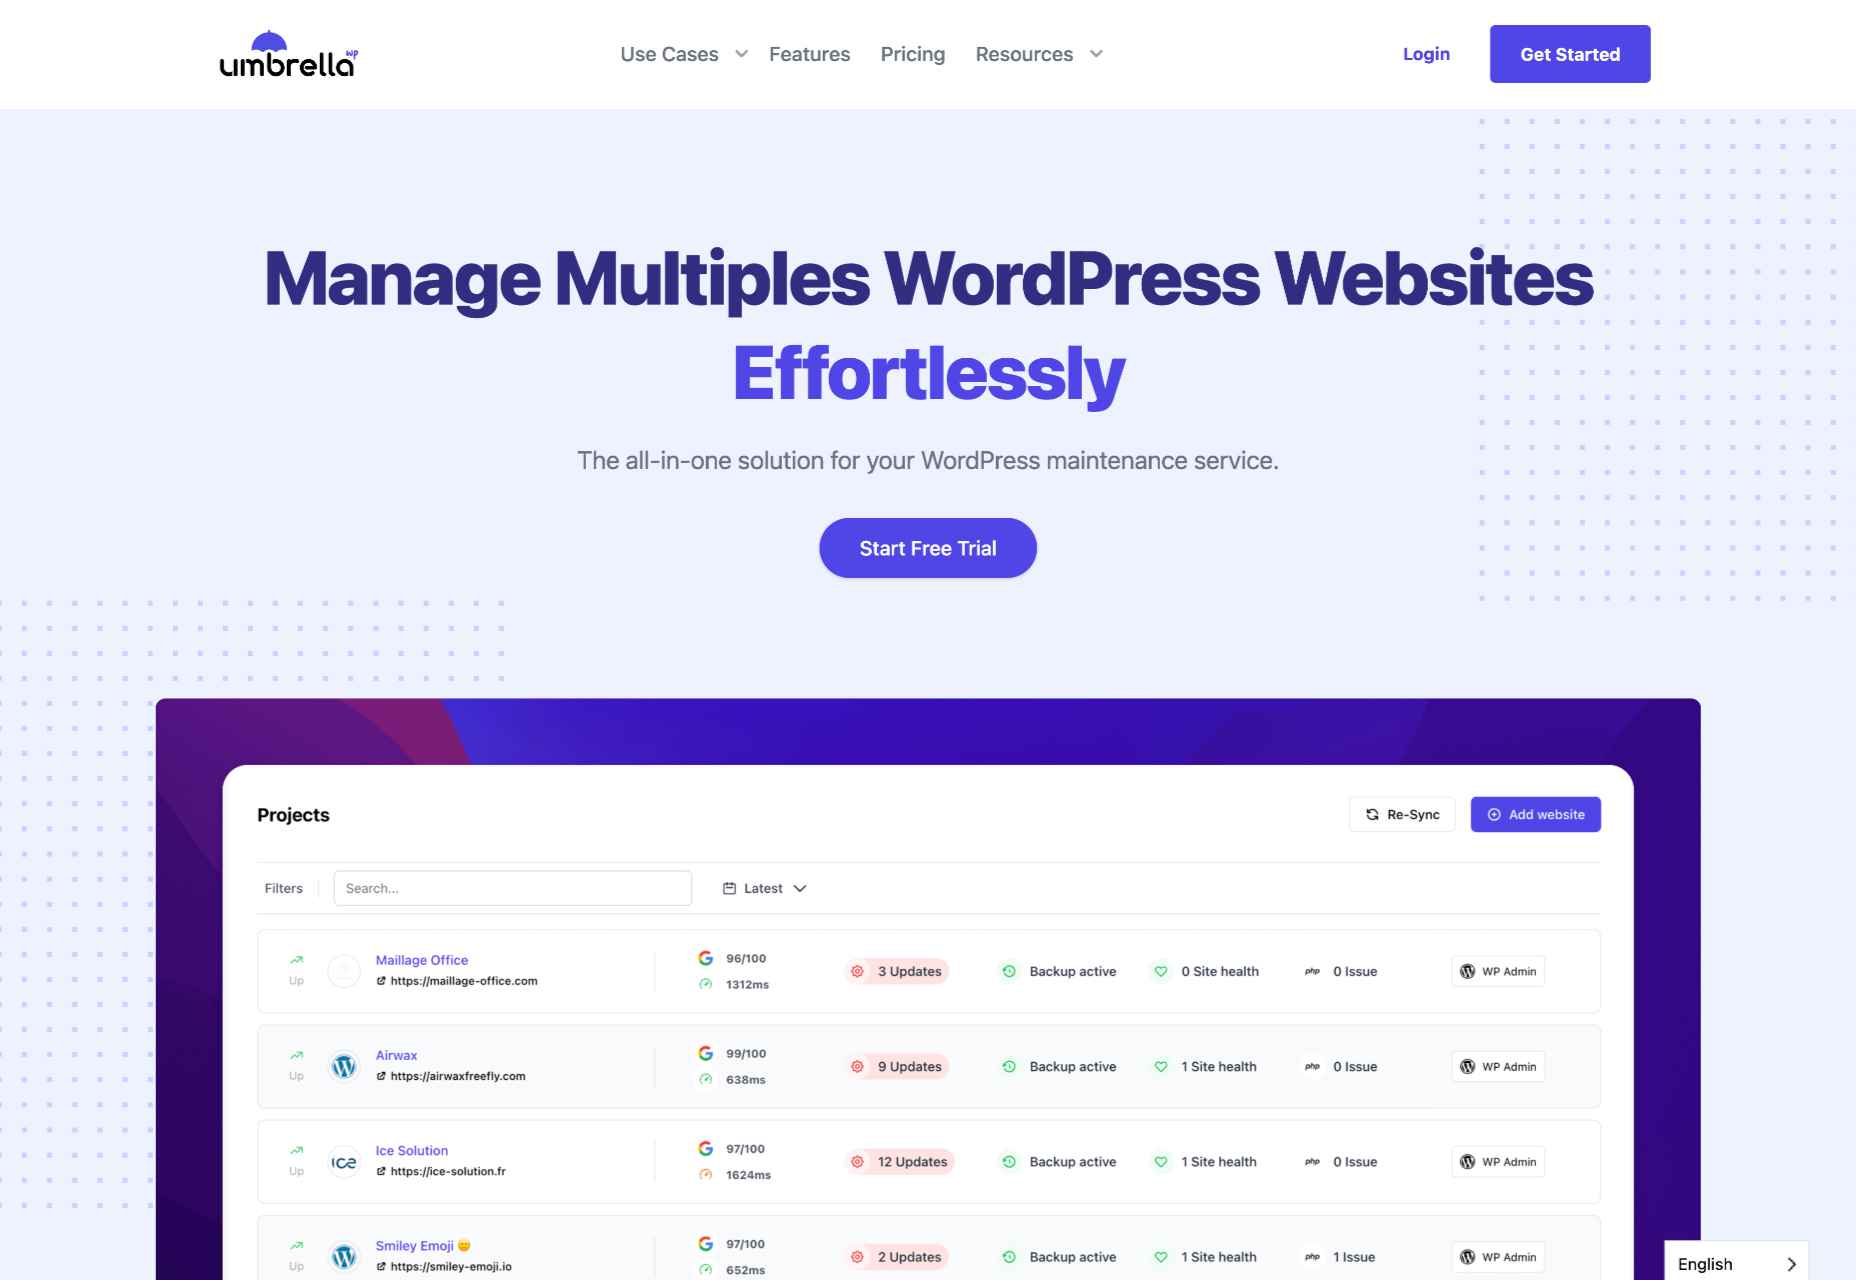
WP Umbrella is a little different from the previous entries. It’s intended to help users manage and monitor multiple WordPress sites. Thus, it is far more particularized in its approach to website uptime monitoring. Again, as is the primary function of the uptime monitoring tool, it offers a real-time alert system that will contact you through email, SMS, Slack, etc. 

WP Umbrella employs a simple minimal UI. Its main screen consists of a dashboard that allows you to view all your WordPress websites. By default, this dashboard features four columns: Site, Uptime, Speed, and Issues.

WP Umbrella will alert you of any outdated or erroneous plugins or themes. While it doesn’t offer dedicated public status pages, it does have a client report generation feature. You can automatically send these reports to your various subscribers or clients when your website is down. 

WP Umbrella is the most affordable option on this list. Users are charged $1.99 per month (at the time of writing) for each website monitored. In addition, WP Umbrella offers a 14-day trial and does not require your credit card details. It’s an excellent option for anyone running a WordPress website or two.

Conclusion

This guide has only explored three possible uptime monitoring solutions. They won’t only assist you in detecting downtimes, they can also help you find the reason your site may be slow.

These solutions are an excellent place to start. But there are many other options coming to market all the time. You may find that this is the first step to converting more leads and reducing your bounce rate. 

Source

The post 3 Best Website Uptime Monitoring Tools  first appeared on Webdesigner Depot.

Source de l’article sur Webdesignerdepot